
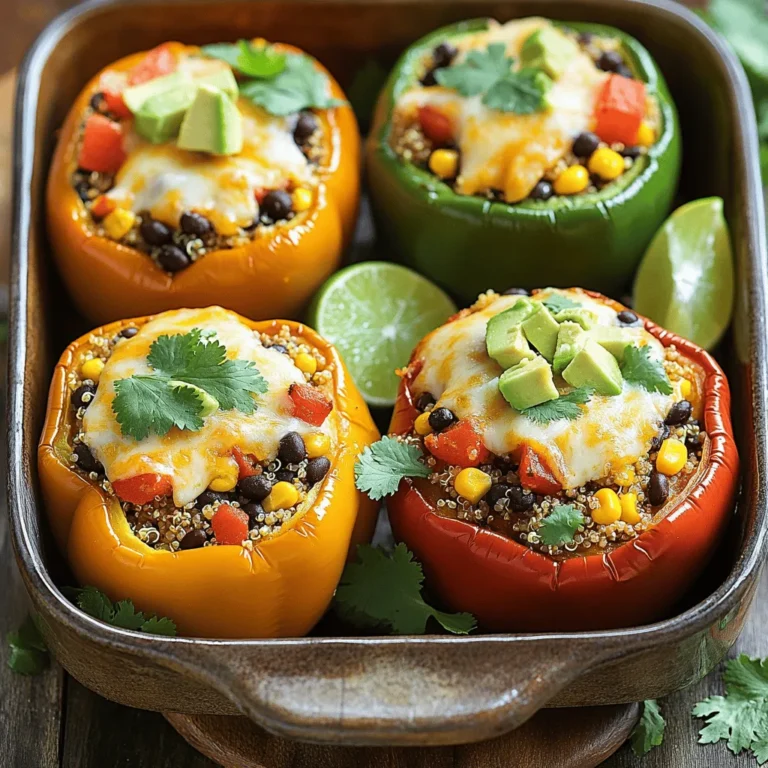
Stuffed Bell Peppers with Quinoa Healthy Easy Meal
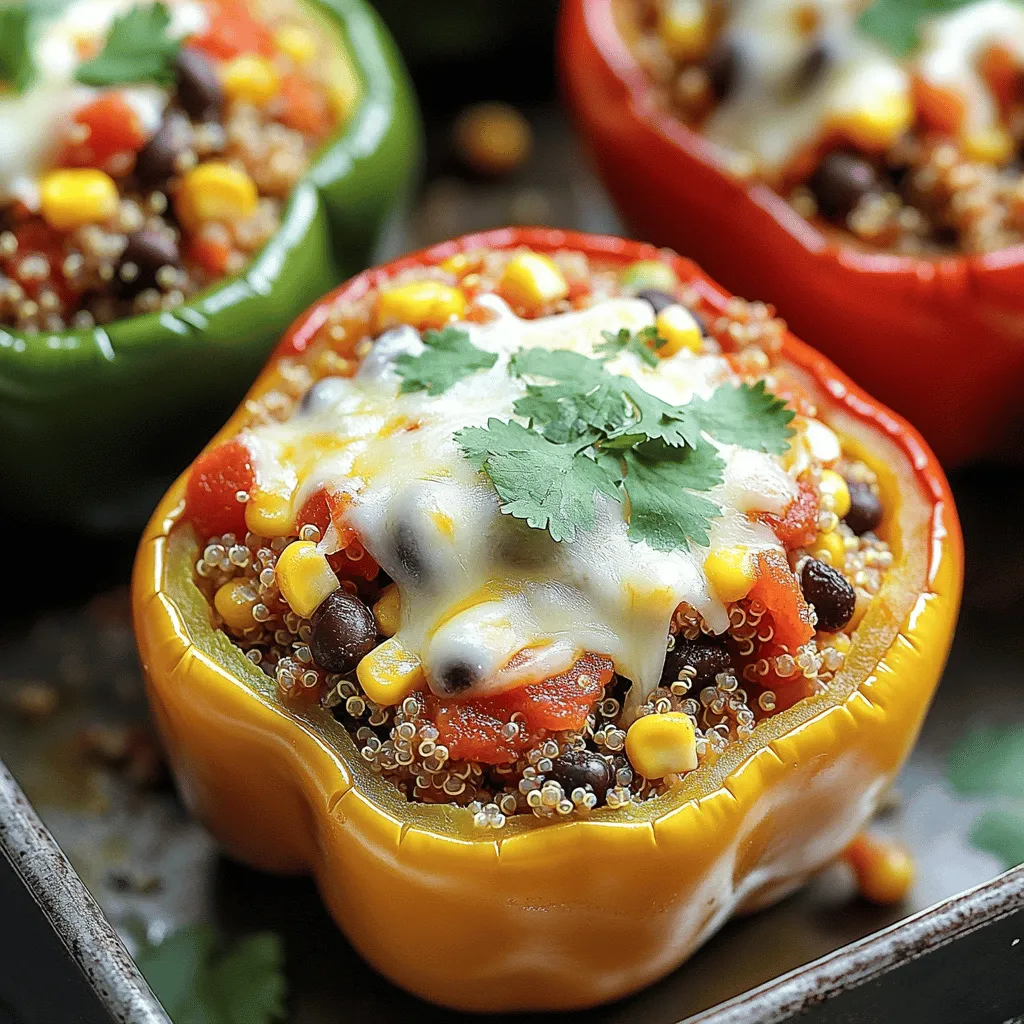
If you’re looking for a healthy and simple meal, stuffed bell peppers with quinoa are a fantastic choice. With just a few colorful veggies and easy-to-make ingredients, you can create a delightful dish filled with flavor and nutrition. I’ll guide you through each step, from prepping the peppers to baking them to perfection. Let’s transform your dinner routine with this tasty recipe that’s sure to please everyone!
Ingredients
Main Ingredients for Stuffed Bell Peppers with Quinoa
– 4 large bell peppers (any color)
– 1 cup quinoa, rinsed
– 2 cups vegetable broth
Additional Ingredients
– 1 can (15 oz) black beans, drained and rinsed
– 1 cup corn (frozen or canned)
– 1 medium onion, diced
– 2 garlic cloves, minced
Spices and Seasonings
– 1 teaspoon cumin
– 1 teaspoon smoked paprika
– 1/2 teaspoon chili powder
– Salt and pepper to taste
Toppings and Garnishes
– 1 cup diced tomatoes (canned or fresh)
– 1 cup shredded cheese (cheddar or dairy-free alternative)
– Fresh cilantro for garnish
To make the best stuffed bell peppers with quinoa, gather these ingredients. They create a healthy and tasty dish. The quinoa adds protein and fiber. The bell peppers provide color and crunch. Using black beans and corn boosts flavor. Onions and garlic give a nice aroma.
Spices like cumin and smoked paprika add depth. The toppings, like cheese and fresh cilantro, finish the dish.Enjoy making this easy meal!
Step-by-Step Instructions
Preparation of Bell Peppers
– Preheat the oven to 375°F (190°C).
– Cut the tops off the bell peppers and remove seeds and membranes.
To start, I preheat my oven. This step warms it up for baking later. Next, I take the bell peppers and cut off the tops. I make sure to remove all the seeds and membranes inside. This makes room for the tasty filling. I like to brush the outside with a bit of olive oil. It helps them brown nicely in the oven.
Cooking the Quinoa
– Combine rinsed quinoa and vegetable broth in a medium pot.
– Bring to a boil, reduce heat, cover, and simmer for about 15 minutes.
Now, I focus on the quinoa. I rinse it well to remove any bitter taste. Then, I place the rinsed quinoa in a medium pot. I add vegetable broth for flavor. I bring this mix to a boil and then turn down the heat. Cover the pot and let it simmer for about 15 minutes. When done, the quinoa will be fluffy and ready for the filling.
Preparing the Filling
– Sauté onions in olive oil until translucent.
– Add garlic, cumin, smoked paprika, and chili powder.
In a large pan, I heat a tablespoon of olive oil. I add diced onions and cook them until they turn translucent. This usually takes about five minutes. Next, I add minced garlic, cumin, smoked paprika, and chili powder. The spices make the kitchen smell amazing. I stir this for a minute to let the flavors combine.
Mixing the Filling
– Combine cooked quinoa, black beans, corn, diced tomatoes, and sautéed onions.
– Season with salt and pepper to taste, and mix in half of the cheese if desired.
In a big bowl, I mix the cooked quinoa with black beans and corn. I also add diced tomatoes and the sautéed onions. I season everything with salt and pepper. If I want a creamier filling, I mix in half of the cheese now. It makes the filling richer and more delicious.
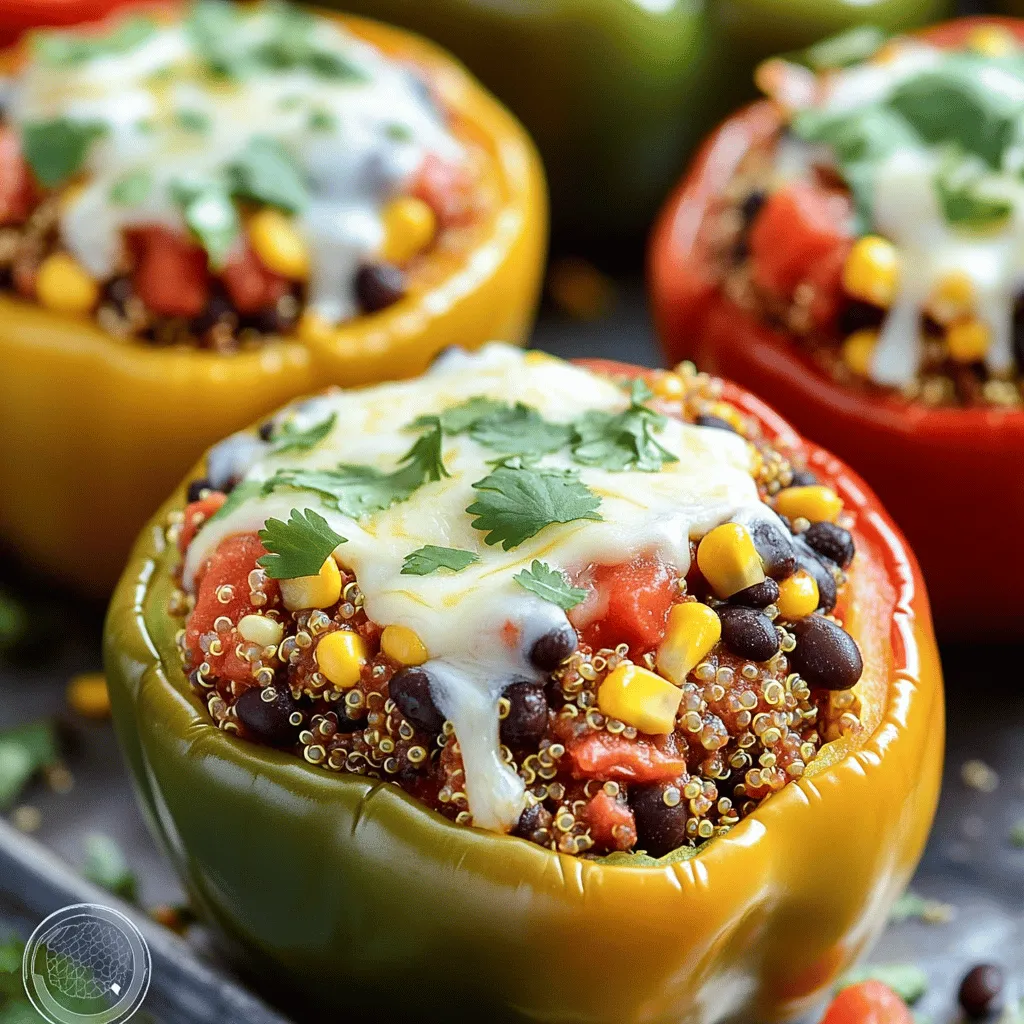
Stuffing the Peppers
– Spoon the quinoa mixture evenly into the bell peppers.
– Top each with remaining cheese.
I take the quinoa mixture and spoon it into each bell pepper. I fill them evenly and press it down gently. Once filled, I sprinkle the remaining cheese on top of each pepper. This will melt and create a tasty crust while baking.
Baking the Stuffed Peppers
– Cover with foil and bake for 25 minutes.
– Remove foil and bake for an additional 10-15 minutes until peppers are tender and cheese is golden.
I cover the baking dish with foil and place it in the oven. I bake for 25 minutes to let the peppers soften. After that, I take off the foil and bake for another 10-15 minutes. I watch closely until the cheese is melted and golden. The peppers should be tender but not mushy.
This whole process leads to a colorful dish that is both healthy and easy.Enjoy the wonderful flavors of these stuffed bell peppers!
Tips & Tricks
Achieving the Best Flavor
To make your stuffed bell peppers shine, spices are key. Use cumin, smoked paprika, and chili powder for a warm and rich taste. These spices give the filling a vibrant kick. Remember to season your filling well. A pinch of salt and pepper can make a big difference. Taste your mix before stuffing the peppers. Adjust the seasoning as needed to make it perfect.
Ensuring Proper Cooking
Check your quinoa after about 15 minutes. It should be fluffy and the liquid should be gone. For the peppers, they should be tender but not mushy. To test, poke a fork into a pepper; it should go in easily. When it comes to cheese, you want it melted and slightly golden. If you like a crispy top, broil them for a minute or two at the end.
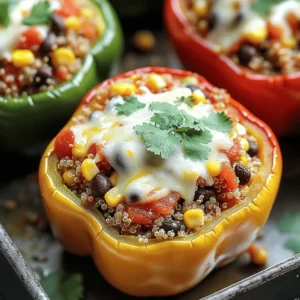
Presentation Suggestions
Serve your stuffed peppers on a colorful plate to catch the eye. You can slice the peppers in half for a fun twist. Garnish with fresh cilantro for a pop of green. It adds flavor and makes the dish look fancy. Try adding a drizzle of olive oil or a squeeze of lime before serving for extra flair.
Variations
Protein Alternatives
You can change the protein in the stuffed peppers to suit your taste. For a vegan option, use lentils or chickpeas. These add great texture and flavor. If you prefer meat, ground turkey or chicken works well. You can also use tofu for a plant-based twist. Just crumble it and mix it with your filling.
Different Fillings
Feel free to experiment with different fillings. Instead of quinoa, you can try rice or barley. Both grains provide unique tastes and textures. You can also add chopped spinach, zucchini, or mushrooms to the mix. These vegetables add nutrients and flavor. If you want more protein, try adding kidney beans or lentils.
Dietary Modifications
For gluten-free options, make sure to choose gluten-free grains. Quinoa is already gluten-free, but rice is another good choice. If you are on a low-carb or keto diet, use cauliflower rice instead. This keeps the dish light and healthy. You can still use all the same spices and flavors, so you won’t miss a thing.
Storage Info
Storing Leftovers
To store your stuffed bell peppers, let them cool first. Then, place them in an airtight container. This keeps them fresh. You can store them in the fridge for up to four days. If you want to keep them longer, freezing is a great option.
Freezing Instructions
For freezing, you can freeze them both cooked or uncooked. If uncooked, wrap each pepper tightly in plastic wrap. Place them in a freezer-safe bag or container. For cooked peppers, let them cool, then store them in a similar way. You can freeze them for up to three months. When ready to eat, thaw overnight in the fridge. Reheat them in the oven at 350°F (175°C) until warm.
Meal Prep Ideas
You can prep ingredients ahead of time. Cook the quinoa and chop the veggies a day before. This makes it easy to assemble the peppers quickly. You can also use the filling in other meals. Try it in tacos, salads, or even as a dip. Stuffed peppers are easy to customize and a fun meal for any time!
FAQs
How do you make stuffed peppers without rice?
You can use quinoa, farro, or couscous instead of rice. Quinoa is great because it cooks fast and is full of protein. For a fun twist, use cauliflower rice for a low-carb option. Mix in beans, veggies, or nuts for more flavor and texture.
Can you eat raw bell peppers?
Yes, you can eat raw bell peppers! They are crunchy and full of nutrients. Raw peppers have vitamin C, which helps your immune system. They also have fiber, which is good for digestion. Just wash them well before eating.
What can you serve with stuffed peppers?
Serve stuffed peppers with a simple salad. A green salad with vinaigrette works well. You can also add crusty bread or garlic bread. Rice or quinoa on the side can soak up the flavors, too. For a fun touch, offer some salsa or guacamole.
How do you know when stuffed peppers are done?
Look for tender peppers with a slight char on top. The cheese should be melted and golden. You can also poke a fork in the pepper; it should be soft but not mushy. If the filling is hot all the way through, they are ready!
Can I make stuffed peppers ahead of time?
Yes! You can prepare the filling and stuff the peppers ahead. Store them in the fridge for a day or two. When ready, bake them straight from the fridge or after freezing. Just add a few extra minutes to the cooking time.
Stuffed bell peppers with quinoa are healthy and simple to make. We covered the main ingredients, from vibrant peppers to protein-rich quinoa. You learned step-by-step instructions to ensure they taste great. Flavor tips, variations, and storage methods help you customize and enjoy these meals easily.
Remember, cooking can be fun and creative. You can change fillings based on what you have. Enjoy every bite, knowing you made a nutritious dish.
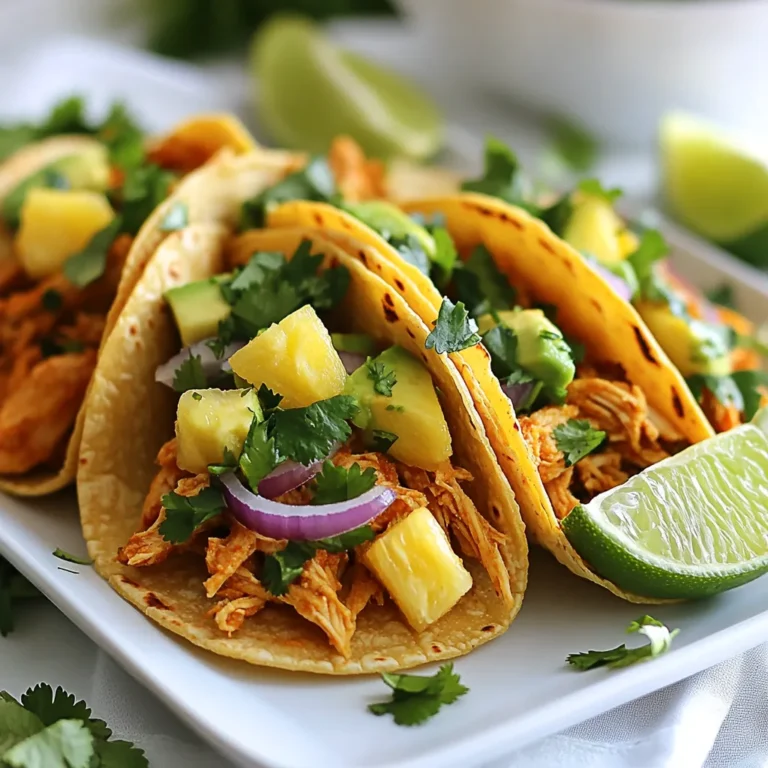
![- 1 lb boneless, skinless chicken thighs - 2 tablespoons olive oil - 3 cloves garlic, minced - 2 teaspoons ground cumin - 2 teaspoons ground paprika - 1 teaspoon ground turmeric - 1 teaspoon ground cinnamon - 1 teaspoon cayenne pepper (adjust according to spice preference) - Salt and pepper to taste - 1 cup cooked quinoa or couscous (your choice) - 1 cup cherry tomatoes, halved - 1 cucumber, diced into bite-sized pieces - 1/2 red onion, thinly sliced - 1 cup mixed greens or baby spinach - 1/4 cup plain Greek yogurt - 2 tablespoons tahini - Juice of 1 fresh lemon - Fresh parsley, chopped, for garnish For these Chicken Shawarma Bowls, chicken thighs shine as the star. They stay juicy and tender, making each bite a delight. Olive oil and spices create a fantastic marinade. The blend of garlic, cumin, and paprika gives a warm, rich flavor. The cayenne adds a kick, but you can adjust it to suit your taste. Fresh toppings like cherry tomatoes and cucumber bring crunch. Mixed greens or baby spinach add a lovely green touch. Topping it all off with Greek yogurt and tahini creates a creamy finish. This mix of flavors makes each bowl special. - Additional vegetables - Different types of grains or bases - Garnishes for enhanced flavor While the main ingredients are fantastic, you can personalize your bowls. Add extra vegetables like bell peppers or carrots for more color and texture. You can switch grains too—try brown rice or farro for a unique twist. Garnishes like chopped nuts or seeds give a nice crunch. Fresh herbs, like mint or dill, can brighten the dish. Feel free to experiment based on what you love or have at home. These options add fun and flavor to your meal. For the complete recipe, check out the Full Recipe. To start, you need to prepare the marinade. In a large bowl, mix together the olive oil, minced garlic, cumin, paprika, turmeric, cinnamon, cayenne pepper, salt, and pepper. Whisk until everything combines well. This creates a tasty blend that makes your chicken shine. Next, it’s time to coat the chicken. Add the boneless, skinless chicken thighs to your bowl. Make sure each piece is covered in the marinade. For the best flavor, let it sit for at least 30 minutes. If you have more time, refrigerate it overnight. Now, let’s cook the chicken. You can grill it or pan-sear it. Preheat your grill pan or skillet over medium-high heat. When it’s hot, place the marinated chicken thighs in the pan. Cook each side for about 6-7 minutes. You want the chicken fully cooked with a nice char. After cooking, take the chicken off the heat. Let it rest for a few minutes before slicing it into bite-sized pieces. This helps keep it juicy. It’s time to build your bowls. Start with a base of quinoa or couscous in a large serving bowl. Next, add a layer of mixed greens or baby spinach. After that, pile on the diced cucumber, halved cherry tomatoes, and sliced red onion. This makes for a colorful and fresh salad. Now, carefully arrange the sliced chicken on top. For a lovely finish, mix Greek yogurt, tahini, and lemon juice in a small bowl. Drizzle this over the chicken and salad. Finally, sprinkle chopped fresh parsley on top. This adds color and boosts the flavor. For a great presentation, serve the bowls with extra lemon wedges on the side. A colorful bowl can also make the dish pop! For the full recipe, check out the main article. To get the best flavor from your chicken shawarma, marinate the chicken well. I recommend using the marinade for at least 30 minutes. If you have time, let it sit overnight. This gives the spices time to work their magic. Use a mix of cumin, paprika, turmeric, and cinnamon for depth. The cayenne pepper adds a kick, so adjust it to your taste. When cooking, keep the chicken juicy. I suggest using a grill pan or skillet. Preheat it over medium-high heat. Cook each side for 6-7 minutes. Check that the chicken is fully cooked. It should be charred and have nice grill marks. Let the chicken rest before slicing. This helps keep it moist and flavorful. If you want to switch up the dressing, try alternatives to Greek yogurt and tahini. You can use sour cream or hummus for a creamy base. For a lighter option, mix plain yogurt with lemon juice. This will brighten the flavors. Feel free to adjust the spices in the dressing too. Adding a pinch of smoked paprika or a dash of garlic powder can enhance the taste. Experiment with different herbs like dill or mint for unique flavors. Pair your chicken shawarma bowls with refreshing drinks. I recommend serving it with a cool lemonade or mint tea. These drinks balance the spices well. For side dishes, consider serving warm pita bread or a light salad. A simple cucumber and tomato salad can add freshness. You can also add roasted vegetables for a hearty touch. Enjoy your colorful and tasty meal! {{image_4}} If you want a vegetarian or vegan twist, you can easily swap out the chicken. Here are some great substitutes: - Chickpeas: Use canned or cooked chickpeas. They add protein and texture. - Tofu: Firm tofu works well. Marinate it just like the chicken. - Seitan: This wheat-based protein is chewy and absorbs flavors nicely. For toppings, consider: - Roasted vegetables: Try zucchini, bell peppers, or eggplant. - Avocado: Creamy avocado adds richness. - Feta cheese: If you're not vegan, crumbled feta adds a nice tang. You can change the flavors of your chicken shawarma bowls by using different spices and herbs. Here are some ideas: - Coriander: Adds a fresh, citrusy taste. - Allspice: Gives a warm, aromatic flavor. - Mint: Fresh mint can brighten up the dish. You can also explore regional variations. For example, if you want a Mediterranean twist, add: - Olives: They bring a salty punch. - Pine nuts: These add crunch and a nutty flavor. Feel free to mix and match flavors. Your chicken shawarma bowls can be as unique as your taste! For the full recipe, check out the [Full Recipe]. To keep your chicken shawarma bowls fresh, you need proper storage. First, let the bowls cool down to room temperature. Next, place the leftovers in airtight containers. This helps keep moisture in and air out. You can store them in the fridge for up to three days. If you notice any off smells or changes in color, it’s best to toss them. Freezing is a great way to save your chicken shawarma bowls for later. To freeze, separate the chicken from the other ingredients. This prevents sogginess when thawing. Wrap the chicken tightly in plastic wrap and place it in a freezer bag. For the veggies and grains, use freezer-safe containers. You can freeze these for up to three months. When you're ready to eat, thaw the chicken in the fridge overnight. Reheat it on the stove or in the microwave. Then, enjoy a tasty meal that feels fresh! If you need the full recipe again, just check back. The best way to marinate chicken is to coat it evenly in the marinade. Use a bowl for mixing. My favorite marinade combines olive oil, garlic, and spices. For chicken shawarma, let it sit for at least 30 minutes. If you have time, refrigerate it overnight. This lets the flavors soak in deeply. Yes, you can make chicken shawarma bowls ahead of time. Prepare the chicken and marinate it in advance. You can also cook the chicken and store it in the fridge. Keep the toppings separate until you are ready to serve. This keeps everything fresh and tasty. You can assemble the bowls quickly when it's time to eat. To make the recipe spicier, add more cayenne pepper or chili powder. You can also use fresh chili peppers for a kick. If you prefer a milder flavor, reduce the cayenne or skip it altogether. You can add more yogurt or tahini to balance the heat. Adjust the spices to fit your taste! You’ve learned how to make delicious chicken shawarma bowls that please everyone. We covered the essential ingredients, from chicken thighs to tasty toppings. I shared tips for marinating and cooking the chicken to keep it juicy. Don’t forget the fun variations and meal prep ideas! Experimenting with flavors makes this dish even better. Enjoy your cooking journey, and explore new ways to make it your own!](https://joymealplan.com/wp-content/uploads/2025/07/e03f62b6-42d7-4413-8d7f-397ee404e053-768x768.webp)