
Lemon Herb Roasted Chicken Deliciously Juicy Meal
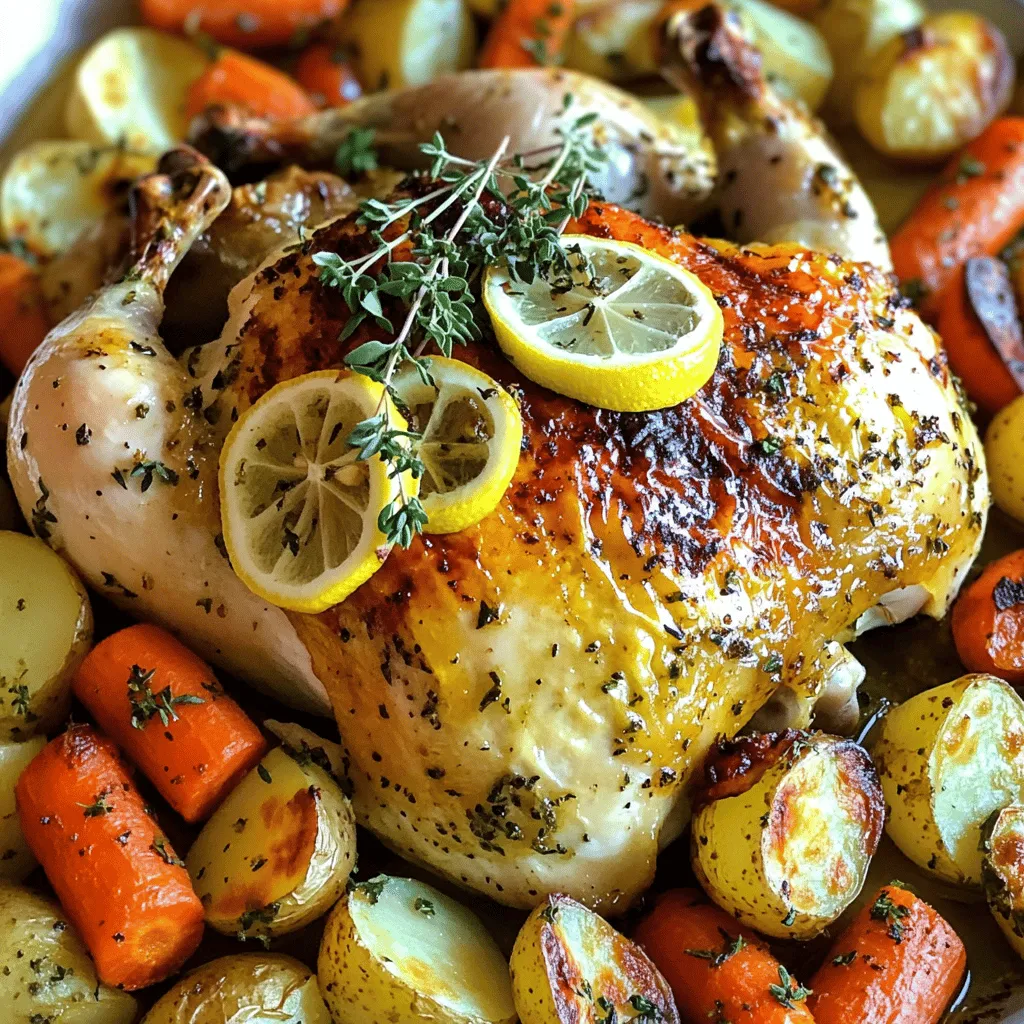
Are you ready to impress at your next dinner? This Lemon Herb Roasted Chicken is the perfect dish that delivers juicy, flavorful meat with crispy skin. Made with fresh herbs and zesty lemon, it’s a delicious meal the whole family will love. In this post, I’ll share the easy steps to make this mouthwatering chicken, along with tips for sides and storage. Let’s get cooking!
Ingredients
List of Ingredients
– 1 whole chicken (approximately 4-5 lbs)
– 2 lemons (zest and juice)
– 4 cloves garlic, finely minced
– 1/4 cup extra-virgin olive oil
– 2 tablespoons fresh thyme, finely chopped
– 2 tablespoons fresh rosemary, finely chopped
– 1 tablespoon fresh parsley, finely chopped
– Salt and freshly ground black pepper, to taste
– 1 large onion, cut into quarters
– 1 cup low-sodium chicken broth
– 2-3 carrots, peeled and chopped
– 2-3 medium potatoes, diced
– 1 zucchini, sliced
Optional Ingredients for Roasting
You can add a variety of vegetables to enhance flavor. Carrots, potatoes, and zucchini work great. These veggies soak up the chicken’s juices, making them even tastier. Low-sodium chicken broth helps keep everything moist during roasting.
Seasoning and Marinade
Salt and pepper are key in this recipe. They boost the flavor of the chicken and herbs. I love using extra-virgin olive oil in my marinade. It adds a rich taste and helps the herbs stick to the chicken. This simple mix brings out the natural flavors in the meat. It also keeps your chicken juicy and tender.
Step-by-Step Instructions
Prepping the Oven and Chicken
First, you need to preheat your oven to 425°F (220°C). This heat helps the chicken cook evenly and get crispy skin. While the oven heats, grab a sturdy roasting pan. Place quartered onions at the bottom. These onions will add flavor and moisture to the chicken as it cooks.
Making the Herb Marinade
Now, let’s make the herb marinade. In a mixing bowl, whisk together:
– 1/4 cup extra-virgin olive oil
– 4 cloves minced garlic
– Zest and juice of 2 lemons
– 2 tablespoons chopped thyme
– 2 tablespoons chopped rosemary
– 1 tablespoon chopped parsley
– Salt and pepper to taste
This mix is key. The lemon juice brightens up the dish, making it fresh and zesty.
Roasting Process
Once your chicken is dry, rub the herb marinade all over it. Make sure to get some under the skin. This helps the herbs flavor the meat deeply. Then, position the chicken breast-side up on the onions in the roasting pan. Pour in 1 cup low-sodium chicken broth. This will create steam, keeping the meat juicy.
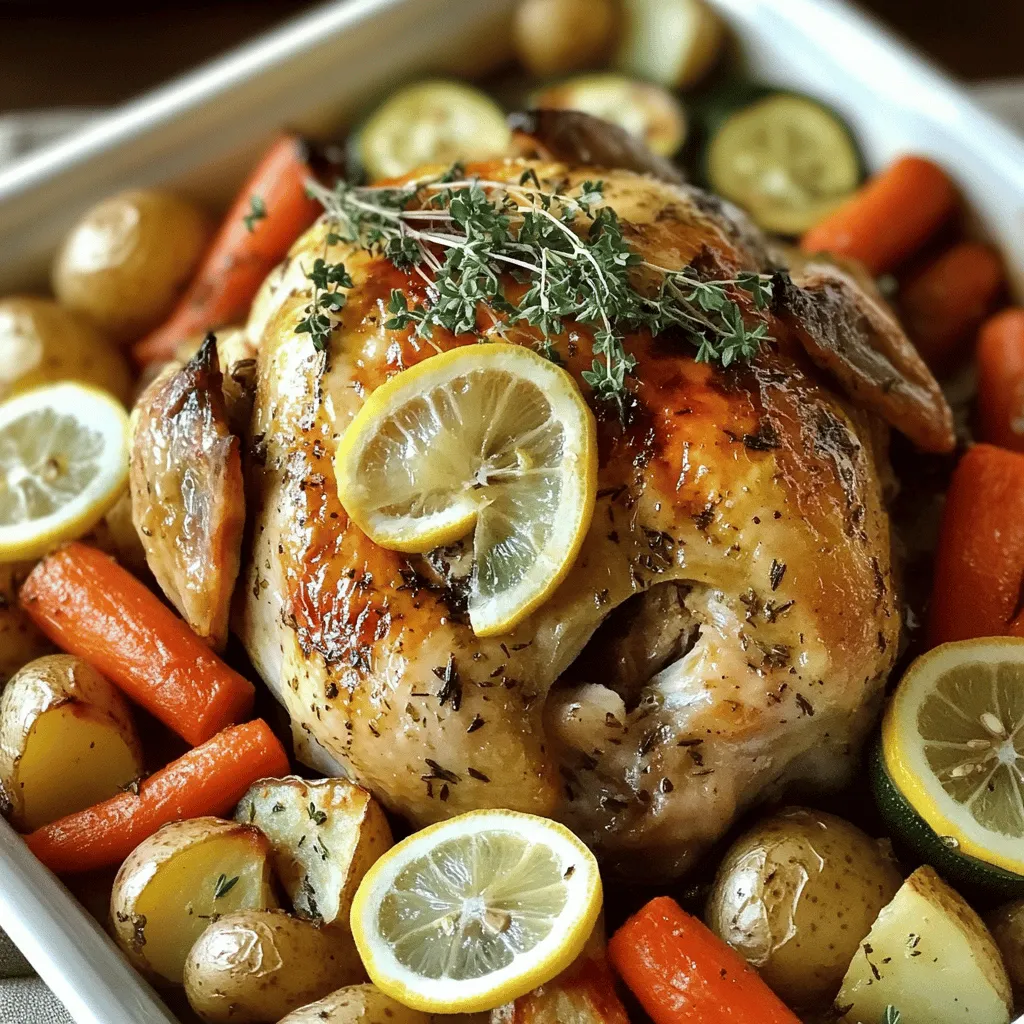
Surround your chicken with chopped vegetables, like carrots and potatoes. Drizzle them with olive oil and season with salt and pepper.
Roast the chicken for about 1 hour to 1 hour and 15 minutes. Check the chicken’s internal temperature at the thickest part. It should reach 165°F (75°C). The skin should turn a nice golden brown. Basting the chicken with its juices a few times will add flavor and moisture.
After cooking, take the chicken out and let it rest for about 10-15 minutes. This helps keep it juicy.Serve it up with those roasted veggies and enjoy!
Tips & Tricks
Achieving Crispy Skin
To get that perfect crispy skin, start by drying the chicken well. Use paper towels to remove any moisture. This helps the skin crisp up nicely in the oven. Next, baste the chicken with pan juices while it cooks. This adds flavor and keeps the meat juicy.
Flavor Enhancements
For a bright taste, squeeze more lemon juice on the chicken during cooking. It adds zest and enhances the herb flavors. Another great trick is to infuse herbs under the skin. Gently lift the skin and place some chopped herbs inside. This method gives you bold flavors throughout.
Presentation Suggestions
When serving, arrange the chicken pieces on a large platter. Place the roasted vegetables around the chicken for a colorful display. To make it look even better, garnish with fresh herbs and lemon slices. This not only makes your dish pretty but also adds fresh flavors.
Variations
Different Herbs to Use
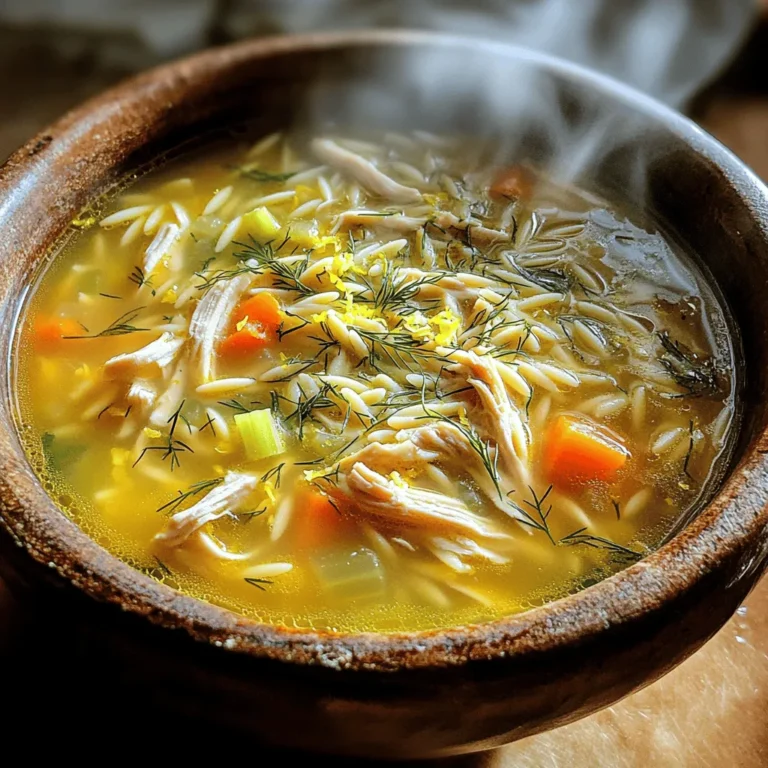
You can switch up the herbs in this dish to fit your taste. Try using basil, oregano, or dill. Each herb brings a unique flavor. For example, basil adds a sweet note, while dill gives a fresh, bright taste. You can mix and match herbs for even more fun flavors. Changing the herbs can change your whole meal!
Vegetable Combinations
Feel free to use other vegetables when roasting. You might try sweet potatoes, Brussels sprouts, or even bell peppers. Seasonal veggies work best, too. In the fall, root veggies shine. In the summer, zucchini and tomatoes are great choices. Roasting different veggies adds color and flavor to your meal.
Cooking Method Alternatives
If you want a different way to cook, try a slow cooker. This method keeps the chicken moist and tender. Just set it and forget it for hours! Grilling is another option. It adds a smoky flavor you can’t beat. Cook the chicken on the grill for a tasty twist. Both methods give you juicy chicken full of flavor.
Storage Info
Leftover Storage Guidelines
To keep your Lemon Herb Roasted Chicken fresh, store leftovers properly. First, let the chicken cool down. Place any remaining meat in an airtight container. This helps avoid moisture loss. Refrigerate the chicken within two hours to prevent bacteria growth. The ideal temperature for your fridge is 40°F (4°C) or lower.
If you want to save it for later, consider freezing it. Wrap the chicken tightly in plastic wrap, then in aluminum foil. This double layer helps protect it from freezer burn. You can also use freezer bags. Squeeze out as much air as possible to prevent ice crystals.
Reheating Instructions
When you’re ready to enjoy leftovers, reheating is key. For quick reheating, use a microwave. Place the chicken on a microwave-safe plate. Cover it with a damp paper towel to keep it moist. Heat in short intervals, about 1-2 minutes. Check often to avoid overcooking.
If you want crispy skin, use your oven. Preheat it to 350°F (175°C). Place the chicken in a baking dish. Cover it loosely with foil to keep it from drying out. Heat for about 20-30 minutes, until it’s warm throughout. This method keeps the skin crispy and the meat juicy.
Duration for Safe Consumption
Refrigerated leftovers are safe for about 3-4 days. Always check for any signs of spoilage before eating. If your chicken looks or smells off, throw it away.
For frozen chicken, it’s best to eat it within 4 months for the best taste. When thawing, move it to the fridge for a day before cooking. Never thaw chicken at room temperature, as this can lead to bacteria growth. Always ensure the chicken is cooked thoroughly before eating.
FAQs
How long should I roast a chicken per pound?
Roast your chicken for about 20 minutes per pound. For a 4-5 pound chicken, this is around 1 hour to 1 hour and 15 minutes. Check the internal temperature at the thickest part. It should reach 165°F (75°C) to be fully cooked. This method ensures juicy meat and crispy skin.
Can I prepare the marinade in advance?
Yes, you can prepare the marinade ahead of time. This allows the flavors to deepen, giving your chicken a richer taste. Just be sure to store it in the fridge until you’re ready to use it. Marinading overnight can elevate your dish even more.
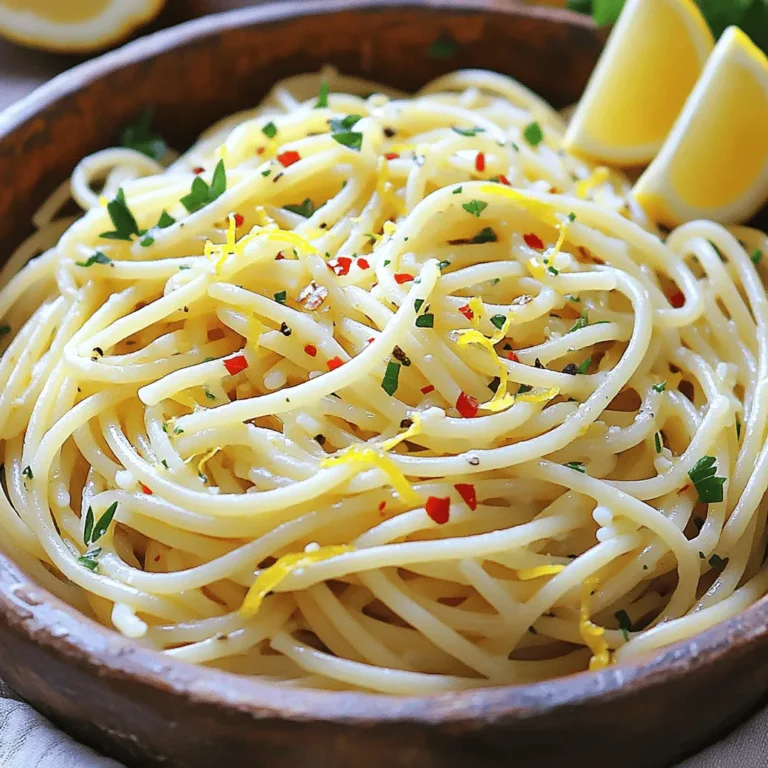
What sides pair well with Lemon Herb Roasted Chicken?
Great sides include roasted vegetables, mashed potatoes, or a fresh salad. Consider serving it with garlic bread or a creamy coleslaw. These options complement the lemon and herbs, making your meal balanced and tasty.
Can I use a different type of chicken?
Yes, you can use other types of chicken. Cornish hens or chicken pieces work well, but cooking times will change. Smaller pieces cook faster, while larger birds may need more time. Always check the temperature to ensure they are cooked through.
Is it necessary to let the chicken rest?
Yes, resting the chicken is very important. Let it rest for about 10-15 minutes after cooking. This helps the juices stay in the meat, making it tender and juicy. Cutting it too soon can cause the juices to run out, making it dry.
This blog post covered all you need for lemon herb roasted chicken. We explored the ingredients, from fresh herbs to the perfect chicken size. I shared step-by-step instructions for prepping, marinating, and roasting. I offered useful tips to achieve crispy skin and enhance flavor. You learned about variations, storage, and reheating.
Making this dish can bring joy to your table. Now, you have the tools to create a delicious meal. Enjoy the process and satisfy your taste buds!


![- 2 cups cooked white or brown rice - 2 cups fresh broccoli florets, steamed until tender - 1 cup sharp cheddar cheese, shredded - 1 cup cream of mushroom soup - 1 cup milk - 1 teaspoon garlic powder - 1 teaspoon onion powder - Salt and freshly ground black pepper to taste - 1/2 cup breadcrumbs (for a crispy topping) - 2 tablespoons olive oil - Preheat oven to 350°F (175°C) - Combine rice and broccoli in a mixing bowl - Add soup, milk, spices, and cheese; mix thoroughly - Transfer to a greased baking dish and top with breadcrumbs and cheese - Cover with foil; bake for 25 minutes - Remove foil; bake for an additional 15-20 minutes Making Cheesy Broccoli Rice Casserole is simple and fun. You start with the main ingredients, mixing cooked rice with steamed broccoli. This gives you a great base. The cheddar cheese adds a rich, creamy taste. The cream of mushroom soup and milk make the mix smooth. Next, we add some seasoning. Garlic powder and onion powder give the dish a nice flavor. Salt and pepper allow you to adjust the taste just how you like it. For a crunchy topping, breadcrumbs mixed with olive oil work great. Once you have everything mixed, pour it into a greased baking dish. This keeps it from sticking. Spread it out evenly. Then comes the fun part—topping it with more cheese and breadcrumbs! Now, cover the dish with foil. This keeps the moisture in while it cooks. Bake it for 25 minutes, then remove the foil. Bake for another 15-20 minutes until the cheese is melted and the top is golden. You can find the complete recipe [Full Recipe] for more detailed steps if needed. Enjoy this tasty, warm casserole. It’s perfect for dinner or as a side dish! To boost the taste of your Cheesy Broccoli Rice Casserole, I recommend using homemade cream of mushroom soup. It adds freshness and depth that store-bought versions can't match. You can easily make it by sautéing mushrooms with butter and mixing in some cream. Another fun tip is to experiment with different cheeses. Try gouda or pepper jack for a unique twist. Each cheese brings its own flavor, making each bite exciting. To make your casserole look beautiful, garnish it with fresh parsley or chives. The green color brightens the dish and gives it a fresh taste. For an extra touch of flavor, drizzle some balsamic glaze over the top just before serving. This adds a sweet and tangy contrast that pairs well with cheesy goodness. Make sure your broccoli is steamed evenly. This ensures every piece is tender and not overcooked. If some pieces are hard, they won't blend well with the rice. After baking, let the casserole rest for about five minutes. This simple step helps it set and makes slicing easier. You will have perfect portions for serving! You can easily switch the main veggies in this dish. Swap broccoli for cauliflower or spinach. Both options taste great and add different flavors. You can also try brown rice or quinoa instead of white rice. This makes the meal healthier and adds more fiber. If you need a gluten-free option, use gluten-free breadcrumbs. This keeps the crispy topping but makes it safe for gluten-sensitive folks. For a vegan version, substitute cheese and milk with plant-based choices. Almond milk and vegan cheese work well here. Want to add more taste? Cooked chicken or turkey is a great protein boost. This makes the meal heartier. You can also sprinkle in spices like paprika or cayenne for some heat. These little changes make a big difference in flavor. {{image_4}} After enjoying your cheesy broccoli rice casserole, store any leftovers in an airtight container. This keeps the flavors fresh for up to 4 days. I recommend letting it cool down before sealing. This way, it won’t steam and get soggy. You can freeze the casserole before baking it. This method lets you enjoy it later without losing taste. Just wrap it well in plastic wrap or foil and store it in the freezer for up to 3 months. When you are ready to bake, thaw it in the fridge overnight. Adjust the baking time since it will be cold. To reheat, the oven is your best bet. It helps keep the texture nice and creamy. Just cover it with foil and heat at 350°F (175°C) until warmed through. You can also use the microwave for a quicker option. It’s great for busy days when you want a tasty meal fast. Yes, you can prepare the casserole and refrigerate or freeze it before baking. This makes it easy to have a warm meal ready when you need it. Just remember to let it thaw before baking if frozen. You can use homemade cream soup or a different canned soup option, like cream of chicken or celery. This gives you flexibility based on what you have at home. To lighten it up, use reduced-fat cheese. You can also substitute whole milk with low-fat or unsweetened almond milk. These changes still keep the dish creamy and tasty. Absolutely! It stores well and can be portioned for easy meal prepping. Just make sure to use airtight containers for freshness. Enjoy it throughout the week! - 2 cups cooked white or brown rice - 2 cups fresh broccoli florets, steamed until tender - 1 cup sharp cheddar cheese, shredded - 1 cup cream of mushroom soup (store-bought or homemade) - 1 cup milk - 1 teaspoon garlic powder - 1 teaspoon onion powder - Salt and freshly ground black pepper to taste - 1/2 cup breadcrumbs (for a crispy topping) - 2 tablespoons olive oil 1. Preheat your oven to 350°F (175°C). 2. Mix the cooked rice and steamed broccoli in a large bowl. 3. Add cream of mushroom soup, milk, garlic powder, onion powder, and half the cheese. Season with salt and pepper. Stir well. 4. Grease a 9x13 inch baking dish with olive oil. Transfer the mixture into the dish and spread evenly. 5. In a small bowl, mix breadcrumbs with olive oil. Sprinkle over the casserole. 6. Add the remaining cheese on top of the breadcrumbs. 7. Cover the dish with aluminum foil, shiny side down. Bake for 25 minutes. 8. Remove the foil and bake for another 15-20 minutes. Watch for bubbling cheese and golden breadcrumbs. 9. Let the casserole rest for 5 minutes before serving. - Serving Size: 1/6 of the casserole - Calories: Approximately 320 - Total Fat: 12g - Saturated Fat: 5g - Carbohydrates: 42g - Protein: 12g - Fiber: 3g - Sugars: 2g This blog showed you how to make a tasty Cheesy Broccoli Rice Casserole. We covered all the main ingredients, from rice and cheese to spices. You learned step-by-step how to mix and bake it perfectly. I also shared tips to enhance flavor and fun variations. Finally, you got key storage info and answers to common questions. Enjoy making this dish! It’s simple, delicious, and adaptable for everyone.](https://joymealplan.com/wp-content/uploads/2025/06/63660ef9-884f-40e9-9c69-6c7b156d354b-768x768.webp)