Creamy Pesto Pasta Delightfully Simple and Tasty Dish
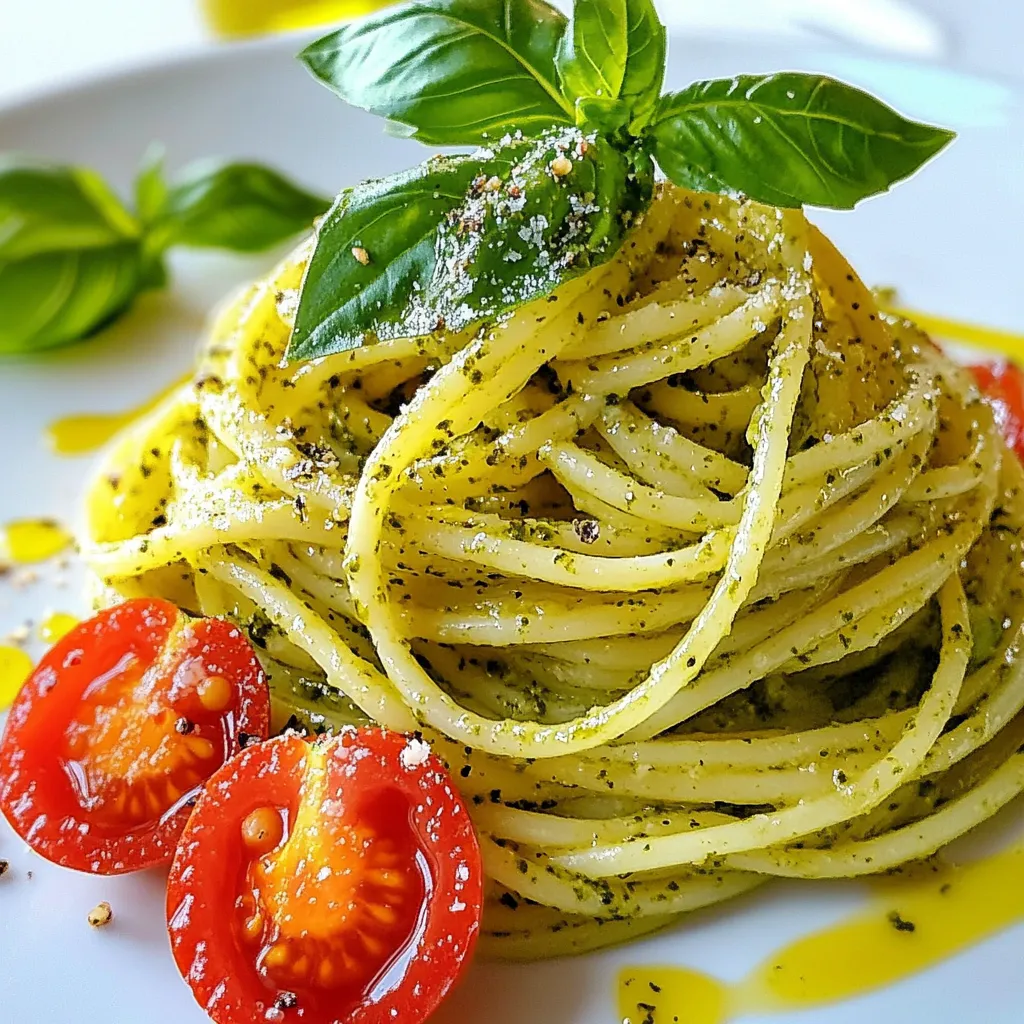
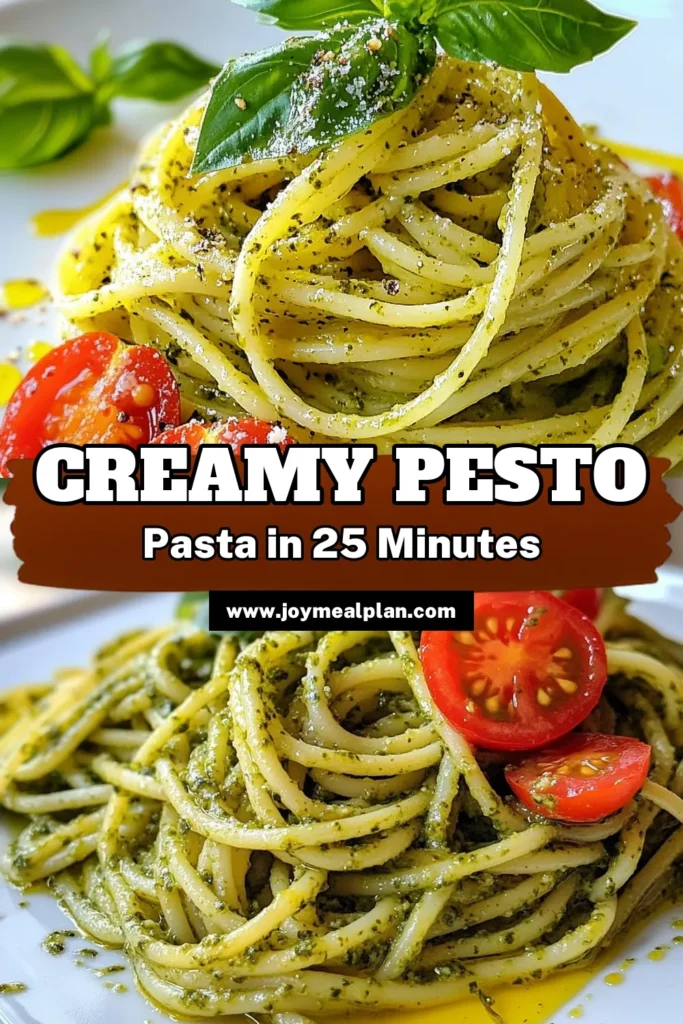
Looking for a quick meal that bursts with flavor? My Creamy Pesto Pasta is both simple and delicious! With fresh basil, garlic, and a touch of cream, this dish transforms ordinary pasta into a delightful experience. Whether you’re cooking for yourself or impressing guests, this recipe has you covered. Let’s dive into the ingredients and steps to create this creamy dream on your plate!
Why I Love This Recipe
- Fresh Ingredients: This recipe uses fresh basil and garlic, creating a vibrant and aromatic dish that bursts with flavor.
- Quick and Easy:
- Customizable: You can easily modify this recipe by adding your favorite vegetables or proteins, making it versatile for any palate.
- Comfort Food: The creamy texture and savory pesto make this dish a comforting and satisfying meal that everyone will love.
Ingredients
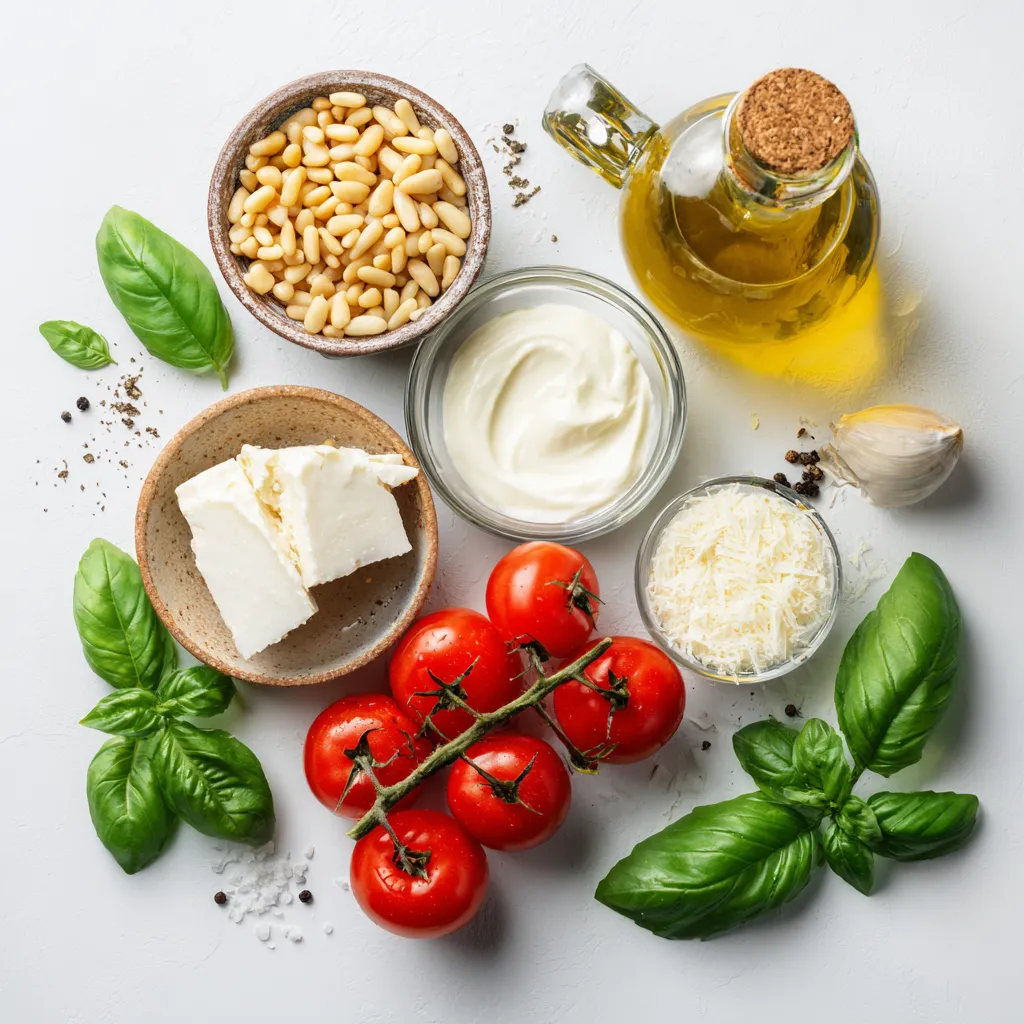
To make Creamy Pesto Pasta, you need fresh and simple ingredients. Gather these items:
– 12 oz. pasta (fettuccine or penne recommended)
– 1 cup fresh basil leaves, packed
– 1/4 cup pine nuts
– 1/2 cup freshly grated Parmesan cheese
– 1/2 cup heavy cream
– 3 cloves garlic, minced
– 1/3 cup extra-virgin olive oil
– Salt and freshly ground black pepper
– Cherry tomatoes, for garnish
– Extra basil leaves, for garnish
These ingredients work together to create a rich and flavorful dish. The fresh basil gives a bright taste, while the Parmesan adds creaminess. Using good-quality olive oil is key for a wonderful flavor.
Step-by-Step Instructions
Cooking the Pasta
To cook the pasta, start by filling a large pot with water. Add a good amount of salt. Bring the water to a rolling boil on high heat. Once the water bubbles, add 12 ounces of your favorite pasta, like fettuccine or penne. Cook the pasta according to the package directions. For al dente, check a minute or two before the time is up. Al dente pasta is firm but tender. Before draining, reserve one cup of the starchy pasta water. Drain the pasta and set it aside.
Making the Pesto Sauce
Now it’s time to make the pesto. In a food processor, add one cup of fresh basil leaves, a quarter cup of pine nuts, half a cup of grated Parmesan cheese, and three cloves of minced garlic. Add a pinch of salt. Pulse the mixture until it is finely chopped but not smooth. This gives the pesto a nice texture. With the processor running, slowly drizzle in one-third cup of extra-virgin olive oil. Blend until the pesto is smooth. If it feels thick, add more olive oil, one tablespoon at a time.
Combining Sauce and Pasta
In a large skillet over medium heat, pour in half a cup of heavy cream. As it warms, stir in the pesto you just made. Let it simmer gently for about two to three minutes. This helps the flavors mix well. Add the drained pasta to the skillet. Use tongs to toss the pasta and coat it with the creamy pesto sauce. Gradually add the reserved pasta water, a little at a time, until you reach your desired creaminess. Season with salt and freshly ground black pepper to taste.
Tips & Tricks
Perfecting the Pesto
For the best pesto, you can swap out pine nuts for other nuts. Try walnuts or almonds for a different taste. You can also use sunflower seeds if you have nut allergies. To add more flavor, mix in other herbs. Parsley or arugula work well with basil. This can make your pesto unique and fun.
Cooking the Pasta
Always save some pasta water before draining. This starchy water helps make your sauce creamy. If the pasta sticks together, try using a bit of oil while cooking. Stir the pasta gently as it cooks. This keeps it from clumping and helps achieve that perfect al dente texture.
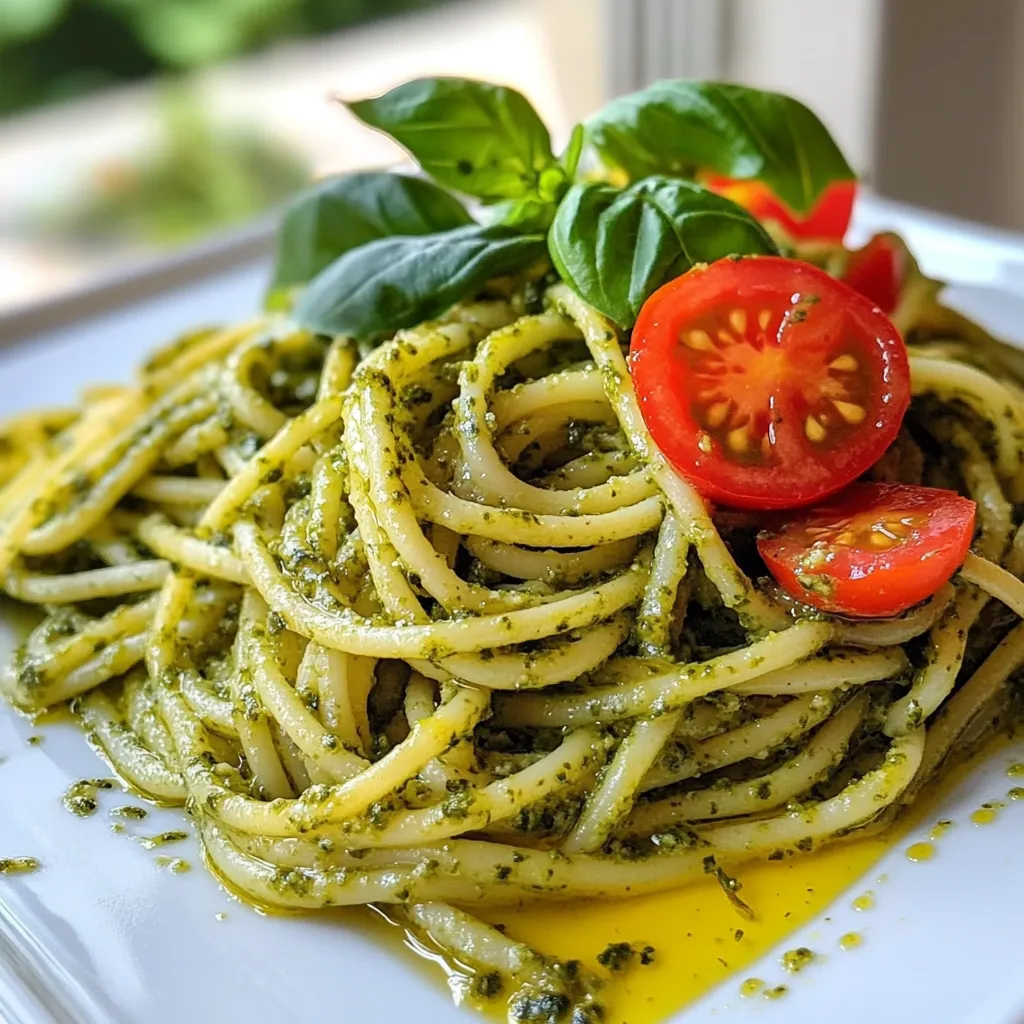
Serving Suggestions
To make your creamy pesto pasta look even better, add some garnishes. Halved cherry tomatoes add color and flavor. Fresh basil leaves on top make the dish pop. For a side, try a crisp salad or garlic bread. These pair well and round out your meal nicely.
Pro Tips
- Toast Your Nuts: Toasting pine nuts in a dry skillet for a few minutes enhances their flavor and adds a delightful crunch to your pesto.
- Adjust Creaminess: Use the reserved pasta water to adjust the consistency of your sauce. It helps the sauce cling to the pasta better.
- Freshness is Key: Use fresh basil for the best flavor. If you have friends with a basil plant, ask for a handful!
- Experiment with Add-ins: Consider adding grilled chicken, shrimp, or vegetables for extra flavor and nutrition.
Variations
Protein Additions
You can add protein to your creamy pesto pasta for extra flavor and nutrition. Here are some great options:
– Chicken: Cook bite-sized pieces in a skillet. Season with salt and pepper. Add them to the pasta just before serving.
– Shrimp: Sauté shrimp in olive oil until pink. Toss them in with the pasta for a quick seafood boost.
– Tofu: For a plant-based option, cube and pan-fry tofu until golden. Mix it in for a hearty meal.
When adding protein, cook it separately and then mix it in at the end. This keeps the meat or tofu juicy and flavorful.
Dietary Modifications
If you have special dietary needs, you can make creamy pesto pasta fit your plan.
– Gluten-Free Pasta: Use gluten-free pasta made from rice or quinoa. It cooks similarly to regular pasta, so follow the package instructions.
– Dairy-Free Version: Swap heavy cream for cashew cream. Blend soaked cashews with water until smooth. This adds creaminess without dairy.
These changes let everyone enjoy this dish without missing out.
Flavor Enhancements
You can easily boost the taste of your creamy pesto pasta. Here are some ideas:
– Sun-Dried Tomatoes: Chop them up and mix them in for a sweet and tangy kick.
– Spinach: Stir in fresh spinach while mixing everything. It wilts down and adds a pop of color.
– Different Cheese Types: Try using goat cheese or a mix of cheeses. Each adds its unique flavor to the dish.
These enhancements will make your pasta even more exciting and delicious.
Storage Info
Storing Leftovers
To keep your creamy pesto pasta fresh, store it in a container with a tight lid. Refrigerate the leftovers within two hours of cooking. This helps keep the flavors and texture just right. Use glass or plastic containers that are safe for food storage. Avoid metal containers, as they may react with the pesto.
Reheating Tips
When reheating, aim to keep the pasta moist. You can do this by using a microwave or a skillet. In the microwave, add a splash of water or cream. Heat in short bursts, stirring in between. If using a skillet, add a bit of olive oil and heat over low heat. This method helps avoid dryness. You can also add fresh basil or cherry tomatoes when reheating. This adds freshness and flavor back to the dish.
Freezing Instructions
To freeze creamy pesto pasta, first cool it completely. Transfer it to a freezer-safe container. Leave some space at the top, as it may expand. Seal it tightly and label with the date. When you’re ready to eat, thaw it in the fridge overnight. Reheat as mentioned above. Add a little cream or olive oil to help restore moisture. Enjoy your tasty dish even after freezing!
FAQs
How do I make my pesto smoother?
To make your pesto smoother, add more olive oil. Start with a little, about one tablespoon. Blend longer until you reach the right texture. You want a creamy feel without any chunks. If your pesto is too thick, just keep adding oil and blending. This simple trick helps you achieve the perfect smoothness.
Can I use store-bought pesto?
Yes, you can use store-bought pesto. It saves time and can be tasty. However, it may not have the same fresh flavor as homemade. Store-bought versions can be very salty, so taste before adding any extra salt. If you’re in a rush, this is an easy option that works well.
How long does creamy pesto pasta last in the fridge?
Creamy pesto pasta lasts about three to five days in the fridge. Make sure to store it in an airtight container. To keep it fresh, avoid mixing in any garnishes until you serve it. If you see any changes in color or smell, it’s best to throw it away. Enjoy your creamy pesto pasta while it’s still fresh!
This blog covered making creamy pesto pasta from scratch. You learned about key ingredients, cooking tips, and tasty variations. Perfecting your pesto can elevate every dish. Don’t forget to save pasta water for the right texture. Consider protein choices like chicken or tofu for a hearty meal. Storing leftovers properly ensures you enjoy your creation later. With these steps, you can impress anyone at your table. Now, get in the kitchen and start cookin

Creamy Pesto Pasta
Ingredients
- 12 oz your favorite pasta (fettuccine or penne recommended)
- 1 cup fresh basil leaves, packed
- 1/4 cup pine nuts
- 1/2 cup freshly grated Parmesan cheese
- 1/2 cup heavy cream
- 3 cloves garlic, minced
- 1/3 cup extra-virgin olive oil
- to taste Salt
- to taste freshly ground black pepper
- as needed Cherry tomatoes, halved (for garnish)
- as needed Extra fresh basil leaves, for garnish
Instructions
- In a large pot, bring salted water to a rolling boil. Add the pasta and cook according to the package directions until al dente. Before draining, reserve 1 cup of the starchy pasta water. Drain the pasta and set it aside.
- In a food processor, combine the fresh basil leaves, pine nuts, grated Parmesan cheese, and minced garlic. Add a pinch of salt, and pulse the mixture until it is finely chopped yet still somewhat textured.
- With the food processor running, slowly drizzle in the olive oil. Continue blending until the pesto reaches a smooth consistency. If the mixture is too thick, feel free to add extra olive oil, a tablespoon at a time.
- In a large skillet set over medium heat, pour the heavy cream. As it warms, stir in the prepared pesto. Allow the sauce to simmer gently for about 2-3 minutes, enhancing its flavors.
- Add the drained pasta to the skillet, using tongs or a spatula to toss and coat the pasta evenly with the creamy pesto sauce. Gradually add the reserved pasta water, a little at a time, until you reach your preferred creaminess. Season with salt and freshly ground black pepper to taste.
- Plate the creamy pesto pasta generously. Garnish with halved cherry tomatoes and fresh basil leaves for an inviting touch.
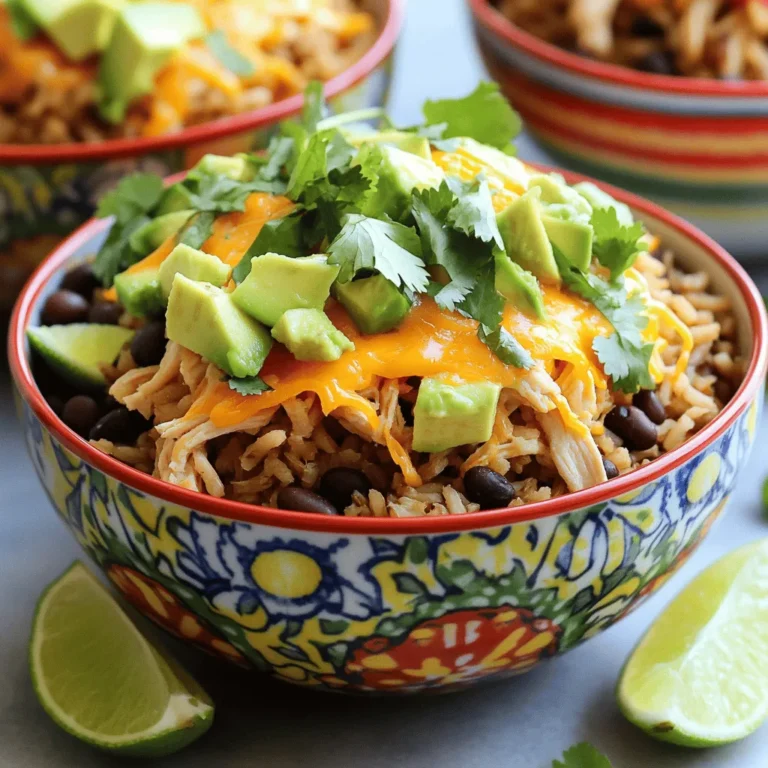
![- 1 cup quinoa - 2 cups vegetable broth or water - 1 can (15 oz) black beans - 1 cup corn - 1 red bell pepper - 1 small red onion - 2 cloves garlic - 1 teaspoon ground cumin - 1 teaspoon smoked paprika - Juice of 1 lime - Salt and pepper - 1 ripe avocado - Fresh cilantro To create a tasty Quinoa Black Bean Taco Bowl, you need fresh and vibrant ingredients. Start with quinoa. It is a great grain packed with protein. You’ll also need black beans from a can. They add fiber and flavor. Corn brings sweetness and texture. Next, choose a red bell pepper. Dice it finely for a pop of color and crunch. A small red onion adds a nice bite. Don’t forget garlic; it gives that savory aroma. Spices like ground cumin and smoked paprika give warmth. Lime juice adds brightness, while salt and pepper enhance all the flavors. Finally, you need a ripe avocado. Its creaminess balances the dish. Fresh cilantro is a must for a fresh touch. You can always add optional toppings to make it even better, like diced tomatoes, sliced jalapeños, sour cream, or shredded cheese. These fresh ingredients come together to create a delicious and healthy meal. For the complete recipe, check the Full Recipe. To start, grab a medium-sized saucepan. Pour in 2 cups of vegetable broth or water. Bring it to a boil over medium-high heat. Once the liquid bubbles, stir in 1 cup of rinsed quinoa. Lower the heat to a simmer and cover the pot. Cook for about 15 minutes, or until the quinoa is fluffy and absorbs all the liquid. After cooking, take it off the heat. Let it sit covered for 5 minutes. Finally, fluff the quinoa gently with a fork for the best texture. While the quinoa cooks, heat a drizzle of olive oil in a large skillet over medium heat. Add 1 small chopped red onion and 2 minced garlic cloves. Sauté them for about 2-3 minutes until the onion looks translucent and smells great. Next, stir in 1 diced red bell pepper, 1 cup of corn, and 1 can of rinsed black beans. Sprinkle in 1 teaspoon of ground cumin and 1 teaspoon of smoked paprika. Add salt and pepper to taste. Cook this mix for another 5-7 minutes, stirring often to combine all the flavors. When the quinoa is ready, add it directly to the skillet with the black bean mixture. Squeeze the juice of 1 lime over the top. Stir everything together to blend the flavors. Taste the mixture and adjust the seasoning with more salt, pepper, or lime juice as needed. To serve, spoon the quinoa and black bean mix into bowls. Top each bowl with slices of ripe avocado and a sprinkle of fresh cilantro. You can also add optional toppings like diced tomatoes, sliced jalapeños, a dollop of sour cream, or shredded cheese for extra flavor. Enjoy your Quinoa Black Bean Taco Bowl! For the full recipe, check the recipe section! To make perfect quinoa, start by rinsing it well. This helps remove a bitter coating called saponin. Use a fine-mesh strainer for easy rinsing. Rinse it under cold water for about 2 minutes. This step is key for great flavor. When cooking quinoa, you can change the water ratio for different textures. For fluffy quinoa, use a 2:1 water-to-quinoa ratio. For creamier quinoa, try a 1.5:1 ratio. Adjust the cooking time slightly based on your preference. To make your taco bowl pop, try adding spices or herbs. Fresh cilantro adds brightness. You can also use dried oregano or chili powder. A pinch of cayenne pepper gives a nice kick. For added flavor, consider a simple lime vinaigrette. Mix olive oil, lime juice, and a bit of honey. Drizzle it over your bowl for a fresh taste. You can also use a store-bought taco sauce for a quick enhancement. For a stunning bowl, layer the quinoa mixture neatly. Place the quinoa at the bottom, then add the black bean mix. Top with avocado slices and fresh cilantro. Pair your taco bowl with a light salad or tortilla chips. A refreshing drink like lemonade or iced tea works well, too. This combo makes for a satisfying meal. You can find the full recipe to guide you through the steps easily. {{image_4}} You can easily add meats or tofu to your quinoa black bean taco bowl. For meat, consider grilled chicken, shrimp, or ground turkey. Marinate the meat in lime juice, cumin, and garlic for extra flavor. For a plant-based option, use firm tofu. Cut it into cubes and marinate it the same way. Then, sauté the tofu until golden brown. This adds protein and enhances the dish. To keep the dish vegan, skip any dairy toppings like sour cream and cheese. Instead, use avocado or a cashew cream. For gluten-free preferences, ensure that all ingredients, like the vegetable broth and toppings, are labeled gluten-free. Most beans and veggies are naturally gluten-free, making this bowl a great choice. You can add seasonal vegetables to your taco bowl for a fresh twist. In spring, try asparagus or snap peas. In summer, use zucchini or bell peppers. In fall, roasted sweet potatoes or butternut squash are great. Adjust the recipe for low-carb diets by replacing quinoa with cauliflower rice or zucchini noodles. This keeps the dish light and healthy while still being delicious. Remember, you can find the full recipe to get started on your flavorful creation! Store your Quinoa Black Bean Taco Bowl in an airtight container. This helps keep it fresh. You can refrigerate leftovers for up to 4 days. If you want to enjoy it later, make sure it cools down before sealing. To freeze the bowl, allow it to cool completely. Then, scoop it into freezer-safe bags. Remove as much air as possible before sealing. You can freeze it for up to 3 months. For reheating, take it out of the freezer and thaw it overnight in the fridge. You can also reheat it in the microwave. After storage, add a splash of lime juice to refresh the flavor. You can also mix in a bit of olive oil to improve the texture. If the quinoa seems dry, add a little water while reheating. This keeps your dish tasty and vibrant. Enjoy your delicious creation! To make this taco bowl vegan, swap out any non-vegan toppings. For sour cream, use a dairy-free alternative. You can also replace shredded cheese with vegan cheese. Make sure all ingredients, like vegetable broth, are free from animal products. Yes, you can prepare components ahead of time. Cook the quinoa and black bean mixture. Store them in separate airtight containers in the fridge. This way, you can quickly assemble your taco bowl when ready to eat. If you don’t have quinoa, try brown rice or farro. Both grains work well and add a nice texture. You can also use cauliflower rice for a lower-carb option. Each alternative will give a different flavor and feel. To adjust for fewer servings, simply halve the ingredients. For example, use ½ cup of quinoa and 1 cup of vegetable broth. Keep the same ratio for beans, corn, and spices. This ensures your dish remains flavorful and balanced. For the full recipe, check [Full Recipe]. This blog post covered a tasty quinoa black bean taco bowl. You learned the main ingredients, how to cook them, and tips for storage. Each step makes it easy to create a healthy meal. You can swap ingredients or adjust for your taste. This dish fits various diets and is simple to make ahead. Enjoy creating your own bowl and experimenting with flavors. You now have the knowledge to make this meal your own and share it with others.](https://joymealplan.com/wp-content/uploads/2025/07/6e9207d6-3743-4f58-9f6b-68921fd9a64f-768x768.webp)