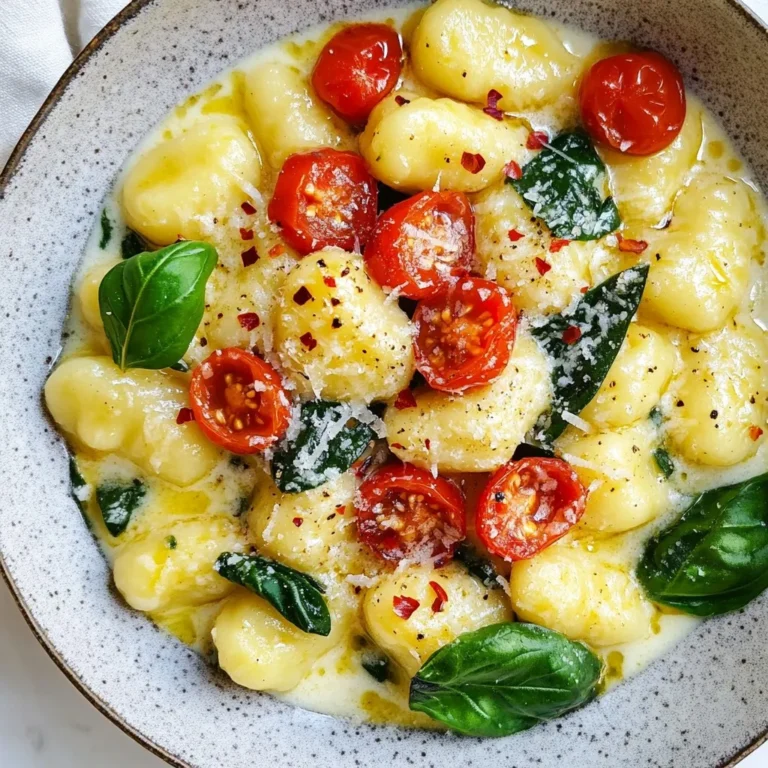
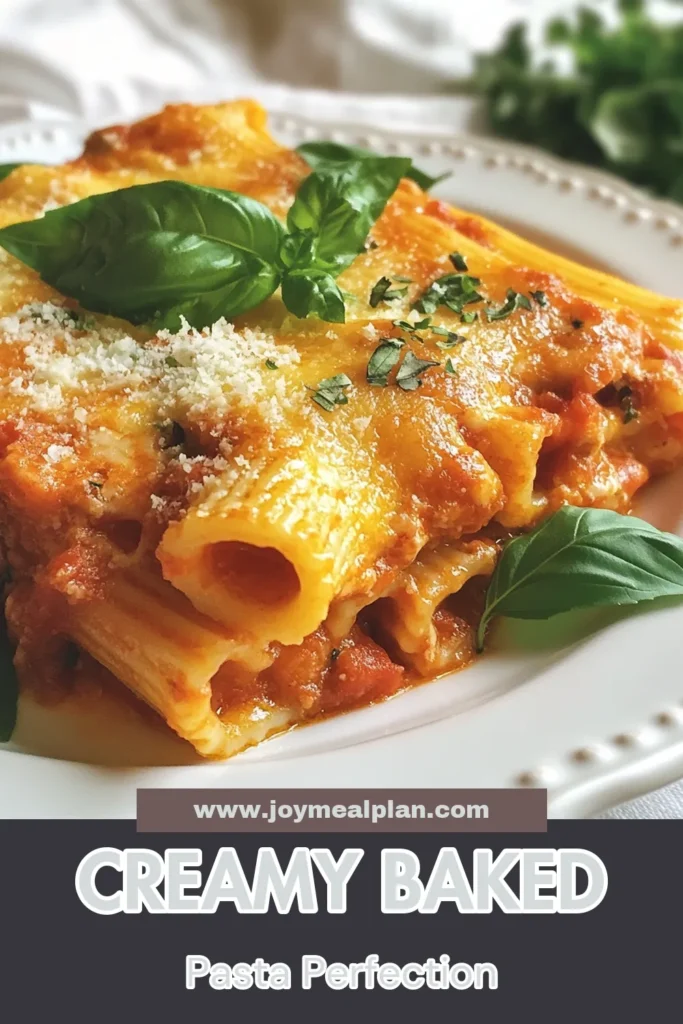
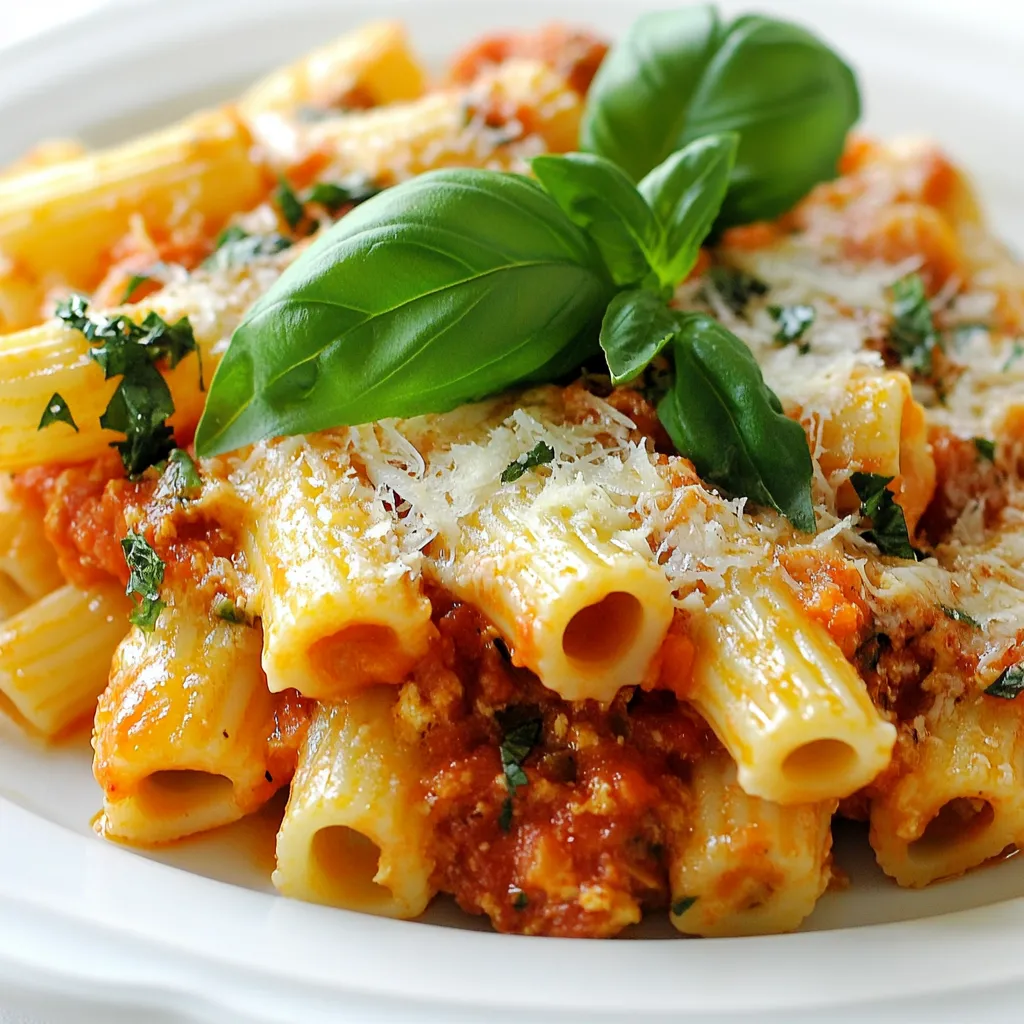
Pasta alla Sorrentina Flavorful Italian Comfort Dish

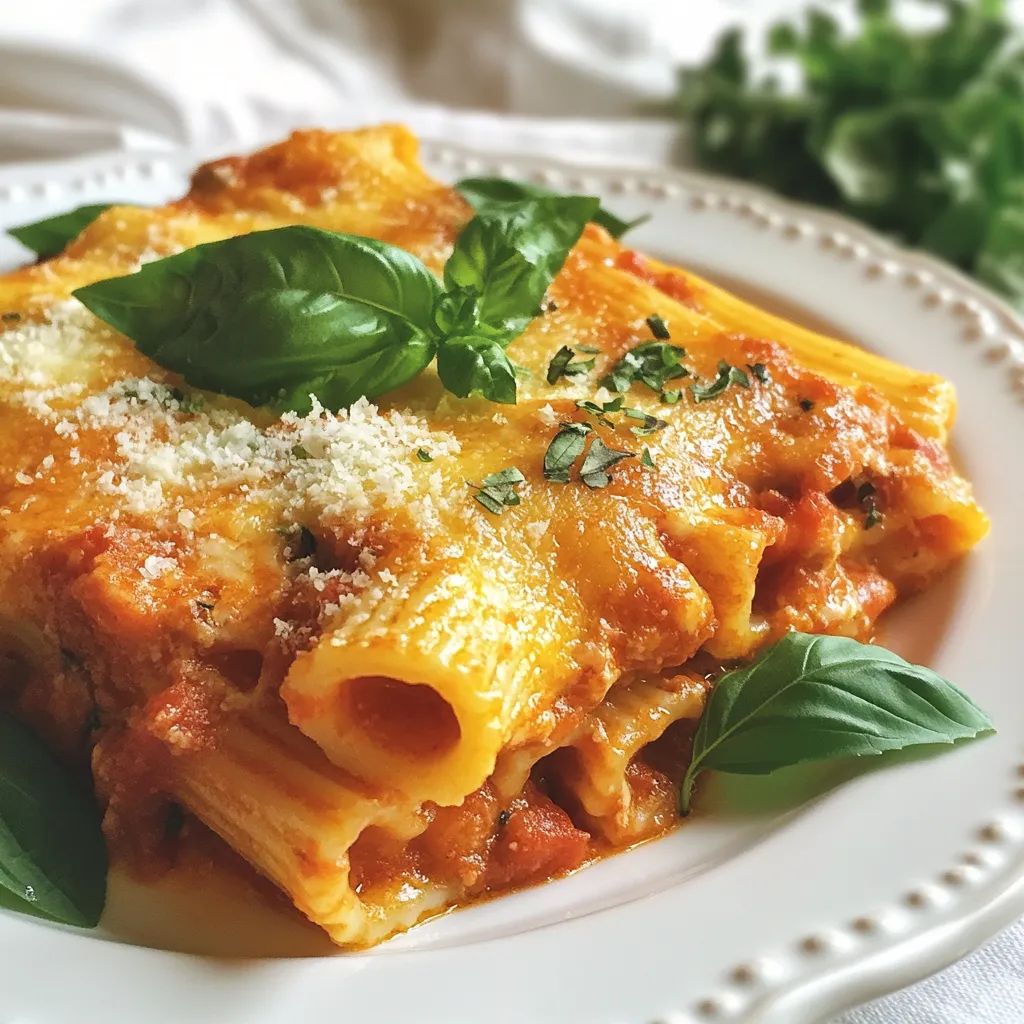
Pasta alla Sorrentina is a delightful Italian comfort dish that warms the heart and soul. Made with simple ingredients like pasta, fresh tomatoes, and creamy cheese, this dish is a crowd-pleaser. In this article, I’ll guide you through each step, share handy tips, and even suggest some fun variations. Get ready to impress your family and friends with this flavorful masterpiece. Let’s dive in!
Why I Love This Recipe
- Comforting Flavors: This dish combines the rich taste of tomatoes with creamy mozzarella, creating a warm and satisfying meal that’s perfect for any occasion.
- Easy to Prepare: With simple ingredients and straightforward steps, this recipe is accessible for both beginner and experienced cooks alike.
- Customizable: You can easily add your favorite vegetables or proteins to make it your own, ensuring that it fits your taste preferences.
- Impressive Presentation: The golden, bubbly top and fresh basil garnish make this dish not only delicious but also visually appealing, perfect for entertaining guests.
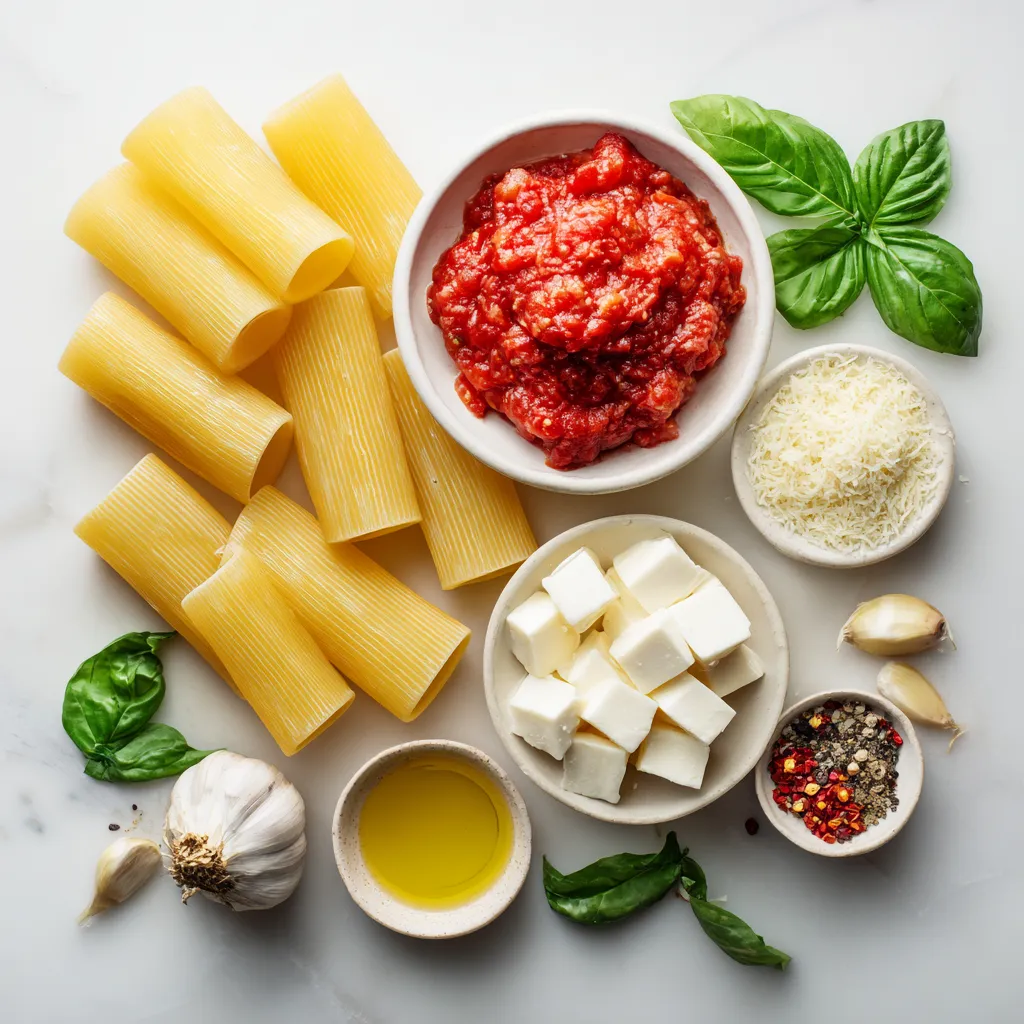
Ingredients
Main Ingredients for Pasta alla Sorrentina
– 350g pasta (preferably ziti or penne)
– 400g crushed tomatoes (canned or fresh)
– 200g fresh mozzarella, cut into cubes
– 50g grated Parmesan cheese
Pasta is the star of this dish. You want to choose ziti or penne. They hold the sauce well. We use about 350 grams for four servings. Next, we need crushed tomatoes. You can use canned or fresh tomatoes. Either option gives a lovely flavor. Aim for 400 grams to make a rich base.
Cheese makes everything better. For this recipe, we use fresh mozzarella. Cut it into cubes, about 200 grams. It melts beautifully and adds creaminess. Then, we add 50 grams of grated Parmesan cheese. This cheese adds a nice salty kick.
Additional Flavor Components
– 2 cloves garlic, finely minced
– 1 tablespoon extra virgin olive oil
– Salt and freshly ground black pepper to taste
– A pinch of red pepper flakes (optional for a hint of heat)
Garlic gives the sauce a strong base. Use two cloves, minced finely. Olive oil is key for sautéing. Use one tablespoon of extra virgin olive oil for the best taste. Season with salt and pepper to enhance the flavors. If you like heat, add a pinch of red pepper flakes.
Optional Garnishes
– Fresh basil leaves
– Drizzling olive oil
To finish, fresh basil leaves are a must. They add color and a fresh aroma. You can also drizzle a bit of olive oil on top. This adds extra flavor and makes the dish look even better.
Pasta alla Sorrentina is full of flavor and comfort. Each ingredient plays a role in making this dish enjoyable.

Step-by-Step Instructions
Cooking the Pasta
1. Bring a large pot of salted water to a boil.
2. Add 350g of pasta, like ziti or penne.
3. Cook until al dente, following package instructions.
4. Drain the pasta and save about 1 cup of pasta water.
Preparing the Tomato Sauce
1. In a large skillet, heat 1 tablespoon of olive oil over medium heat.
2. Add 2 cloves of minced garlic and sauté for about 1 minute.
3. Pour in 400g of crushed tomatoes.
4. Season with salt, black pepper, and optional red pepper flakes.
5. Stir and let the sauce simmer for 10-15 minutes.
Combining Ingredients
1. Carefully add the drained pasta to the skillet with the sauce.
2. Toss well to coat the pasta in the sauce.
3. If it seems dry, stir in some reserved pasta water.
4. Fold in 200g of cubed mozzarella and half of the 50g grated Parmesan cheese.
Baking the Dish
1. Preheat your oven to 180°C (350°F).
2. Pour the pasta and sauce mix into a baking dish.
3. Sprinkle the remaining grated Parmesan over the top.
4. Bake for about 20 minutes until bubbly and golden.
Garnishing and Serving
1. Let the dish rest for a few minutes after baking.
2. Top with fresh basil leaves for aroma and presentation.
3. Serve in rustic bowls with extra basil and a drizzle of olive oil.
Tips & Tricks
Perfecting the Pasta Texture
– Importance of Al Dente Cooking: Al dente means “to the tooth.” This texture is key. It keeps the pasta firm, so it doesn’t turn mushy when mixed with sauce. Follow the cooking time on the package closely. Taste a piece a minute before it’s done. If it has a slight bite, it’s ready!
– Adjusting Consistency with Pasta Water: Reserve a cup of pasta water before draining. This starchy water helps bind the sauce to the pasta. If your dish looks dry, add a splash of this water. It makes your sauce creamy and rich.
Authentic Flavor Enhancements
– Using Fresh vs. Canned Tomatoes: Fresh tomatoes can be great, but canned are often more consistent. Canned crushed tomatoes save time and still taste good. If you use fresh, choose ripe ones for the best flavor.
– Choosing Quality Cheese: The cheese can make or break your dish. Use fresh mozzarella for a creamy texture. Grated Parmesan adds depth and saltiness. Always look for high-quality cheese. It makes a big difference in flavor.
Common Mistakes to Avoid
– Overcooking Pasta: Cooking pasta too long ruins its texture. Always watch it closely. Remember, it will cook a bit more while baking. Aim for that perfect al dente bite.
– Burnt Garlic: Garlic cooks quickly. If it burns, it turns bitter. Sauté it gently until fragrant, about one minute. Then add your tomatoes. This keeps the flavor bright and tasty.
Pro Tips
- Choose the Right Pasta: For the best texture and flavor, opt for ziti or penne. Their tubular shape holds the sauce beautifully, enhancing every bite.
- Fresh Ingredients Matter: Using fresh mozzarella and high-quality canned tomatoes can elevate the dish significantly, providing a richer flavor and creamier texture.
- Don’t Skip the Baking: Baking the pasta allows the flavors to meld together and creates a deliciously golden crust on top, adding a wonderful contrast to the creamy interior.
- Adjust the Seasoning: Taste your sauce as it simmers and adjust the seasoning as needed. Everyone’s palate is different, so feel free to add more salt, pepper, or red pepper flakes to suit your taste.

Variations
Ingredient Swaps
– Using Different Pasta Shapes
You can swap the pasta shape easily. Use ziti, penne, or even fusilli. Each shape holds sauce differently. This can change the dish a bit but keeps it tasty.
– Adding Meat: Sausage or Chicken
Want more protein? Add cooked sausage or chicken. Just sauté it first, then mix it in. It adds great flavor and makes the dish heartier.
Flavor Innovations
– Adding Vegetables: Spinach or Eggplant
If you want more veggies, try spinach or eggplant. Add spinach right before serving. Eggplant can be roasted for extra flavor. This makes your dish colorful and nutritious.
– Spice Variations: More Heat Options
Like it spicy? Use more red pepper flakes. You can also try chili oil or fresh chilis. Adjust the heat to your taste. This will give your dish a nice kick.
Serving Suggestions
– Pairing with Salads or Bread
Serve your pasta with a fresh salad or warm bread. A simple green salad works well. Garlic bread is also a perfect match. It balances the rich pasta nicely.
– Offering Wine Pairings
Pair your dish with wine for a nice touch. A light red like Chianti is great. If you prefer white, try a crisp Pinot Grigio. These wines enhance the dish’s flavors beautifully.
Storage Info
Storing Leftovers
– Refrigeration Tips: Store leftover Pasta alla Sorrentina in an airtight container. It stays fresh in the fridge for up to three days. Make sure to let it cool before sealing to avoid condensation.
– Freezing Options: You can freeze the dish for up to three months. Use a freezer-safe container. Leave some space at the top of the container for expansion.
Reheating Best Practices
– Oven vs. Microwave: The oven gives the best results. Preheat it to 180°C (350°F). Cover the dish with foil to keep moisture in. Bake for about 20 minutes until heated through. The microwave is faster but can make the pasta dry. Use a microwave-safe dish and cover it. Heat in short bursts, stirring in between.
– Ensuring Creamy Consistency: If reheating, add a splash of water or broth. This helps keep the pasta creamy. Stir well to mix in the liquid, then reheat until warm.
FAQs
What is Pasta alla Sorrentina?
Pasta alla Sorrentina is a classic dish from Sorrento, Italy. It features pasta, tomatoes, and cheese. This dish is a perfect comfort food. The warm, cheesy blend warms the heart and soul. Its roots trace back to Italy’s coastal regions, where fresh ingredients shine. You will taste the love and tradition in every bite.
Can I make Pasta alla Sorrentina in advance?
Yes, you can prepare Pasta alla Sorrentina ahead of time. Cook the pasta and sauce separately. Mix them together just before baking. This keeps flavors fresh and vibrant. You can store it in the fridge for up to two days. When ready, just bake until bubbly and golden.
What are some traditional pairings for this dish?
Pasta alla Sorrentina pairs well with simple sides. A fresh green salad complements its richness. You can also serve crusty bread for dipping. For drinks, a light Italian red wine works great. It balances the flavors and adds a festive touch.
How do I make a vegetarian version?
To make a vegetarian Pasta alla Sorrentina, simply swap a few ingredients. Use plant-based cheese instead of mozzarella. Also, consider adding vegetables like spinach or mushrooms. This gives new flavors while keeping the dish hearty and satisfying. You still enjoy the same comforting taste without meat.
Pasta alla Sorrentina is simple yet flavorful. You learned about key ingredients like pasta, crushed tomatoes, and cheeses. I shared step-by-step instructions for cooking and baking. You got tips for the best texture and flavor, plus variations to try. Don’t forget storage tips for leftovers. Explore this dish’s rich history and pairings to enjoy every bite. Dive in and make it your ow

Pasta alla Sorrentina
Ingredients
- 350 g pasta (preferably ziti or penne)
- 400 g crushed tomatoes (canned or fresh)
- 200 g fresh mozzarella, cut into cubes
- 50 g grated Parmesan cheese
- 2 cloves garlic, finely minced
- 1 tablespoon extra virgin olive oil
- to taste salt
- to taste freshly ground black pepper
- a pinch red pepper flakes (optional)
- fresh basil leaves for garnishing
Instructions
- Cook the Pasta: Bring a large pot of salted water to a boil. Add the pasta and cook until al dente, following the package instructions. Once finished, drain the pasta and reserve about 1 cup of the pasta water. Set the pasta aside.
- Prepare the Sauce: In a large skillet, heat the olive oil over medium heat. Add the minced garlic and sauté for about 1 minute until fragrant, making sure it doesn’t brown.
- Add Tomatoes: Slowly pour in the crushed tomatoes. Season with salt, black pepper, and the optional red pepper flakes. Stir everything together and let the sauce simmer for approximately 10-15 minutes, or until it thickens slightly.
- Combine Pasta and Sauce: Once the sauce is ready, carefully add the drained pasta to the skillet. Toss well to ensure that the pasta is evenly coated in the sauce. If the pasta seems dry, gradually stir in some reserved pasta water until you achieve a creamy consistency.
- Incorporate Cheese: Gently fold in the cubed mozzarella and half of the grated Parmesan cheese into the pasta mixture, allowing the cheese to soften and melt slightly into the warm pasta.
- Transfer to Baking Dish: Preheat your oven to 180°C (350°F). Carefully pour the pasta and sauce mixture into a baking dish, evenly distributing it. Sprinkle the remaining grated Parmesan cheese generously over the top.
- Bake: Place the baking dish in the preheated oven and bake for about 20 minutes, or until the top is bubbly and beautifully golden.
- Garnish and Serve: Once baked, remove the dish from the oven and allow it to rest for a few minutes. Just before serving, top with fresh basil leaves to add a lovely aroma and an appealing presentation.


![- 8 lasagna noodles - 2 cups cooked chicken, shredded - 1 cup ricotta cheese - 2 cups mozzarella cheese, shredded (divided) - 1 cup grated Parmesan cheese - 2 cups Alfredo sauce (store-bought or homemade) - 1 teaspoon garlic powder - 1 teaspoon Italian seasoning - Salt and pepper to taste - Fresh parsley, chopped (for garnish) Gathering these ingredients is the first step. Start with lasagna noodles. They are the base for your roll-ups. Make sure to have cooked chicken ready. Shredded chicken works best. You can use leftover chicken or cook some fresh. Ricotta cheese adds creaminess. Mozzarella cheese gives a nice stretch when melted. Parmesan cheese adds a sharp flavor. Alfredo sauce is key for richness. You can buy it or make your own. Garlic powder and Italian seasoning bring extra taste. Don't forget salt and pepper to enhance all the flavors. Fresh parsley adds a pop of color. It also freshens the dish. With all your ingredients lined up, you’re set to create a delicious meal. For the full recipe, check the details above. - Preheat oven to 375°F (190°C). - Grease a 9x13 inch baking dish with cooking spray or butter. This helps prevent sticking. - Boil a large pot of water. Add salt for flavor. - Cook lasagna noodles until al dente, usually about 8-10 minutes. - Drain the noodles carefully in a colander. Lay them flat on a clean kitchen towel. This helps them dry slightly and prevents sticking. - In a mixing bowl, combine: - 2 cups cooked chicken, shredded - 1 cup ricotta cheese - 1 cup mozzarella cheese, shredded - 1 teaspoon garlic powder - 1 teaspoon Italian seasoning - Salt and pepper to taste - Stir the mixture well until everything is blended. Aim for a smooth filling with no lumps. - Spread a thin layer of Alfredo sauce on the bottom of the greased dish. - For each lasagna noodle, take 2-3 tablespoons of the filling. Spread it evenly along the noodle's length. - Roll the noodle up tightly from one end to the other, keeping the filling inside. Place the roll seam-side down in the dish. Repeat with all noodles. - Pour the remaining Alfredo sauce evenly over the roll-ups. - Sprinkle the remaining mozzarella and Parmesan cheese on top. - Cover the dish tightly with foil and bake for 25 minutes. - After 25 minutes, remove the foil and bake for another 15 minutes. This helps the cheese bubble and turn golden. - Let the dish cool for a few minutes before slicing. Garnish with fresh parsley before serving. For the complete recipe, check the full recipe section! If you want to switch things up, you can replace ricotta cheese with cottage cheese or cream cheese. Both options still give a creamy taste. For mozzarella, try using provolone or gouda. Both melt well and add great flavor. When it comes to Alfredo sauce, you can use store-bought for speed. If you prefer homemade, blend butter, cream, and parmesan for a rich taste. Homemade sauce can be thicker and creamier, which enhances your roll ups. To get the perfect noodle texture, boil them until just al dente. This keeps them sturdy enough to roll without tearing. After cooking, place the noodles on a clean kitchen towel to absorb excess water. For cheese melting and browning, use full-fat cheese. It melts beautifully and creates a golden crust. Keep the dish covered with foil for the first part of baking. Remove the foil later to allow the cheese to brown nicely. Pair your roll ups with a fresh salad or garlic bread. A light Caesar salad adds a crisp contrast to the creamy dish. Garlic bread complements the flavors and adds a warm touch. For garnishing, sprinkle fresh parsley on top just before serving. You can also drizzle extra Alfredo sauce over the roll ups for a tasty finish. This adds color and makes your dish look fancy. For the full recipe, check out [Full Recipe]. {{image_4}} You can boost your roll-ups by adding veggies. Spinach and mushrooms work well here. Just sauté them first to soften. Mix these veggies into your filling for extra flavor and nutrition. This makes the dish colorful and adds a nice crunch. While Alfredo is rich and creamy, you can switch it up. Try using marinara sauce for a tangy twist. Pesto can also bring a fresh, herby taste. Each sauce gives your roll-ups a new life. Feel free to experiment and find your favorite! For those with dietary needs, there are options. Use gluten-free lasagna noodles to keep it safe. For a dairy-free choice, look for dairy-free cheese. Many brands offer great flavors that melt well. These swaps let everyone enjoy this delicious meal! For the complete recipe, check out the Full Recipe section. After enjoying your Chicken Alfredo Lasagna Roll Ups, let them cool down. Place them in an airtight container. Make sure to cover them well. This keeps them fresh and tasty in the fridge. You can store leftovers for up to three days. When you are ready to eat again, reheat them in the oven. Set it to 350°F (175°C). Cover the dish with foil to avoid drying out. Heat for about 20 minutes. If you prefer the microwave, heat in short bursts. Check every minute until hot. To freeze your roll ups, follow these steps: 1. Cool Completely: Let them cool in the fridge first. 2. Wrap Well: Use plastic wrap to cover each roll up tightly. 3. Use a Freezer Bag: Place wrapped roll ups in a freezer bag. Remove as much air as you can. 4. Label and Date: Write the date on the bag for easy tracking. You can freeze these roll ups for up to three months. When you want to eat, move them to the fridge overnight to thaw. After thawing, reheat as mentioned above. In the fridge, your Chicken Alfredo Lasagna Roll Ups last three days. If you freeze them, they stay good for three months. Always check for any signs of spoilage before enjoying them again. Storing them properly helps keep their flavors intact and delicious. For the full recipe, check out the details provided earlier. Yes, you can make Chicken Alfredo Lasagna Roll Ups ahead of time. Prepare them up to the baking step. Cover the dish and store it in the fridge for up to 24 hours. When ready to bake, add a few extra minutes to the cooking time. This makes meal prep easy. To make this recipe vegetarian, swap the chicken for sautéed vegetables. Good choices include mushrooms, spinach, or zucchini. Use the same filling method with ricotta and mozzarella. This keeps the creamy texture and flavor you love. Serve Chicken Alfredo Lasagna Roll Ups with a fresh salad. A Caesar or mixed greens salad pairs nicely. Garlic bread or crusty rolls also complement this dish. You can add a light soup for a complete meal. If your Alfredo sauce is runny, try adding more cheese. Grated Parmesan or mozzarella works well. You can also simmer the sauce on low heat. This helps it thicken. Use cornstarch mixed with water as a last resort to thicken it. Absolutely! You can use cooked turkey or ham instead of chicken. Shredded beef or pork also works well. Just ensure the meat is tender and flavorful, as this adds depth to your roll-ups. You can create a delicious Chicken Alfredo Lasagna Roll Ups meal. This recipe included key ingredients, clear steps, and useful tips. It’s easy to customize, whether for dietary needs or personal taste. You can serve them with sides to make it a feast. Don’t forget about storing leftovers properly for quick meals. Enjoy making these tasty roll ups. You’ll impress your guests and family with their creamy flavor and cheesy goodness. These roll ups make cooking fun and simple.](https://joymealplan.com/wp-content/uploads/2025/06/3bb75aa4-aa5d-45cb-bb96-cf9b565c5d71-768x768.webp)
![To make Easy Chicken Tikka Masala, gather these key ingredients: - 500g boneless chicken thighs, cut into bite-sized pieces - 1 cup plain yogurt - 2 tablespoons garam masala - 1 tablespoon ground cumin - 1 teaspoon ground coriander - 1 teaspoon paprika - 1 teaspoon turmeric - 1 tablespoon ginger, minced - 3 cloves garlic, minced - 1 onion, finely chopped - 1 can (400g) crushed tomatoes - 1 cup coconut milk - 2 tablespoons vegetable oil - Salt to taste - Fresh cilantro for garnish These ingredients create a rich, creamy sauce that brings the dish to life. The yogurt is key for tender chicken. The spices add depth and warmth, making every bite flavorful. You can customize your Chicken Tikka Masala with these optional ingredients: - Lemon juice for brightness - Green chili for heat - Bell peppers for crunch - Peas for color Adding these extras can change the flavor profile and make it your own. Feel free to mix and match based on your taste. If you have allergies, there are simple swaps you can use: - Use almond or soy yogurt instead of dairy yogurt. - Swap coconut milk for almond milk for a nut-free option. - Replace chicken with tofu or chickpeas for a vegan dish. These substitutions keep the dish delicious while catering to your dietary needs. Enjoy your cooking adventure! For the complete recipe, check out the Full Recipe link. First, grab a large bowl. Mix 1 cup of plain yogurt, 2 tablespoons of garam masala, 1 tablespoon of ground cumin, 1 teaspoon of ground coriander, 1 teaspoon of paprika, 1 teaspoon of turmeric, 1 tablespoon of minced ginger, 3 cloves of minced garlic, and a pinch of salt. Stir well until it’s smooth. Now, add 500g of bite-sized chicken thighs. Make sure each piece is coated well with the marinade. Cover the bowl with plastic wrap. Pop it in the fridge for at least 30 minutes. For the best taste, let it sit overnight. Next, heat 2 tablespoons of vegetable oil in a large skillet over medium-high heat. Once hot, add 1 finely chopped onion. Cook the onion for 5-7 minutes. You want it to turn golden brown and soft. This step adds a sweet flavor. After the onion is ready, add the marinated chicken. Cook it for about 8-10 minutes. Stir it occasionally to brown all sides evenly. Once the chicken is browned, it’s time to add more flavor. Pour in 1 can of crushed tomatoes. Stir gently to mix everything. Bring the mixture to a gentle simmer. Let it simmer for about 10 minutes. Stir it now and then to stop it from sticking. After that, slowly pour in 1 cup of coconut milk. Stir again to combine. Simmer for another 10 minutes. This makes the sauce thick and creamy. Taste and add more salt if needed. Finish by garnishing with fresh cilantro for a pop of color and taste. To get the best flavor in your Chicken Tikka Masala, start with fresh spices. Fresh spices give a robust taste that dried spices lack. Use whole spices when possible, and grind them yourself. This step unleashes their natural oils and aromas. Another key is the yogurt marinade. It adds tenderness and tang. Marinate your chicken for at least 30 minutes, but overnight is best. This waiting time allows the spices to soak in fully. For perfect chicken, cook it in batches. Overcrowding the pan steams the meat instead of browning it. Use medium-high heat to get a nice sear on the chicken. This creates a deep flavor that you want. Once you add the crushed tomatoes and coconut milk, let it simmer gently. This step helps the flavors meld together beautifully. You can make Chicken Tikka Masala ahead of time. Cook it fully, then let it cool. Store it in an airtight container in the fridge for up to three days. Reheat it on low heat, adding a splash of water if needed. This dish also freezes well. Portion it out and freeze it for up to three months. When you're ready, thaw it overnight in the fridge and reheat. For more details, check the Full Recipe. {{image_4}} You can easily make a vegetarian version of Chicken Tikka Masala. Replace the chicken with firm tofu or vegetables like bell peppers and zucchini. Tofu soaks up flavors well. Marinate it the same way as chicken. Cook it in the same sauce for that rich taste. This way, you keep the essence of the dish while making it meat-free. If you enjoy spicy food, add some heat to your Chicken Tikka Masala. You can include chopped green chilies or a pinch of cayenne pepper in the marinade. Adjust the spice level to your liking. Just remember, a little heat goes a long way! You can also serve it with a side of spicy chutney for an extra kick. You can swap chicken for other proteins too. Paneer, a fresh cheese, works great in this dish. Cut the paneer into cubes and marinate it just like the chicken. Cook it in the same way for a rich and creamy meal. Tofu and paneer both add their own unique texture and flavor to the dish. This makes it more exciting and diverse for your taste buds. For the complete recipe, check out the [Full Recipe]. To keep your Chicken Tikka Masala fresh, let it cool down first. Use an airtight container for storage. Place it in the fridge. It will stay good for about three to four days. For best results, store it without the rice or naan. To enjoy your Chicken Tikka Masala again, use the stove or microwave. If using the stove, heat it over low heat. Stir often to prevent sticking. If using the microwave, cover the dish and heat in short bursts. This way, it warms evenly. Always check the temperature to ensure it is hot throughout. You can freeze Chicken Tikka Masala if you want to save some for later. Place it in a freezer-safe container or bag. Make sure to leave some space for expansion. It can stay good for up to three months. When you’re ready to eat, thaw it in the fridge overnight. Reheat it on the stove or microwave, and enjoy this rich flavor again! For the full recipe, check the section above. You should marinate chicken for at least 30 minutes. For the best taste, let it sit overnight. This allows the spices to soak in deeply. The yogurt keeps the chicken tender while adding flavor. Yes, you can use bone-in chicken. It will add more flavor to your dish. Just be aware that it may take longer to cook. Adjust your cooking time to ensure the chicken is fully cooked. Serve Chicken Tikka Masala with fluffy basmati rice or warm naan. Both options soak up the rich sauce well. You can also add a side of cucumber salad for a fresh crunch. For the complete recipe, check out the Full Recipe section. You’ll find all the steps to make this rich, flavorful dish in no time! In this post, we covered the key ingredients for easy Chicken Tikka Masala, from marinade to sauce. I shared tips for perfect flavor and cooking techniques. You can even explore vegetarian options or different proteins like tofu. Storing leftovers properly ensures you enjoy this dish later. Remember, marinating the chicken is key, and you can customize it to your taste. With these steps, you’ll cook a delicious meal that’s sure to impress!](https://joymealplan.com/wp-content/uploads/2025/07/18c11e8b-b17f-4eb1-983f-851954d1111b-768x768.webp)

