
Creamy Garlic Shrimp Pasta Easy Flavorful Recipe
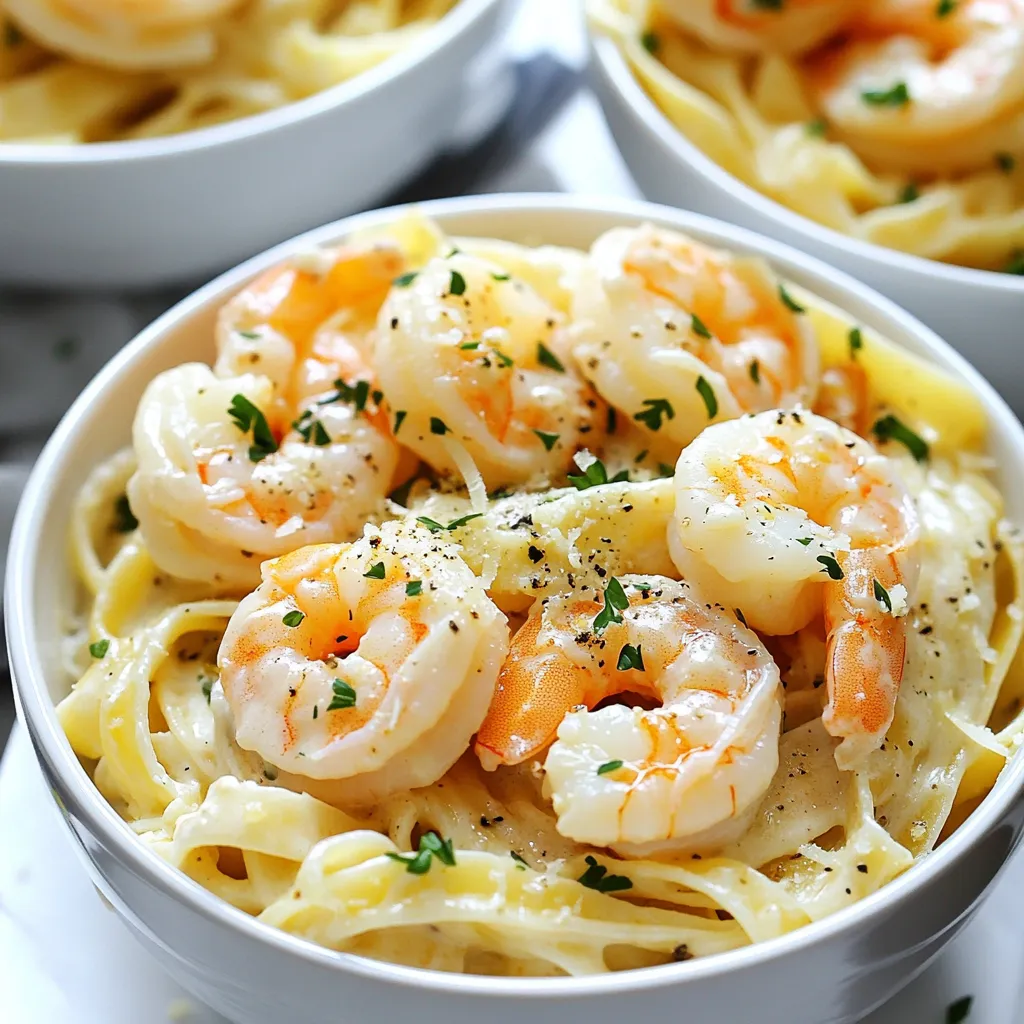
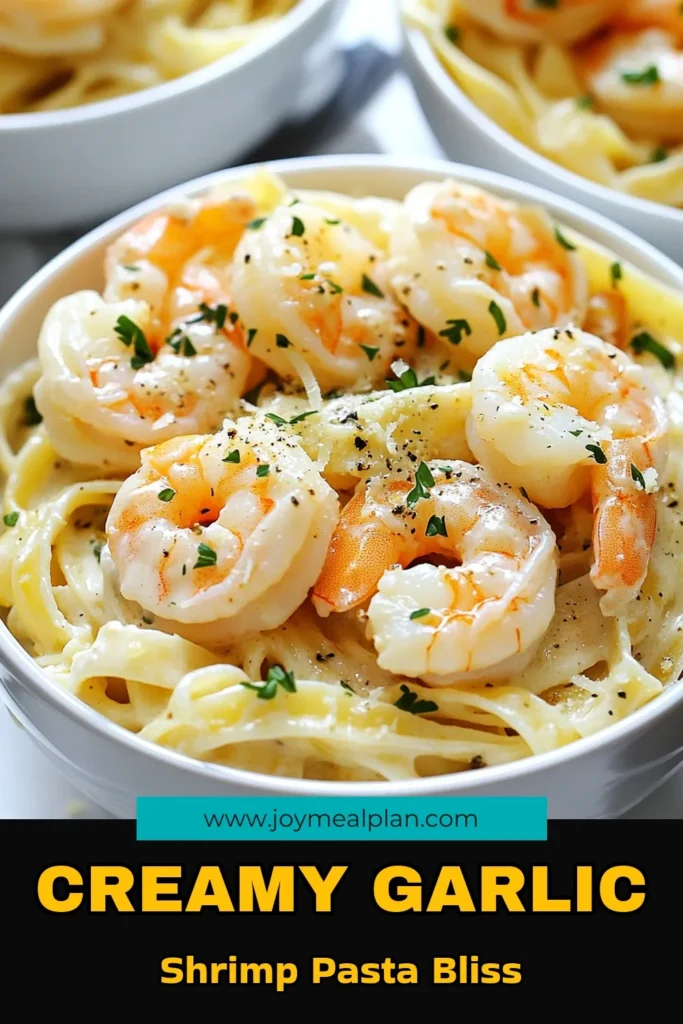
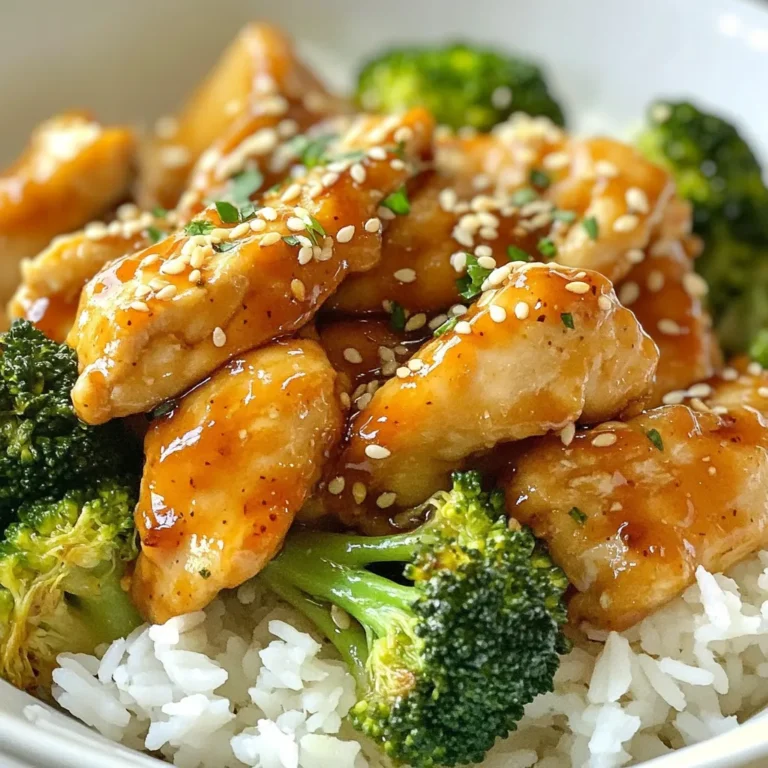
If you’re looking for a quick dinner that bursts with flavor, I’ve got you covered! This Creamy Garlic Shrimp Pasta is easy to make and perfect for any night. With tender shrimp, rich cream, and just the right spices, you’ll have a dish that’s sure to impress. Let’s dive into the simple steps and tasty ingredients so you can create this mouthwatering meal tonight!
Why I Love This Recipe
- Quick and Easy: This recipe is perfect for busy weeknights, taking only 30 minutes from start to finish.
- Rich and Creamy Flavor: The combination of heavy cream and Parmesan cheese creates a luxurious sauce that coats the pasta beautifully.
- Versatile Ingredients: Using shrimp makes this dish feel special, but you can easily substitute with chicken or vegetables if preferred.
- Perfect for Any Occasion: This creamy garlic shrimp pasta impresses guests at dinner parties yet is simple enough for a family meal.
Ingredients
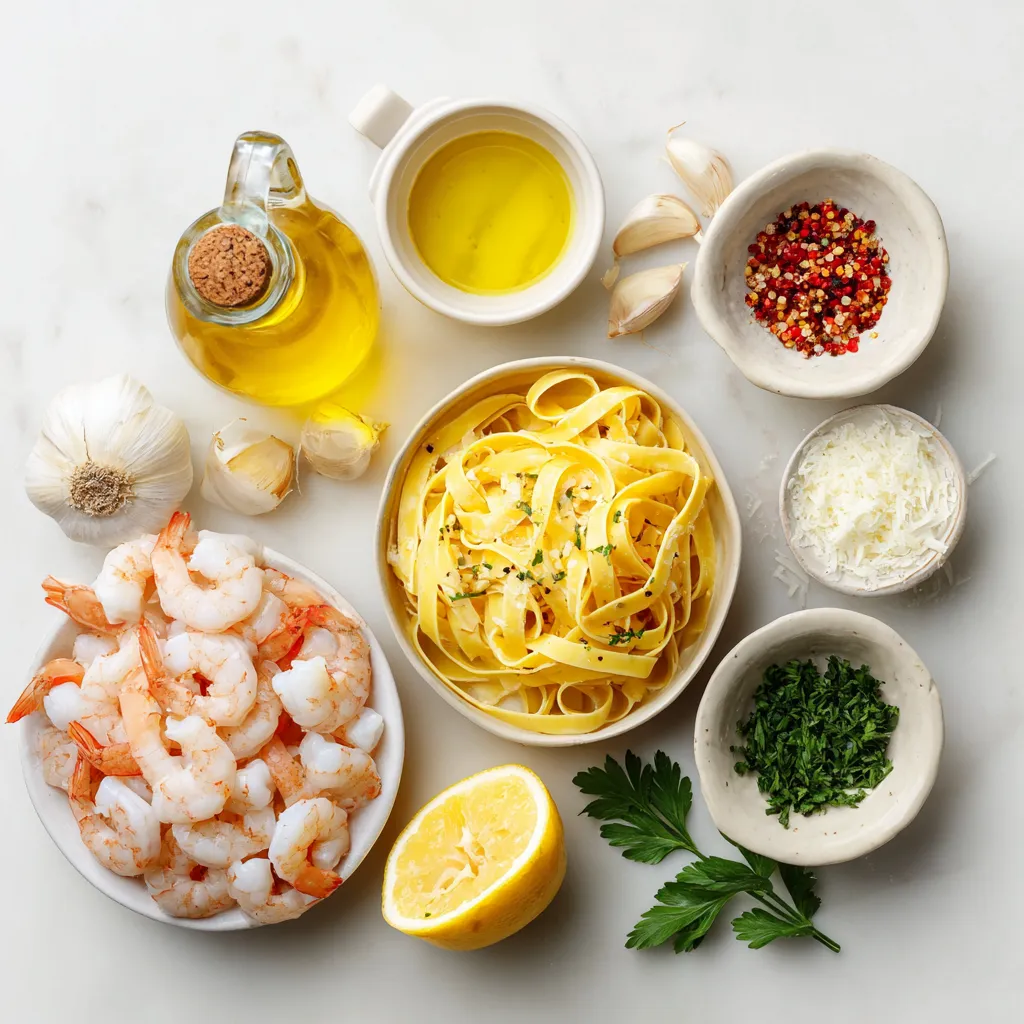
Key Ingredients
For the base of this creamy garlic shrimp pasta, you need good pasta and shrimp. You can choose between fettuccine or spaghetti. Fettuccine gives a nice, thick bite, while spaghetti offers a classic feel.
Use 1 lb of shrimp, peeled and deveined. This can be fresh or frozen. If using frozen shrimp, thaw them properly before cooking. This ensures they cook evenly and stay tender.
Essential Seasonings and Additions
The key flavors come from a few simple ingredients. You will need 3 tablespoons of olive oil to sauté the shrimp. This adds richness to the dish.
Garlic is a star player here. Use 4 cloves, minced. It brings a strong, aromatic flavor. For a touch of heat, add 1/2 teaspoon of red pepper flakes. This is optional but adds a nice kick.
For the creamy texture, you need 1 cup of heavy cream and 1/2 cup of grated Parmesan cheese. These two make the sauce rich and smooth.
Optional Garnishes
To finish, consider adding a pop of freshness. Fresh parsley, chopped, makes a great garnish. It adds color and flavor. You can also sprinkle some lemon zest on top. This gives a bright note that balances the creaminess of the dish.
Step-by-Step Instructions
Cooking the Pasta
To start, fill a large pot with water and add a pinch of salt. Bring the water to a rolling boil. This step is key, as it helps flavor the pasta. Once boiling, add 8 oz of fettuccine or spaghetti. Cook it for about 8-10 minutes. You want the pasta to be al dente, which means it’s still firm when bitten. Before you drain the pasta, save 1/2 cup of the pasta water. This water will help adjust the sauce later. After cooking, drain the pasta and set it aside.
Sautéing the Shrimp
Next, heat a large skillet over medium-high heat. Add 3 tablespoons of olive oil to the pan. Once the oil is hot, add 1 lb of peeled and deveined shrimp. Season them with salt, pepper, and red pepper flakes if you like some spice. Cook the shrimp for about 2-3 minutes on each side. You want them to turn pink and opaque. When done, remove the shrimp from the skillet and place them on a plate. Set them aside for later.
Preparing the Sauce
Now, let’s make the sauce. In the same skillet where you cooked the shrimp, turn the heat down to medium. Don’t wash the pan! Those bits left from the shrimp add flavor. Add 4 cloves of minced garlic and sauté it for about 1 minute. Stir it constantly so it doesn’t burn. After the garlic is fragrant, pour in 1 cup of heavy cream. Stir well to combine. Let the mixture simmer for 2-3 minutes until it thickens. Gradually whisk in 1/2 cup of grated Parmesan cheese. Keep stirring until the cheese melts and the sauce is creamy. If it gets too thick, add some reserved pasta water to reach your desired consistency.
Tips & Tricks
Achieving Perfectly Cooked Shrimp
To know if shrimp is done, look for a few signs. Cooked shrimp turns pink and opaque. It also curls slightly. This usually takes about 2-3 minutes per side. Avoid cooking too long, as shrimp can turn rubbery. If you see a tight curl, it’s overcooked. To prevent this, keep the heat at medium-high. Cook in batches if needed. This way, each shrimp cooks evenly.
Sauce Consistency Adjustments
Using reserved pasta water can really help your sauce. Before you drain your pasta, save about half a cup of that starchy water. You can add it to your sauce to thin it out if it gets too thick. Start with a little, then mix well and check the texture. For a smoother sauce, whisk the heavy cream in slowly. Stir constantly as you add the Parmesan cheese. This helps it melt nicely without clumping.
Flavor Enhancements
To add more flavor, think about extra spices and herbs. You can try adding basil, thyme, or even a pinch of smoked paprika. These can really boost the taste. If you want to switch up the cheese, consider using Pecorino Romano or Asiago. They bring a unique twist to the creamy sauce. Just remember to adjust the salt as each cheese has its own saltiness.
Pro Tips
- Perfectly Cooked Pasta: To achieve al dente pasta, always follow the package instructions and taste test a minute before the suggested cooking time ends.
- Fresh Ingredients Matter: Using fresh garlic and parsley can significantly enhance the flavor of your dish compared to dried alternatives.
- Adjust Sauce Consistency: If the sauce becomes too thick, gradually add reserved pasta water until you reach your desired creaminess without diluting the flavor.
- Garnishing Tips: For an extra burst of flavor, consider adding a squeeze of fresh lemon juice right before serving to brighten the dish.
Variations
Alternative Protein Options
You can swap shrimp for chicken or tofu. Chicken gives a hearty taste. Cut chicken breasts into bite-sized pieces. Cook them in the same way as shrimp. For a plant-based option, use firm tofu. Press it to remove extra water, then cube and sauté until golden.
Vegetarians can also try chickpeas. They add protein and texture. Simply toss them in with the sauce for a satisfying meal.
Flavor Twist Ideas
Adding fresh veggies can elevate your dish. Spinach works great. Toss it in when you add the sauce, letting it wilt. Sun-dried tomatoes are another option. They add a tangy flavor and a nice color.
You can also play with different cheeses. Try goat cheese for a creamy twist. Feta adds a salty kick. Mixing cheeses can create a unique flavor profile.
Dietary Modifications
If you need gluten-free options, choose gluten-free pasta. There are many brands that taste great. Cook it just like regular pasta for best results.
For dairy-free adaptations, replace heavy cream with coconut milk. It brings a rich texture and a hint of sweetness. Use nutritional yeast instead of Parmesan for a cheesy flavor without dairy.
Storage Info
Refrigeration Guidelines
To store creamy garlic shrimp pasta, let it cool first. Place it in an airtight container. This helps keep it fresh. You can store it in the fridge for up to three days. Be sure to check for any signs of spoilage before eating.
Reheating Instructions
To rewarm the pasta, use a skillet over medium heat. Add a splash of water or extra cream to help it heat evenly. Stir often to ensure the sauce stays creamy. You can also use the microwave, but cover it to keep moisture in. Heat in short bursts to avoid overcooking.
Freezing Tips
Yes, you can freeze this dish! Place it in a freezer-safe container. It can last up to two months in the freezer. To thaw, move it to the fridge overnight. Reheat gently on the stove or in the microwave. Add a little cream or water if the sauce is too thick.
FAQs
What can I serve with creamy garlic shrimp pasta?
You can pair creamy garlic shrimp pasta with several tasty side dishes. Here are some great options:
– Garlic bread: Crunchy and buttery, it complements the pasta well.
– Green salad: A fresh mix of greens adds a nice crunch. Use a light vinaigrette.
– Roasted vegetables: Try bell peppers, zucchini, or asparagus for a colorful side.
If you enjoy wine, I suggest a glass of white wine. A crisp Sauvignon Blanc or a light Pinot Grigio works well. The acidity balances the creaminess of the pasta.
Can I make this dish ahead of time?
Yes, you can prepare creamy garlic shrimp pasta in advance. Here are some tips to help you:
– Cook the pasta: You can cook the pasta a few hours ahead. Drain and toss it with a little olive oil to prevent sticking.
– Prepare the sauce: Make the creamy sauce up to two days in advance. Store it in the fridge in a sealed container.
– Shrimp: Sauté the shrimp just before serving for the best taste.
To reheat, gently warm the sauce on low heat. Add a splash of pasta water to restore the creamy texture.
How do I make it spicier?
If you want to kick up the heat in your creamy garlic shrimp pasta, consider these options:
– Red pepper flakes: Add more red pepper flakes while cooking the shrimp.
– Hot sauce: Drizzle your favorite hot sauce into the sauce for extra spice.
– Chili powder: Mix in a pinch of chili powder for a different flavor profile.
Always taste as you go. Adjust the heat to match your personal preference!
This post covered how to make creamy garlic shrimp pasta. We explored key ingredients like pasta, shrimp, and seasonings. I shared step-by-step cooking instructions, including tips for perfect shrimp. Variations let you swap proteins or add veggies, making this dish your own. Finally, we discussed how to store, reheat, and serve with sides. Enjoy creating a tasty meal that suits your styl

Creamy Garlic Shrimp Pasta
Ingredients
- 8 oz fettuccine or spaghetti
- 1 lb shrimp, peeled and deveined
- 3 tablespoons olive oil
- 4 cloves garlic, minced
- 1 cup heavy cream
- 1 2 cup grated Parmesan cheese
- 1 2 teaspoon red pepper flakes (optional)
- Salt and pepper to taste
- Fresh parsley, chopped (for garnishing)
- 1 Zest of 1 lemon
Instructions
- In a large pot, fill with water, add a generous pinch of salt and bring it to a rolling boil. Carefully add the fettuccine or spaghetti to the boiling water and cook according to the package instructions until al dente, usually about 8-10 minutes. Before draining, reserve 1/2 cup of the pasta water to adjust the sauce later. Once cooked, drain the pasta and set aside.
- Heat a large skillet over medium-high heat and pour in the olive oil. As the oil heats, add the peeled and deveined shrimp, seasoning them liberally with salt, pepper, and red pepper flakes if you desire a bit of heat. Cook for 2-3 minutes on each side until the shrimp turn pink and opaque. Once done, carefully remove the shrimp from the skillet and transfer them to a plate; set aside.
- In the same skillet where the shrimp were cooked, lower the heat to medium. Add the minced garlic and sauté for about 1 minute, stirring constantly until fragrant but not allowing it to brown.
- Pour the heavy cream into the skillet and gently stir to combine it with the garlic. Let the mixture simmer for 2-3 minutes until it begins to thicken. Gradually whisk in the grated Parmesan cheese, continuing to stir until the cheese melts completely and the sauce turns creamy and smooth. If it becomes too thick, slowly incorporate some of the reserved pasta water until you achieve your preferred consistency.
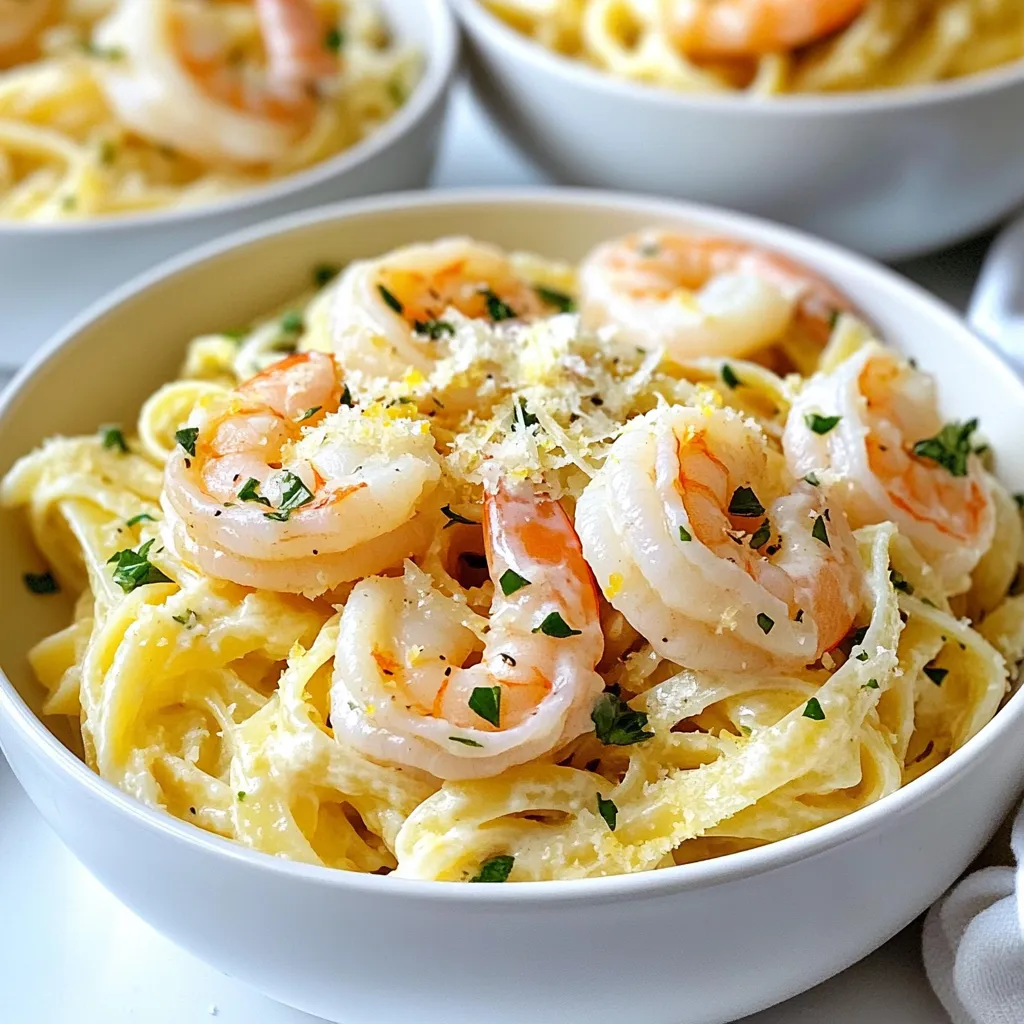
- Add the sautéed shrimp back into the skillet, tossing them to coat in the creamy sauce. Next, introduce the cooked pasta along with the lemon zest, gently mixing everything together until the pasta is evenly coated with the creamy mixture. Taste the dish and adjust seasoning with more salt and pepper if necessary.
- Portion the creamy garlic shrimp pasta into bowls, finishing each serving with a sprinkle of freshly chopped parsley for a pop of color and flavor. Add more grated Parmesan on top if desired for an extra cheesy touch.
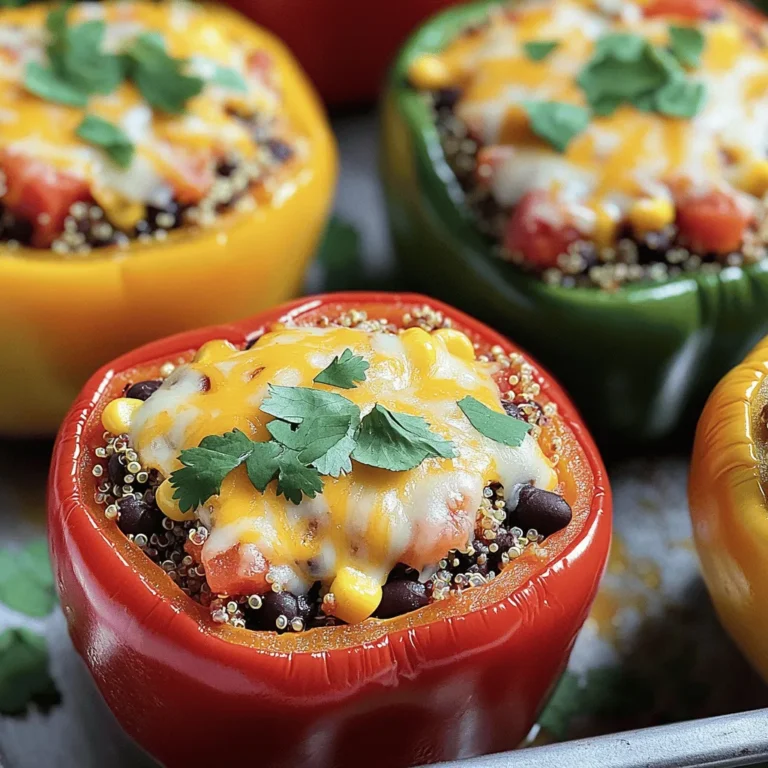
![- 4 medium sweet potatoes - 1 lb ground turkey (or beef) - 1 tablespoon olive oil - 1 can (15 oz) black beans, rinsed and drained - 1 cup corn kernels (fresh or frozen) - 1 packet taco seasoning - 1 cup diced tomatoes (fresh or canned) - 1 cup shredded cheddar cheese - 1 avocado, diced - 1/4 cup fresh cilantro, chopped - 1 lime, cut into wedges - Salt and pepper to taste - Sour cream - Jalapeños - Salsa Gathering these ingredients is simple, and it sets the stage for a tasty meal. The sweet potatoes bring a nice sweetness and a lot of nutrients. Ground turkey or beef gives a hearty flavor. The black beans, corn, and tomatoes add texture and nutrition. Taco seasoning brings the classic flavor that everyone loves. The cheese and avocado on top make it all even better. Don't forget the lime for a fresh kick! For a full recipe, check out the [Full Recipe]. - Preheat the oven to 425°F (220°C). - Scrub and poke holes in sweet potatoes. - Bake sweet potatoes for 45-50 minutes. First, I preheat my oven to 425°F (220°C). This step is key to getting those sweet potatoes nice and tender. Next, I scrub each sweet potato under running water. Then, I poke holes in them with a fork. This prevents them from bursting while baking. After that, I place the potatoes on a baking sheet lined with parchment paper. Finally, I bake them for 45-50 minutes until they are soft. - Heat olive oil in a skillet over medium heat. - Cook ground turkey (or beef) until browned. - Stir in taco seasoning, black beans, corn, and tomatoes; simmer for 5-7 minutes. While the potatoes bake, I heat a tablespoon of olive oil in a skillet over medium heat. I add 1 pound of ground turkey or beef. I cook it until it is browned, about 5-7 minutes. Then, I stir in the taco seasoning, a can of rinsed black beans, corn, and diced tomatoes. I let this simmer for another 5-7 minutes. This lets all the flavors mix together nicely. - Slice baked sweet potatoes in half lengthwise. - Scoop filling into each half and top with cheese. - Garnish with avocado and cilantro, serve with lime wedges. Once the sweet potatoes are soft, I carefully take them out of the oven. I slice each potato in half lengthwise, making a boat shape. Then, I scoop the taco filling generously into each half. I sprinkle shredded cheddar cheese on top, letting it melt slightly from the heat. Finally, I garnish with diced avocado and fresh cilantro. I serve them with lime wedges on the side. A squeeze of lime adds a perfect tang to this dish. For the full recipe, check out the details above. - Adjust taco seasoning to taste. You can add more for a bolder flavor. - Incorporate lime juice for extra zing. This brightens the dish and adds freshness. - Use a fork to check for doneness easily. Poke the sweet potatoes to see if they are soft. - Allow cooling before cutting to prevent burns. Sweet potatoes hold heat well, so be careful. - Arrange on a platter for visual appeal. A colorful display makes the meal more inviting. - Drizzle lime juice for an added touch. This adds flavor and makes the dish shine. I love using these tips to make Taco Stuffed Sweet Potatoes even better. If you want to try this recipe, check out the Full Recipe for all the details. {{image_4}} You can switch up the protein in your taco stuffed sweet potatoes. Ground beef or chicken works great. If you want to keep it plant-based, try using lentils or beans. Shredded pork can also give a fun twist to the dish. Each option brings a unique taste and texture. Don't forget to add extra veggies! Diced bell peppers or onions can add flavor and crunch. You can also toss in spinach or kale for more nutrition. Adding these veggies not only boosts the health factor but also brightens the dish's colors. Want to mix things up a bit? Try some Mexican-style toppings like pico de gallo. This fresh salsa adds a burst of flavor. You can also use Greek yogurt instead of sour cream. It gives a creamy texture with less fat, making it a healthier choice. These simple changes can make your meal even more exciting. Store any leftovers in an airtight container. They stay fresh for up to 3 days. To keep the quality high, keep your toppings separate. This will help prevent sogginess and keep flavors bright. For quick reheating, use the microwave. Heat in short bursts to avoid hot spots. If you want a crispy texture, use the oven instead. Preheat it to 350°F and heat for about 10-15 minutes. You can freeze cooked sweet potatoes and the filling separately. This helps maintain their texture. When you're ready to eat, thaw everything in the fridge overnight. Then, reheat as needed for a tasty meal. - Approximately 45-50 minutes at 425°F. Sweet potatoes need time to bake until they are soft. You want them tender, so they are easy to scoop. I usually check them after 45 minutes. If they are not done, I leave them for a few more minutes. You can poke them with a fork to check. - Yes, prepare everything in advance and assemble before serving. Making these stuffed potatoes ahead of time is a great idea. You can bake the sweet potatoes and cook the taco filling. Store them separately in the fridge. When you are ready to eat, just warm them up and stuff the sweet potatoes. It saves time and keeps things simple. - Rich in vitamins A and C, fiber, and antioxidants. Sweet potatoes are a superfood. They are full of vitamins that help your body. Vitamin A is good for your eyes, and vitamin C helps your immune system. The fiber in sweet potatoes also helps with digestion. Plus, they have antioxidants that fight free radicals. - Yes, but sweet potatoes provide a unique flavor and nutrition. You can use regular potatoes if you want. They will work fine. However, sweet potatoes give a nice, sweet taste. They also have more nutrients than regular potatoes. So, I recommend sticking with sweet potatoes for this recipe. - A side salad or additional toppings like guacamole or corn chips. These stuffed potatoes are filling on their own. However, a side salad adds freshness. You can also top them with guacamole for creaminess. Corn chips bring crunch and fun. You can mix and match to create your perfect meal! This blog post shared a tasty recipe for Taco Stuffed Sweet Potatoes. You learned about the key ingredients and easy steps to prepare this dish. I also offered tips to enhance the flavors and variations to keep it exciting. Remember, you can adjust the recipe to suit your taste. Try different proteins or veggies to mix it up. Enjoy this healthy meal any night of the week!](https://joymealplan.com/wp-content/uploads/2025/07/756ff32a-7b8b-490b-a900-7ca350fe3047-768x768.webp)