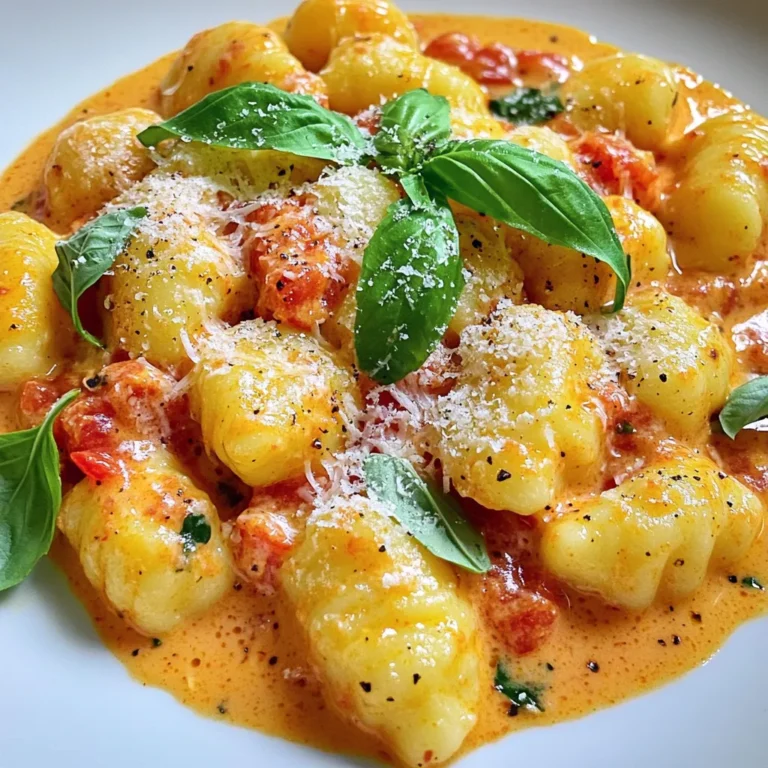
Chicken Penne Alla Vodka Flavorful Comfort Meal
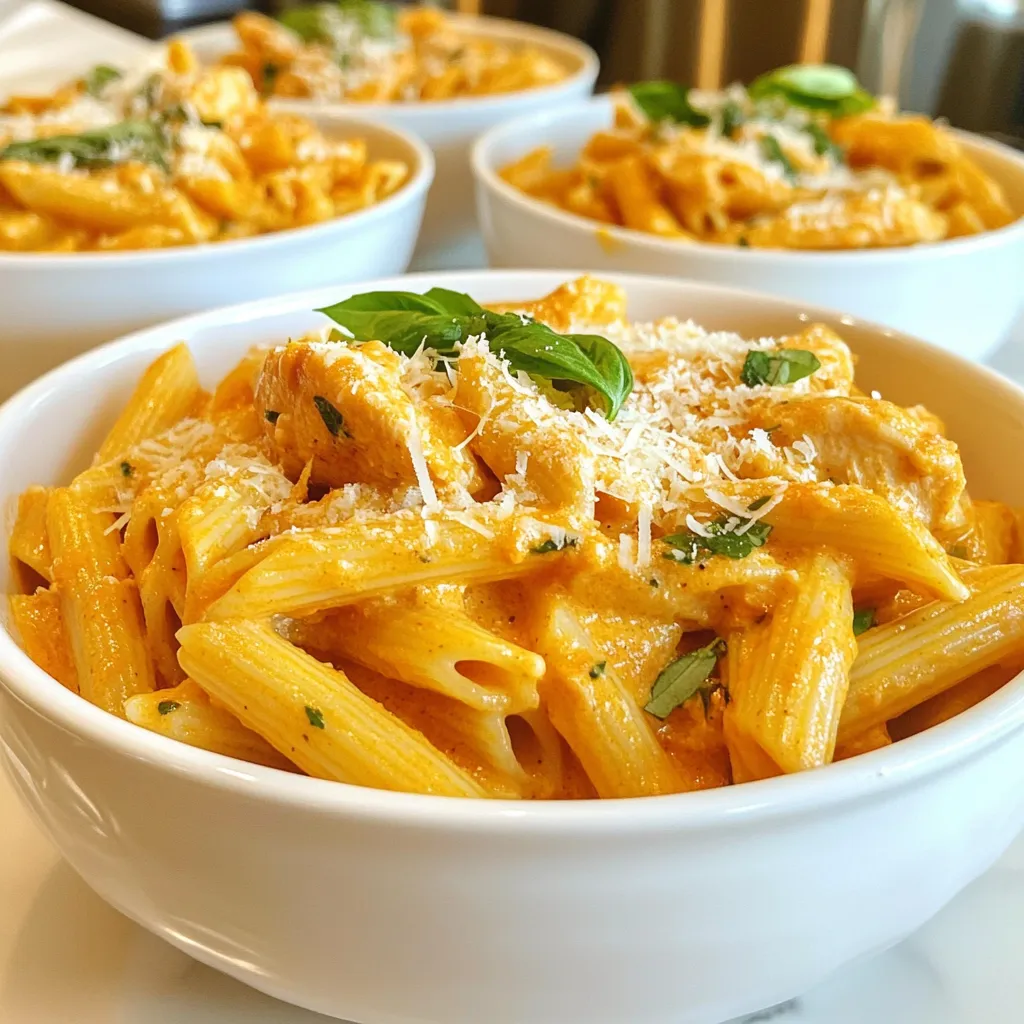

Are you ready to enjoy a warm bowl of Chicken Penne Alla Vodka? This dish is a cozy hug in a bowl, perfect for any night. I’ll share easy steps to craft this creamy, flavorful meal that your taste buds will love. Let’s explore the ingredients, cooking techniques, and pro tips to make your meal shine. Get your apron on; delicious comfort is just ahead!
Why I Love This Recipe
- Easy to Make: This recipe is simple and quick, making it perfect for busy weeknights.
- Rich and Creamy: The combination of heavy cream and crushed tomatoes creates a luxurious sauce that coats the pasta beautifully.
- Flavorful Chicken: Cooking the chicken with garlic and seasonings infuses it with delicious flavors that pair perfectly with the sauce.
- Fresh Basil Finish: Addition of fresh basil at the end brightens the dish and adds a wonderful aroma.
Ingredients
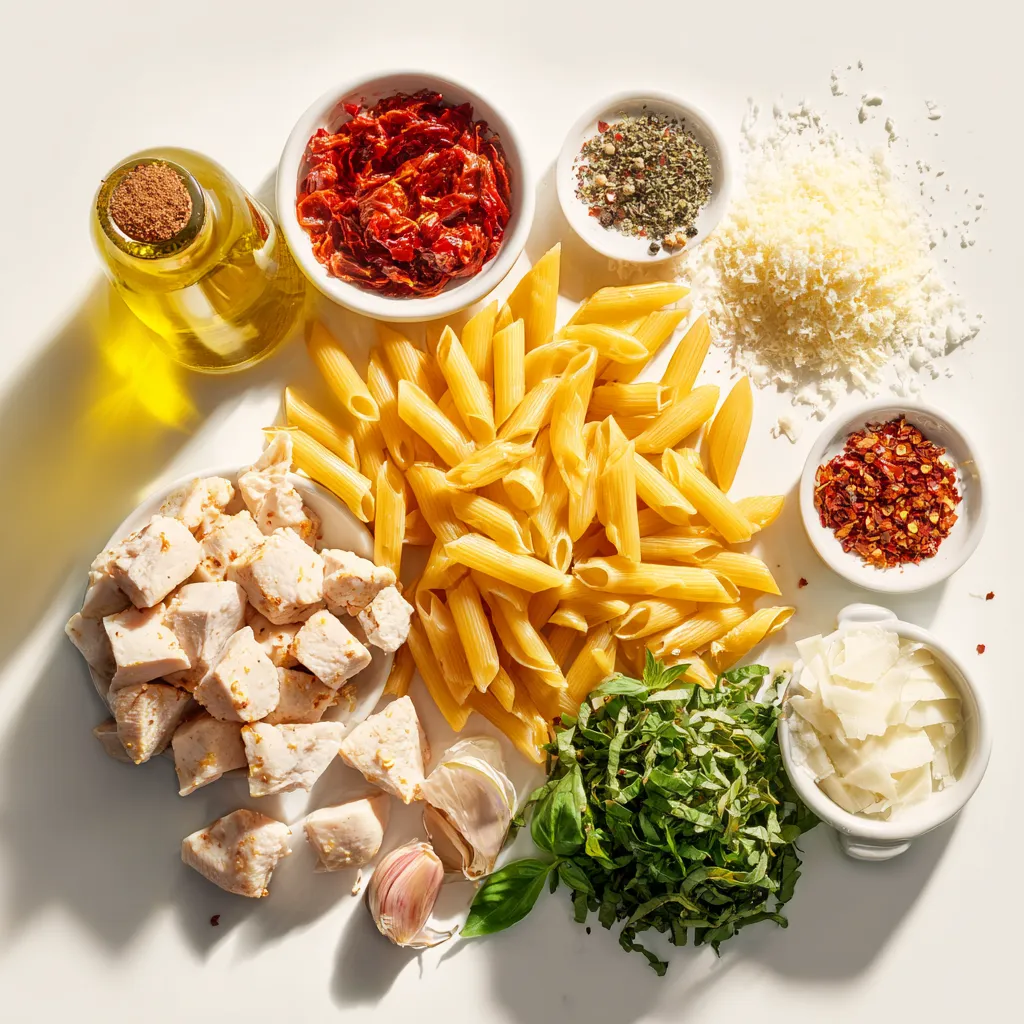
List of Ingredients for Chicken Penne Alla Vodka
– 12 oz penne pasta
– 2 tablespoons olive oil
– 1 pound chicken breast, cubed
– Salt and pepper to taste
– 1 teaspoon red pepper flakes (optional)
– 3 cloves garlic, minced
– 1 can (28 oz) crushed tomatoes
– 1 cup heavy cream
– 1 teaspoon dried oregano
– 1 teaspoon sugar
– 1/2 cup grated Parmesan cheese
– 1/4 cup fresh basil, chopped
Optional Ingredients to Enhance Flavor
You can add a few ingredients to boost the flavor of your dish. Consider using:
– 1/2 teaspoon garlic powder for extra depth
– A splash of vodka for a true vodka sauce experience
– Fresh parsley for a bright touch
– A squeeze of lemon juice for freshness
– Extra cheese for a richer taste
Substitutions for Common Ingredients
If you don’t have some ingredients, here are some easy swaps:
– Use any pasta shape if you can’t find penne.
– Chicken thighs can replace chicken breast for more flavor.
– Use vegetable broth instead of cream for a lighter dish.
– Canned tomatoes can be swapped for fresh tomatoes.
– Nutritional yeast can replace Parmesan for a vegan option.
Feel free to mix and match these to find your perfect taste!
Step-by-Step Instructions
Cooking the Penne Pasta
Start by boiling a large pot of water. Add salt to the water; this helps flavor the pasta. Once boiling, add 12 oz of penne pasta. Cook the pasta according to the package directions, usually 9-11 minutes. You want it al dente, which means it should still have a bit of bite. After cooking, drain the pasta but save about 1/2 cup of the pasta water for later. This starchy water can help adjust the sauce.
Sautéing the Chicken
In a big skillet, heat 2 tablespoons of olive oil over medium heat. Add 1 pound of cubed chicken breast. Season it with salt, pepper, and red pepper flakes if you like a little heat. Sauté the chicken for about 5-7 minutes. Stir it occasionally. You want the chicken to be golden brown and fully cooked. Once done, take it out and place it on a plate to rest.
Preparing the Vodka Sauce
In the same skillet, add 3 cloves of minced garlic. Cook the garlic for about 30 seconds. You want it fragrant but not burnt. Next, pour in 1 can of crushed tomatoes. Stir it well and let it simmer gently. After a few minutes, add 1 cup of heavy cream, 1 teaspoon of dried oregano, and 1 teaspoon of sugar. Let the sauce simmer for 5 minutes. Stir it now and then to thicken it up. Finally, mix in the sautéed chicken and the drained penne pasta. Toss it well to coat everything in the sauce. If it is too thick, add a splash of the reserved pasta water.
Tips & Tricks
Achieving the Perfect Sauce Consistency
To make your sauce just right, focus on the cream. Start by adding the heavy cream slowly. Stir it in well so it blends nicely with the crushed tomatoes. If the sauce seems too thick, add a splash of the reserved pasta water. This will help it become creamy but not runny. Always check the sauce as it simmers to see how it thickens. You want it to coat the pasta well but not be too heavy.
Flavor Enhancements Tips
Add a bit of red pepper flakes to give your dish a kick. Fresh basil adds a lot of flavor, so don’t skip it! You can also try different herbs like thyme or parsley for a fresh taste. A teaspoon of sugar balances the tomato’s acidity perfectly. If you want a touch of sweetness, consider adding some diced bell peppers when cooking the chicken. They add color and flavor.
Common Mistakes to Avoid
One mistake is not cooking the pasta long enough. It should be al dente, firm but not hard. Another error is adding the cream too soon. Let the garlic and tomatoes mingle first, then add the cream. Also, don’t forget to season your chicken well. Skipping salt and pepper can make your dish bland. Lastly, resist the urge to stir too much after adding the pasta. This can break the pasta and make it mushy.
Pro Tips
- Use Fresh Basil: For the best flavor, use fresh basil instead of dried. Add it at the end to preserve its aromatic qualities.
- Cook Pasta Al Dente: Ensure the penne is cooked al dente for the perfect texture. It will continue to cook slightly when mixed with the sauce.
- Adjust Sauce Thickness: If the sauce is too thick, use the reserved pasta water to loosen it. This adds flavor and helps the sauce cling to the pasta.
- Customize Spice Level: Feel free to adjust the red pepper flakes to your taste. Omit them for a milder dish or add more for extra heat.
Variations
Vegetarian Alternative to Chicken Penne Alla Vodka
You can easily swap the chicken for a plant-based option. Tofu or tempeh works well. Just cube the tofu or tempeh and sauté it as you would the chicken. Season it with salt, pepper, and red pepper flakes. This change keeps the dish rich and tasty while making it vegetarian-friendly.
Adding Vegetables for Extra Nutrition
Boost your meal with colorful veggies. Think spinach, bell peppers, or zucchini. Add them when you sauté the garlic. This way, they cook down and blend nicely with the sauce. Not only do they add flavor, but they also increase the nutrition. Your dish becomes a one-stop meal packed with nutrients.
Spicy Version with Additional Ingredients
If you love heat, make a spicy version. Add more red pepper flakes or some diced jalapeños. You can also include a splash of hot sauce in the sauce mix. This twist makes your Chicken Penne Alla Vodka exciting and bold. Just adjust the spice level to your taste for a perfect kick.
Storage Info
How to Store Leftovers Properly
To keep your Chicken Penne Alla Vodka fresh, let it cool first. Place it in an airtight container. Make sure to store it in the fridge. It can last up to three days. If you want to keep it longer, freezing is a great option.
Reheating Instructions for Best Results
When you’re ready to enjoy leftovers, reheating is easy. You can use the microwave or stovetop. If using the microwave, heat it in short bursts. Stir in between to heat evenly. If using the stovetop, add a splash of water or cream to keep it moist. Stir gently until it’s hot.
Freezing Tips for Chicken Penne Alla Vodka
To freeze, place cooled Chicken Penne Alla Vodka in a freezer-safe container. Seal it tightly to avoid freezer burn. It can last for up to three months. When ready to eat, thaw it overnight in the fridge. Then reheat as mentioned before. Enjoy your comfort meal again!
FAQs
Can I use other pasta shapes instead of penne?
Yes, you can use other shapes! Fusilli, rigatoni, or farfalle work well too. These shapes hold the sauce nicely. Each type of pasta brings its own charm. Just keep the cooking time in mind.
What can I substitute for heavy cream?
If you want a lighter option, use half-and-half or whole milk. You can also use coconut cream for a dairy-free choice. Just remember, these options may change the sauce’s richness. Adjust seasonings to taste to keep it flavorful.
How can I make this recipe gluten-free?
To make it gluten-free, choose gluten-free penne pasta. These are widely available in stores. The rest of the recipe remains the same. Just check your sauce ingredients to ensure they are gluten-free too.
Can I make Chicken Penne Alla Vodka in advance?
Yes, you can prepare it ahead of time! Cook the pasta and sauce separately to keep them fresh. Combine them when you’re ready to serve. This keeps the pasta from getting mushy.
How long will leftovers last in the fridge?
Leftovers stay good in the fridge for about 3 to 4 days. Store in an airtight container to keep them fresh. When reheating, add a splash of water or broth to revive the sauce. Enjoy your tasty meal again!
In this post, we explored the ingredients, steps, tips, variations, and storage for Chicken Penne Alla Vodka. You learned how to cook the pasta and chicken, make a rich sauce, and avoid common mistakes. We also shared fun twists and storage tips to keep your meal fresh.
Making this dish easy and enjoyable is my goal. With these insights, you’re ready to cook and impress with your Chicken Penne Alla Vodka. Enjoy the process and the tasty result

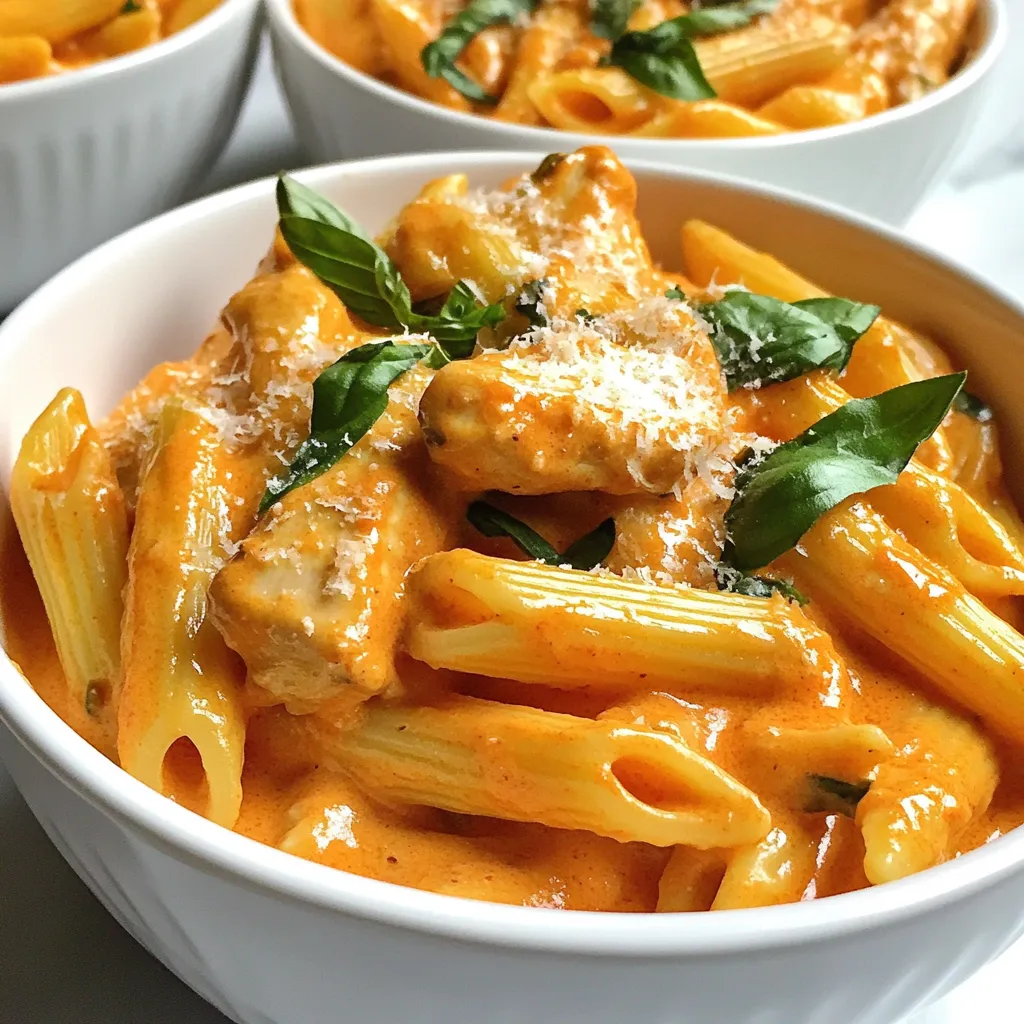
Creamy Tomato Basil Chicken Penne
Ingredients
- 12 oz penne pasta
- 2 tablespoons olive oil
- 1 pound chicken breast, cubed
- to taste salt and pepper
- 1 teaspoon red pepper flakes (optional)
- 3 cloves garlic, minced
- 1 can (28 oz) crushed tomatoes
- 1 cup heavy cream
- 1 teaspoon dried oregano
- 1 teaspoon sugar
- 1 2 cup grated Parmesan cheese
- 1 4 cup fresh basil, chopped
Instructions
- Cook the Pasta: Bring a large pot of generously salted water to a rolling boil. Add the penne pasta and cook according to the package directions until al dente, typically around 9-11 minutes. Once cooked, drain the pasta and set it aside, reserving about 1/2 cup of the pasta water.
- Sauté the Chicken: In a spacious skillet over medium heat, add the olive oil and allow it to warm. Introduce the cubed chicken to the skillet, seasoning it with salt, pepper, and red pepper flakes if desired. Sauté the chicken, stirring occasionally, until it is golden brown and fully cooked through, approximately 5-7 minutes. Once done, remove the chicken from the skillet and place it on a plate to rest.
- Prepare the Sauce: In the same skillet, add the minced garlic and cook for about 30 seconds until it becomes fragrant, stirring continuously to avoid burning. Next, pour in the crushed tomatoes, stirring to combine, then bring the mixture to a gentle simmer.
- Add Cream and Seasonings: Once simmering, carefully stir in the heavy cream, dried oregano, and sugar. Let the sauce simmer for an additional 5 minutes, stirring occasionally to enhance the flavors and allow it to thicken slightly.
- Combine Ingredients: Return the sautéed chicken to the skillet with the sauce. Then add the drained penne pasta as well as the grated Parmesan cheese. Toss everything together gently until well combined and the pasta is evenly coated with the sauce. If the sauce appears too thick, add a splash of the reserved pasta water to achieve your desired consistency.
- Garnish and Serve: Remove the skillet from heat and fold in the fresh chopped basil. Taste and adjust seasoning with additional salt and pepper if needed, ensuring the flavors are just right.
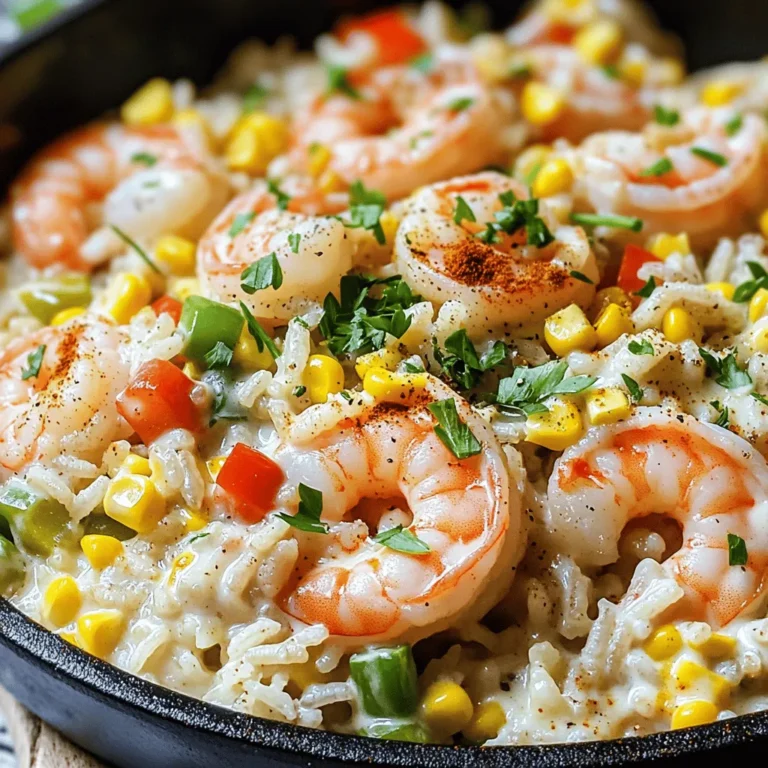
![- 2 cups cooked brown rice - 1 lb boneless, skinless chicken breast, diced - 1 can (15 oz) black beans, rinsed and drained - 1 cup corn (fresh, frozen, or canned) - 1 ripe avocado, diced - 1/2 cup shredded cheddar cheese - 1 tablespoon taco seasoning - Salt and black pepper to taste - Optional toppings: sour cream, salsa, sliced jalapeños For these Loaded Chicken Burrito Bowls, I focus on simple, fresh ingredients. The brown rice serves as a wholesome base. It adds fiber and nutrients. I choose boneless, skinless chicken breast for lean protein. It cooks up juicy and tender. Black beans bring extra protein and a creamy texture. Rinsing them helps remove excess sodium, making them healthier. Corn adds sweetness and a pop of color. You can use fresh, frozen, or canned, based on your preference. Avocado is a delightful addition. It brings creaminess and healthy fats. The shredded cheddar cheese adds richness and flavor. For seasoning, I use taco seasoning. It gives a bold taste without extra effort. I also add salt and black pepper to enhance the flavors. Toppings are where you can get creative. I suggest sour cream for creaminess. Salsa adds zest, and sliced jalapeños bring heat. Feel free to mix and match as you like. You can find the Full Recipe for all these delicious ingredients and how to prepare them. - Heat olive oil in a skillet over medium heat. - Add diced chicken and season with taco seasoning. First, I heat a tablespoon of olive oil in a skillet over medium heat. I want the oil to shimmer before adding the chicken. Once it’s hot, I toss in the diced chicken breast. I sprinkle it with taco seasoning, along with a pinch of salt and black pepper. I cook this for about 6 to 8 minutes. I stir often to ensure even cooking. The chicken should turn a lovely golden brown and reach an internal temperature of 165°F. - Prepare brown rice according to package instructions. - Fluff rice once cooked. While the chicken cooks, I prepare brown rice. I follow the package instructions closely. This step is key for fluffy rice. Once it’s cooked, I use a fork to fluff the rice. Fluffy rice makes a great base for my burrito bowls. - Mix black beans, corn, and tomatoes in a bowl. - Combine with cooked chicken and layer on rice. Next, I grab a large mixing bowl. I combine the rinsed black beans, corn, and halved cherry tomatoes. I gently toss them together until they mix well. Once the chicken is done, I add it to the bowl. I stir everything together to let the flavors blend. Now it's time to build the burrito bowls! I divide the fluffy brown rice into four serving bowls. I spoon the chicken mixture on top of the rice in each bowl. Next, I add diced avocado, shredded cheese, and fresh cilantro. For a zesty finish, I serve lime wedges on the side. You can also add sour cream or salsa if you want. For the full recipe, check the complete instructions and ingredient list. Enjoy making your loaded chicken burrito bowls! How to ensure chicken is cooked thoroughly To cook chicken safely, use a meat thermometer. The internal temperature should reach 165°F. Cook chicken pieces until they are golden brown and no longer pink inside. This ensures it is juicy and safe to eat. Best practices for fluffy rice For fluffy rice, rinse it well before cooking. This removes extra starch that makes it sticky. Cook it with the right water ratio, usually 2 cups of water for every cup of rice. After cooking, fluff it gently with a fork. This keeps the grains separate and light. Colorful arrangement ideas for the toppings To make your burrito bowls pop, layer the toppings by color. Place bright tomatoes, vibrant corn, and green avocado on top. This adds visual interest. You can also create small sections on the bowl for each topping. This way, each bite looks and tastes amazing. Using garnishes to enhance visual appeal Fresh herbs like cilantro can elevate your dish. Sprinkle them on top for a burst of color. Lime wedges can add a zesty touch. Place them artfully around the bowl for that extra flair. Suggestions for extra spices or ingredients to add To boost the flavor, try adding cumin or smoked paprika. These spices add warmth and depth. You can also mix in jalapeños for heat or lime juice for brightness. Freshly chopped garlic can also add a punch of flavor. Alternative cooking methods for chicken If you want to switch it up, grill or bake the chicken instead of pan-frying. Grilling adds a nice smoky flavor. Baking can keep it tender and juicy. You can marinate the chicken beforehand to infuse even more flavor. For the Full Recipe, check the earlier section for all the details! {{image_4}} You can easily make Loaded Chicken Burrito Bowls vegetarian or vegan. To do this, simply replace the chicken with a plant-based protein. Options include lentils, tempeh, or tofu. For a vegan cheese option, try cashew cheese or nutritional yeast. For gluten-free options, make sure to check your taco seasoning. Some brands add gluten. You can also swap brown rice for quinoa or cauliflower rice. If you like heat, add jalapeños or hot sauce to your bowl. This gives a spicy kick that enhances the flavors. You can also try different beans like pinto or kidney beans. Each type adds a unique taste and texture to your dish. Feel free to adjust your ingredients based on what is in season or what you like best. You can swap corn for bell peppers or zucchini for a fresh twist. For cheese, consider using feta or goat cheese for a different flavor. If you want a creamy topping, try Greek yogurt instead of sour cream. These swaps keep your bowls exciting! For the full recipe, check out the complete details in the recipe section. To keep your loaded chicken burrito bowls fresh, store them in airtight containers. This helps preserve flavor and texture. Place all components in separate containers if possible. This way, the rice, chicken, and toppings stay fresh longer. Generally, leftovers last about 3 to 4 days in the fridge. Make sure to check for any signs of spoilage before eating. If the chicken looks or smells off, it's best to toss it. When reheating, use the microwave for quick warmth. Place the food in a microwave-safe bowl, cover it with a damp paper towel, and heat it in 30-second intervals until warm. This method keeps the rice moist and prevents it from drying out. For the best texture, consider reheating in a skillet. Add a splash of water, cover, and cook on low heat until everything is warmed through. This method helps maintain flavor and texture. To freeze components, let them cool completely first. Portion the rice, chicken, and toppings into freezer-safe containers. Label them with the date. This makes it easy to track freshness. You can freeze cooked chicken and rice for up to 3 months. When ready to eat, thaw them overnight in the fridge. Reheat them as mentioned above to enjoy your delicious meal again. You can add many tasty toppings to your burrito bowls. Here are some great ideas: - Sour cream: Adds creaminess and a tangy flavor. - Salsa: Choose your favorite type, from mild to spicy. - Sliced jalapeños: For some heat and crunch. - Chopped green onions: Adds freshness and color. - Lettuce: A nice crunch and extra nutrients. - Black olives: For a salty, savory touch. - Cheese: Try a different cheese like queso fresco or pepper jack. Mix and match these options to find your favorite combination. Each topping can change the flavor and texture of the dish. Yes, you can prepare Loaded Chicken Burrito Bowls ahead of time. Here are some tips for meal prep: - Cook the chicken and rice: You can cook and store these in separate containers in the fridge. - Prep toppings: Chop your vegetables and store them in airtight containers. - Assemble before serving: When ready to eat, layer the rice, chicken, and toppings in a bowl. This keeps everything fresh. When stored properly, the ingredients can last for about 3 to 4 days in the fridge. You can easily customize your burrito bowls to fit your needs. Here are some tips: - Dietary needs: If you're vegetarian, use beans instead of chicken. For vegan, skip cheese and sour cream. - Flavor preferences: Add different spices or sauces to change the flavor. - Vegetable swaps: Use seasonal vegetables, like bell peppers or zucchini. - Grain choices: Try quinoa, cauliflower rice, or even lettuce wraps instead of brown rice. Get creative and make the dish your own! For the complete ingredients and instructions for Loaded Chicken Burrito Bowls, check out the [Full Recipe]. This post shared how to make tasty Loaded Chicken Burrito Bowls. You learned about main and optional ingredients. I explained step-by-step instructions, helpful tips, and fun variations. You can customize the bowls to your liking and store leftovers easily. Making these burrito bowls is fun and flexible. Enjoy your meal and get creative with flavors. The possibilities are endless, so dive in and make it your own!](https://joymealplan.com/wp-content/uploads/2025/07/a2d38b5a-a8a2-4e80-9f96-ef24cf5264b7-768x768.webp)