Skip to content
About
Contact
Cookie Policy
Copyright Policy
Disclaimer
Search
Home
Dinner
Appetizer
Desserts
Drinks
About
Contact
Privacy Policy
Toggle Menu
Home
/
Appetizer
Appetizer
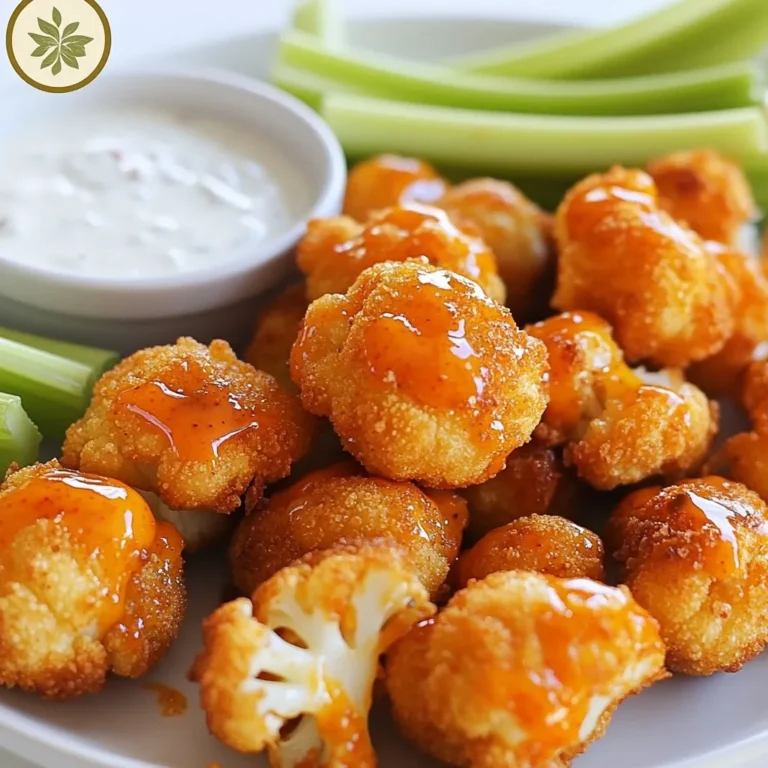
Buffalo Cauliflower Bites Flavorful and Crispy Snack
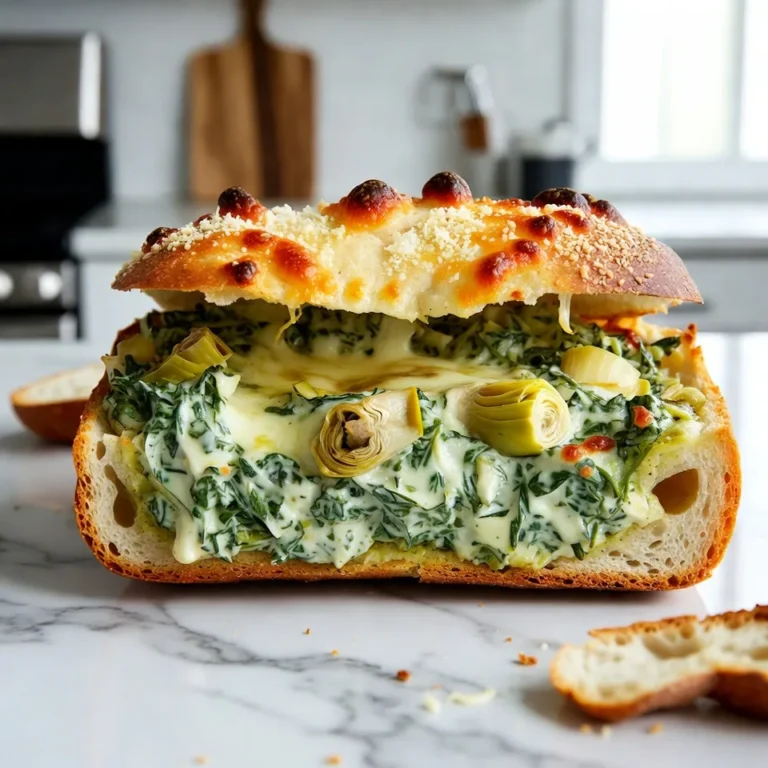
Spinach Artichoke Dip Stuffed Bread Delightful Snack
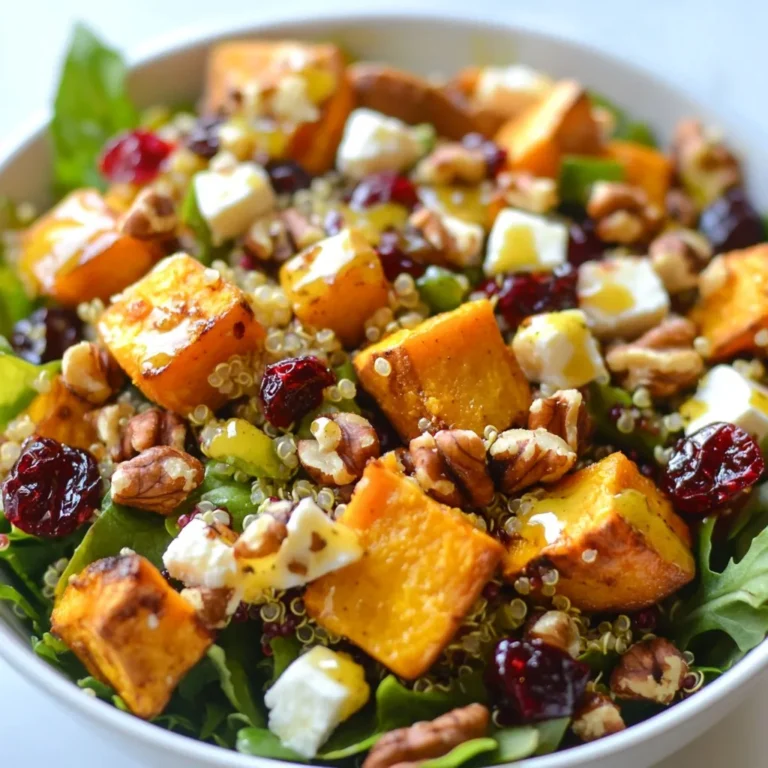
Cranberry-Glazed Harvest Veggie Salad Fresh and Flavorful
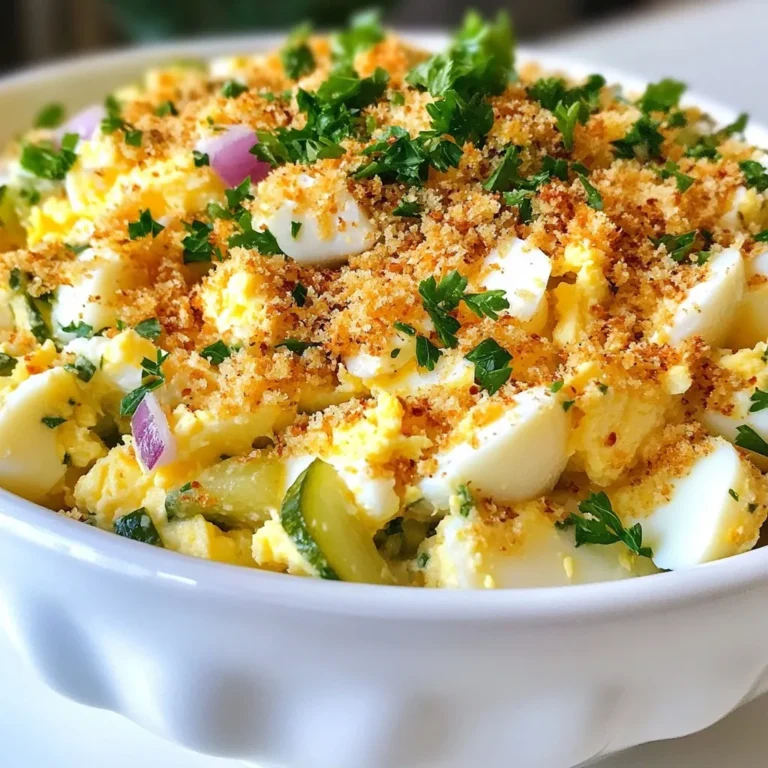
Crispy Egg Salad Simple and Flavorful Delight
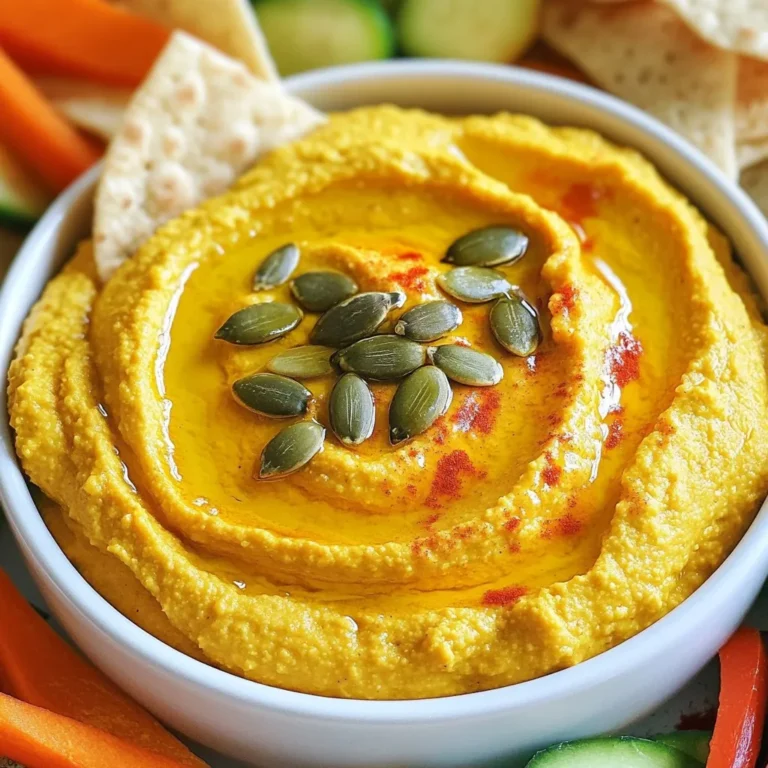
Creamy Pumpkin Hummus Flavorful and Simple Dip
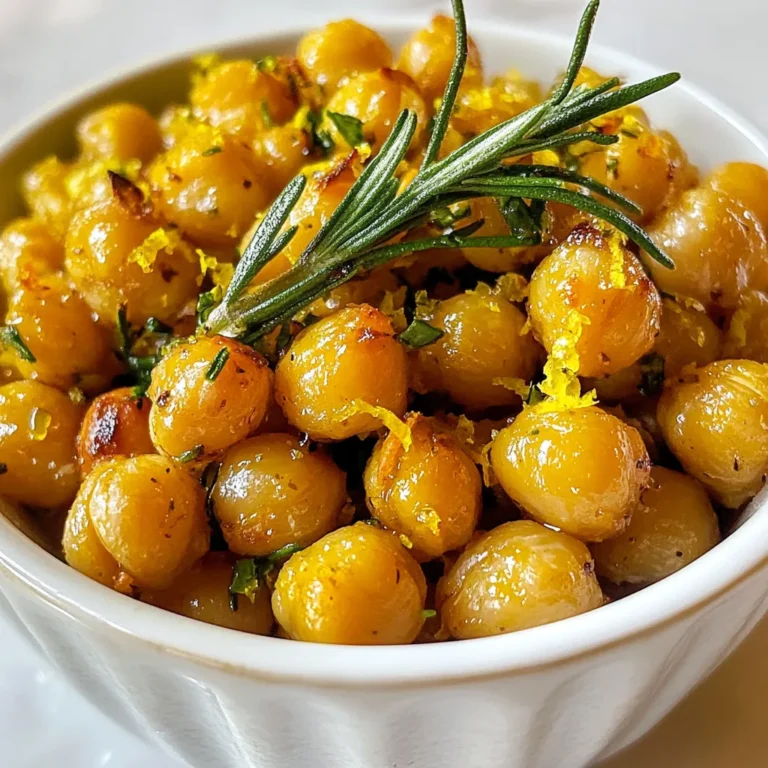
Lemon Rosemary Roasted Chickpeas Crunchy Snack Treat
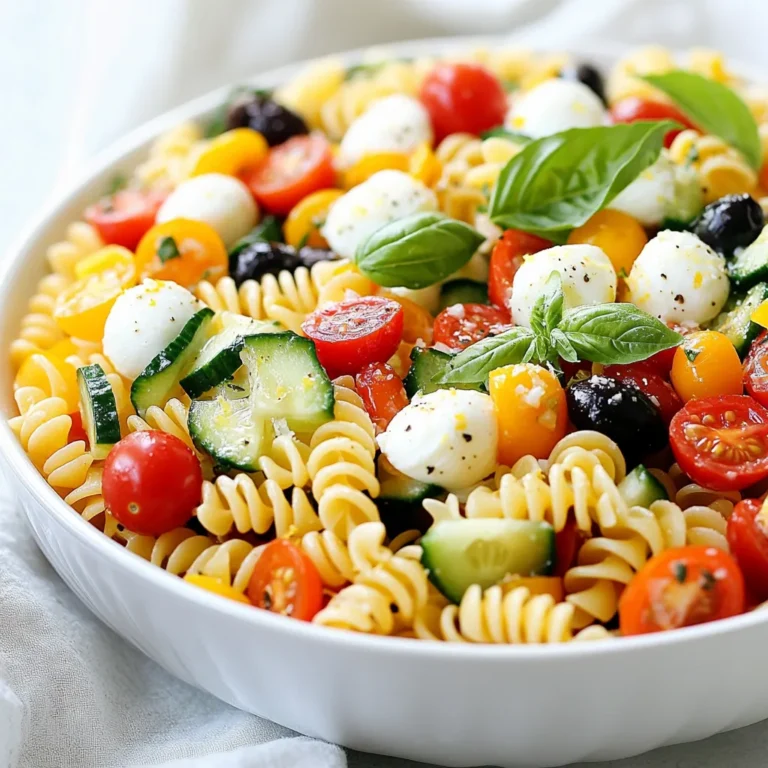
Cold Pasta Salad Simple and Flavorful Recipe
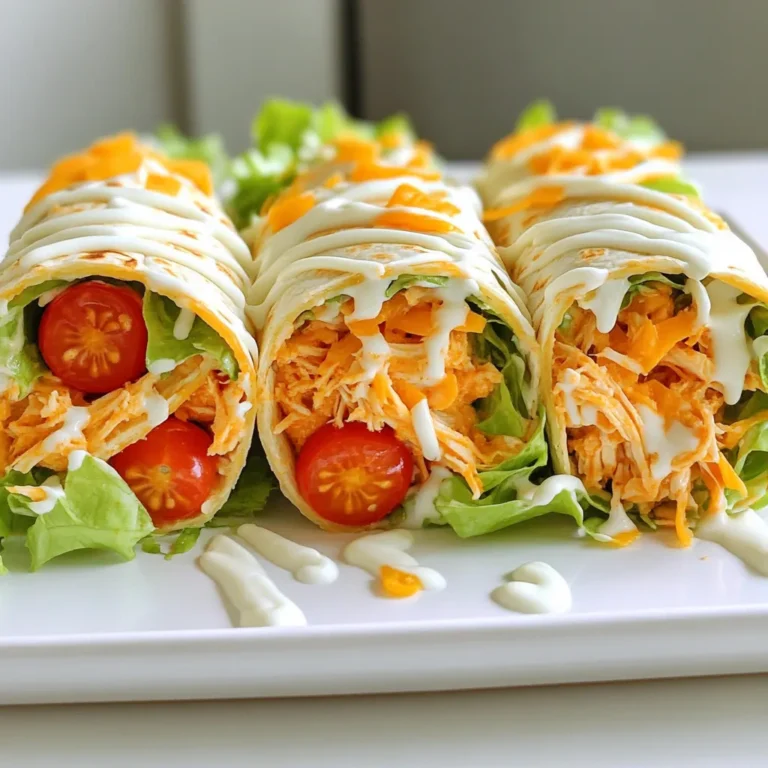
Sheet Pan Buffalo Chicken Wraps Tasty and Easy Meal
Air Fryer Pizza Rolls Crunchy and Flavorful Snack
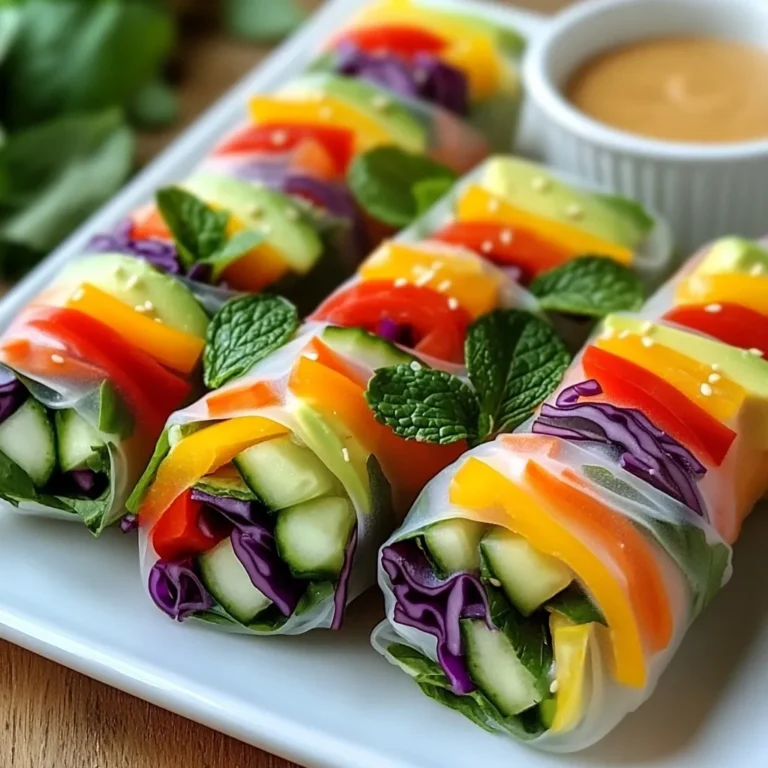
Rainbow Veggie Spring Rolls Fresh and Colorful Treat
Page navigation
1
2
3
…
24
Next Page
Next
Home
Dinner
Appetizer
Desserts
Drinks
About
Contact
Privacy Policy
Toggle Menu Close
Search for:
Search