Skip to content
About
Contact
Cookie Policy
Copyright Policy
Disclaimer
Search
Home
Dinner
Appetizer
Desserts
Drinks
About
Contact
Privacy Policy
Toggle Menu
Home
/
Appetizer
- Page 2
Appetizer
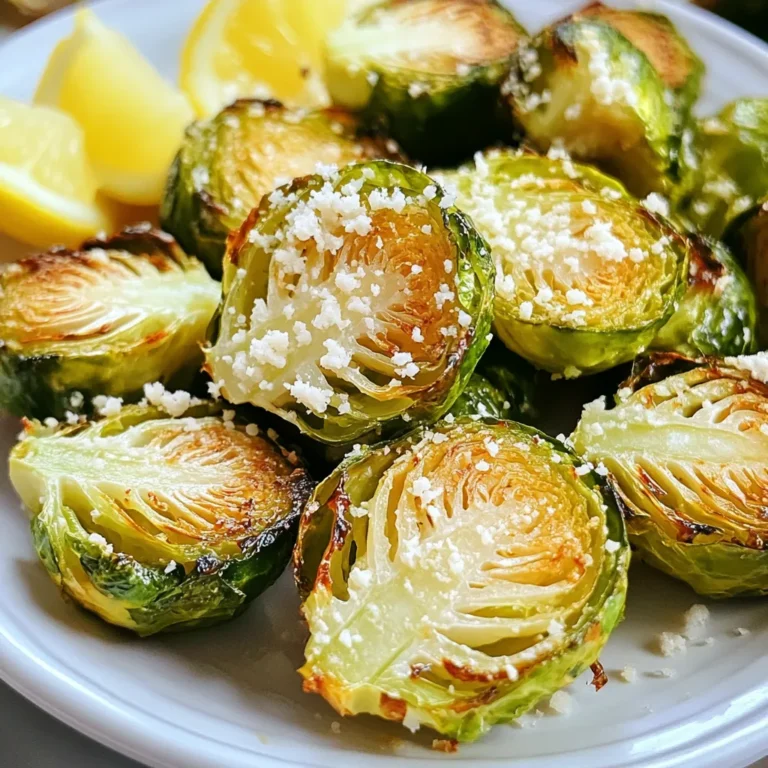
Air Fryer Garlic Parmesan Brussels Sprouts Delight
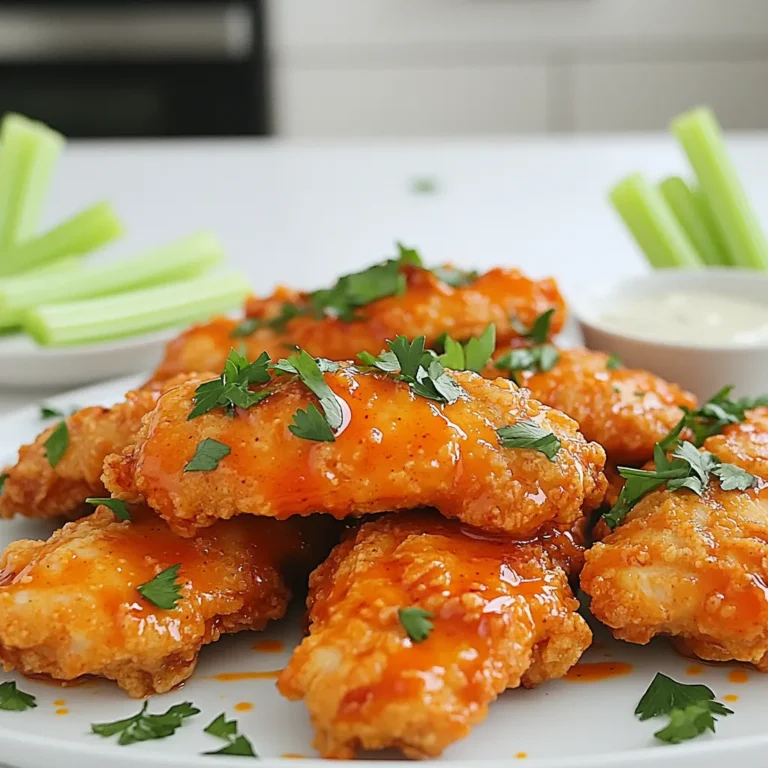
Buffalo Chicken Tenders Air Fryer Crispy Delight
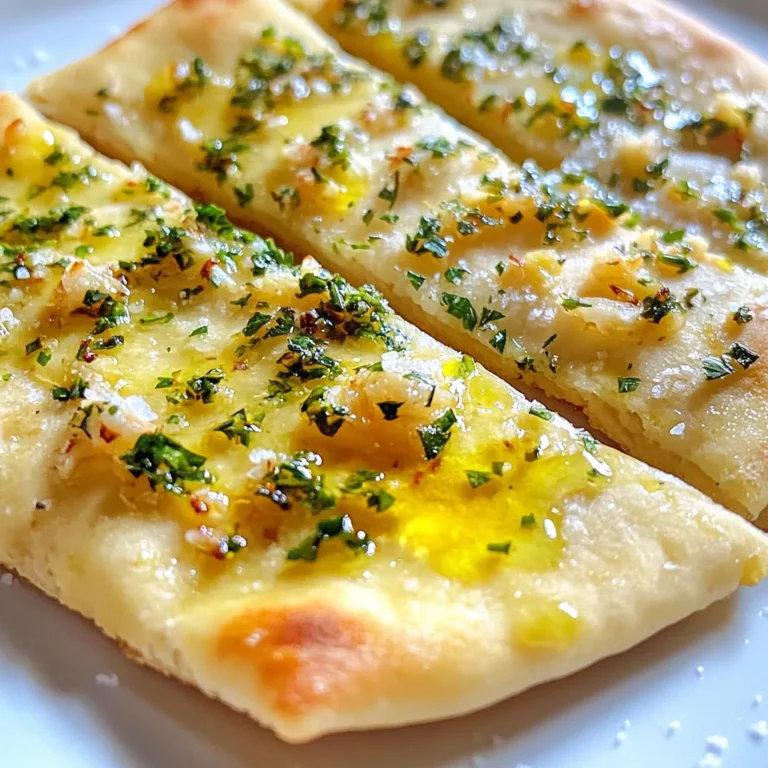
Garlic Herb Flatbread Quick and Flavorful Recipe
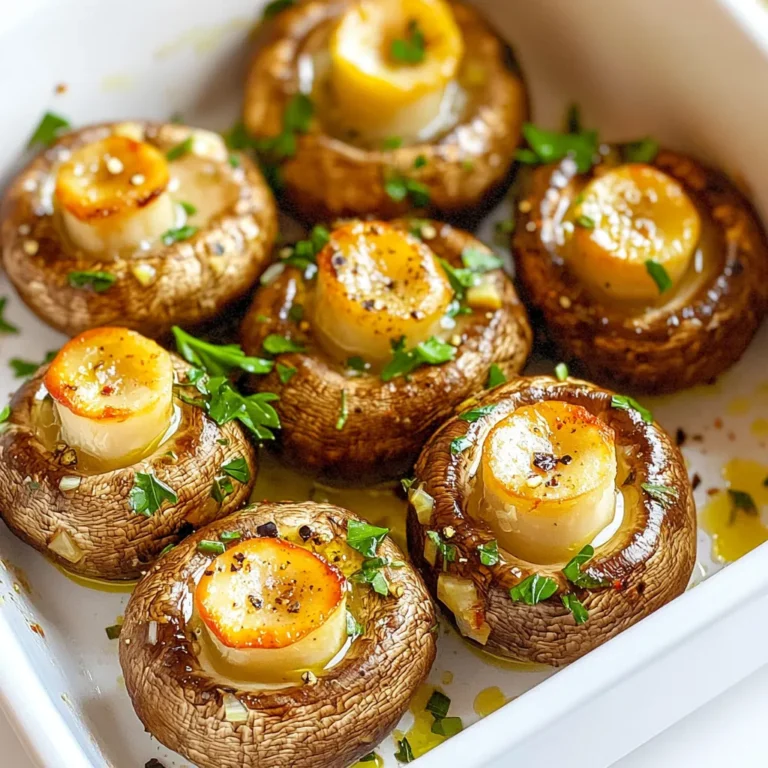
Air Fryer Garlic Mushrooms Easy and Flavorful Snack
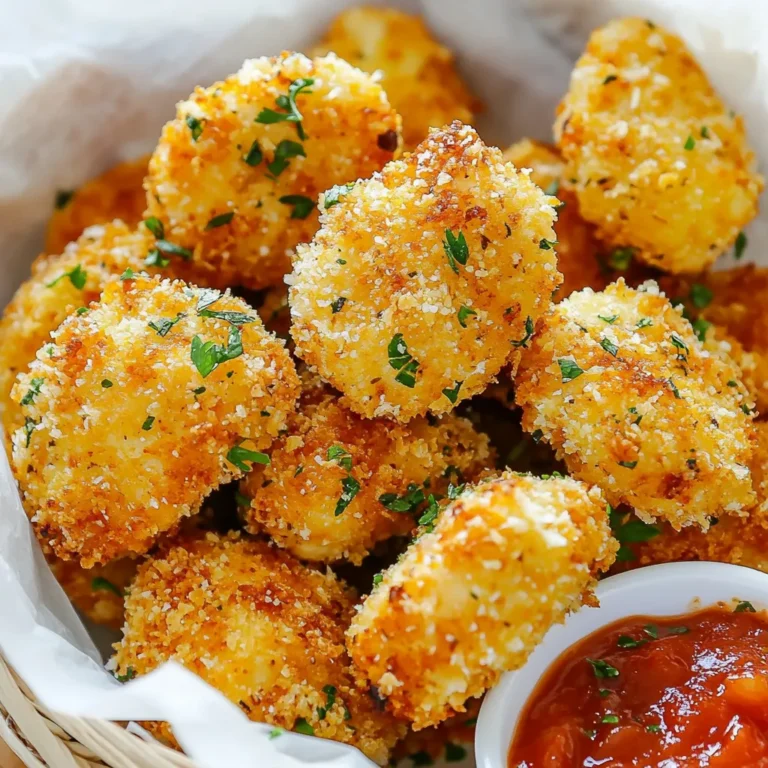
Oven Baked Chicken Bites Crispy and Flavorful Treat
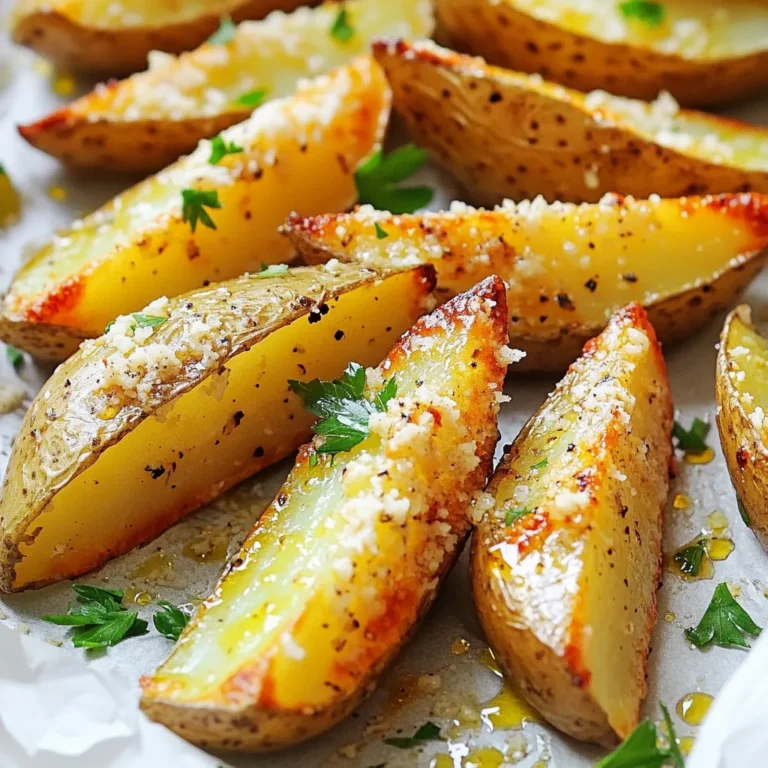
Air Fryer Garlic Parmesan Potato Wedges Crispy Delight
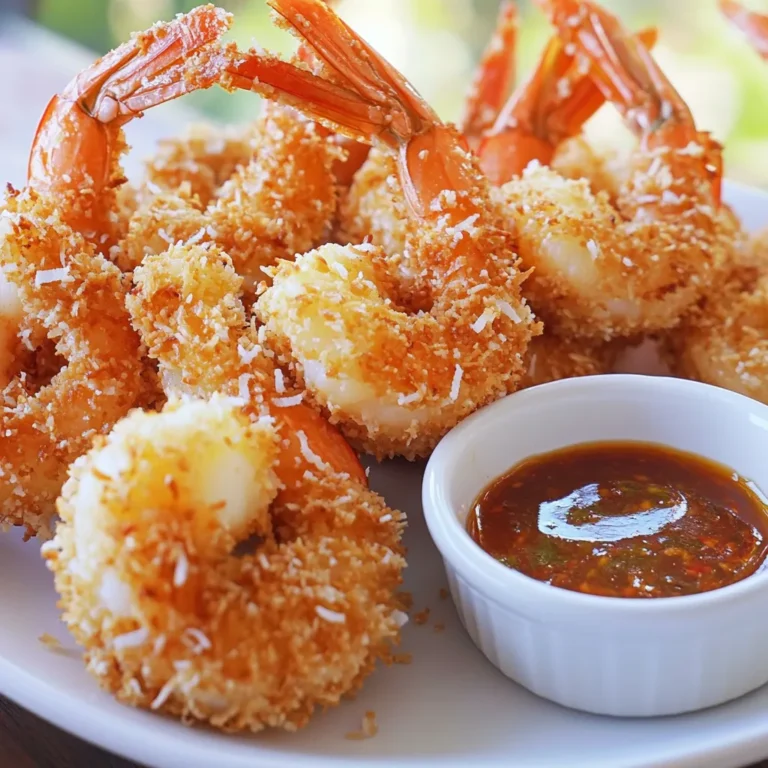
Crispy Coconut Shrimp Air Fryer Easy Dinner Recipe
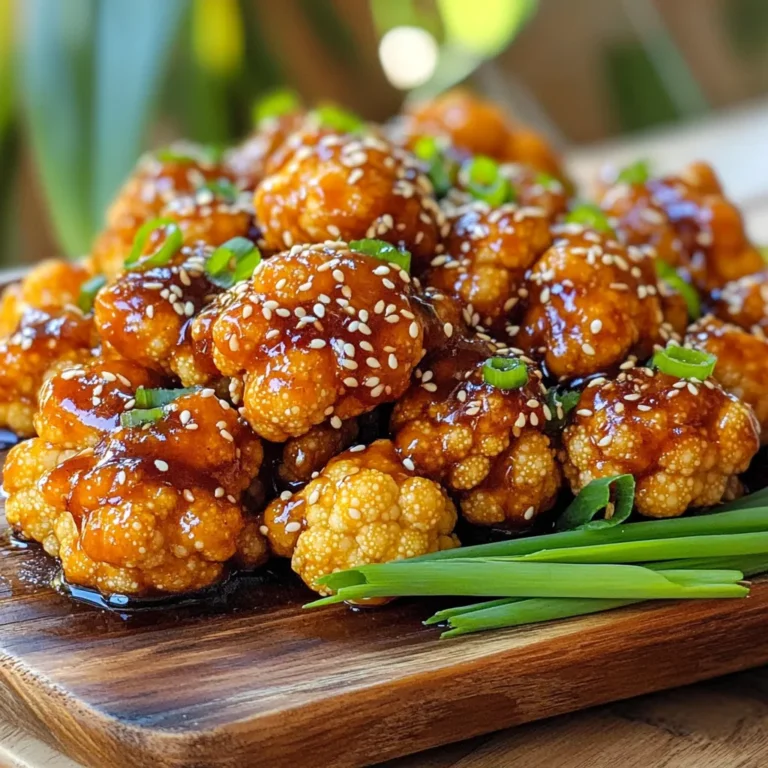
Sticky Sesame Cauliflower Irresistible Flavor Boost
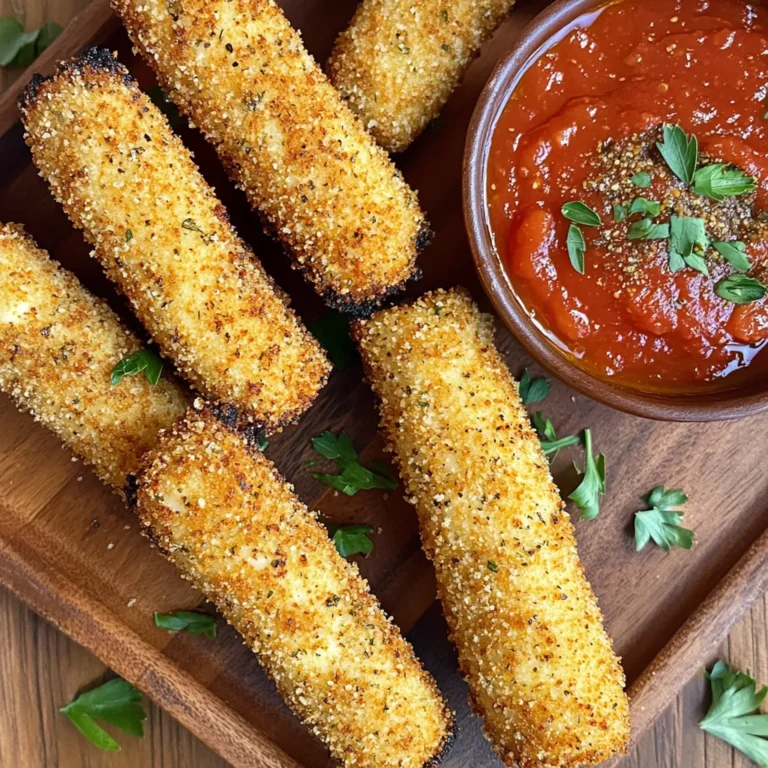
Air Fryer Mozzarella Sticks Crispy and Simple Snack
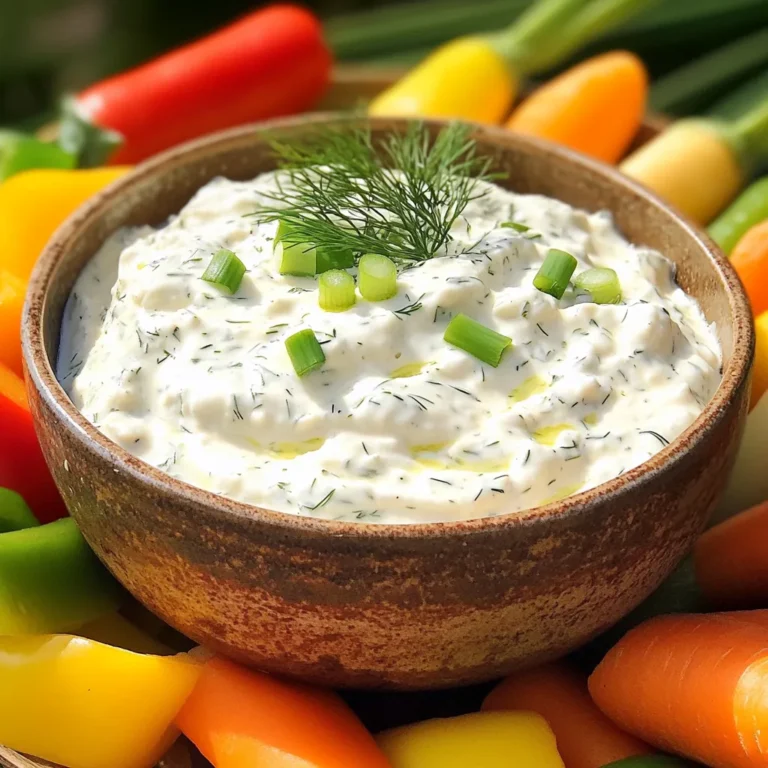
Cottage Cheese Ranch Dip Delightful and Simple Snack
Page navigation
Previous Page
Previous
1
2
3
4
…
24
Next Page
Next
Home
Dinner
Appetizer
Desserts
Drinks
About
Contact
Privacy Policy
Toggle Menu Close
Search for:
Search