Skip to content
About
Contact
Cookie Policy
Copyright Policy
Disclaimer
Search
Home
Dinner
Appetizer
Desserts
Drinks
About
Contact
Privacy Policy
Toggle Menu
Home
/
Appetizer
- Page 21
Appetizer
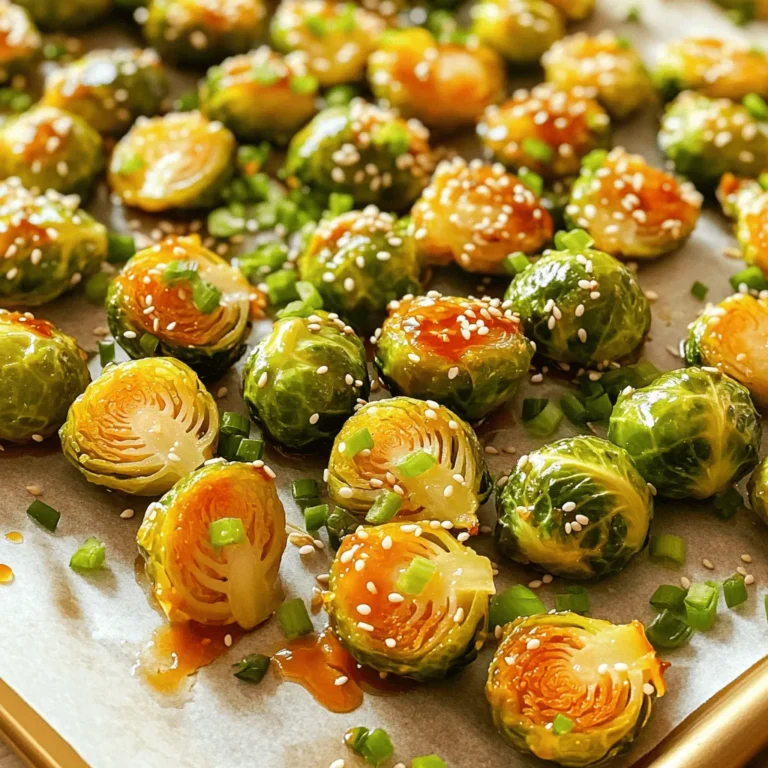
Sriracha Honey Brussels Sprouts Irresistible Roasted Delight
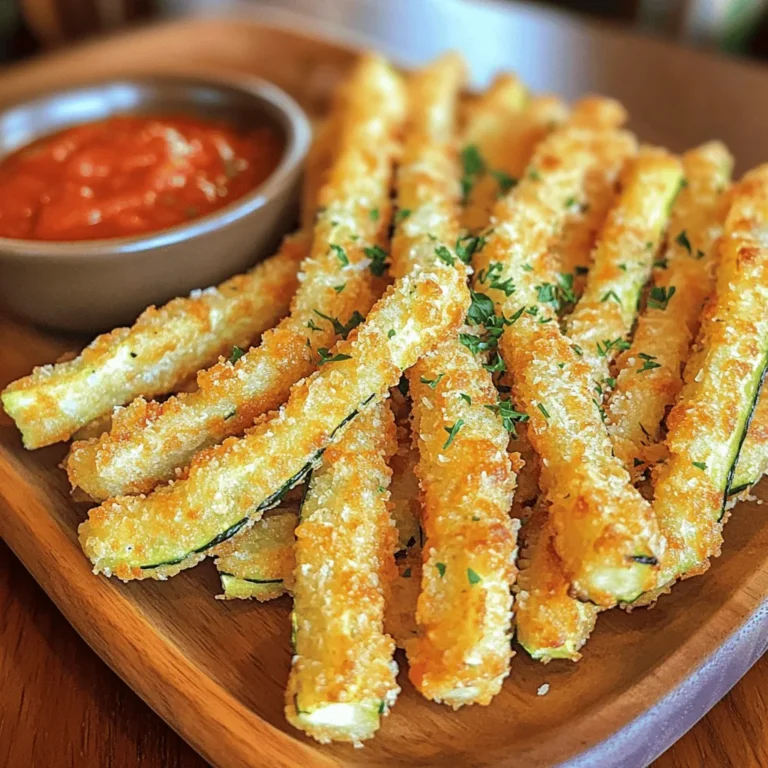
Crispy Parmesan Zucchini Fries Easy and Delicious Snack
Stuffed Portobello Mushrooms Flavorful and Easy Recipe
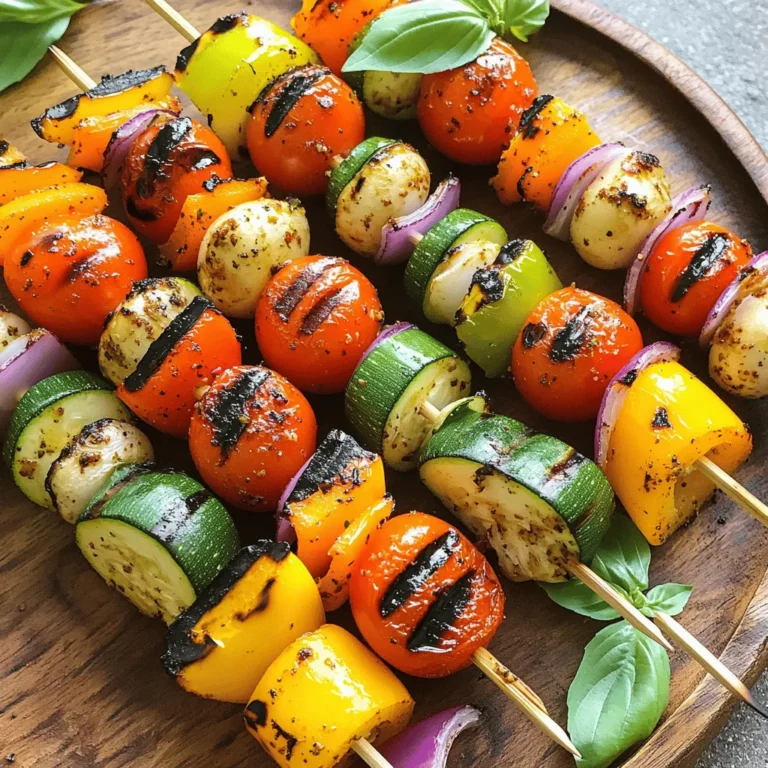
Grilled Vegetable Skewers Flavorful and Fun Recipe
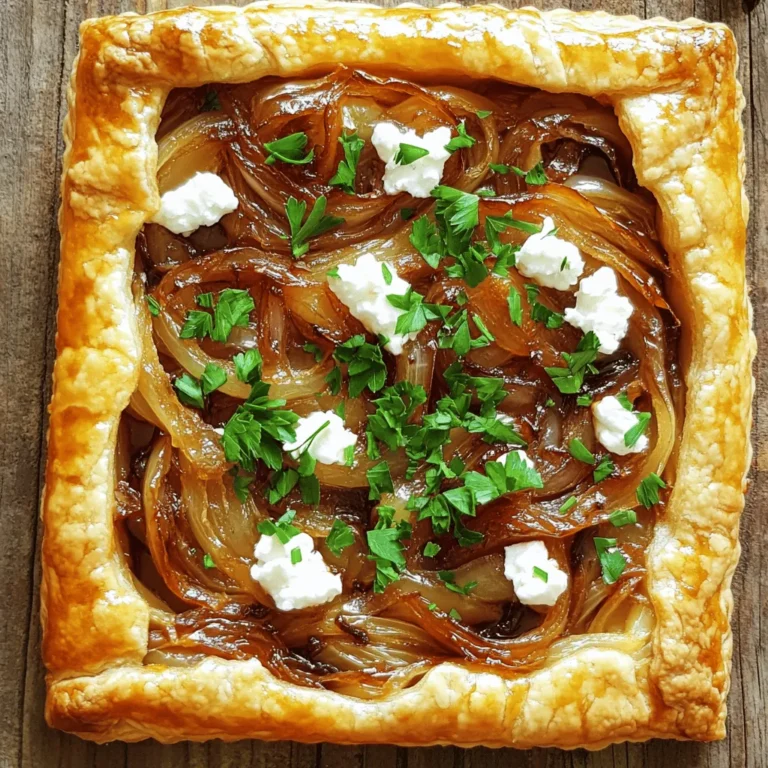
Caramelized Onion and Goat Cheese Tart Delight
Spiced Sweet Potato Fries Crispy and Flavorful Snack
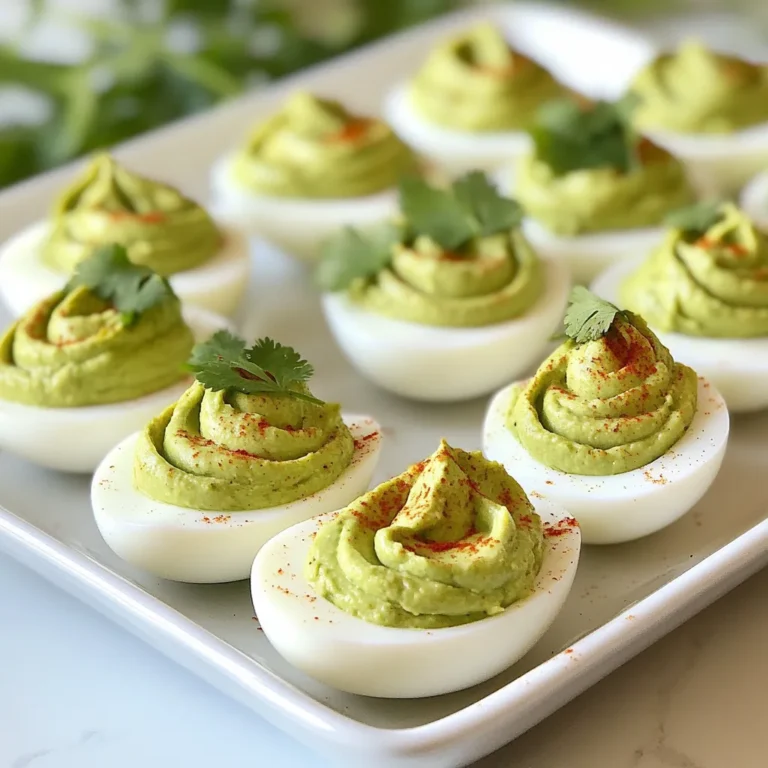
Avocado Deviled Eggs Flavorful and Easy Recipe
Thai Basil Beef Rolls Flavorful and Simple Recipe
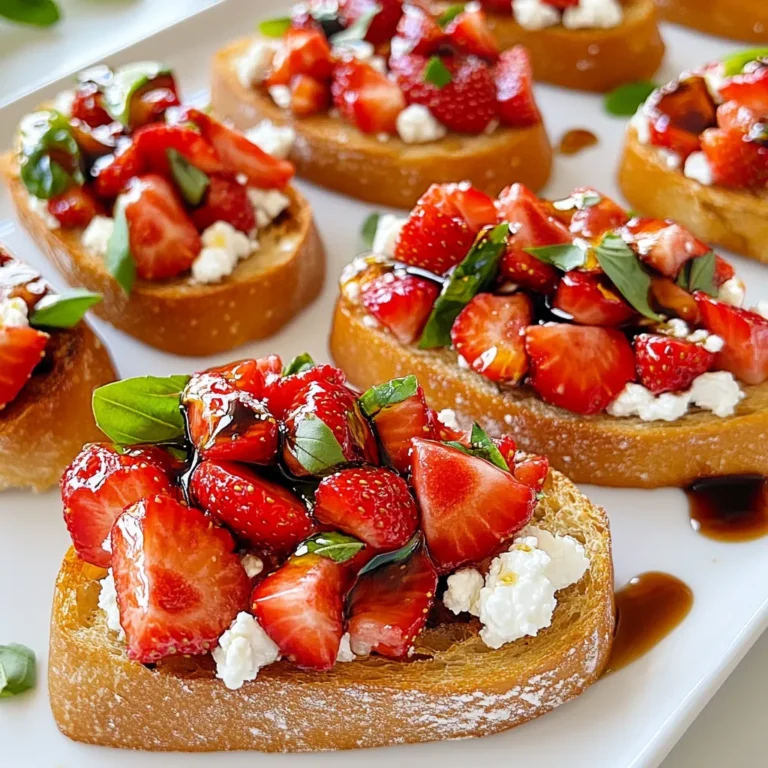
Strawberry Basil Bruschetta Fresh and Flavorful Treat
Mini Quiche Cups Flavorful and Simple Recipe Guide
Page navigation
Previous Page
Previous
1
…
19
20
21
22
23
…
25
Next Page
Next
Home
Dinner
Appetizer
Desserts
Drinks
About
Contact
Privacy Policy
Toggle Menu Close
Search for:
Search

![- 4 large portobello mushrooms, stems removed - 1 cup cooked quinoa - 1 small zucchini, finely diced - 1/2 cup feta cheese, crumbled - 2 cloves garlic, minced - 1 teaspoon dried oregano - 1 red bell pepper, finely diced - 1 small red onion, finely chopped - Fresh parsley, for garnish Using these ingredients, you will create a dish that is both tasty and simple. The portobello mushrooms serve as a perfect base. They have a meaty texture and a rich flavor. You will stuff them with a mix of cooked quinoa and fresh vegetables. The quinoa adds protein and texture, making this dish satisfying. The feta cheese brings a creamy saltiness that balances the flavors. Garlic and oregano add depth. You can also add a red bell pepper and red onion for sweetness and crunch. Finishing with fresh parsley gives a burst of color and freshness. This recipe is easy to follow and uses ingredients you can find at any grocery store. You can even customize it with your favorite veggies or cheese. For a full recipe, check out the [Full Recipe]. - Preheat oven to 375°F (190°C). - Clean portobello mushrooms gently. Use a damp cloth to wipe off dirt. Place them gill-side up on a baking sheet. This helps with the filling later. - Sauté onions and garlic until translucent. Heat olive oil in a skillet over medium heat. - Add zucchini and red bell pepper, sauté until softened. Stir for about five minutes. - Incorporate fresh spinach until wilted. This takes about two minutes. The spinach adds flavor and color. - Mix quinoa and sautéed vegetables in a bowl. This is where the magic happens! - Spoon mixture into the portobello mushrooms. Press down gently with a spoon for even filling. - Bake for 25-30 minutes until golden. The mushrooms will get tender and delicious. Check them often to avoid overcooking. Try this recipe for a tasty meal. For the full recipe, visit the recipe section. To make your stuffed portobello mushrooms really pop, add fresh herbs. Basil and thyme work great. They bring a lovely aroma and zest. You can also try different cheeses. Goat cheese adds tang, while mozzarella offers creaminess. Each cheese gives a unique taste to the dish. When serving your stuffed mushrooms, think about fresh salads. A light, crisp salad pairs well. It balances the rich flavors of the mushrooms. You can also add some dipping sauces. Try a tangy vinaigrette or a garlic aioli. For presentation, place the mushrooms on greens like arugula. A drizzle of balsamic reduction looks fancy and adds flavor. One mistake is overcooking the mushrooms. They should be tender but not mushy. Keep an eye on the time as they bake. Another common error is not seasoning the filling. Adding enough salt and pepper makes a big difference. Taste as you go to find the right balance. Following these tips will help you create perfect stuffed portobello mushrooms. For the full recipe, check out the instructions above. {{image_4}} You can make stuffed Portobello mushrooms even more exciting. Start by using different vegetables in your filling. Try using eggplant, asparagus, or carrots for unique tastes. Each veggie adds its own flavor and texture. You can also switch out quinoa for brown rice or couscous. Brown rice gives a nutty flavor, while couscous offers a fluffy texture. Both options work well in these stuffed mushrooms. If you want to add meat, you have great options. You can include cooked ground meat or sausage in your stuffing. This adds a savory richness that meat lovers will enjoy. Another choice is to use chicken or turkey for a protein boost. Cooked and shredded chicken offers a wonderful taste that pairs well with the mushrooms. For those with dietary needs, there are easy swaps. If you need gluten-free options, make sure to use gluten-free grains. Quinoa is already gluten-free, but you can also use rice. For vegan adaptations, simply omit the cheese. You can replace feta with a nut-based cheese or nutritional yeast for a cheesy flavor without dairy. These changes help everyone enjoy the dish! To keep your stuffed portobello mushrooms fresh, store leftovers in an airtight container. This helps seal in flavors and moisture. Place the container in the fridge. The mushrooms will stay good for about three days. To keep them tasty, don’t stack them too high. This prevents squishing the filling. You can also freeze stuffed mushrooms for future meals. First, allow them to cool completely. Then, wrap each mushroom in plastic wrap and place them in a freezer bag. Make sure to remove as much air as possible. They can last for up to three months in the freezer. When you're ready to eat, thaw them overnight in the fridge. This helps maintain texture. When it’s time to reheat, you have two good options: oven or microwave. For the oven, preheat it to 350°F (175°C). Place the mushrooms on a baking sheet and cover with foil. Heat for about 15 minutes. This ensures they warm evenly without drying out. If you use a microwave, place the mushrooms on a microwave-safe plate. Heat in short bursts of 30 seconds until warm. This method is quick but can make them a bit soggy. Enjoy your stuffed mushrooms just like they were fresh! You can tell stuffed mushrooms are done when they feel tender. The tops should be lightly golden. If you see a nice brown color on top, that's a good sign! The mushrooms will shrink slightly as they cook, so check for softness. Yes, you can prepare stuffed mushrooms ahead of time! Here’s how: Make the filling and stuff the mushrooms. Then, cover them and put them in the fridge. You can keep them there for a day or two. When you’re ready, just bake them as usual. This saves time on busy days! Stuffed Portobello mushrooms go well with many sides. Here are some ideas: - A light salad with mixed greens - Roasted vegetables for extra flavor - Quinoa or rice to match the filling - A glass of white wine or sparkling water Pair these to make your meal even better! For more ideas, check out the Full Recipe for serving tips. Stuffed portobello mushrooms are a tasty and healthy dish. We covered the main ingredients, like quinoa and feta cheese, to create a flavorful filling. I shared step-by-step instructions to guide you through prepping, cooking, and assembling. You also learned tips for enhancing flavor and avoiding common mistakes. Finally, we explored variations for different diets and storage methods. These mushrooms offer endless possibilities. Enjoy making them your way and savor the delicious results.](https://joymealplan.com/wp-content/uploads/2025/06/f2d78041-f354-4b2f-8927-65aa38224e9e-768x768.webp)


. {{image_4}} Vegetarian Mini Quiche Cups For a tasty vegetarian option, use only veggies. You can add spinach, mushrooms, and bell peppers. Mix in some cheese for creaminess. This keeps the dish light yet filling. You can also use fresh herbs like basil or oregano for extra flavor. Try to use seasonal veggies for the best taste. Meat Lovers' Option If you love meat, this option is for you. Use diced ham, crispy bacon, or cooked sausage. Combine these with your favorite cheese and veggies. This mix gives a hearty bite to each quiche cup. You will enjoy the rich, savory flavors in every bite. Gluten-Free Crust Alternatives If you need a gluten-free crust, use almond flour or cornmeal. You can also find ready-made gluten-free pie crusts at the store. Another idea is to make a crustless quiche. Just pour the filling into greased muffin tins. This way, you skip the crust but keep all the flavor. Dairy-Free Ingredient Swaps For a dairy-free version, use plant-based milk like almond or soy. Swap regular cheese for dairy-free cheese options. Nutritional yeast can add a cheesy flavor without dairy. Try these swaps to enjoy mini quiche cups without dairy. It keeps the recipe tasty and friendly for all diets. For the full recipe, check out the details in the previous section. To keep your mini quiche cups fresh, proper storage is key. - Refrigerating Leftovers: Place any leftover mini quiche cups in an airtight container. They will stay fresh for up to 3 days in the fridge. Just make sure they cool down before sealing. You can also wrap them tightly in plastic wrap for extra protection. - Freezing for Long-Term Storage: If you want to save them longer, freezing works well. First, let the quiche cups cool completely. Then, place them on a baking sheet and freeze until solid. After that, transfer them to a freezer-safe bag or container. They can last up to 2 months in the freezer. Remember to label the container with the date you made them. When you're ready to enjoy your mini quiche cups again, follow these tips for the best results. - Best Methods for Serving Again: The oven is the best way to reheat quiche cups. Preheat your oven to 350°F (175°C). Place the cups on a baking sheet and heat for about 10-15 minutes. This method keeps the crust crisp and the filling warm. - Retaining Flavor and Texture: Avoid using a microwave if you can. Microwaving can make the crust soggy and the filling rubbery. If you must use a microwave, heat them in short bursts of 30 seconds. Check often to ensure they don’t overcook. Following these tips will help you enjoy your mini quiche cups just like fresh! For the full recipe, check the [Full Recipe]. Bake Mini Quiche Cups for 18 to 20 minutes at 375°F (190°C). The tops should turn golden brown. You want the centers set but still moist. Keep an eye on them in the last few minutes. Each oven heats a bit differently. Yes, you can make Mini Quiche Cups ahead of time. Prepare them and store in the fridge for up to two days. You can also freeze them for up to a month. Just be sure to cool them completely before storing. To reheat, place them in the oven at 350°F (175°C) until warm. Great ingredients include: - 6 large eggs - 1 cup milk (whole or 2%) - 1 cup shredded cheese (like cheddar or mozzarella) - 1 cup diced vegetables (bell peppers, spinach, or mushrooms) - 1/2 cup cooked ham or crispy bacon (optional) - Garlic powder and onion powder for flavor These create a tasty base for your quiche cups. You can mix and match fillings easily. Try different cheeses or veggies. For a spicy kick, add jalapeños. If you love herbs, include fresh basil or thyme. Think about seasonal produce too. This makes your quiche cups unique and fun. Mini quiche cups are fun and easy to make. You can mix eggs, dairy, cheese, meats, and veggies to create tasty treats. Remember to preheat your oven and choose the right crust. I shared tips on filling them just right and baking them perfectly. Explore variations like vegetarian or gluten-free options, and learn how to store leftovers. With these steps and ideas, you have all you need for quiche success. Enjoy making your own mini quiche cups! They’ll be a hit with everyone.](https://joymealplan.com/wp-content/uploads/2025/06/d5cf7460-7b4e-43b3-accb-372b25b26cc9-768x768.webp)