Skip to content
About
Contact
Cookie Policy
Copyright Policy
Disclaimer
Search
Home
Dinner
Appetizer
Desserts
Drinks
About
Contact
Privacy Policy
Toggle Menu
Home
/
Appetizer
- Page 23
Appetizer
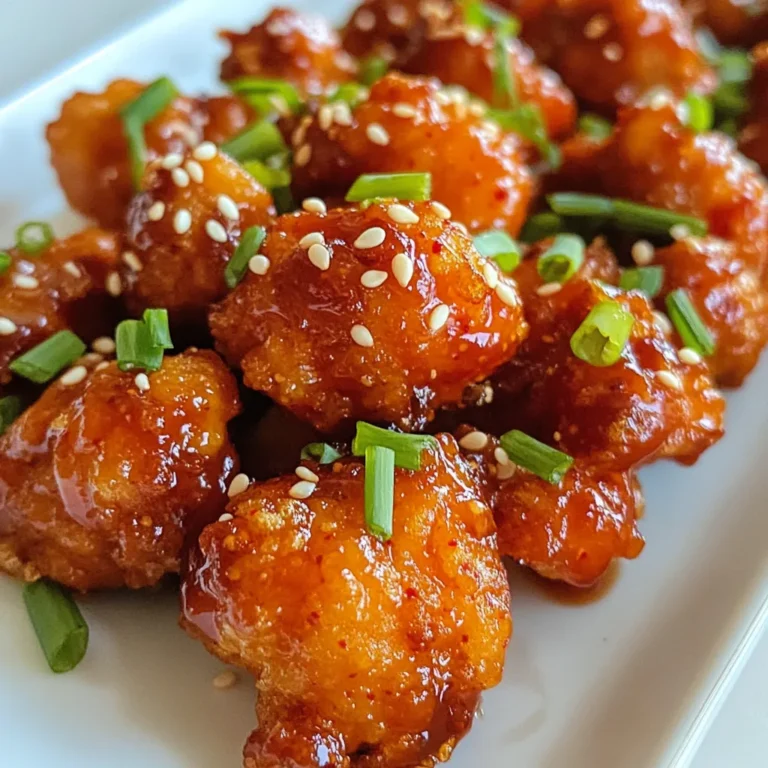
Crispy Korean Popcorn Chicken Delight in Every Bite
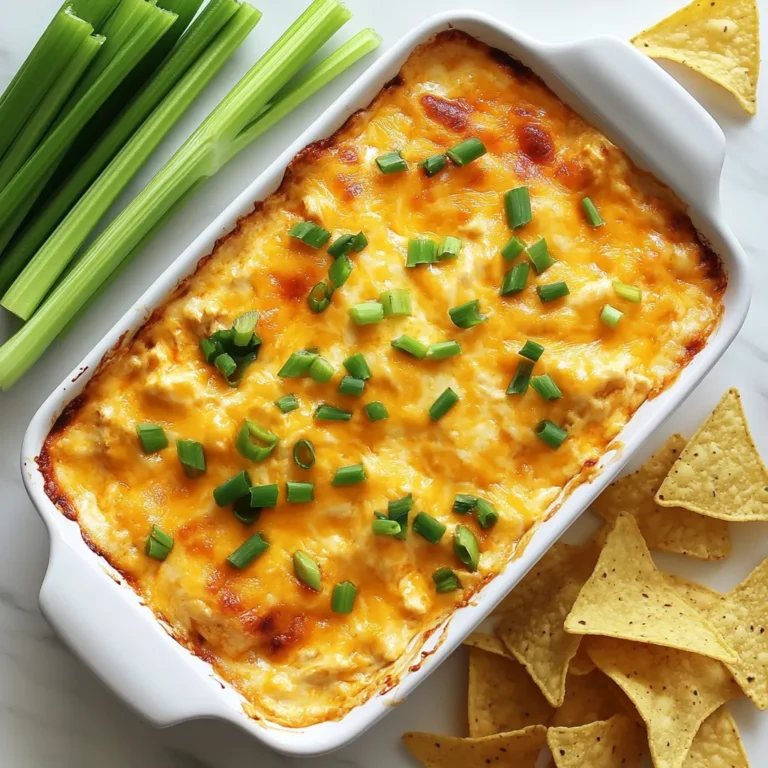
Oven Buffalo Chicken Dip Flavorful and Simple Recipe
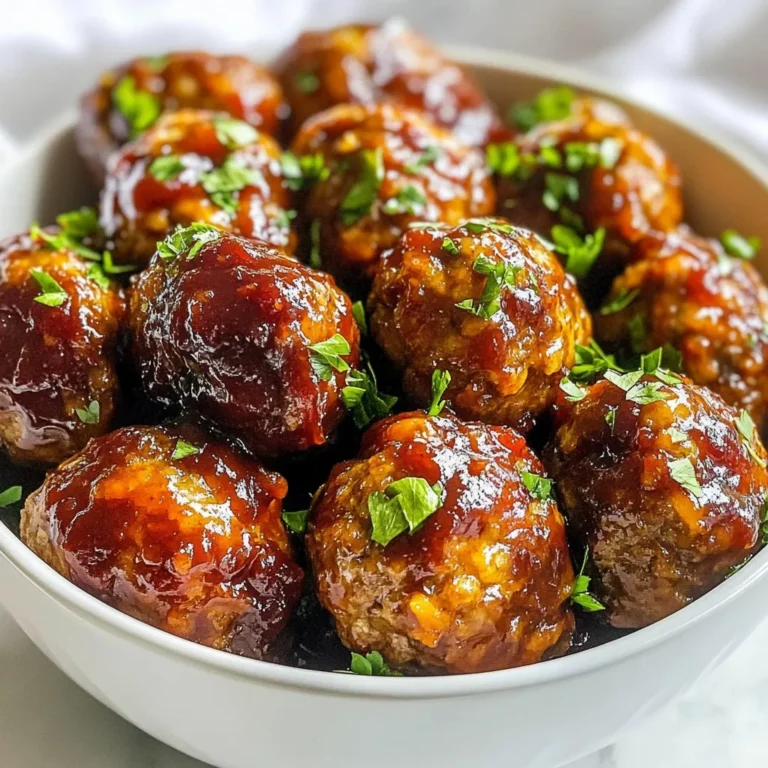
Slow Cooker Cranberry Meatballs Tasty and Easy Meal
Taco Bell Copycat Chicken Quesadilla Easy Recipe
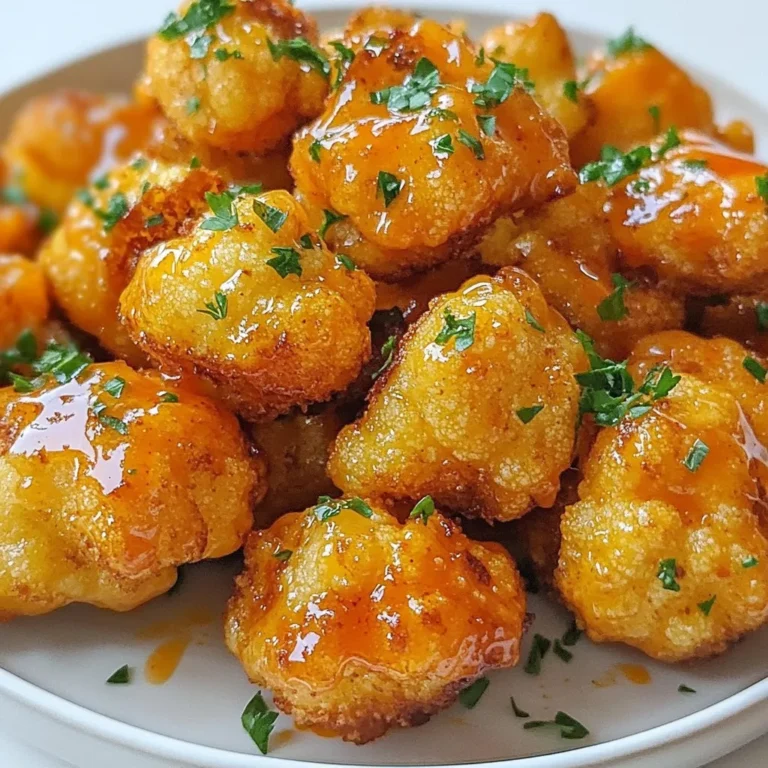
Buffalo Cauliflower Bites Crispy and Flavorful Snack
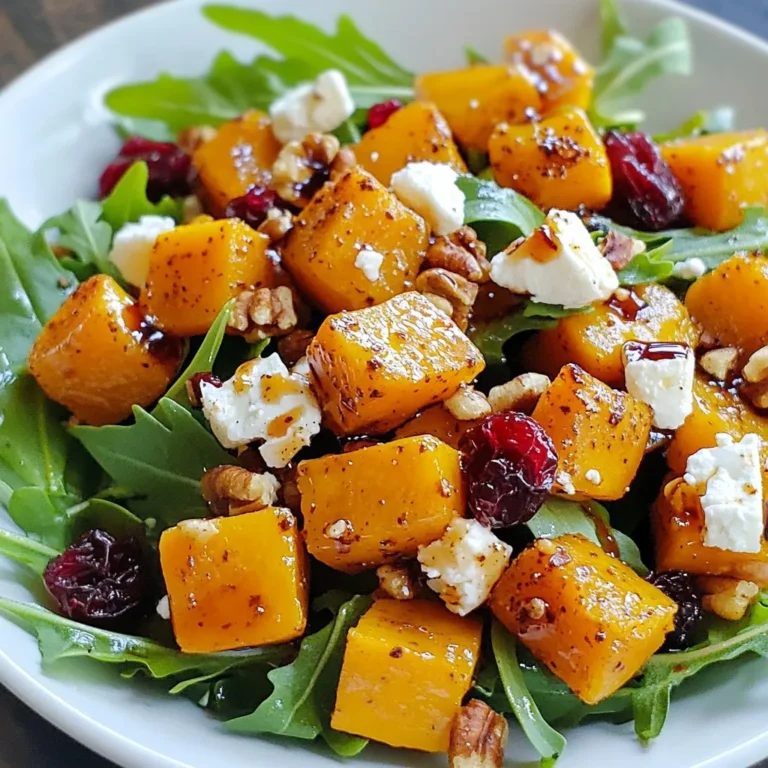
Butternut Squash Feta Salad Fresh and Flavorful Recipe
Japanese Egg Sandwich Tamago Sando Delight Recipe
Thai Peanut Chicken Wraps Easy and Flavorful Recipe
Cheeseburger Pocket Bites Savory and Easy Recipe
Avocado Egg Salad Lettuce Wraps for a Fresh Meal
Page navigation
Previous Page
Previous
1
…
21
22
23
24
25
Next Page
Next
Home
Dinner
Appetizer
Desserts
Drinks
About
Contact
Privacy Policy
Toggle Menu Close
Search for:
Search