Skip to content
About
Contact
Cookie Policy
Copyright Policy
Disclaimer
Search
Home
Dinner
Appetizer
Desserts
Drinks
About
Contact
Privacy Policy
Toggle Menu
Home
/
Appetizer
- Page 24
Appetizer
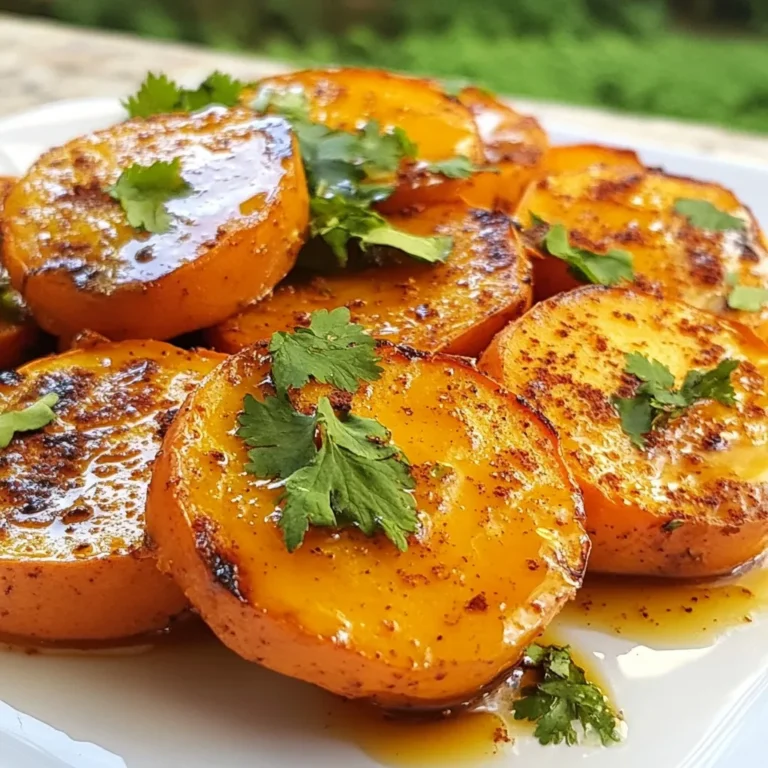
Roasted Sweet Potato Rounds Flavorful and Easy Snack
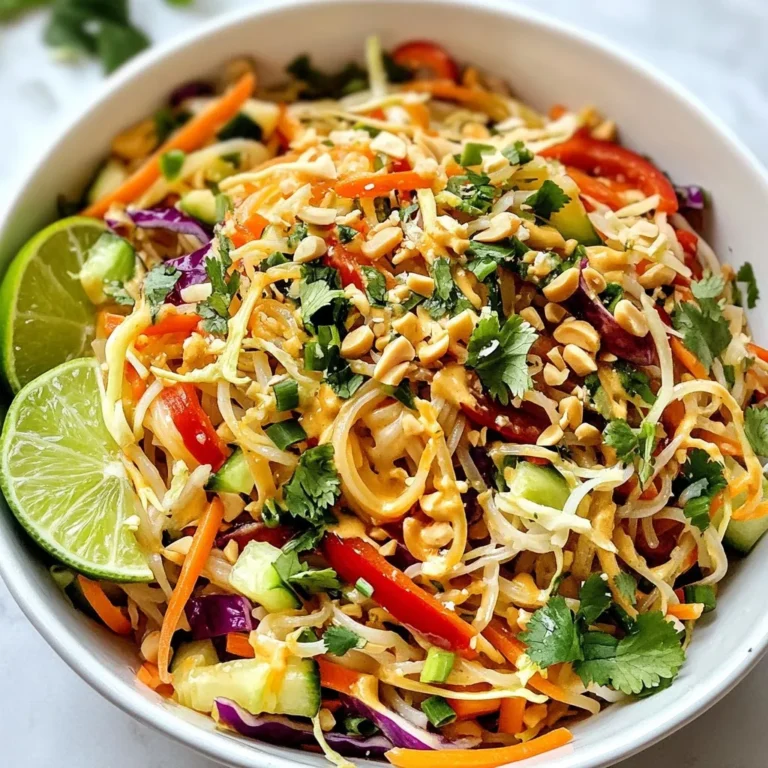
Thai Peanut Noodle Salad Flavorful and Fresh Dish
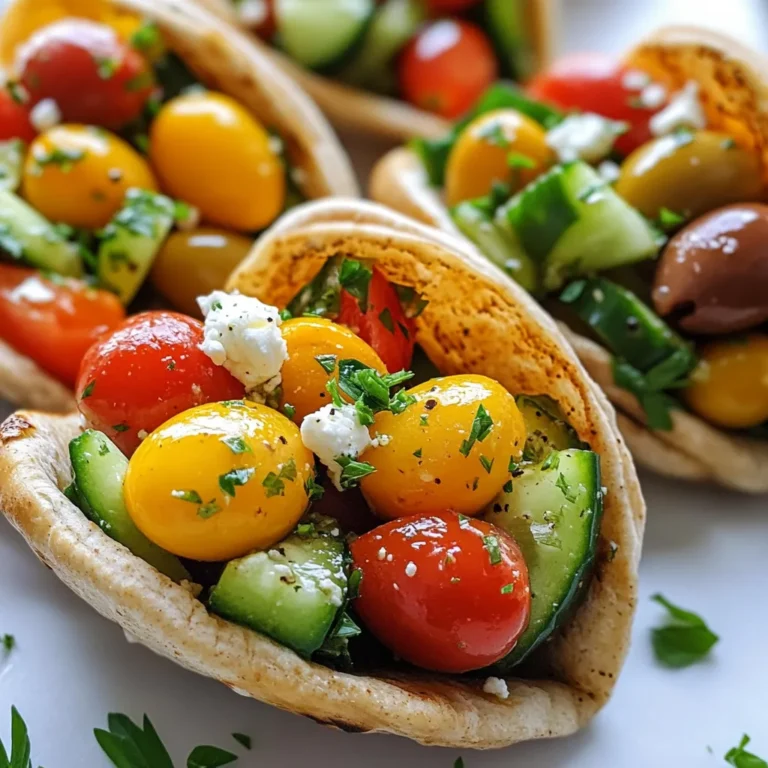
Greek Salad Pita Pockets Fresh and Flavorful Delight
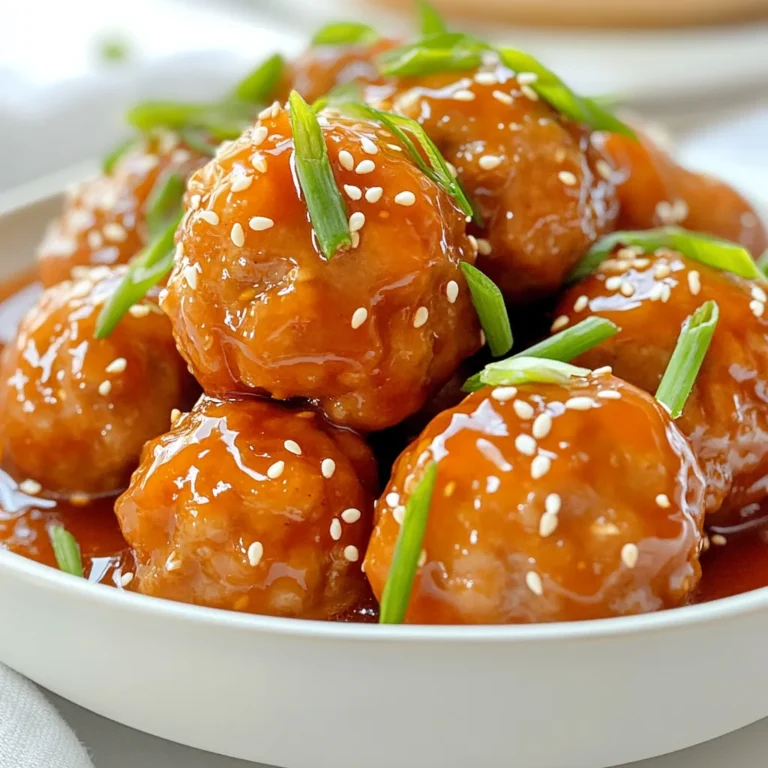
Savory Sweet Chili Crockpot Meatballs Delight
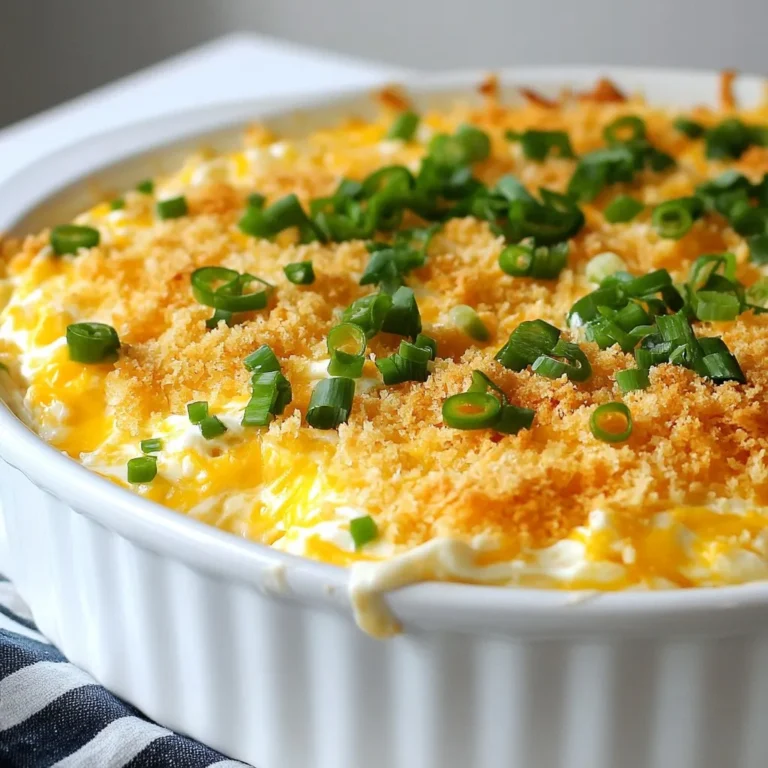
Game Day Jalapeño Popper Dip Hearty Flavorful Treat
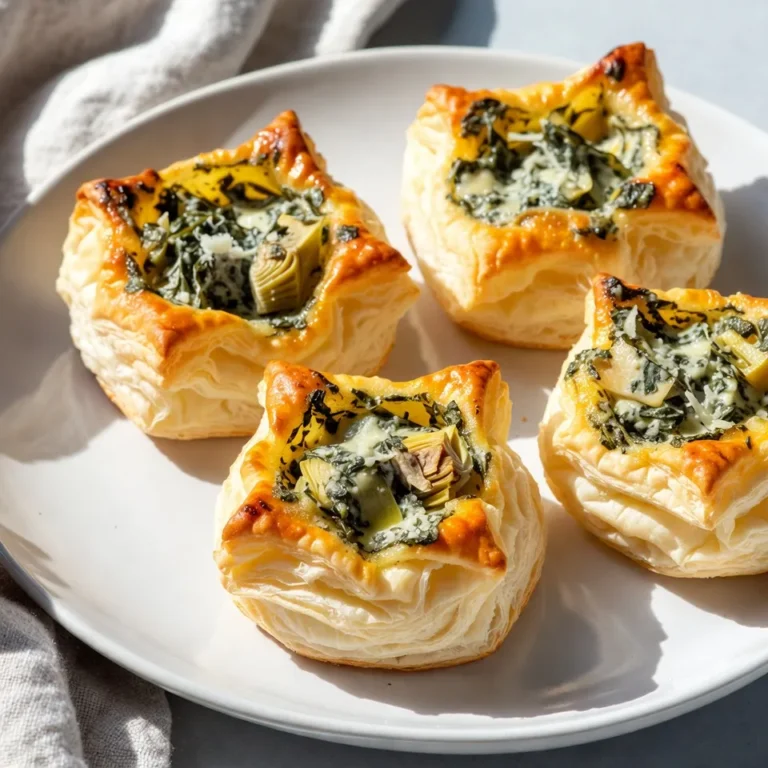
Spinach Artichoke Dip Bites Irresistible Snack Idea
Pesto Mozzarella Christmas Wreath Festive Delight
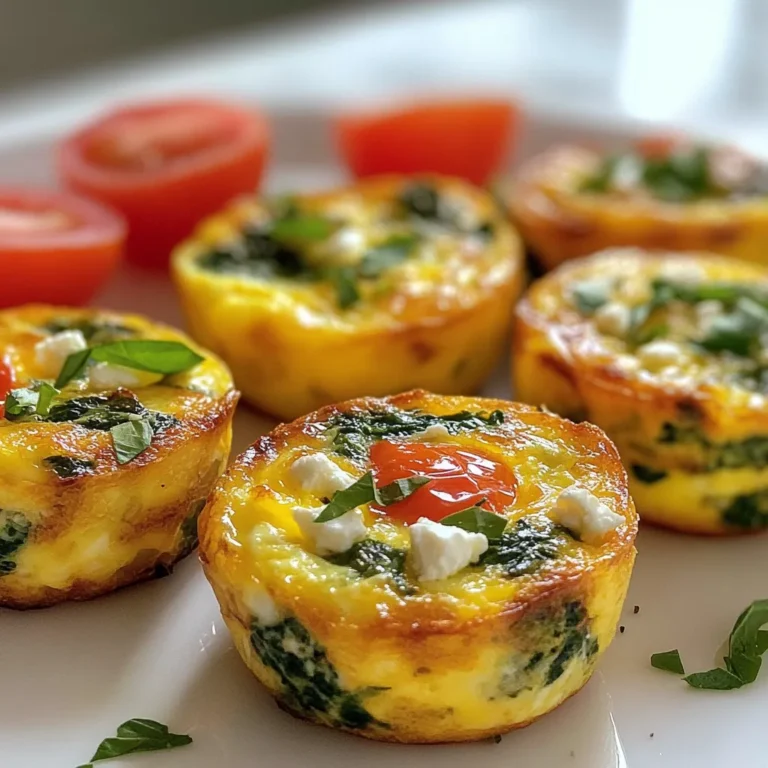
Easy Egg Bites Simple and Delicious Recipe Guide
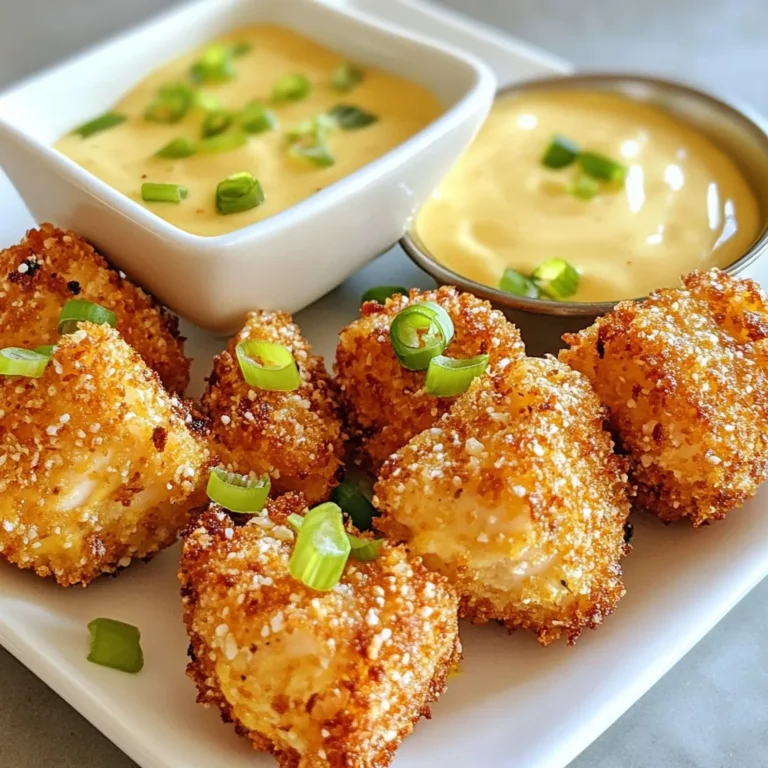
Crispy Bang Bang Salmon Bites Flavorful Delight Recipe
Page navigation
Previous Page
Previous
1
…
22
23
24
Home
Dinner
Appetizer
Desserts
Drinks
About
Contact
Privacy Policy
Toggle Menu Close
Search for:
Search