Skip to content
About
Contact
Cookie Policy
Copyright Policy
Disclaimer
Search
Home
Dinner
Appetizer
Desserts
Drinks
About
Contact
Privacy Policy
Toggle Menu
Home
/
Appetizer
- Page 3
Appetizer
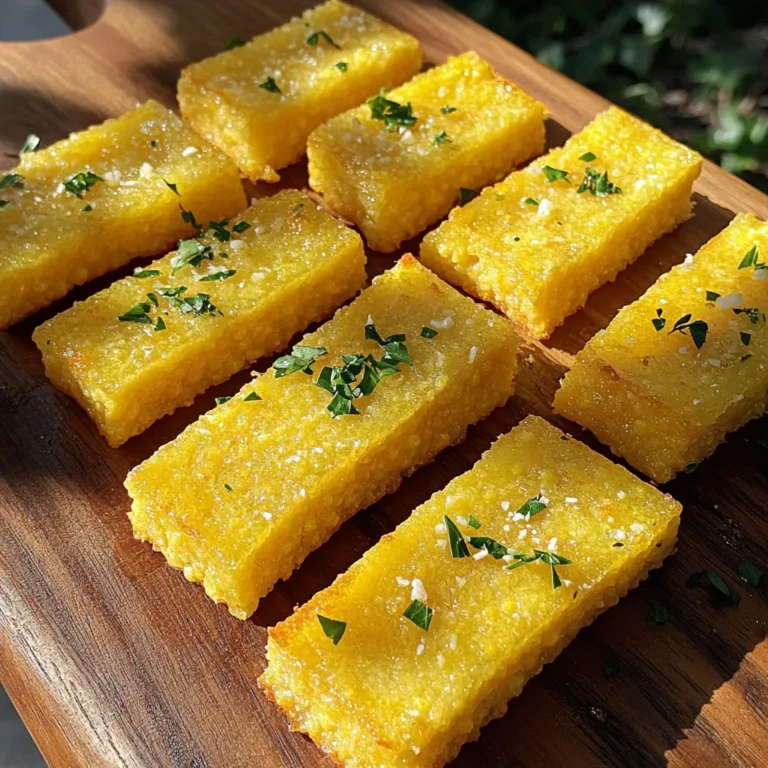
Savory Parmesan Polenta Fries Crispy and Flavorful Snack
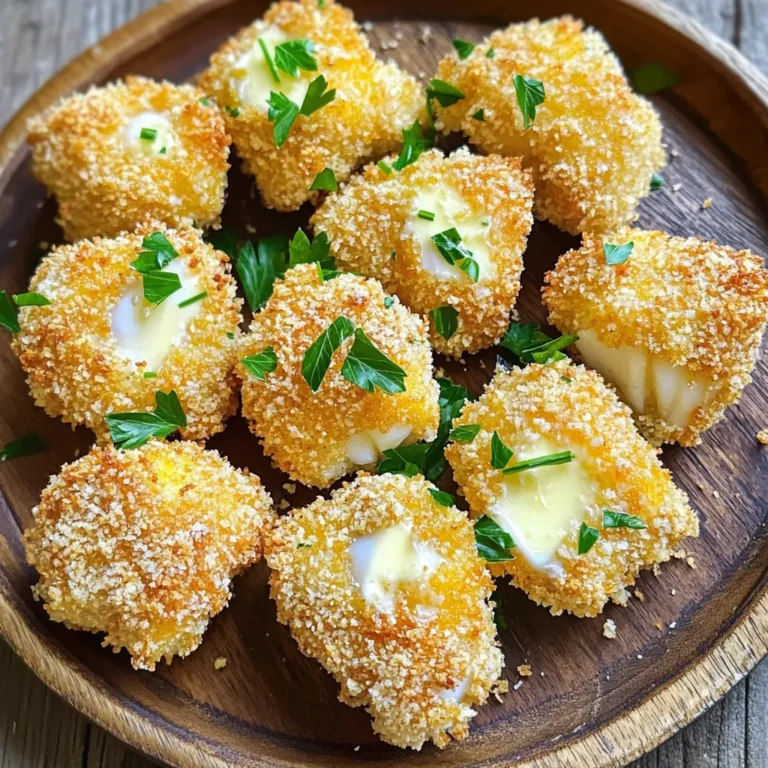
Air Fryer Garlic Butter Cod Bites Tasty Quick Recipe
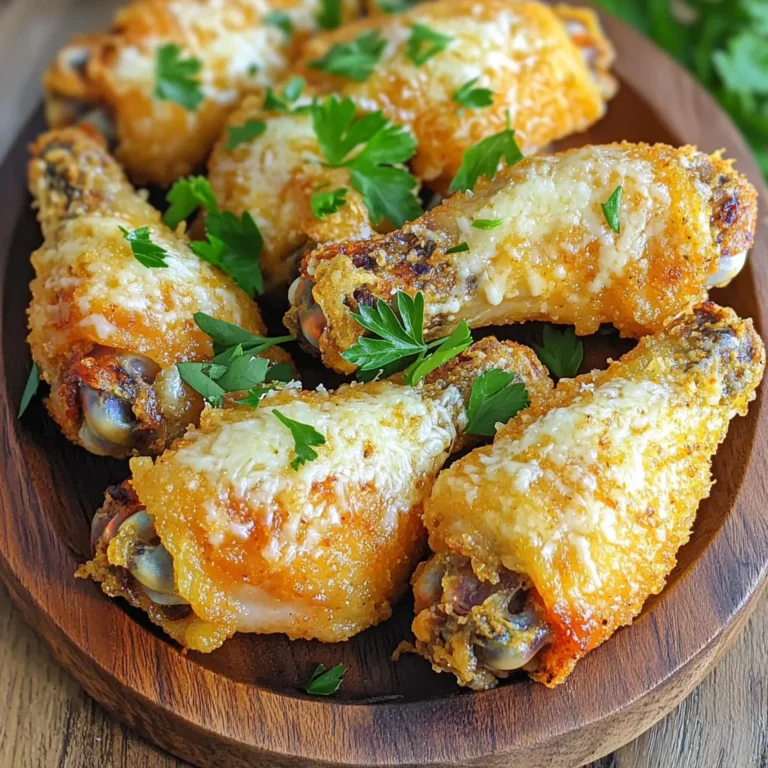
Air Fryer Garlic Parmesan Chicken Wings Delightful Recipe
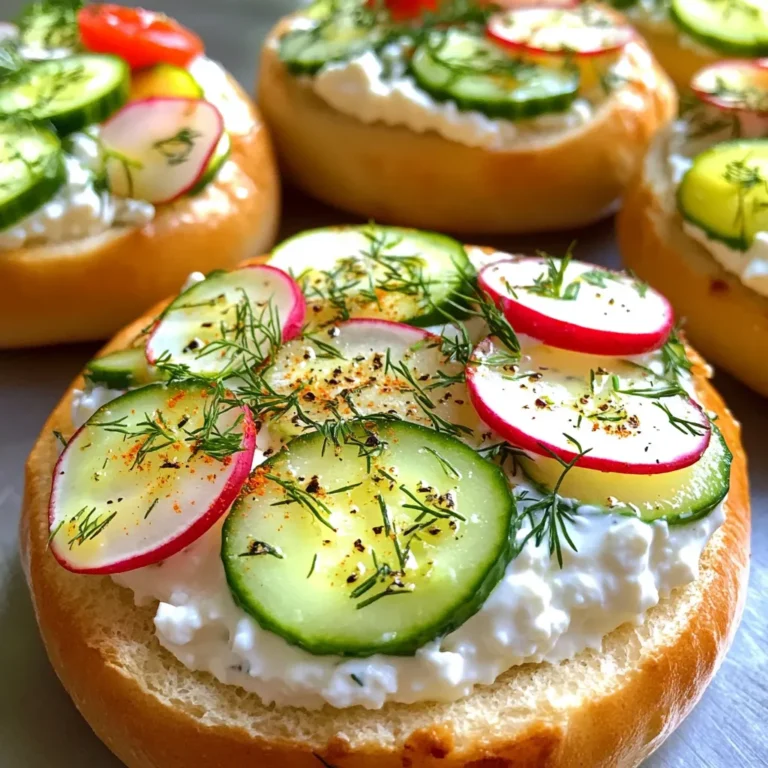
Cottage Cheese Bagel Spread High Protein Delight
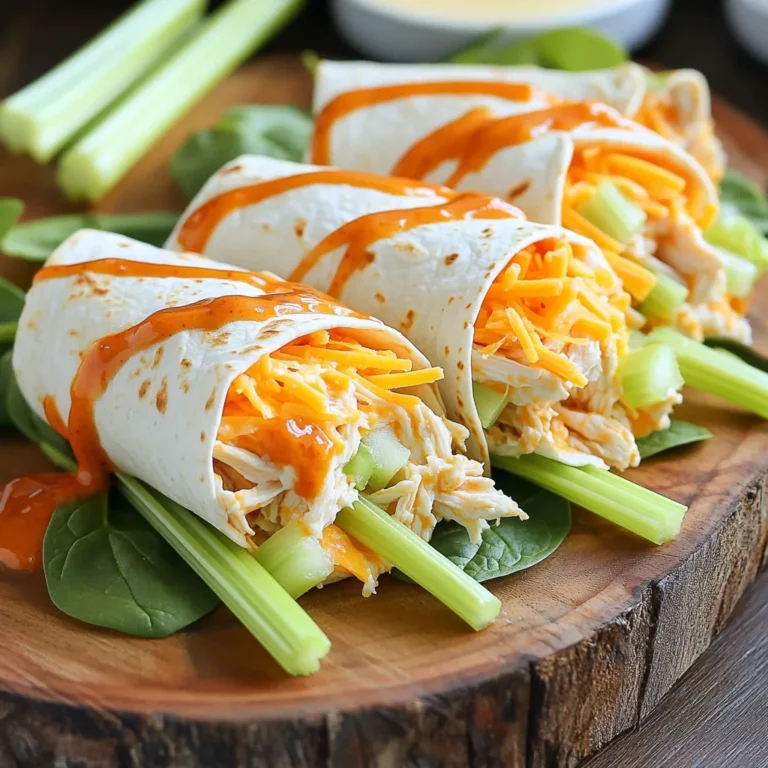
Minute Buffalo Chicken Wraps Flavorful and Simple Meal
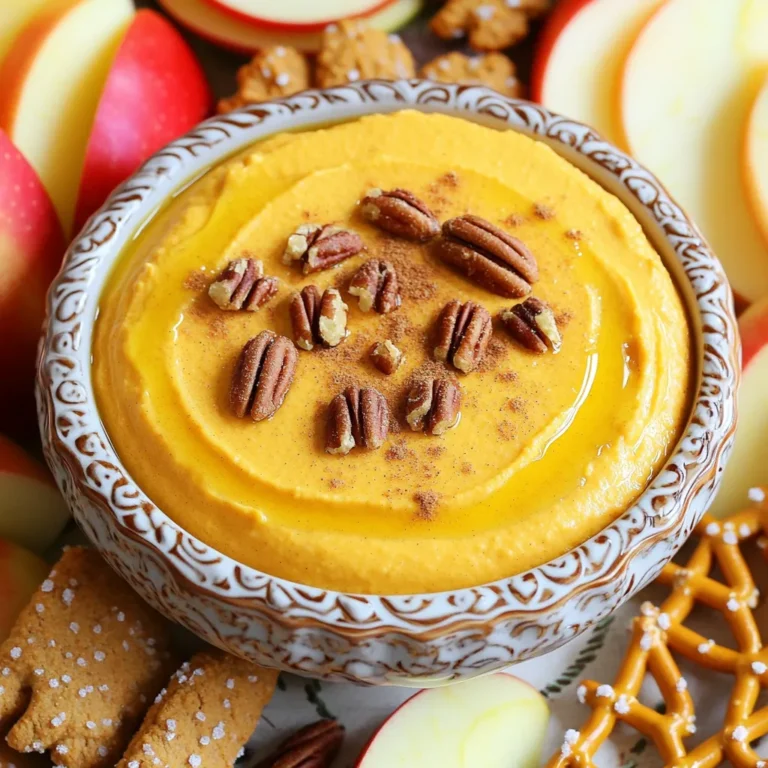
Pumpkin Spice Cream Cheese Dip Delightful Fall Treat
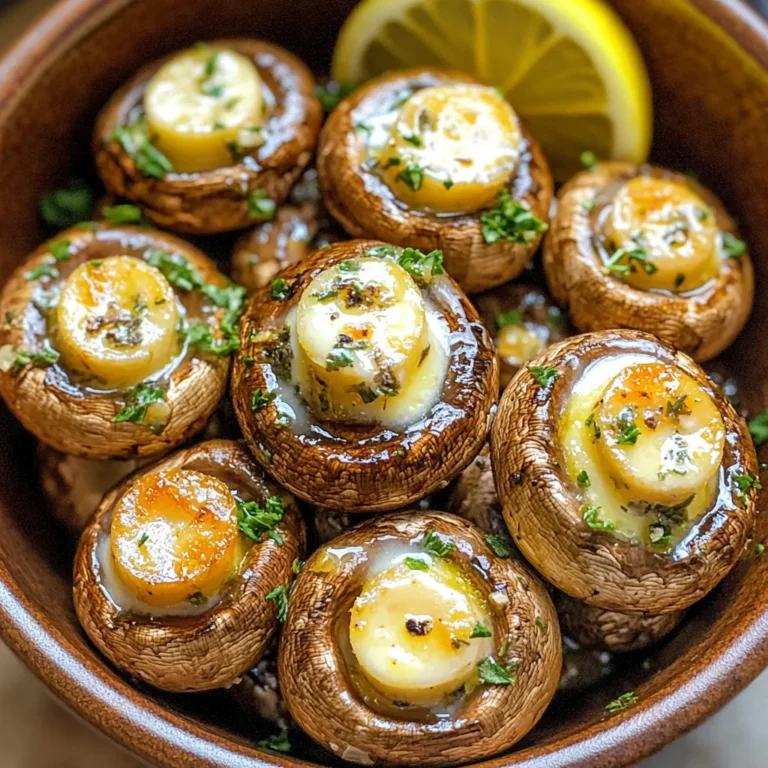
Air Fryer Garlic Butter Mushrooms Easy Flavor Boost
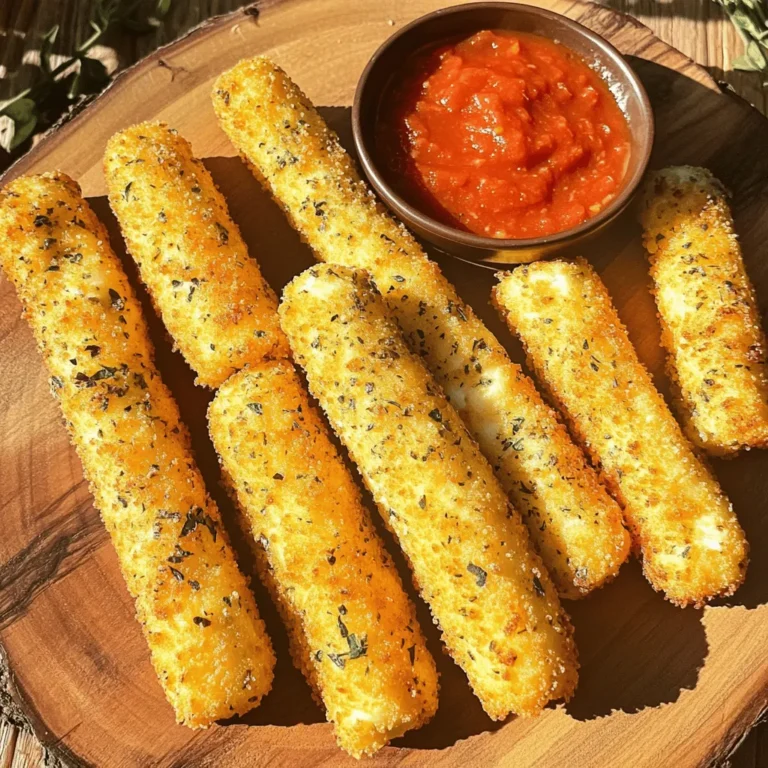
Air Fryer Mozzarella Sticks Crispy and Tasty Snack
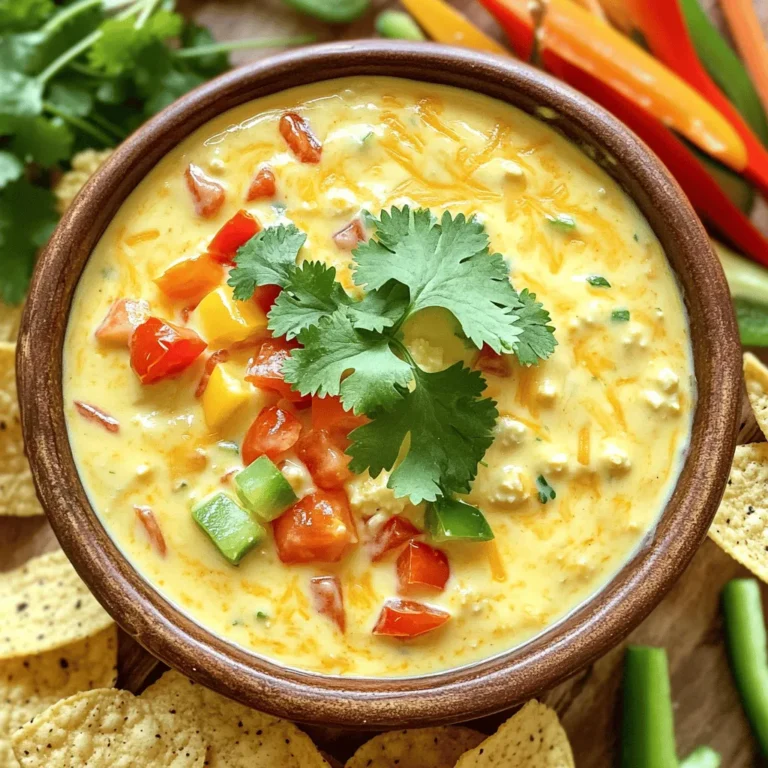
Protein Cottage Cheese Queso Flavorful Dish to Enjoy
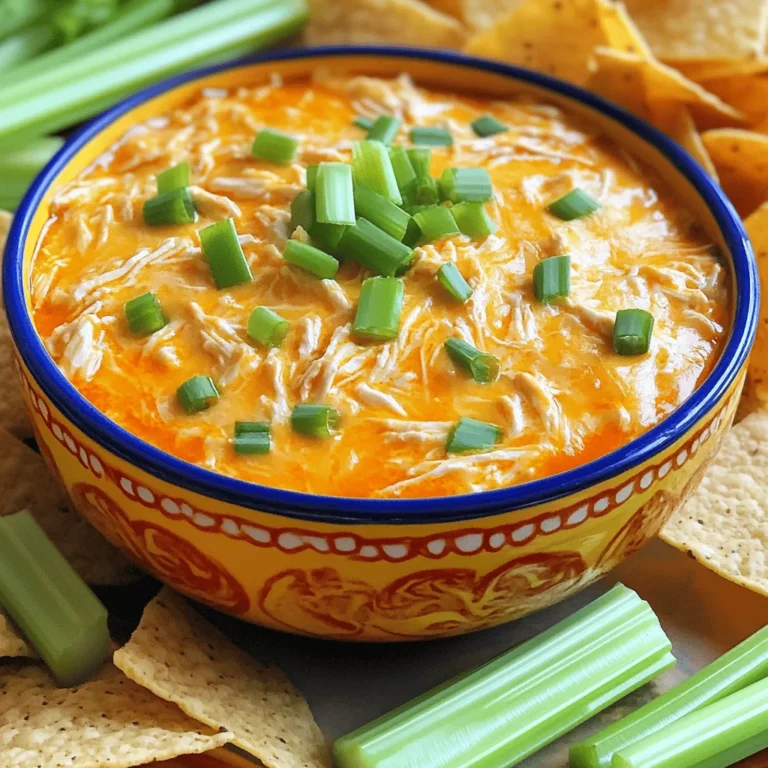
Slow Cooker Buffalo Chicken Dip Easy and Flavorful Dish
Page navigation
Previous Page
Previous
1
2
3
4
5
…
24
Next Page
Next
Home
Dinner
Appetizer
Desserts
Drinks
About
Contact
Privacy Policy
Toggle Menu Close
Search for:
Search