Skip to content
About
Contact
Cookie Policy
Copyright Policy
Disclaimer
Search
Home
Dinner
Appetizer
Desserts
Drinks
About
Contact
Privacy Policy
Toggle Menu
Home
/
Appetizer
- Page 4
Appetizer
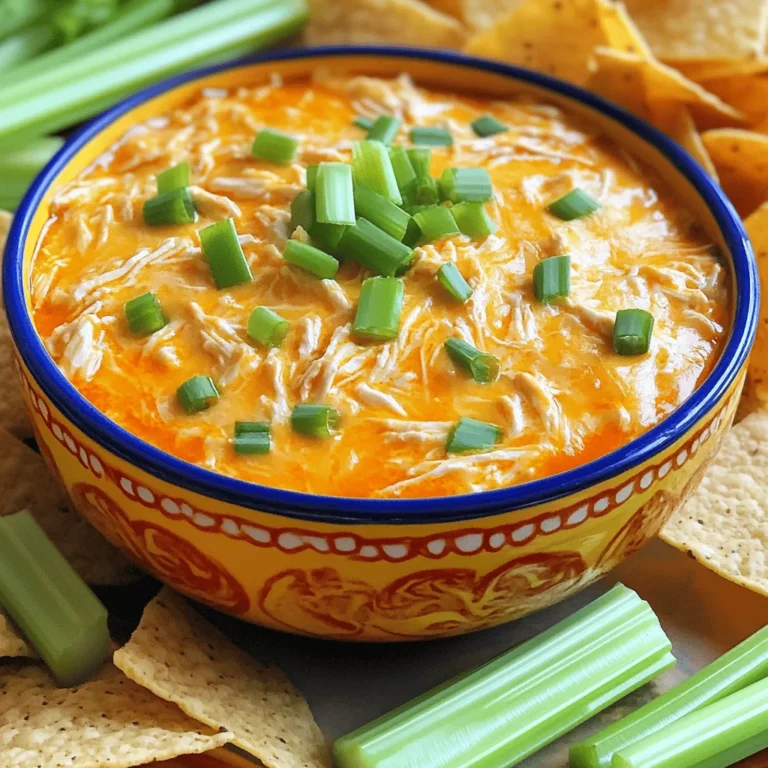
Slow Cooker Buffalo Chicken Dip Easy and Flavorful Dish
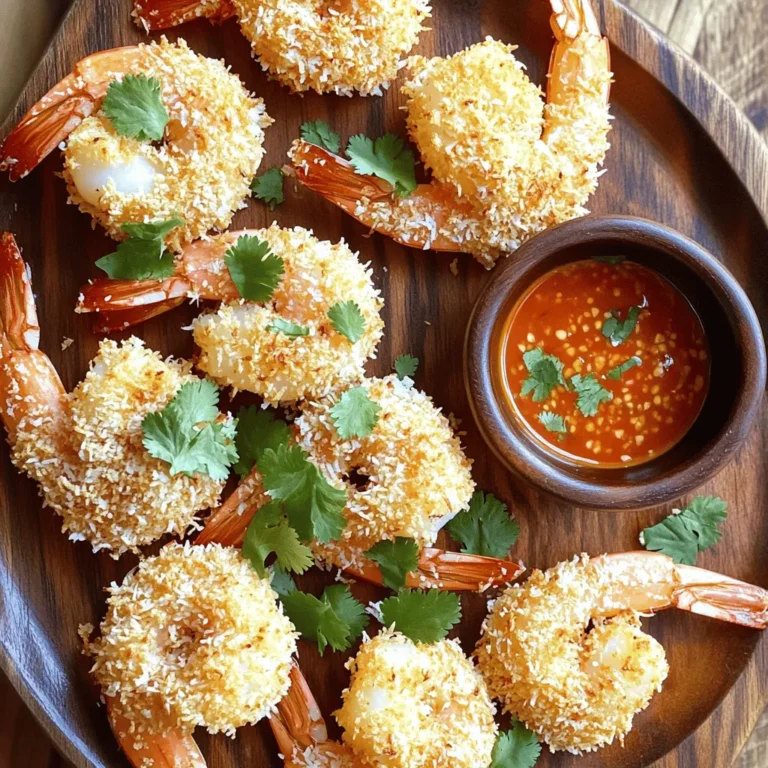
Air Fryer Coconut Shrimp With Dip Tasty and Easy Recipe
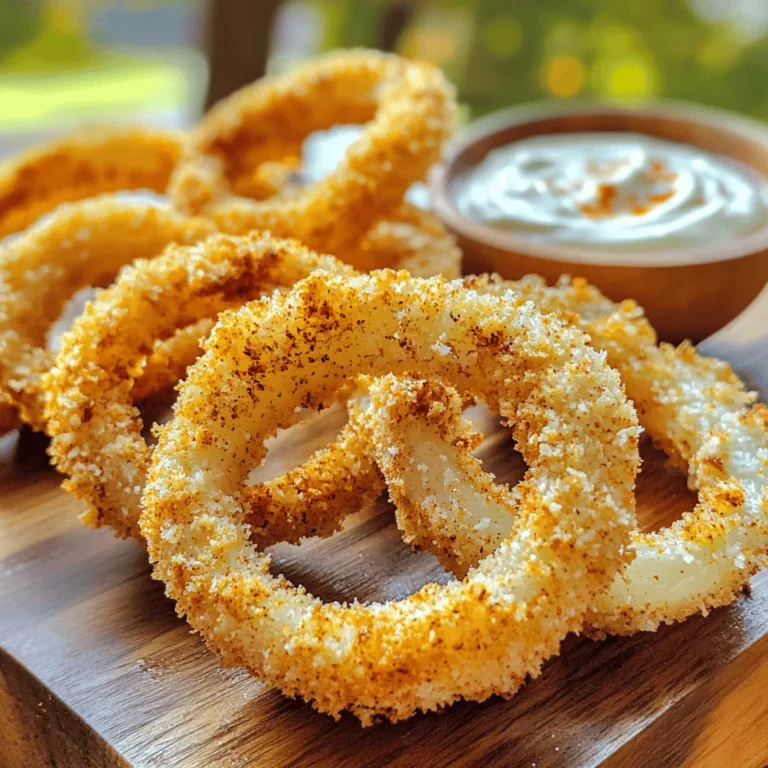
Air Fryer Onion Rings with Ranch Simple and Crispy
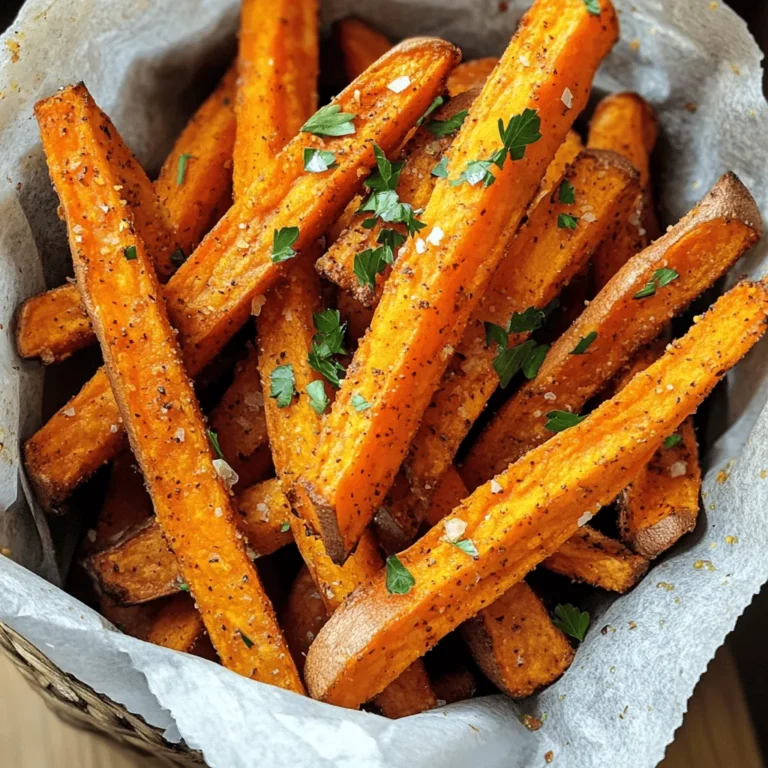
Crispy Air Fryer Sweet Potato Fries Recipe Delight
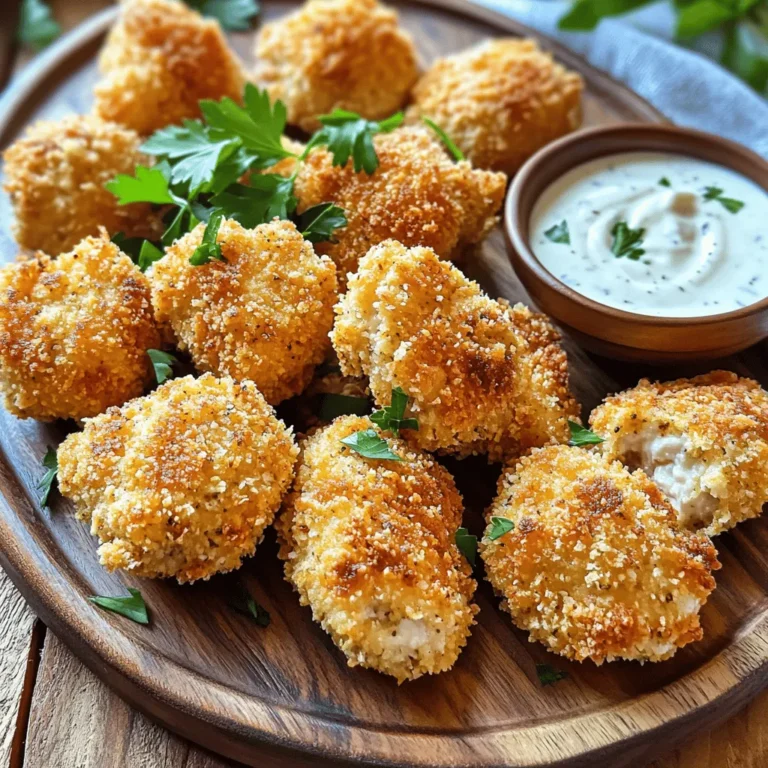
Air Fryer Ranch Chicken Nuggets Crispy and Delicious
Air Fryer Jalapeño Poppers Crunchy and Flavorful Snack
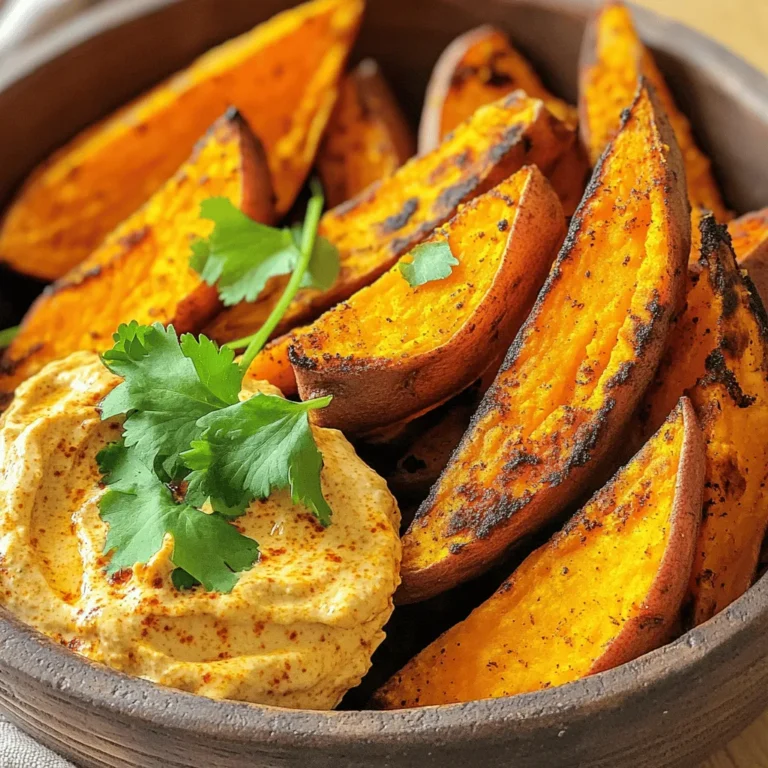
Air Fryer Sweet Potato Wedges With Chipotle Dip Delight
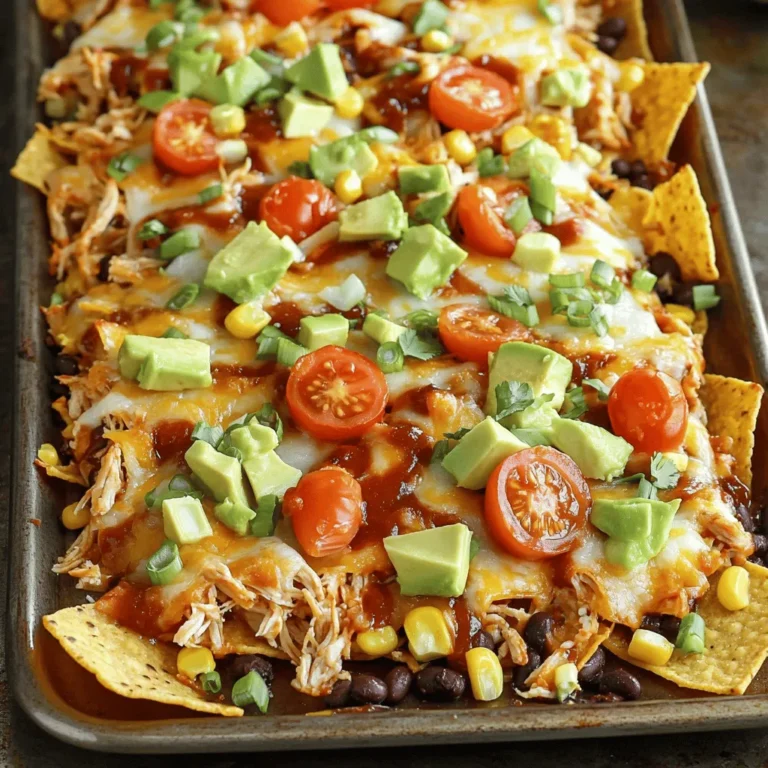
Sheet Pan BBQ Chicken Nachos Great for Gatherings
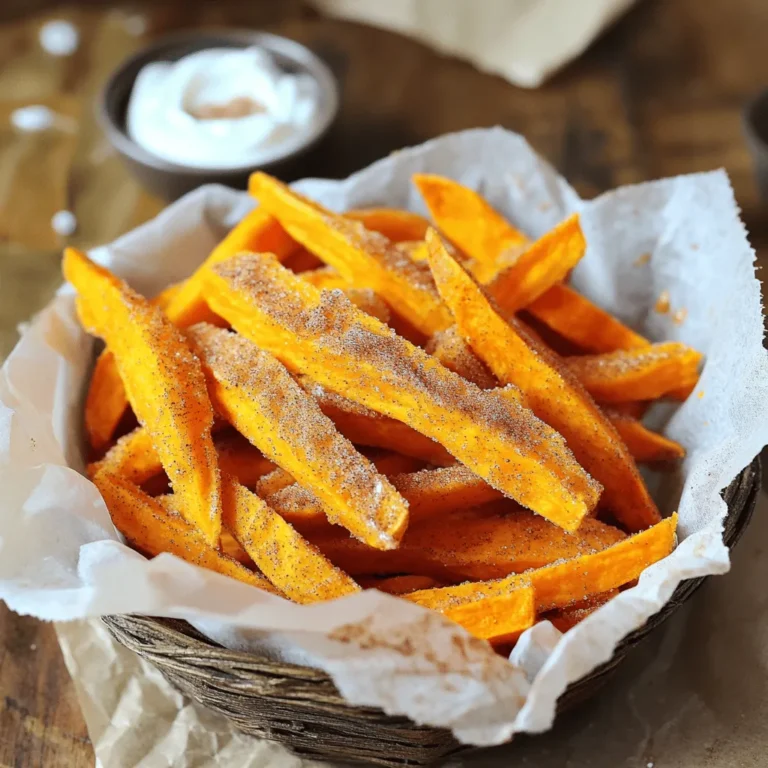
Cinnamon Sugar Sweet Potato Fries Irresistible Treat
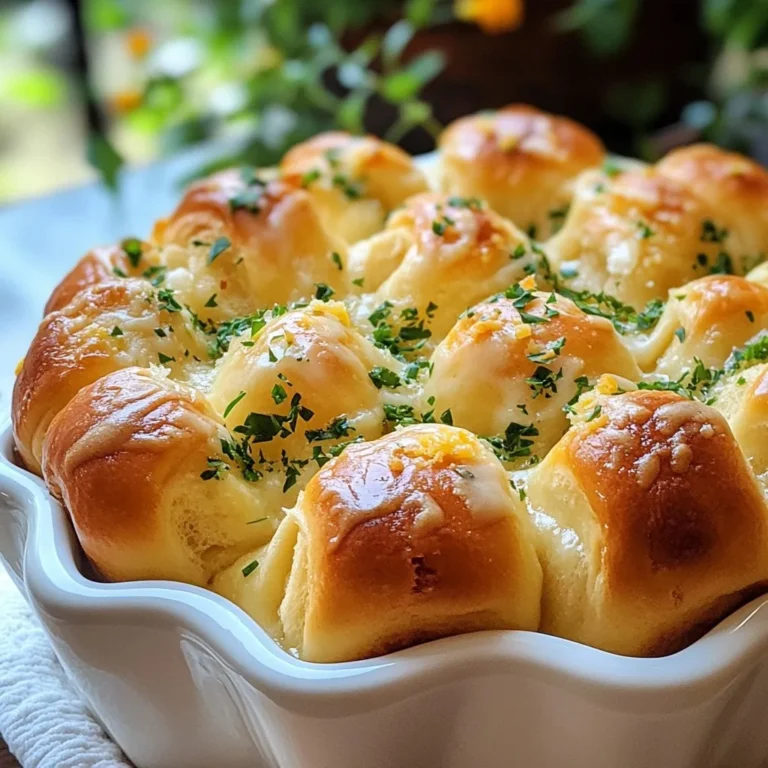
Garlic Parmesan Pull-Apart Rolls Easy and Tasty Recipe
Page navigation
Previous Page
Previous
1
2
3
4
5
6
…
25
Next Page
Next
Home
Dinner
Appetizer
Desserts
Drinks
About
Contact
Privacy Policy
Toggle Menu Close
Search for:
Search