Skip to content
About
Contact
Cookie Policy
Copyright Policy
Disclaimer
Search
Home
Dinner
Appetizer
Desserts
Drinks
About
Contact
Privacy Policy
Toggle Menu
Home
/
Appetizer
- Page 5
Appetizer
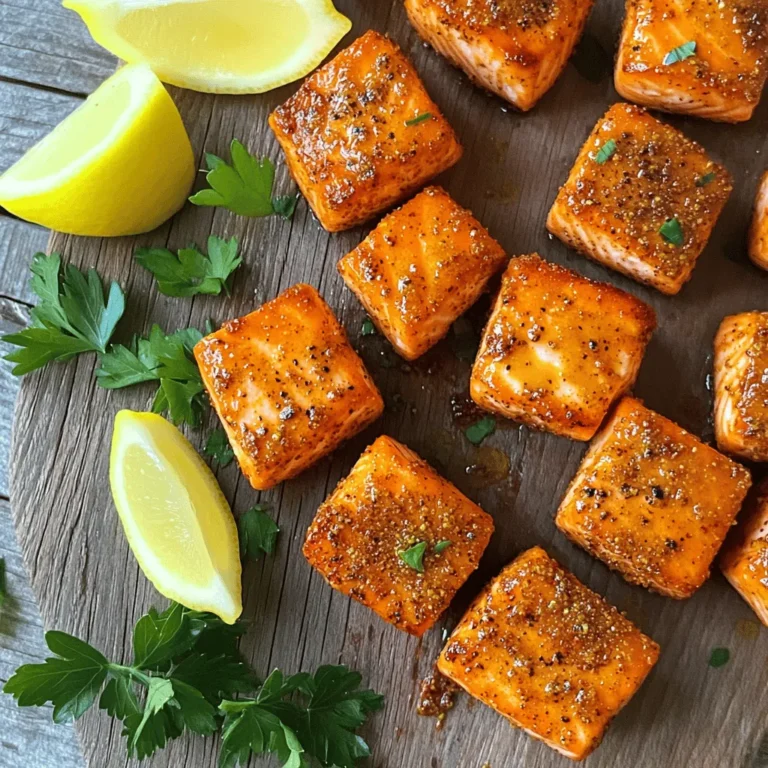
Air Fryer Cajun Salmon Bites Tasty and Easy Recipe
Cheddar Jalapeño Cornbread Muffins Easy Flavor Boost
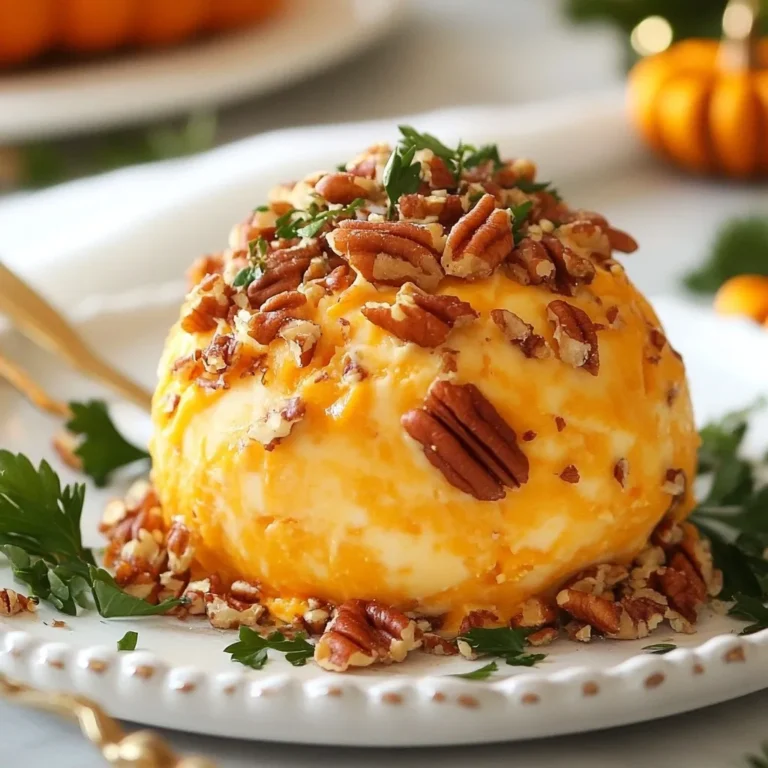
Pumpkin Cheese Ball Perfect for Holiday Parties
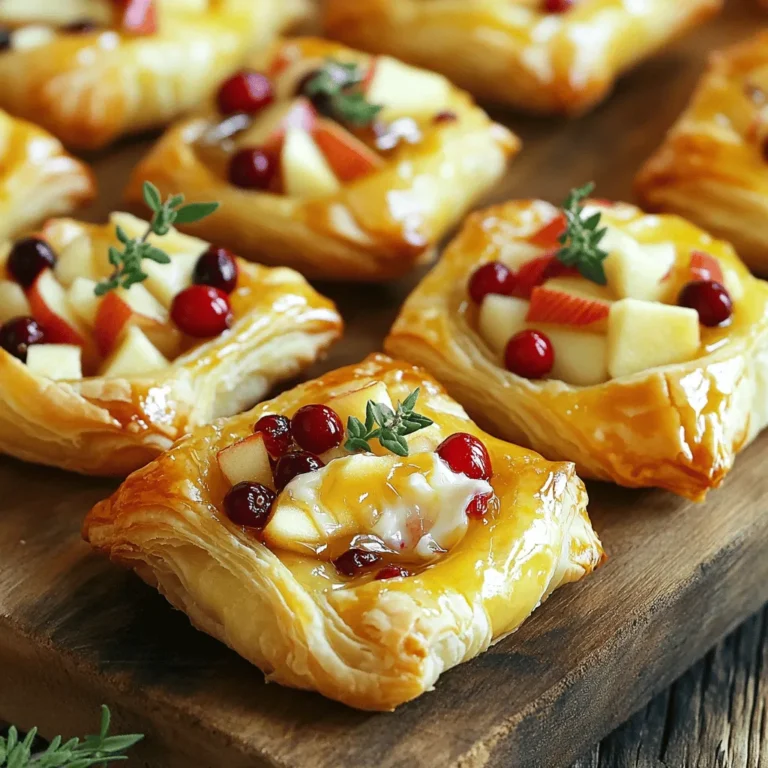
Apple Cranberry Brie Puff Pastry Bites Delight
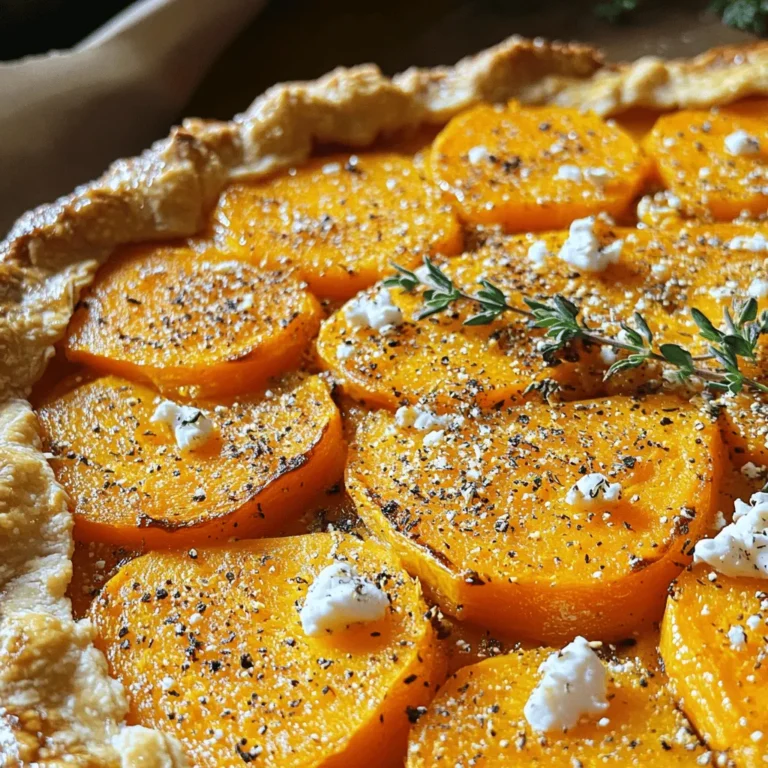
Butternut Squash and Goat Cheese Galette Delight
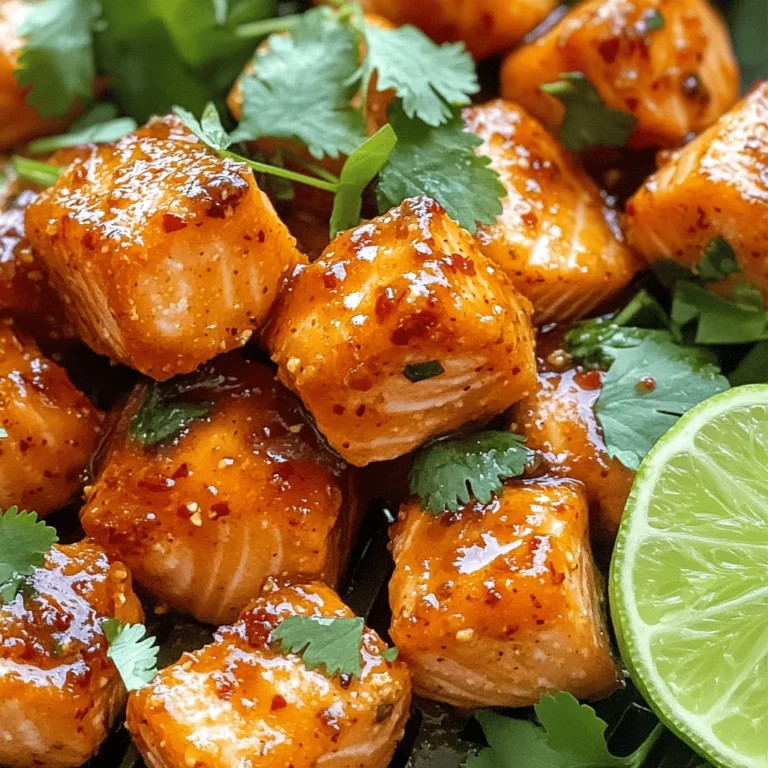
Air Fryer Sweet Chili Salmon Bites Delightful Recipe
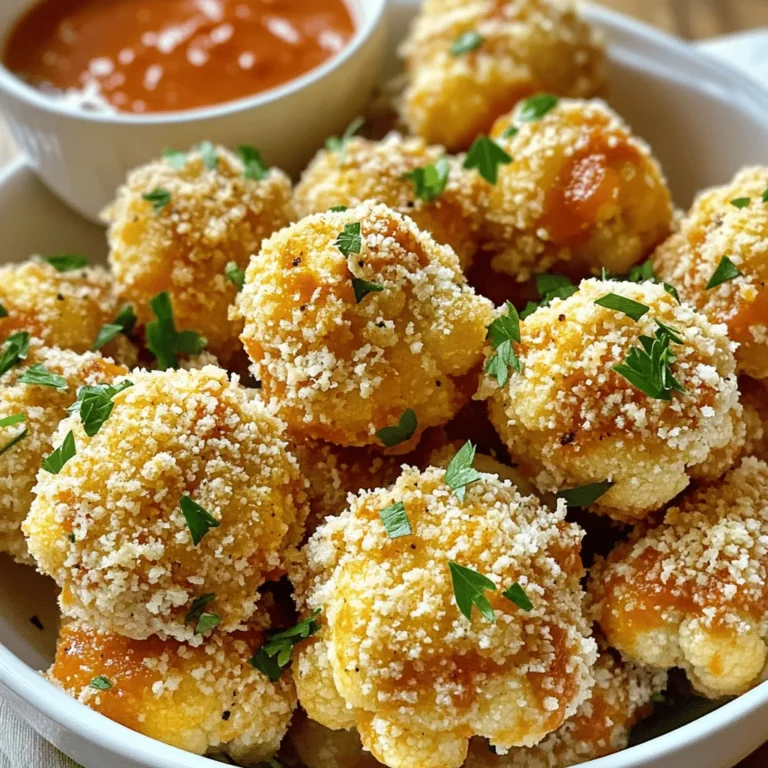
Crispy Garlic Parmesan Cauliflower Bites Delight
Air Fryer Buffalo Chicken Taquitos Simple and Tasty
Air Fryer Crispy Honey Garlic Cauliflower Delight
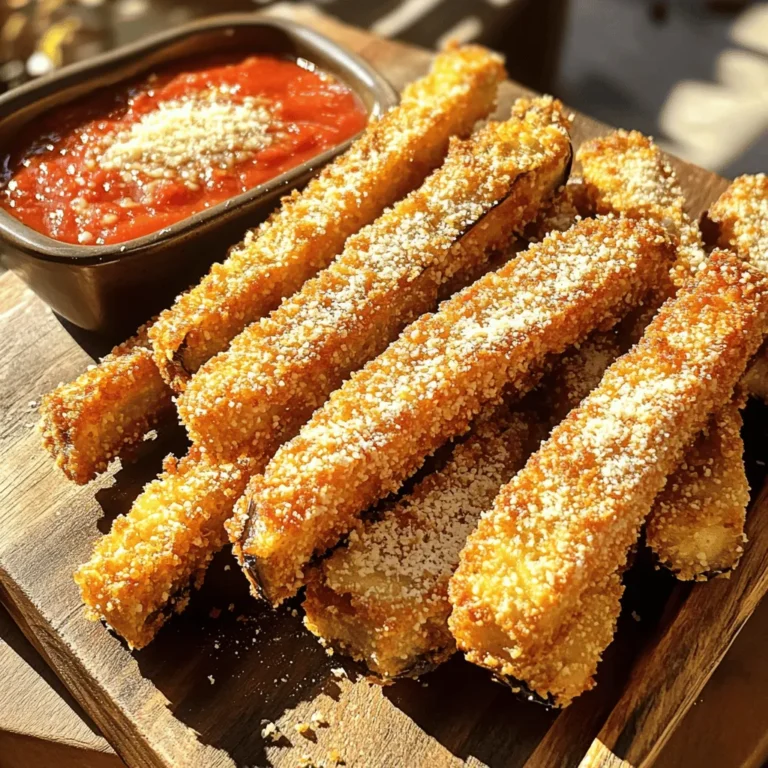
Air Fryer Crispy Parmesan Eggplant Fries Delight
Page navigation
Previous Page
Previous
1
…
3
4
5
6
7
…
25
Next Page
Next
Home
Dinner
Appetizer
Desserts
Drinks
About
Contact
Privacy Policy
Toggle Menu Close
Search for:
Search