Skip to content
About
Contact
Cookie Policy
Copyright Policy
Disclaimer
Search
Home
Dinner
Appetizer
Desserts
Drinks
About
Contact
Privacy Policy
Toggle Menu
Home
/
Appetizer
- Page 6
Appetizer
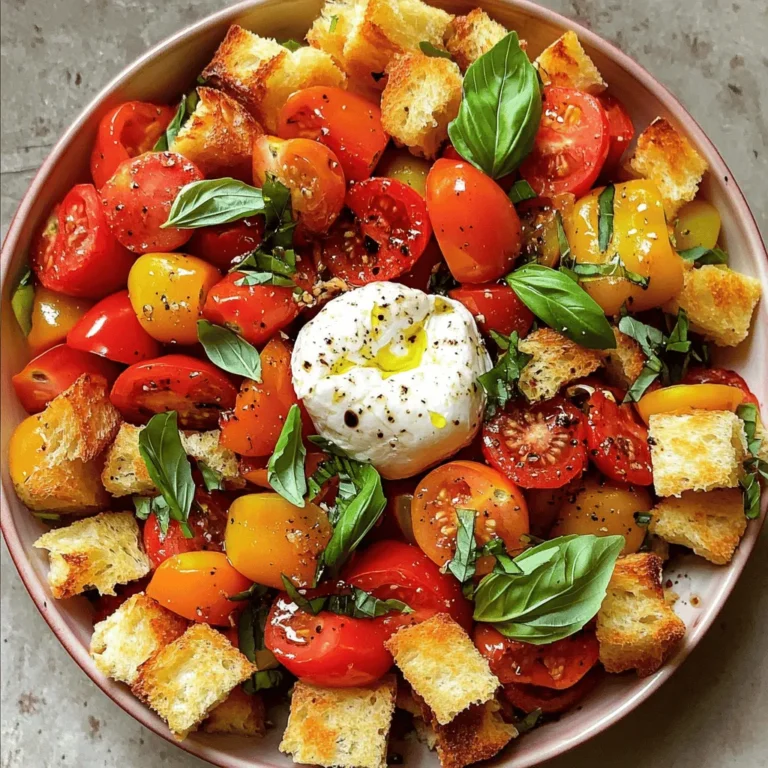
Tomato Burrata Panzanella Salad Fresh and Flavorful
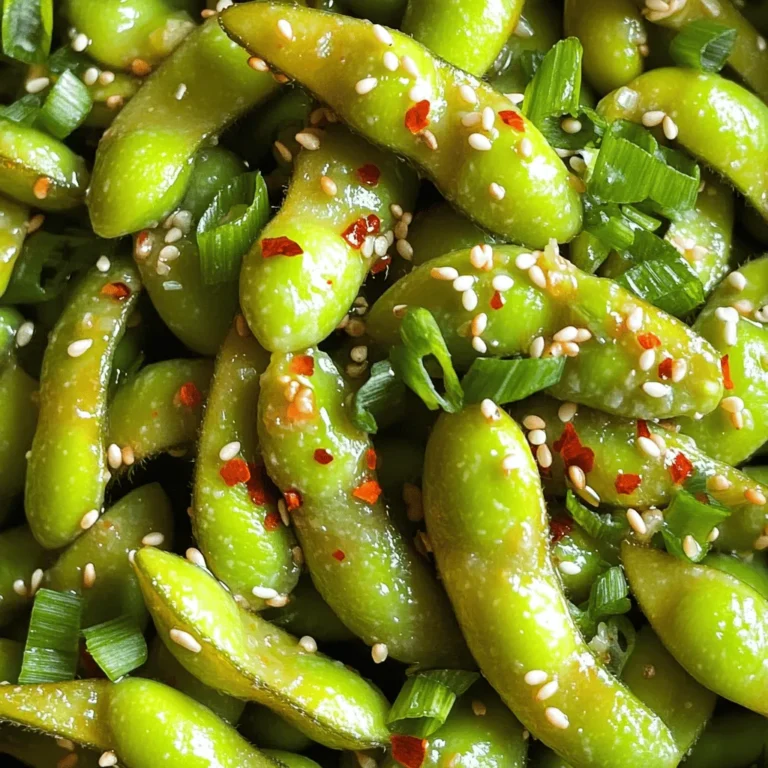
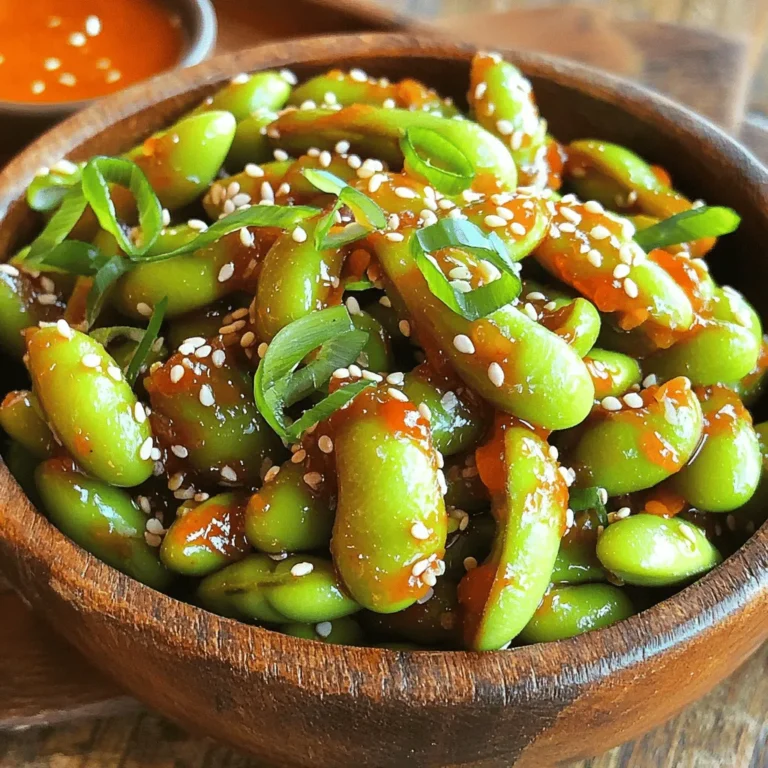
Spicy Garlic Edamame Delightful and Flavorful Snack
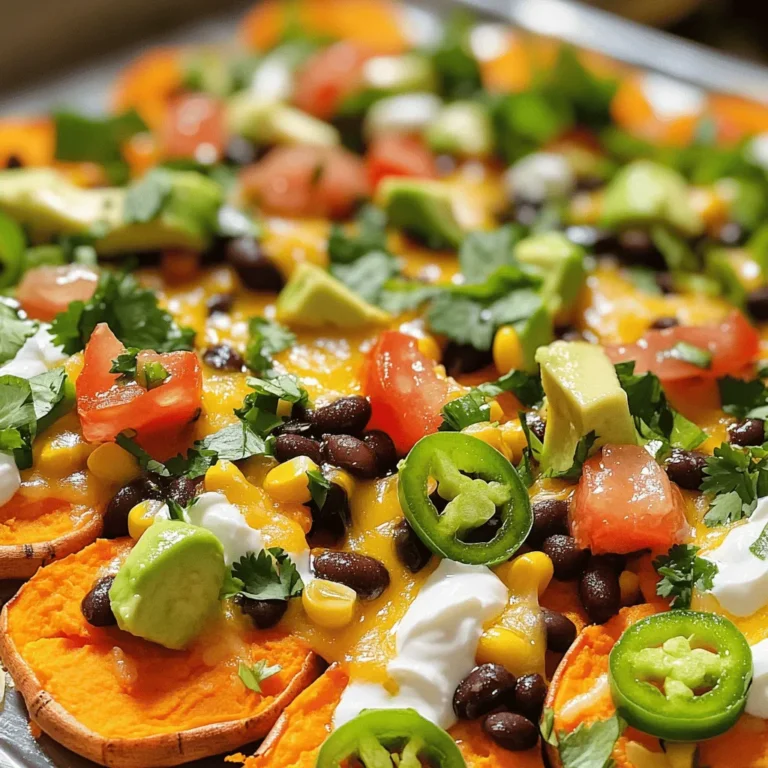
Loaded Sweet Potato Nachos Delicious and Nutritious Dish
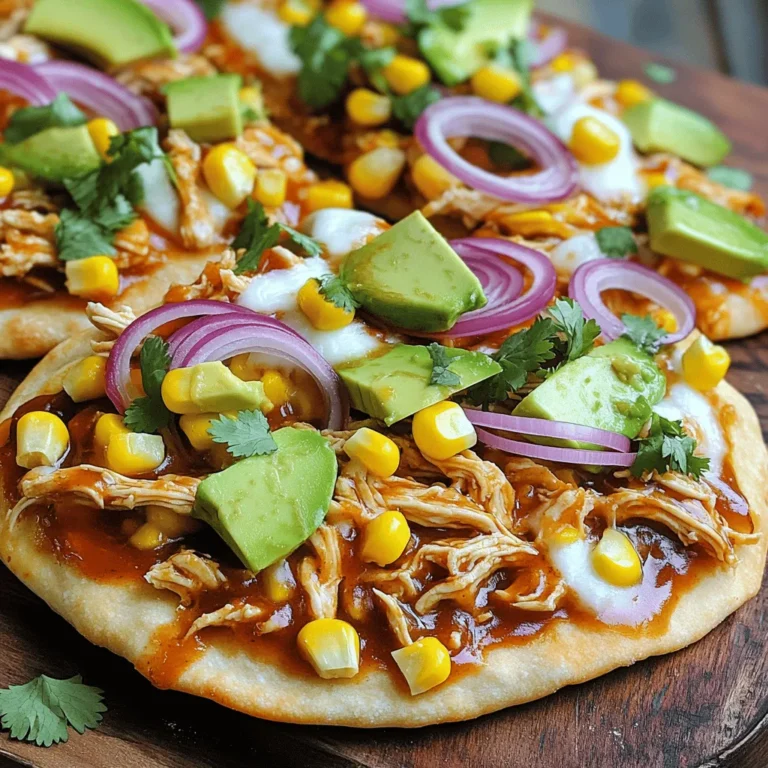
BBQ Chicken Flatbread Easy and Delicious Recipe
Sweet Chili Garlic Edamame Flavorful Snack Recipe
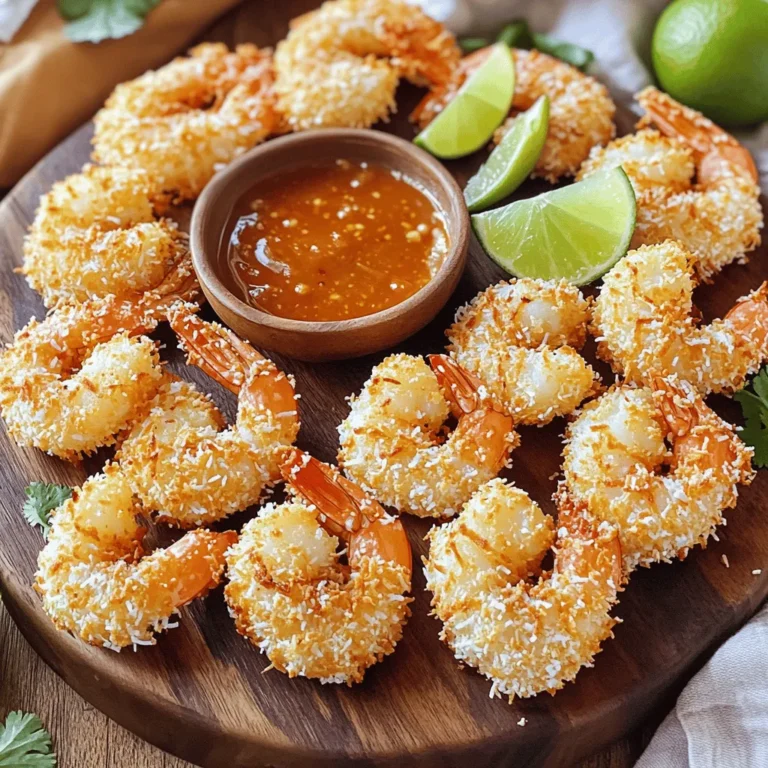
Air Fryer Coconut Shrimp Crispy and Tasty Delight
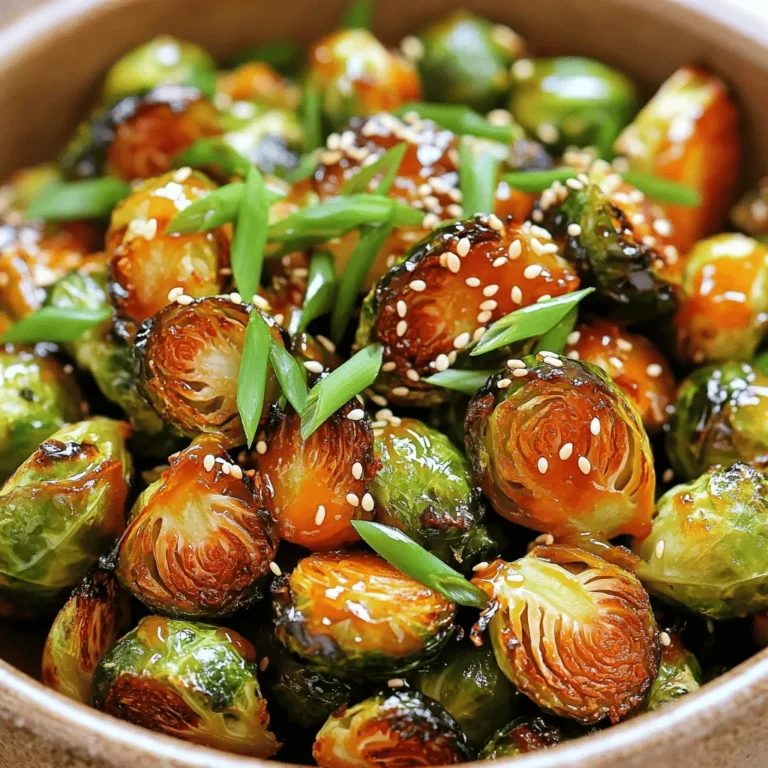
Honey Sriracha Brussels Sprouts Flavorful Side Dish
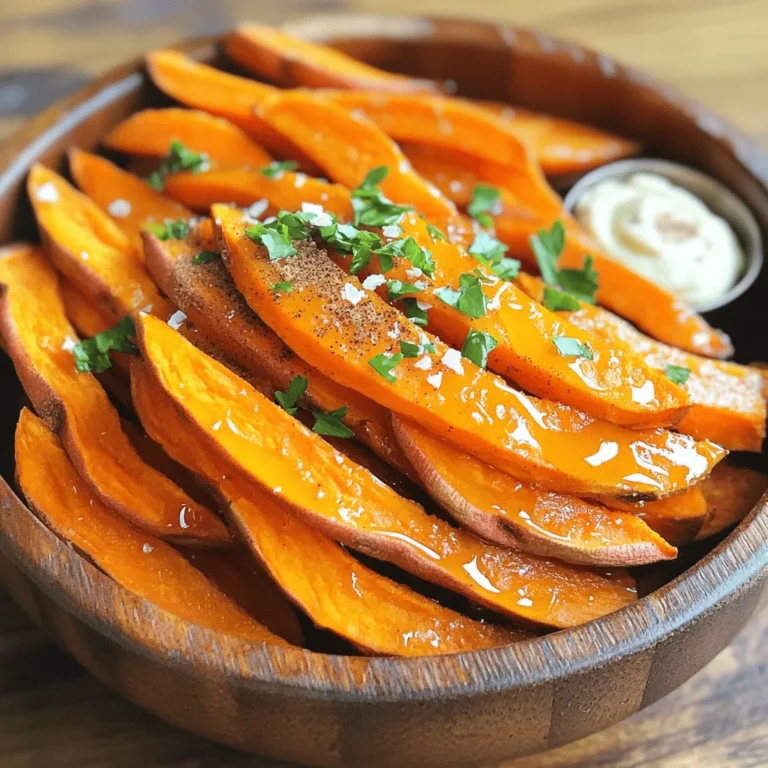
Maple Glazed Sweet Potato Fries Flavorful and Easy
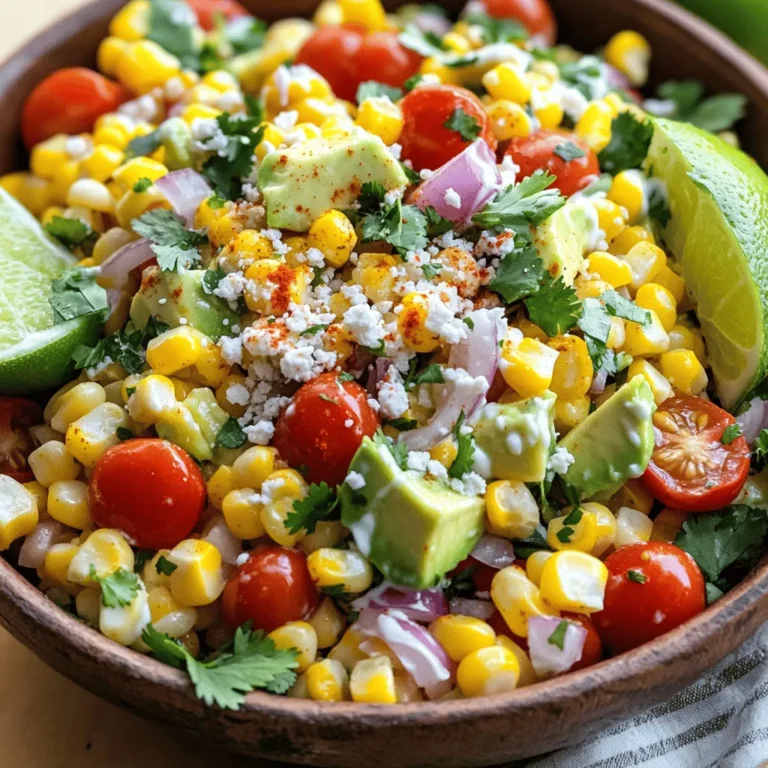
Mexican Street Corn Salad Fresh and Flavorful Dish
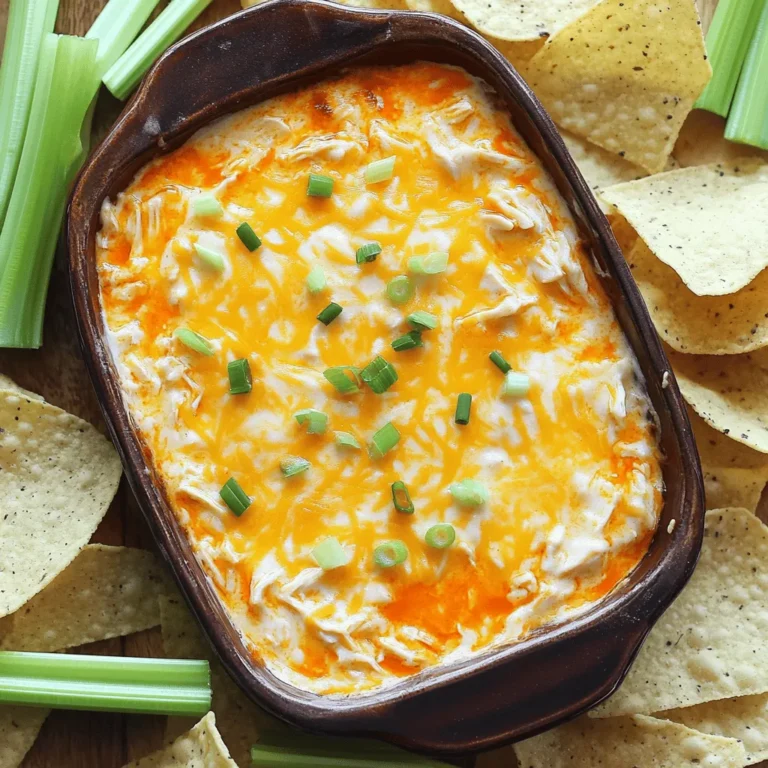
Creamy Buffalo Chicken Dip Flavorful Game Day Treat
Page navigation
Previous Page
Previous
1
…
4
5
6
7
8
…
25
Next Page
Next
Home
Dinner
Appetizer
Desserts
Drinks
About
Contact
Privacy Policy
Toggle Menu Close
Search for:
Search