
Caramel Pecan Cinnamon Rolls Irresistibly Delicious
Deliciously soft cinnamon rolls filled with a sweet pecan and cinnamon mixture, topped with a rich caramel sauce.
Sweet treats and desserts
Deliciously soft cinnamon rolls filled with a sweet pecan and cinnamon mixture, topped with a rich caramel sauce.

A delicious Thai dessert made with glutinous rice, coconut milk, and fresh mango.

Deliciously chewy macaroons made with shredded coconut and dipped in dark chocolate.
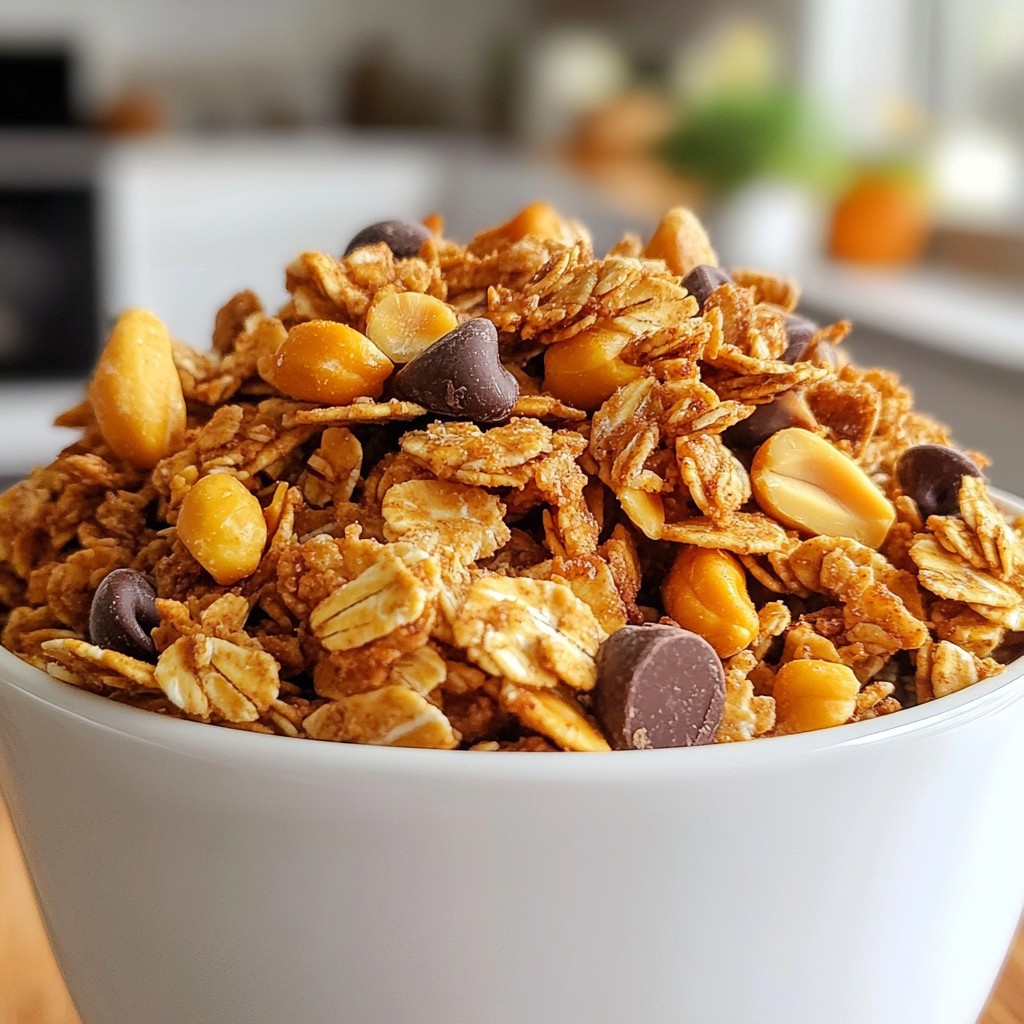
A delicious and crunchy granola made with rolled oats, peanuts, and dark chocolate chips, perfect for breakfast or a sna...
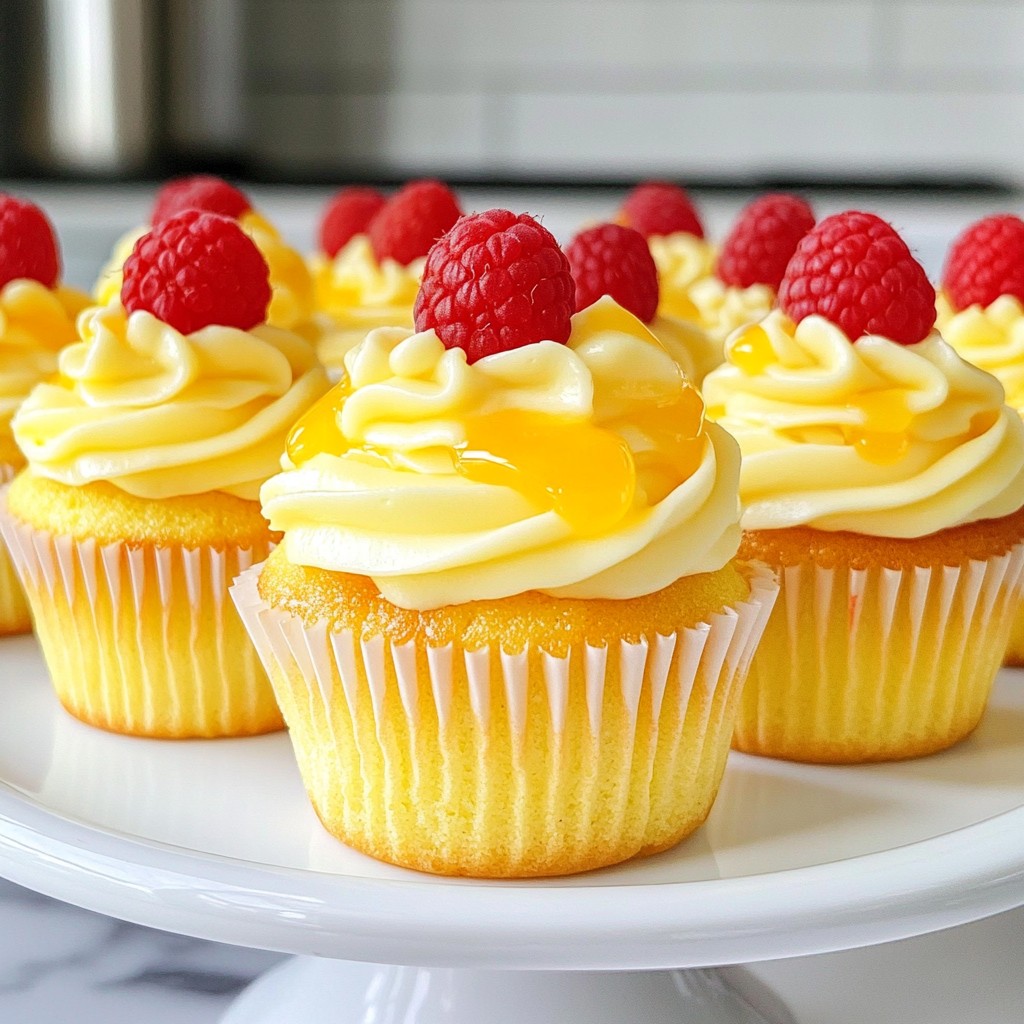
Deliciously moist cupcakes infused with raspberry and lemon flavors, topped with a creamy lemon icing.

Delicious strawberries coated in melted chocolate, perfect for a fun treat.
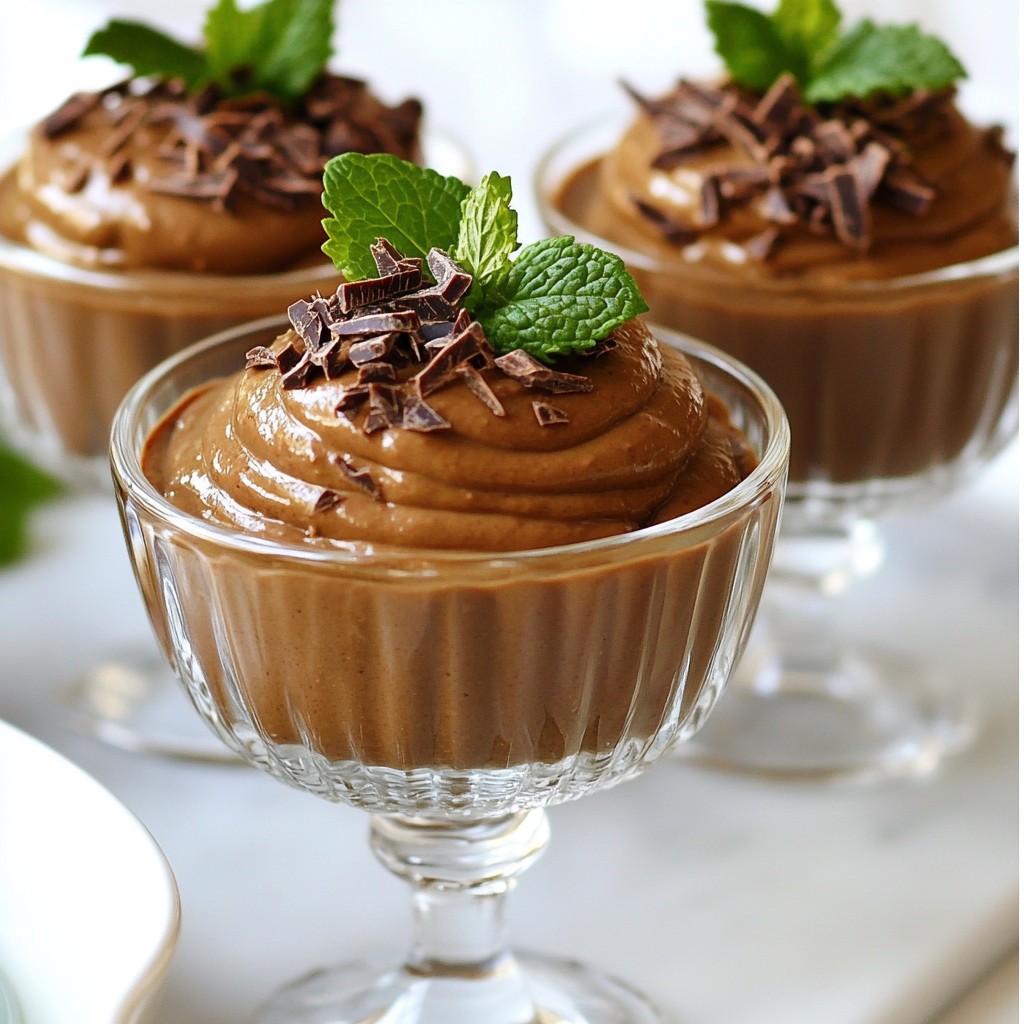
A rich and creamy vegan dessert made with avocados and cocoa powder, perfect for chocolate lovers.
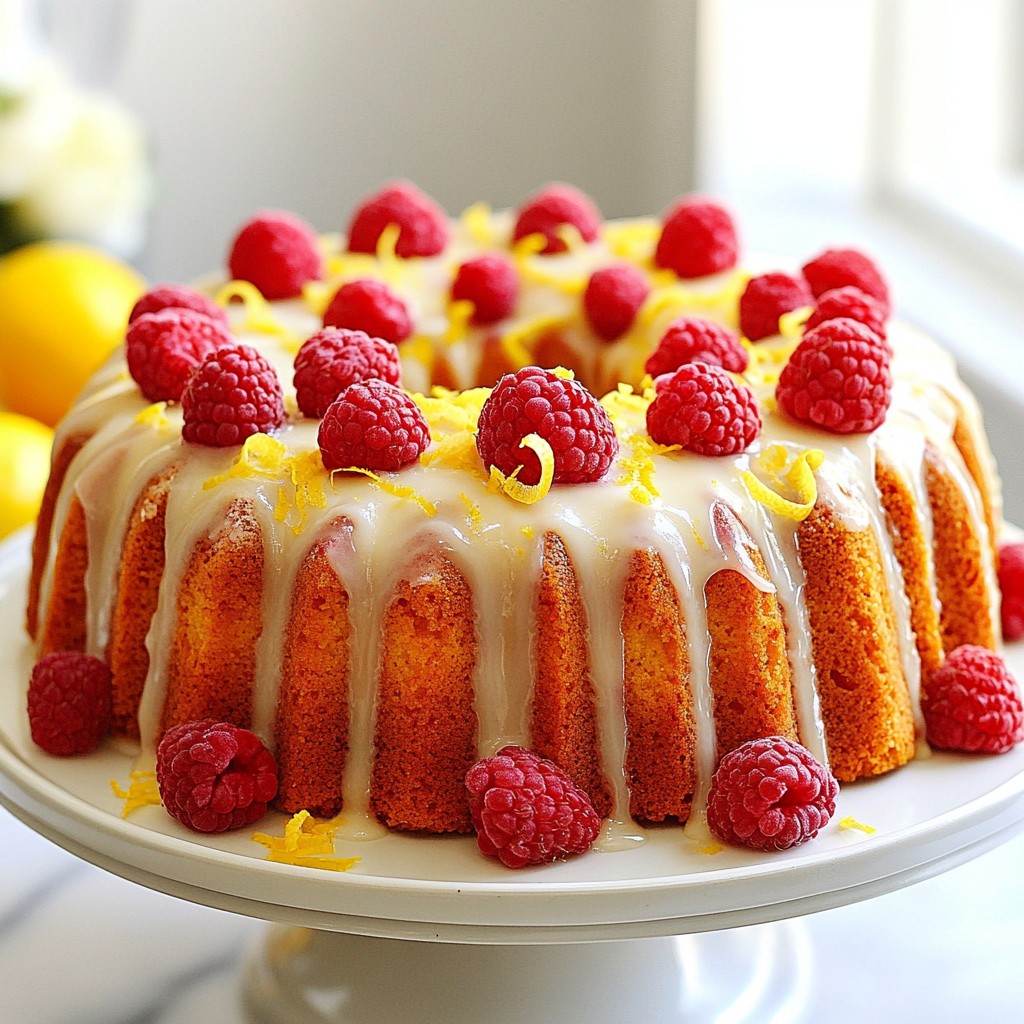
A delightful pound cake infused with lemon and fresh raspberries, topped with a luscious lemon glaze.
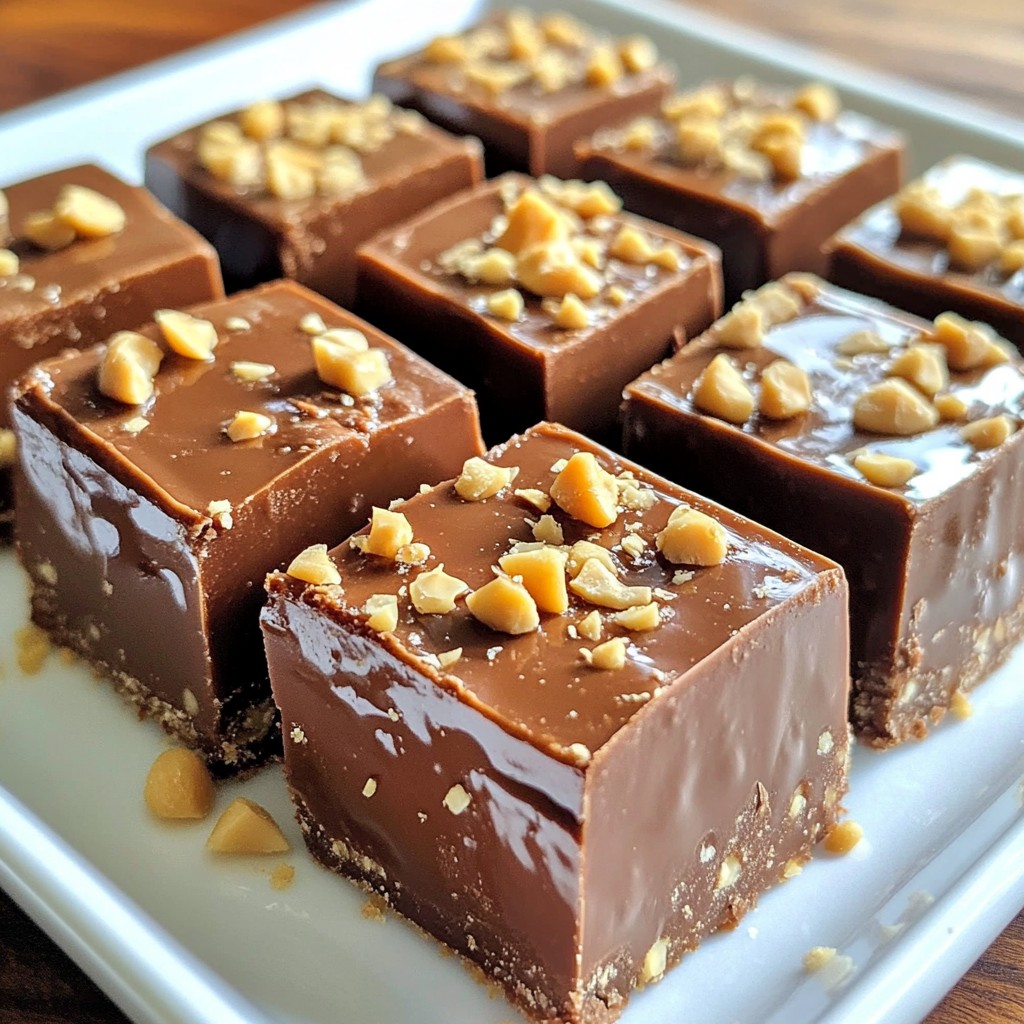
A rich and creamy fudge made with peanut butter and dark chocolate, topped with chopped peanuts.
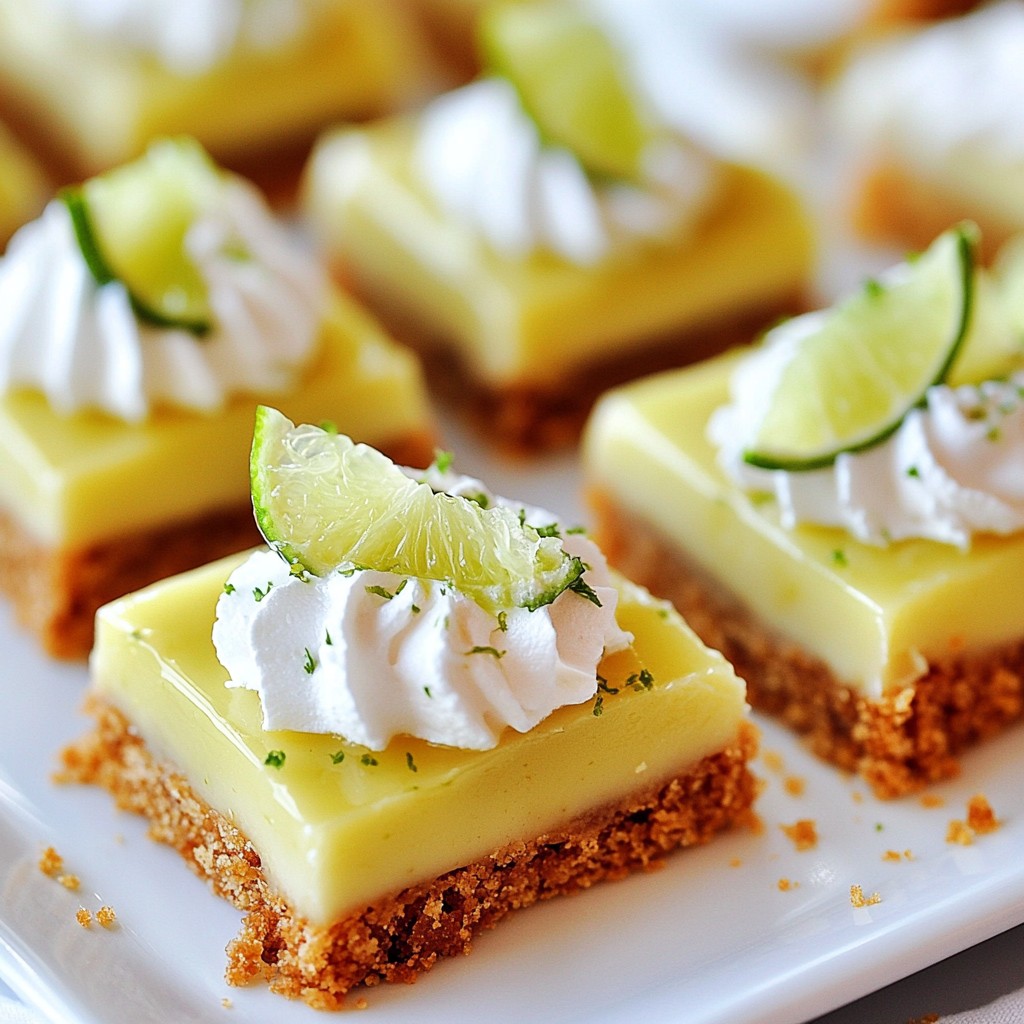
Delicious and tangy key lime pie bars with a graham cracker crust, perfect for a refreshing dessert.
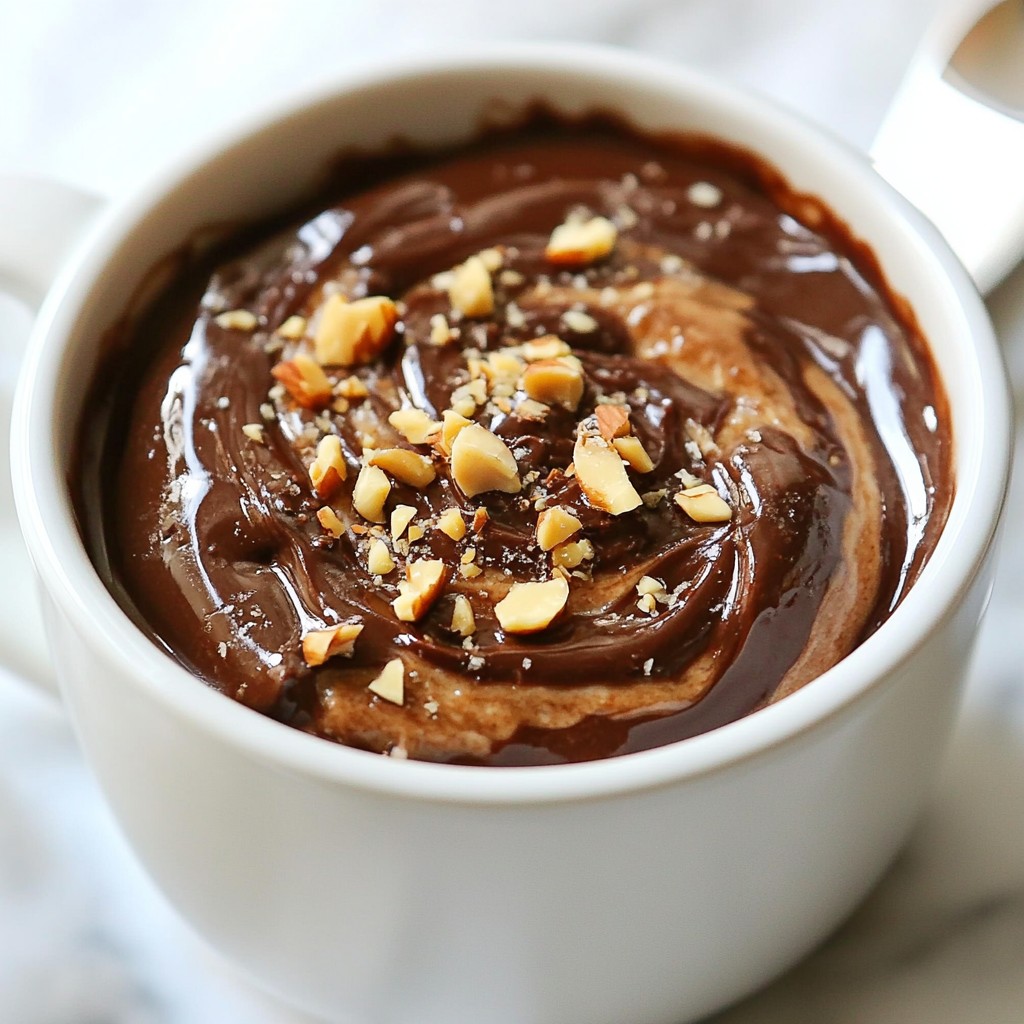
A quick and easy chocolate mug cake with hazelnut spread, perfect for a single serving dessert.

Deliciously moist cupcakes infused with fresh strawberries and zesty lemon, topped with a creamy strawberry lemon frosti...