Skip to content
About
Contact
Cookie Policy
Copyright Policy
Disclaimer
Search
Home
Dinner
Appetizer
Desserts
Drinks
About
Contact
Privacy Policy
Toggle Menu
Home
/
Desserts
- Page 11
Desserts
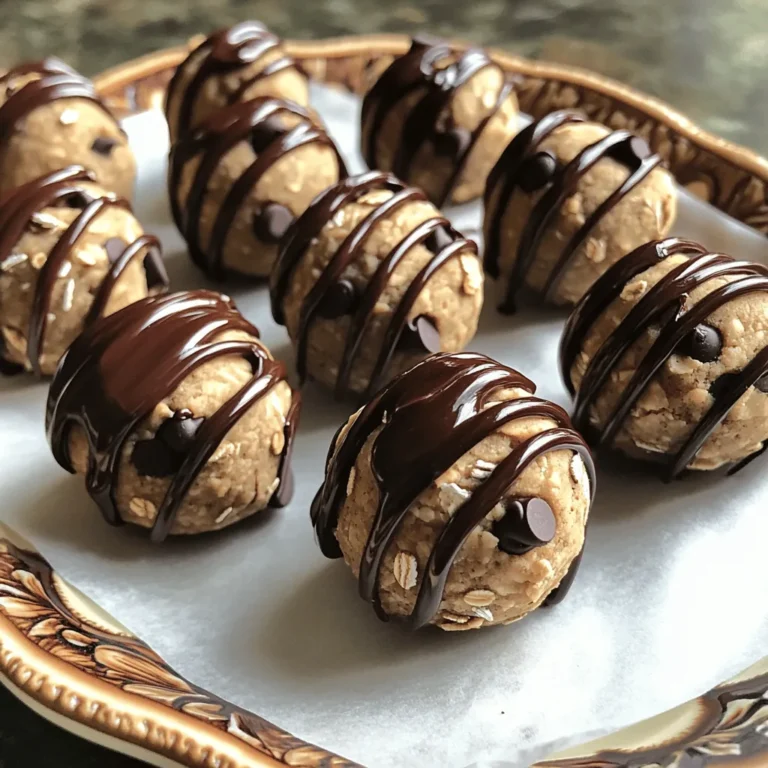
Protein Chocolate Chip Cookie Dough Bites Delight
Almond Poppy Seed Muffins Bakery Fresh Recipe Guide
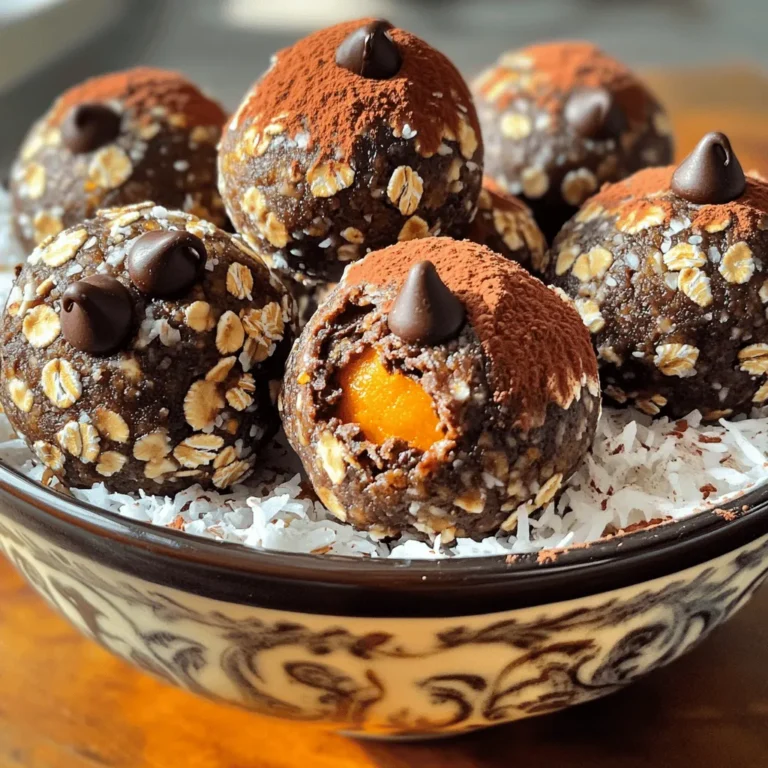
No-Bake Chocolate Pumpkin Oat Balls Delightful Snack
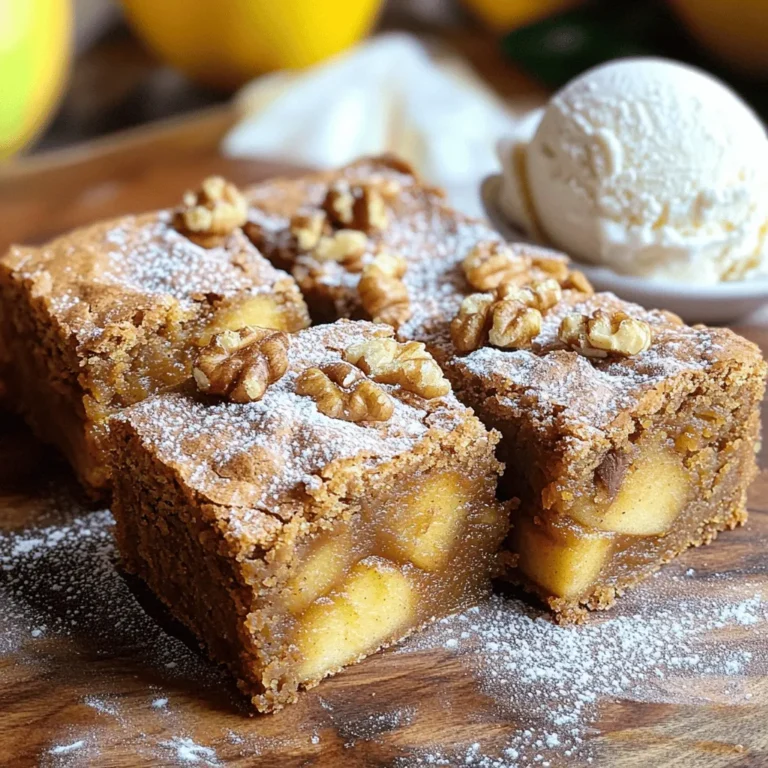
Warm Spiced Apple Butter Blondies Delightful and Simple
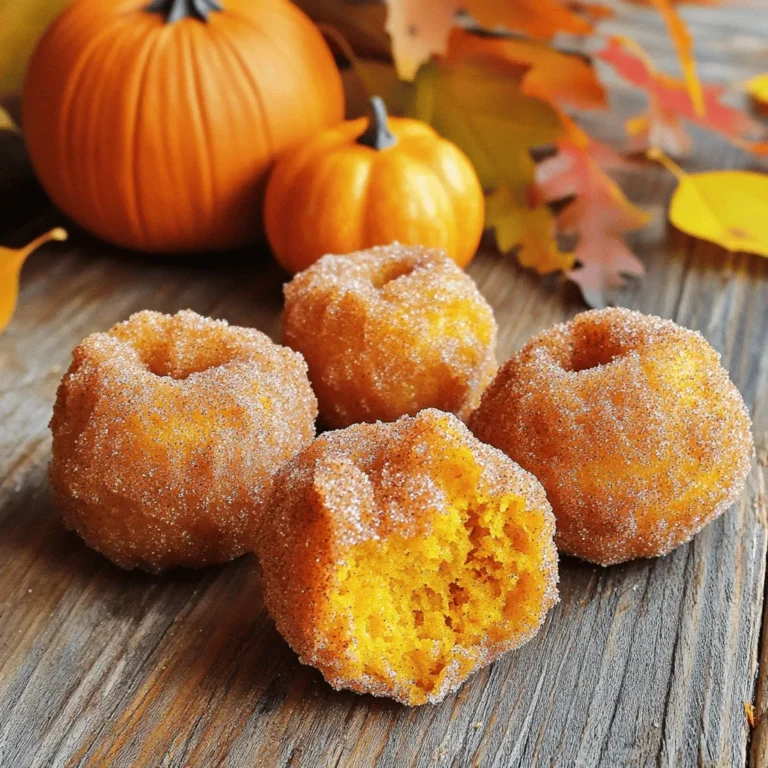
Pumpkin Churro Donut Holes with Cinnamon Sugar Treat
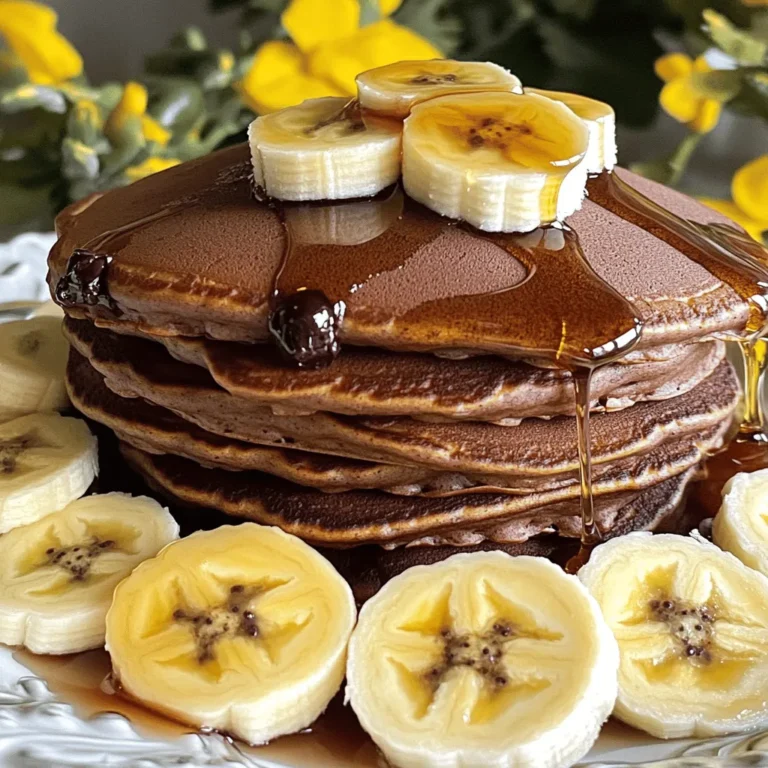
Chocolate Chip Protein Pancakes for a Healthy Start
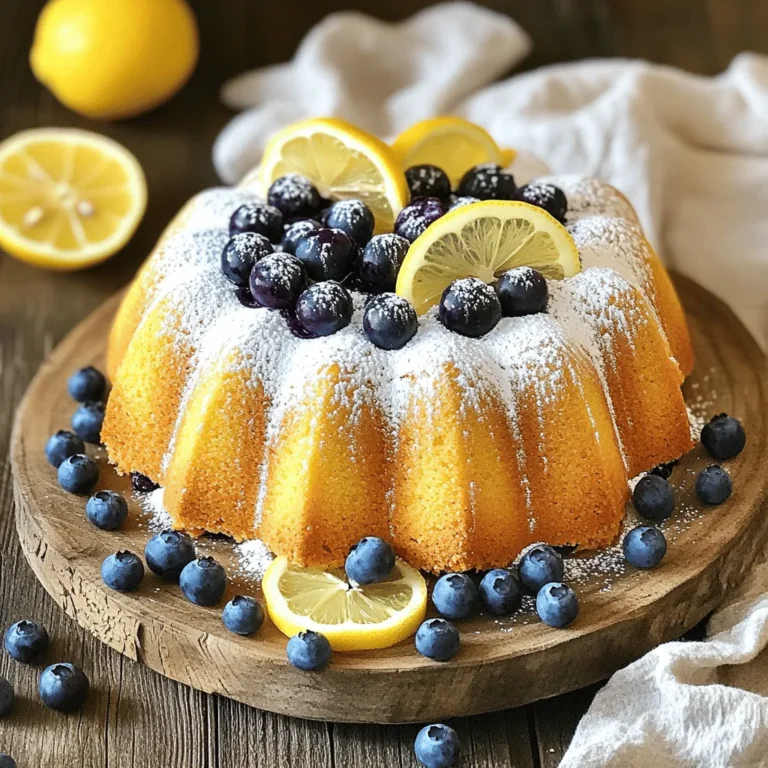
Lemon Blueberry Pound Cake Bakery Tasty Delight
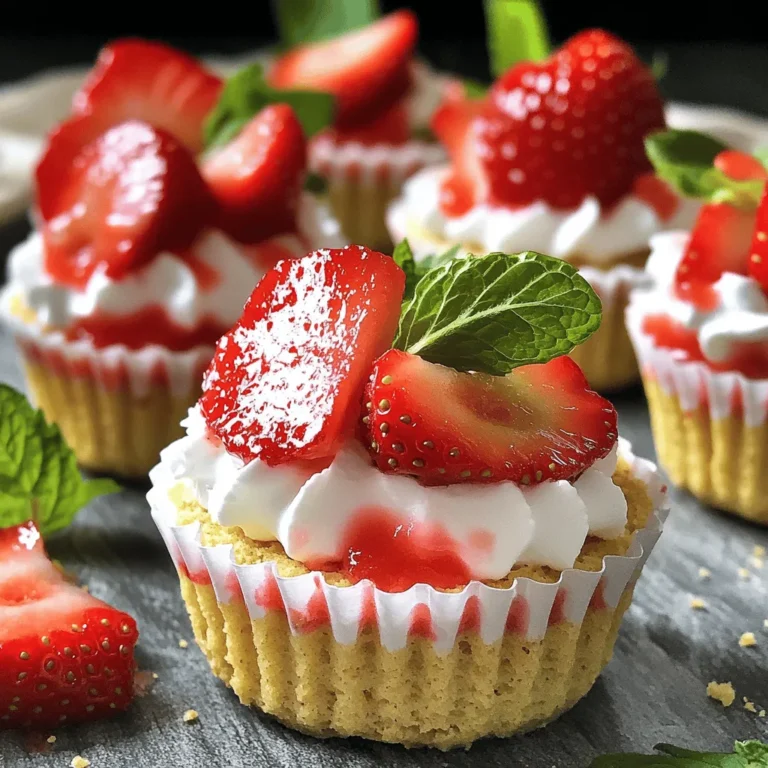
Strawberry Shortcake Cups No Bake Easy Dessert Recipe
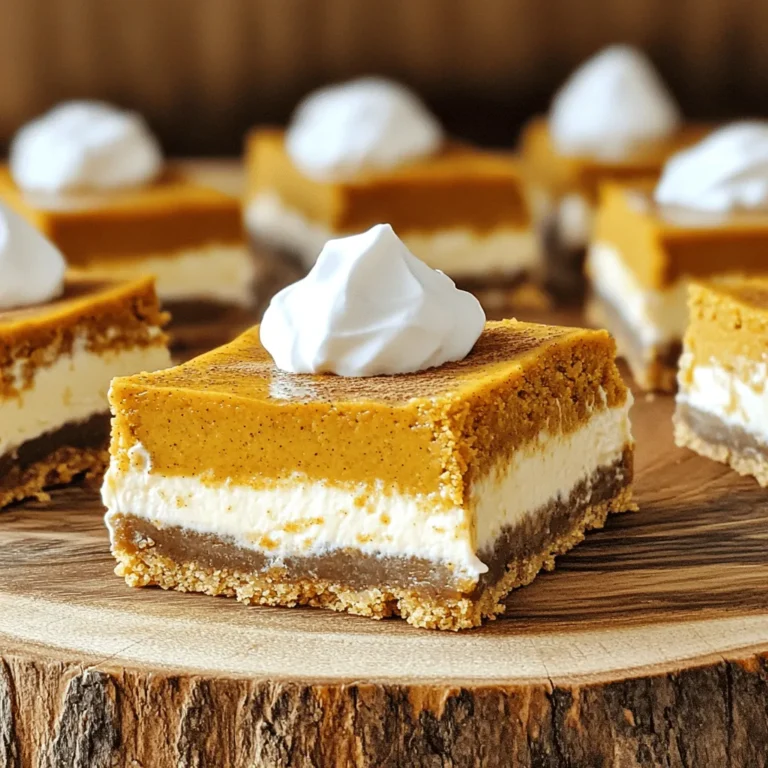
Pumpkin Pie Cheesecake Bars Delightful Fall Treat
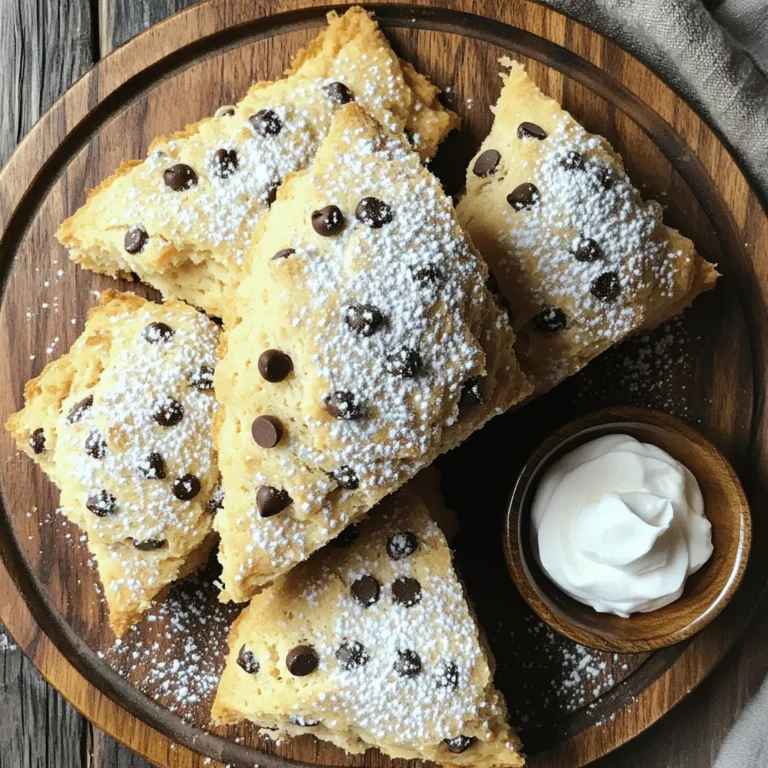
Bakery-Style Chocolate Chip Scones Easy Recipe Guide
Page navigation
Previous Page
Previous
1
…
9
10
11
12
13
…
33
Next Page
Next
Home
Dinner
Appetizer
Desserts
Drinks
About
Contact
Privacy Policy
Toggle Menu Close
Search for:
Search