Skip to content
About
Contact
Cookie Policy
Copyright Policy
Disclaimer
Search
Home
Dinner
Appetizer
Desserts
Drinks
About
Contact
Privacy Policy
Toggle Menu
Home
/
Desserts
- Page 13
Desserts
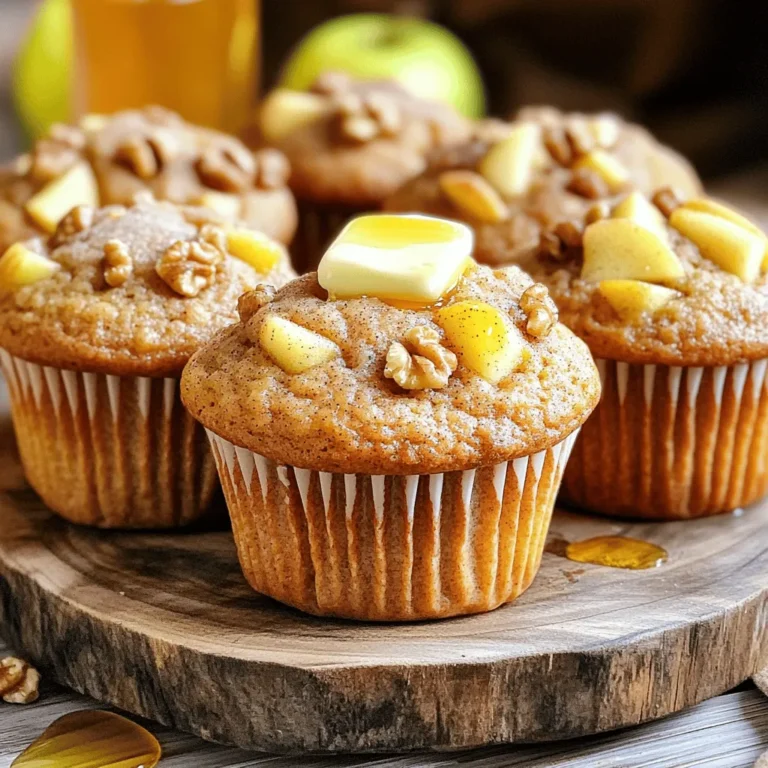
Bakery-Style Apple Cinnamon Muffins Easy Recipe
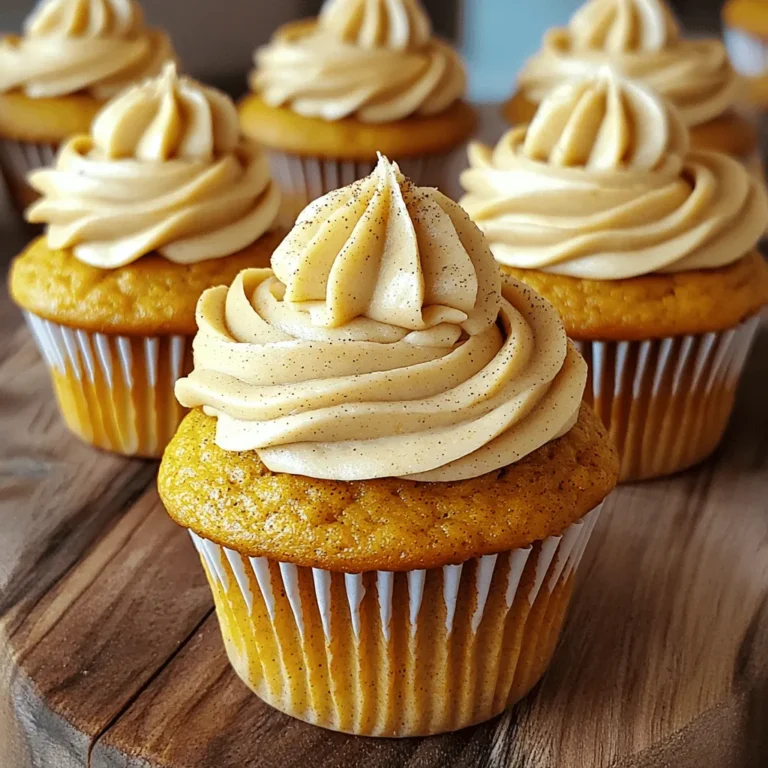
Pumpkin Spice Latte Cupcakes Easy Seasonal Treat
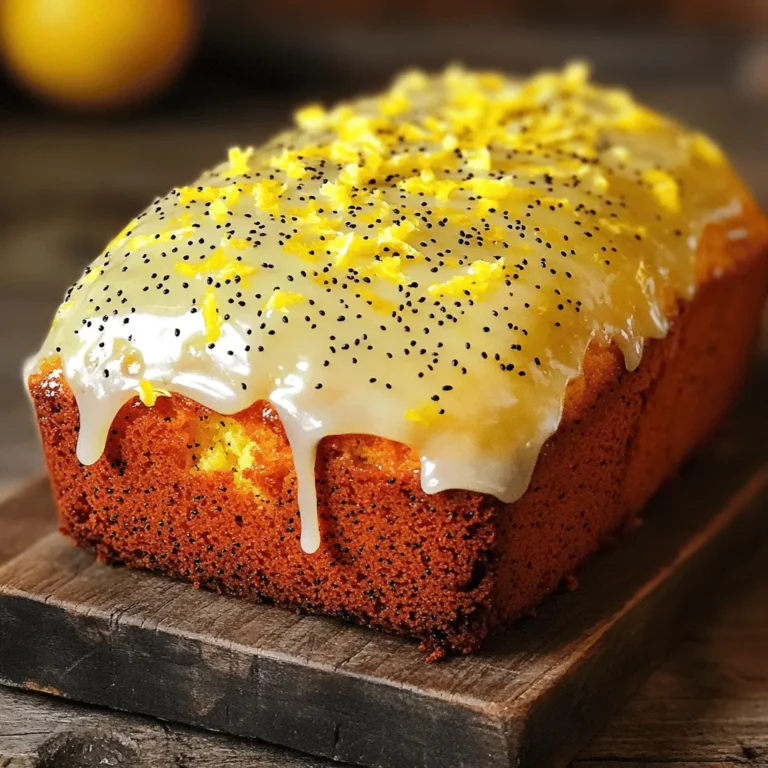
Glazed Lemon Poppy Loaf Irresistible Fresh Treat
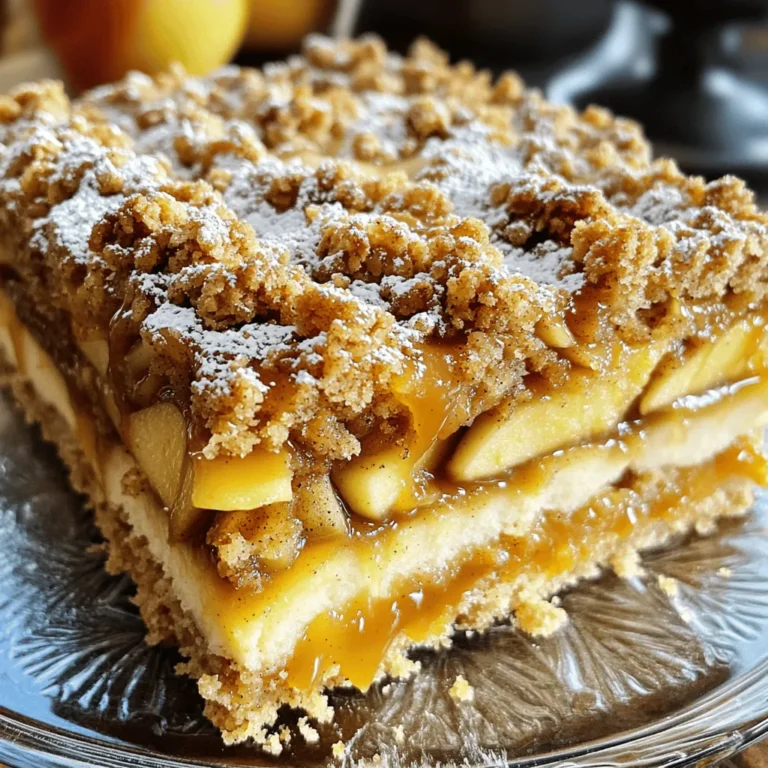
Caramel Apple Crumb Coffee Cake Delightful and Easy
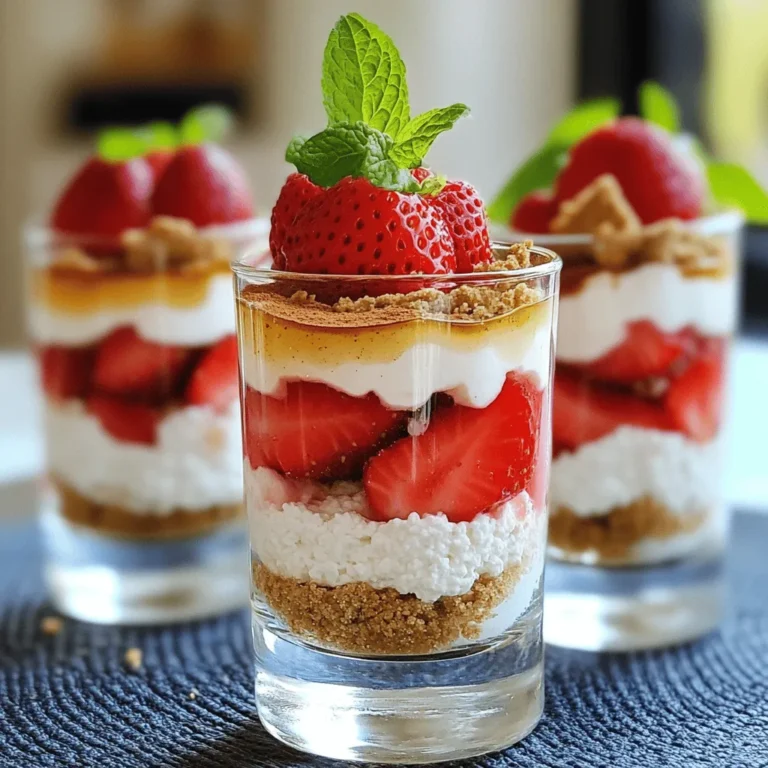
Cottage Cheese Strawberry Cheesecake Parfait Delight
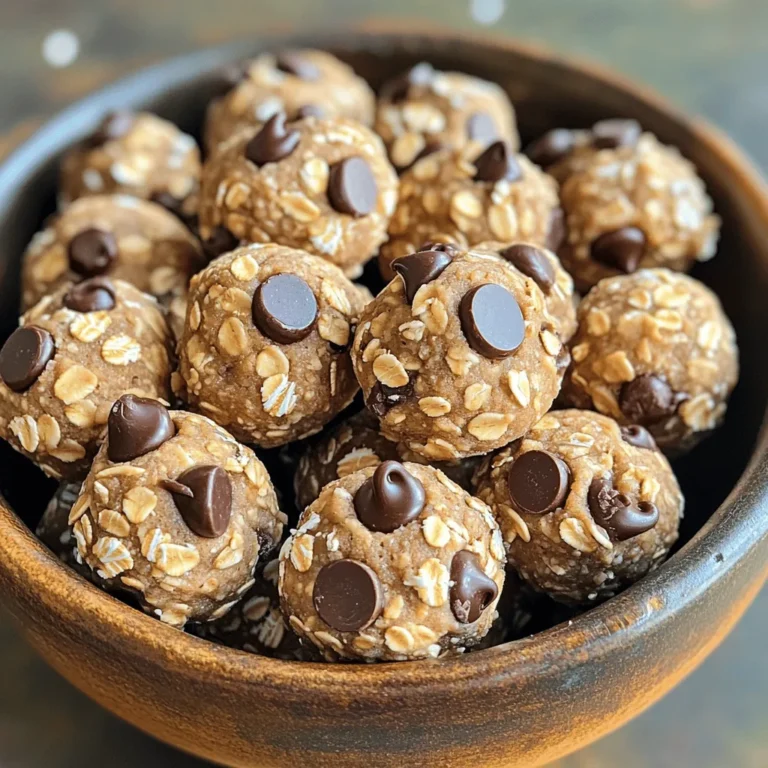
No Bake Cookie Dough Protein Bites for Energy Boost
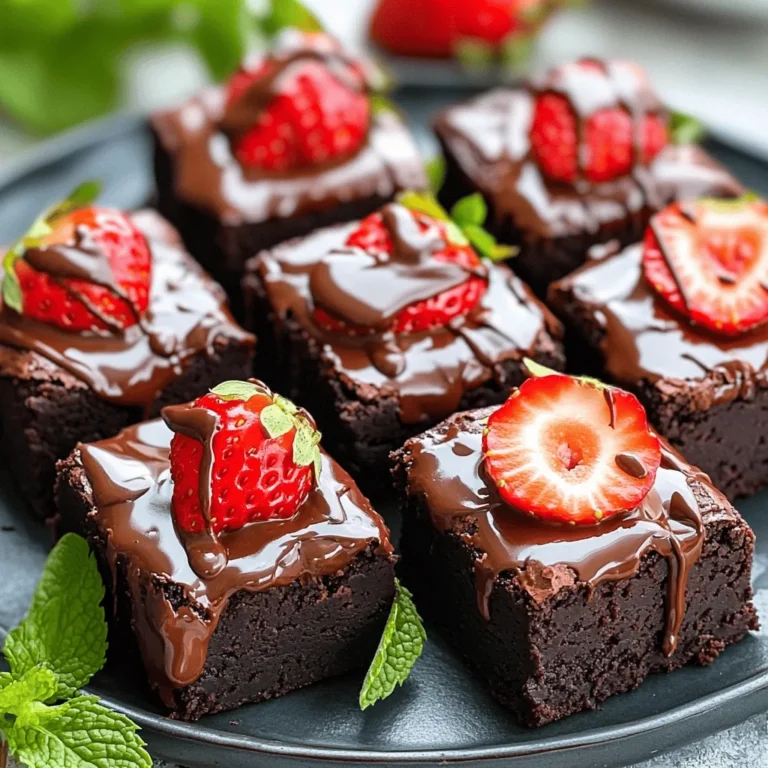
Chocolate Dipped Strawberry Brownies Delightful Sundae Treat
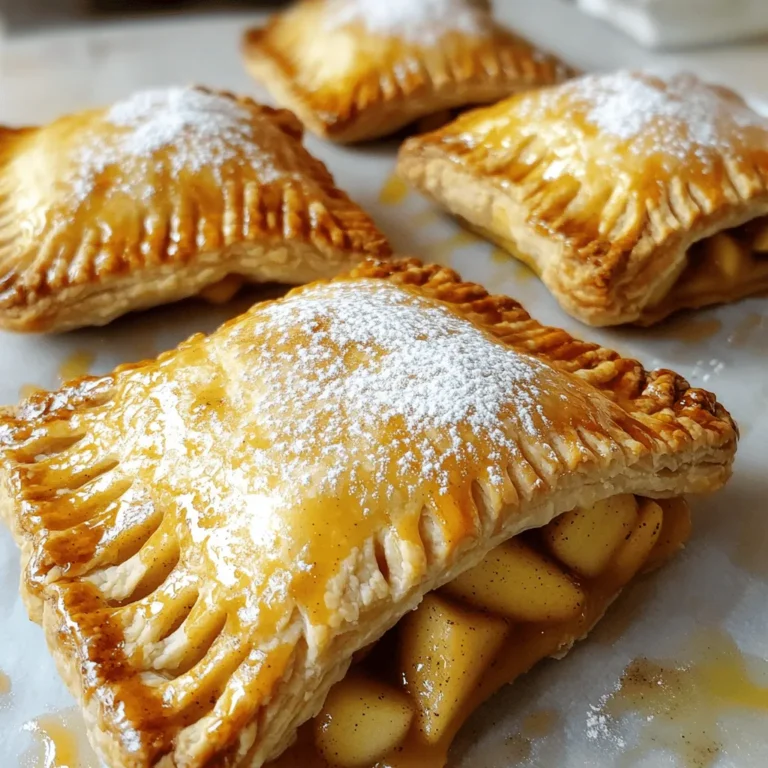
Air Fryer Apple Hand Pies Simple and Tasty Treat
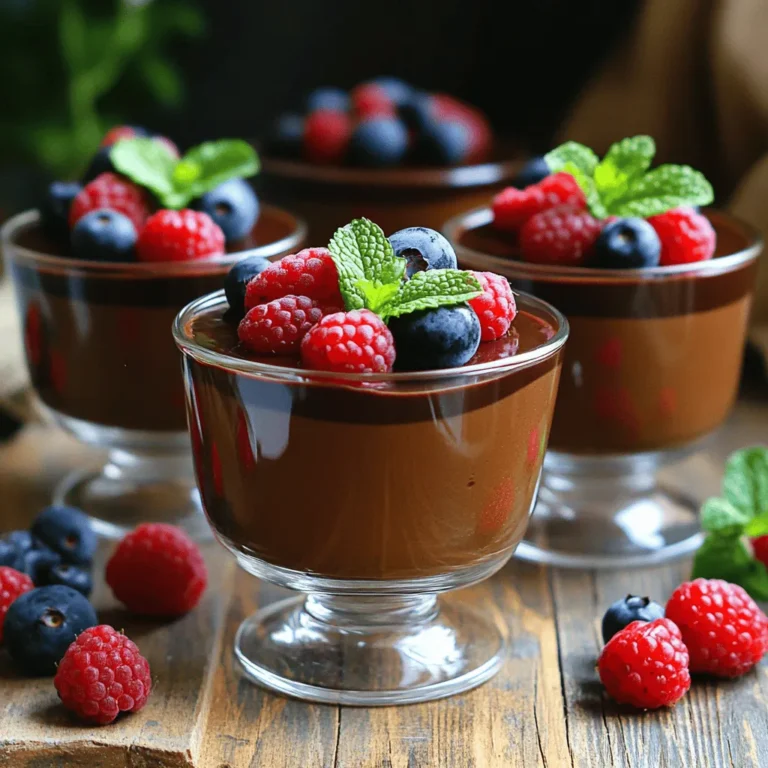
Vegan Chocolate Mousse Decadent and Simple Recipe
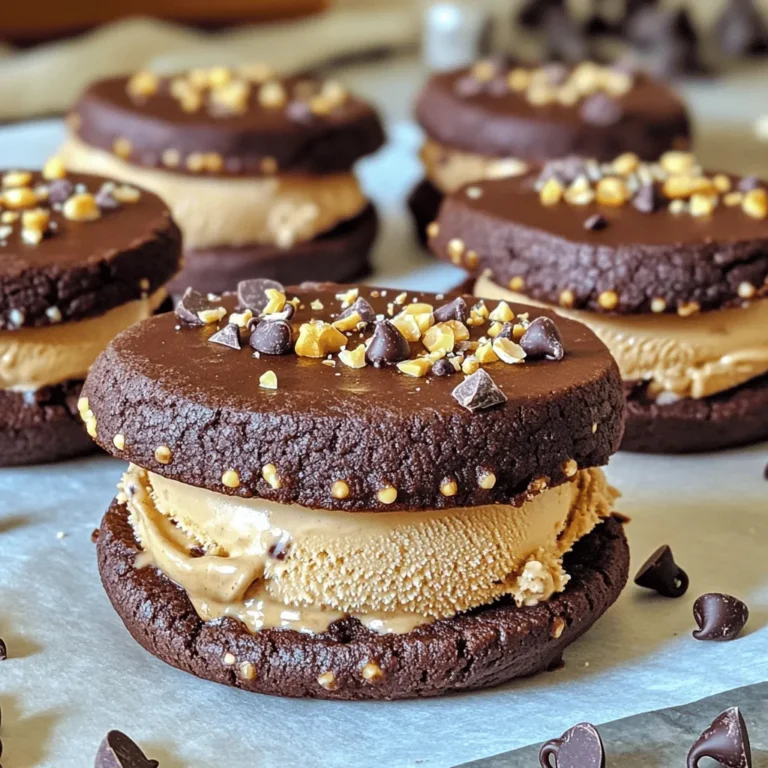
Mocha Chip Ice Cream Sandwiches Rich and Tasty Delight
Page navigation
Previous Page
Previous
1
…
11
12
13
14
15
…
33
Next Page
Next
Home
Dinner
Appetizer
Desserts
Drinks
About
Contact
Privacy Policy
Toggle Menu Close
Search for:
Search