Skip to content
About
Contact
Cookie Policy
Copyright Policy
Disclaimer
Search
Home
Dinner
Appetizer
Desserts
Drinks
About
Contact
Privacy Policy
Toggle Menu
Home
/
Desserts
- Page 14
Desserts
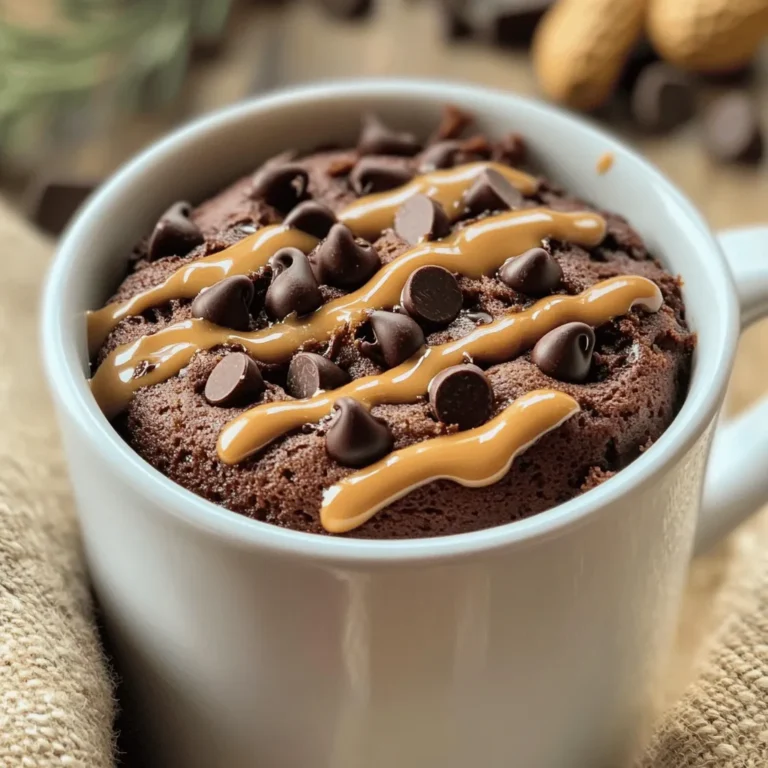
Chocolate Peanut Butter Mug Cake Deliciously Simple Treat
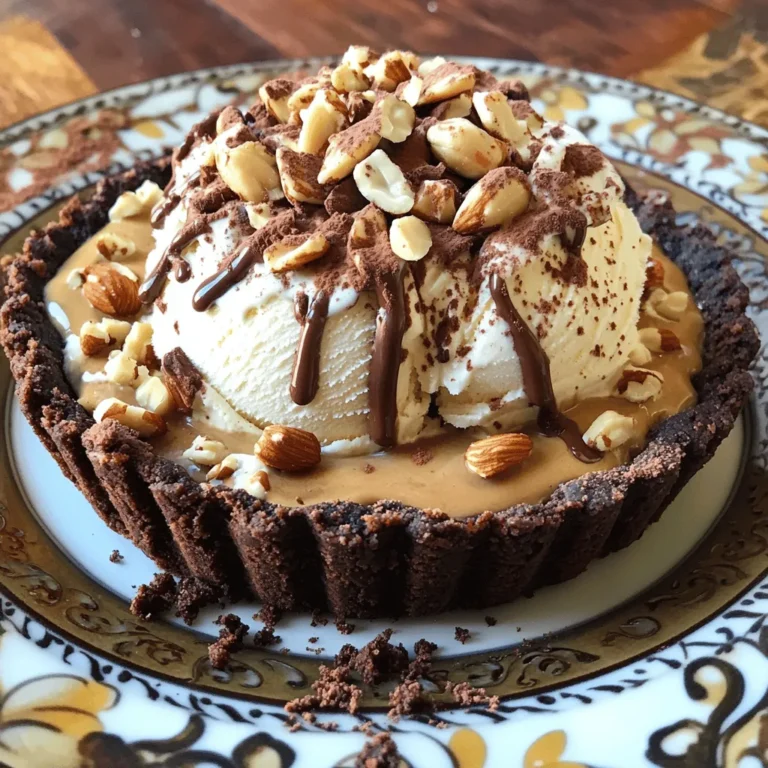
Coffee Crumble Ice Cream Pie Irresistible Dessert Treat
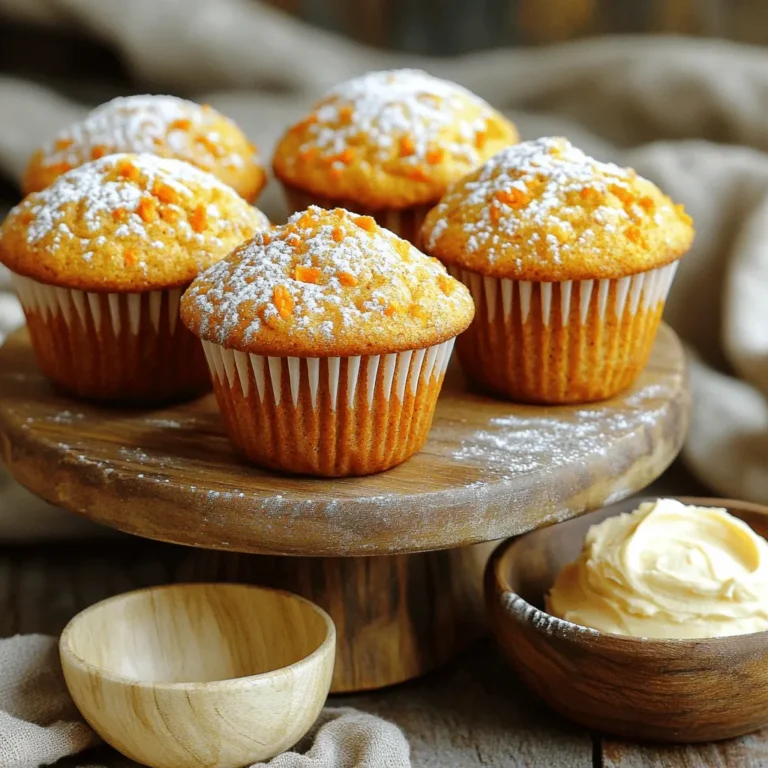
Spiced Carrot Cake Muffins Flavorful and Easy Recipe
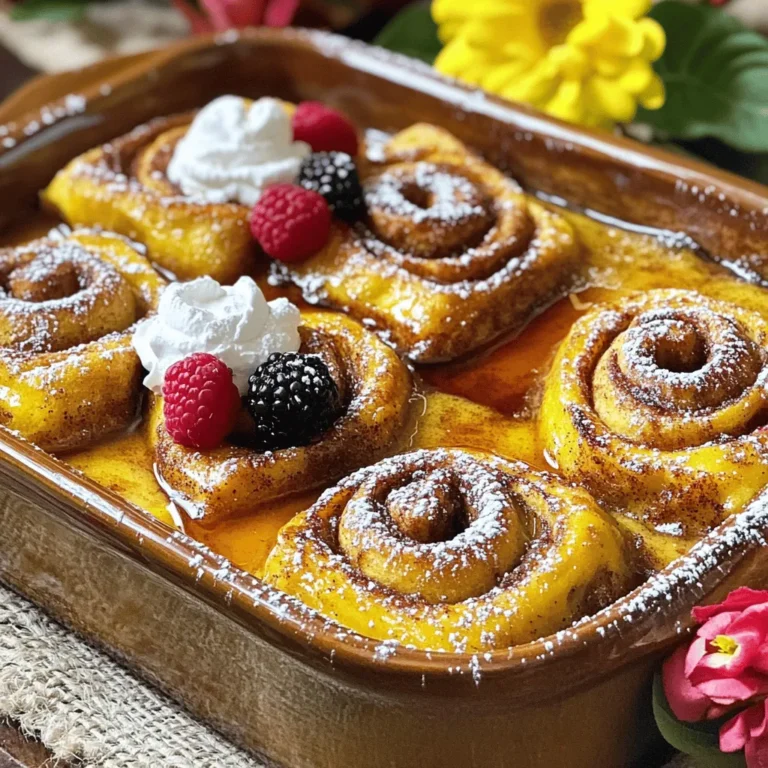
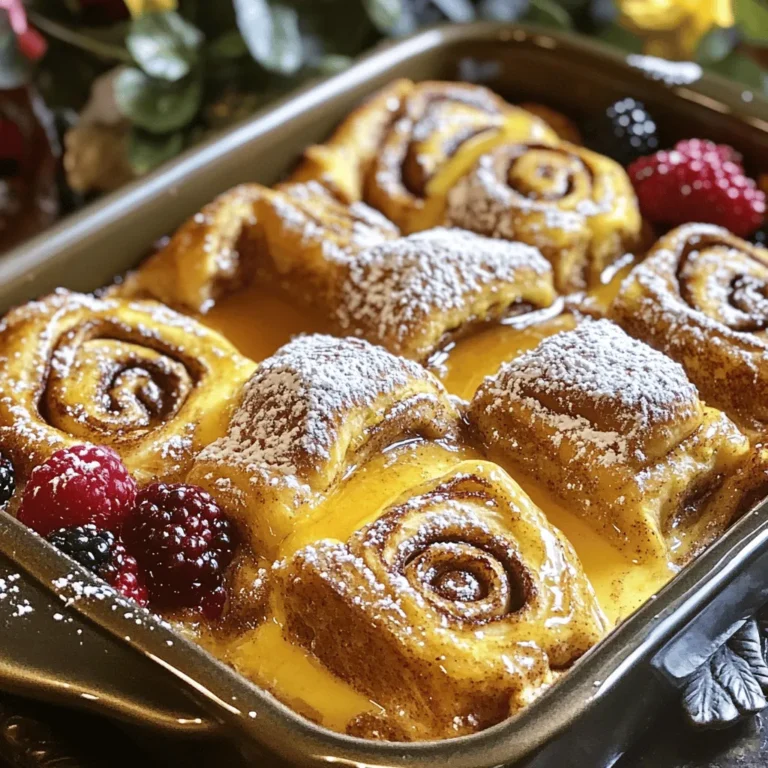
Cinnamon Roll French Toast Bake Easy and Delicious Dish
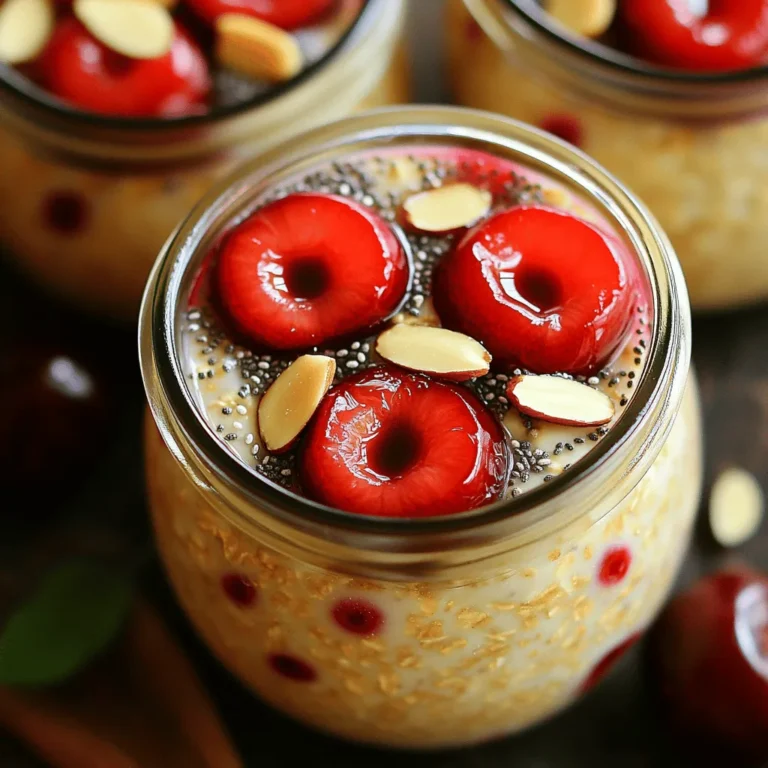
Cherry Almond Overnight Oats Simple Breakfast Treat
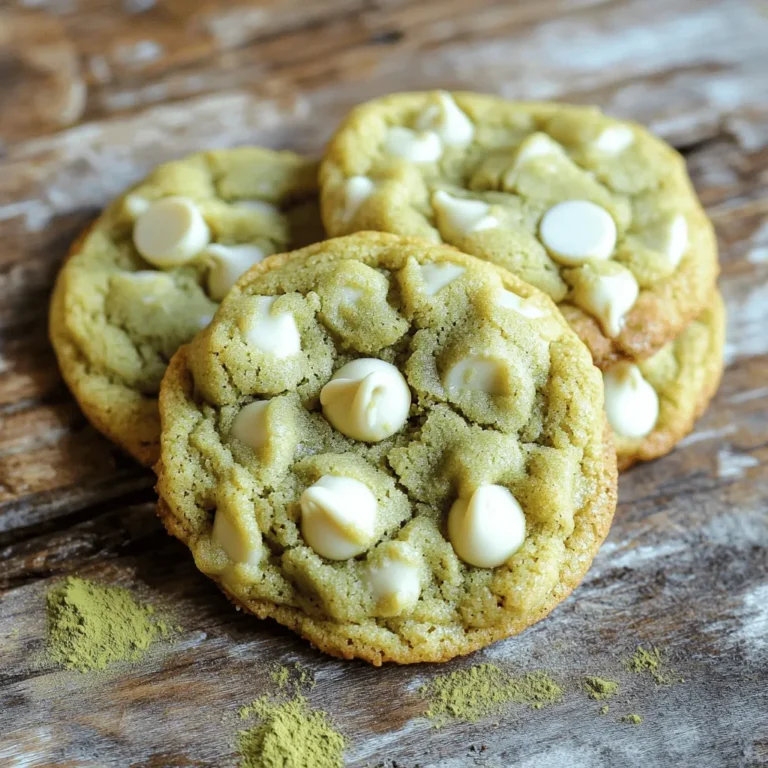
Chewy Matcha White Chocolate Cookies Delightful Treat
Cinnamon Roll French Toast Bake Delicious Morning Treat
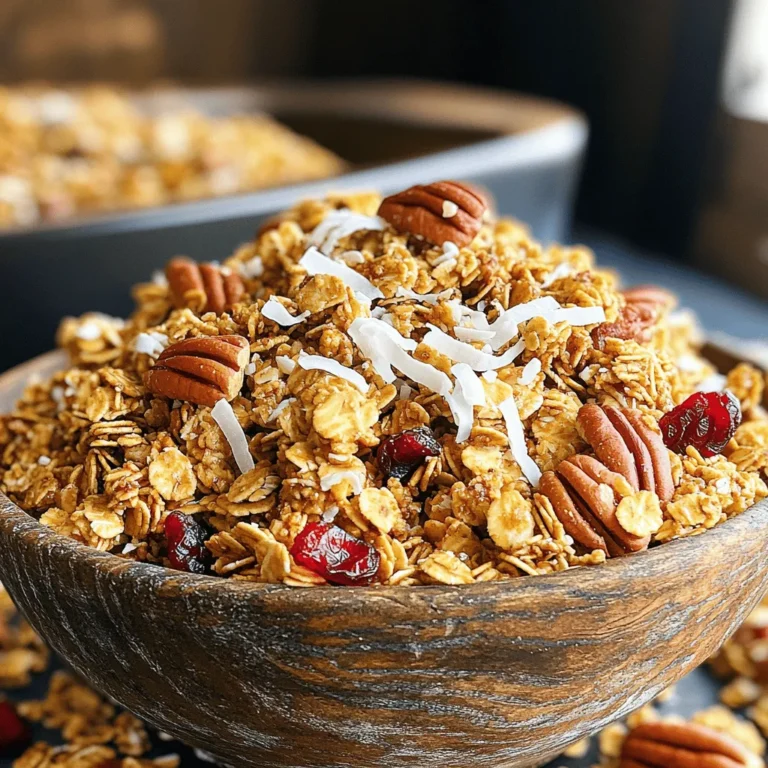
Maple Pecan Granola Crunchy and Healthy Treat
Almond Joy Overnight Oats Easy and Tasty Meal Prep
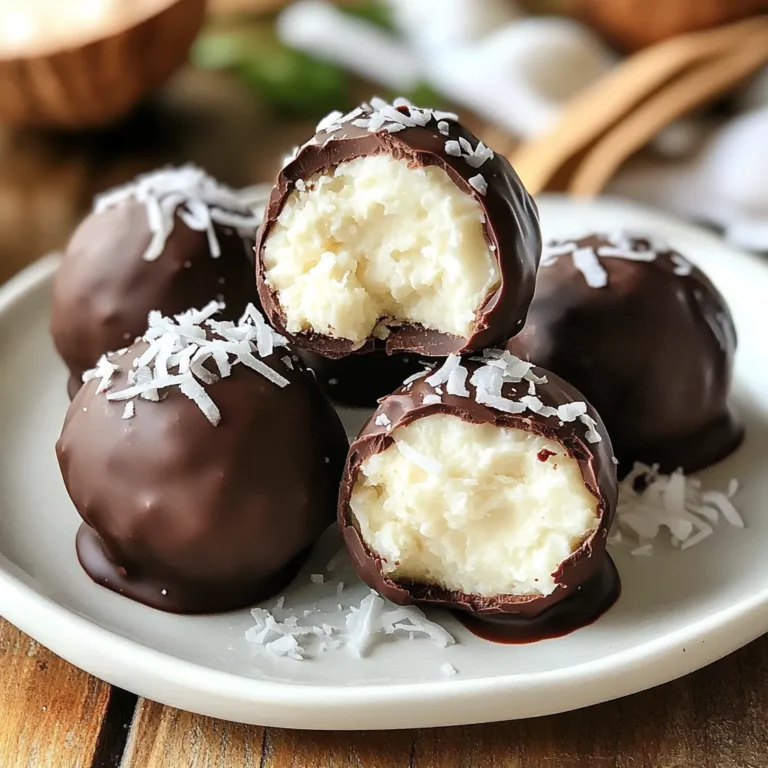
No-Bake Coconut Cream Balls Easy Delicious Dessert
Page navigation
Previous Page
Previous
1
…
12
13
14
15
16
…
33
Next Page
Next
Home
Dinner
Appetizer
Desserts
Drinks
About
Contact
Privacy Policy
Toggle Menu Close
Search for:
Search