Skip to content
About
Contact
Cookie Policy
Copyright Policy
Disclaimer
Search
Home
Dinner
Appetizer
Desserts
Drinks
About
Contact
Privacy Policy
Toggle Menu
Home
/
Desserts
- Page 16
Desserts
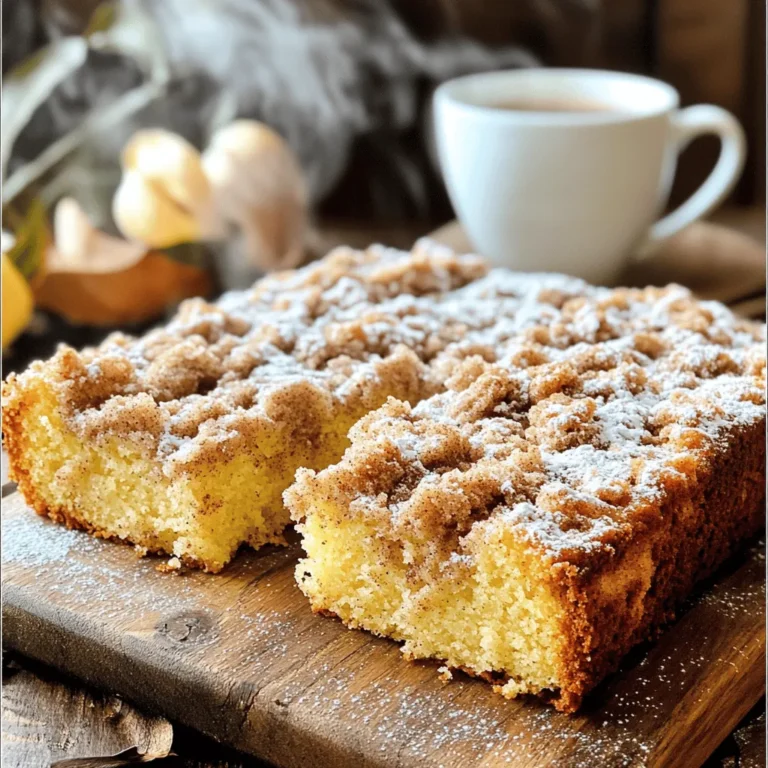
Cinnamon Streusel Coffee Cake Simple and Tasty Treat
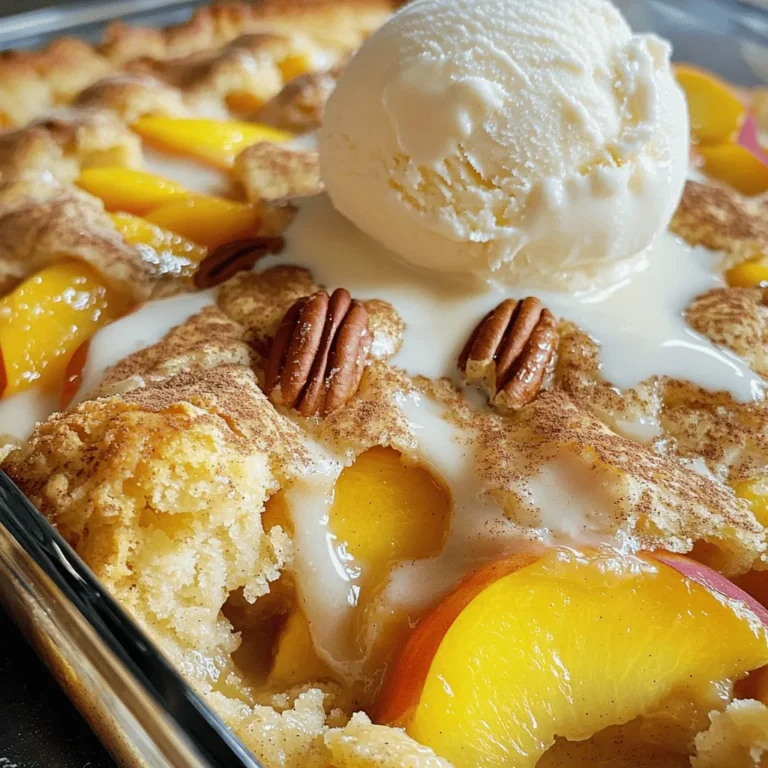
Peach Cobbler Dump Cake Delightful and Easy Recipe
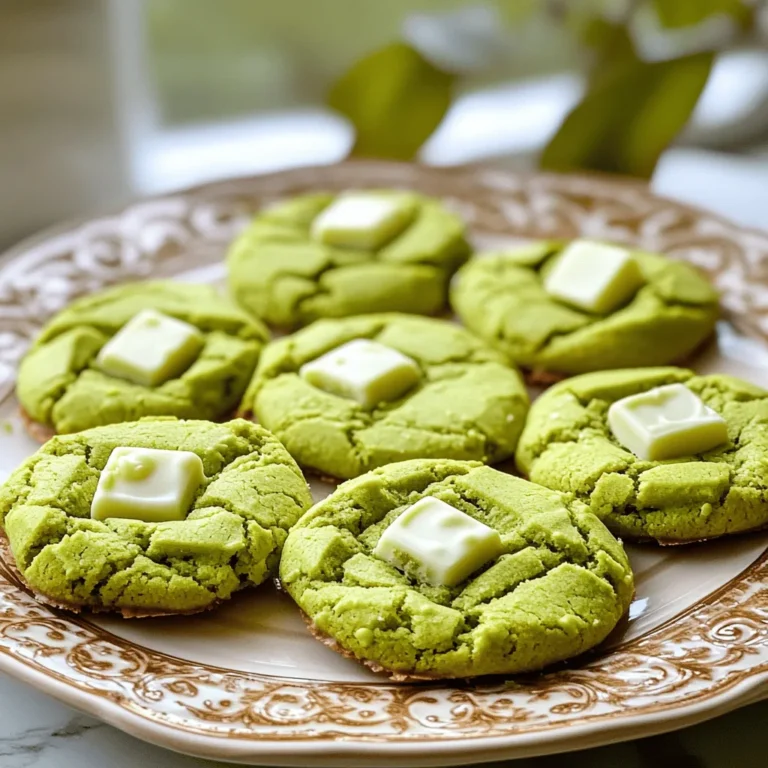
Matcha White Chocolate Cookies Delightful Dessert Recipe
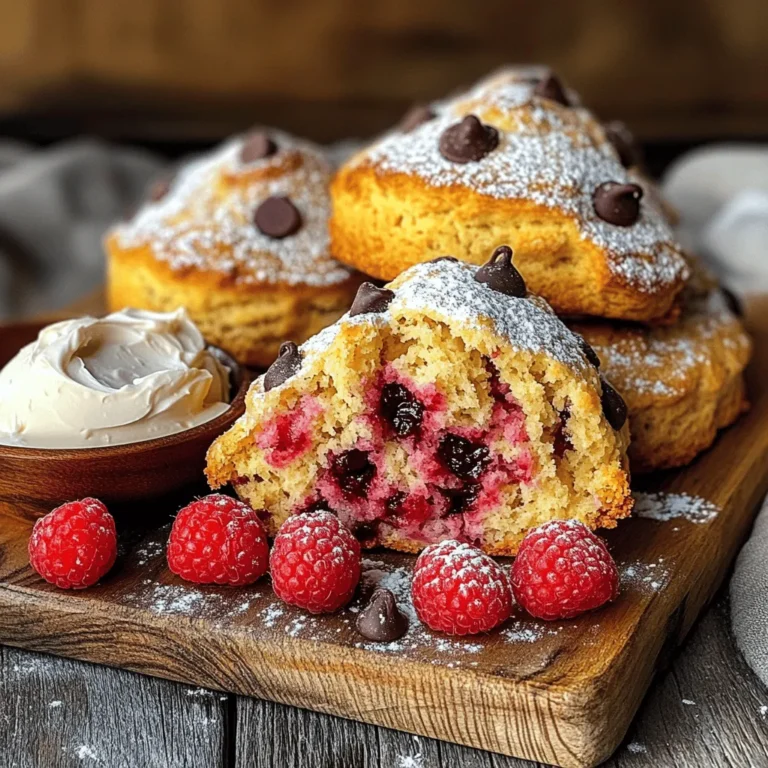
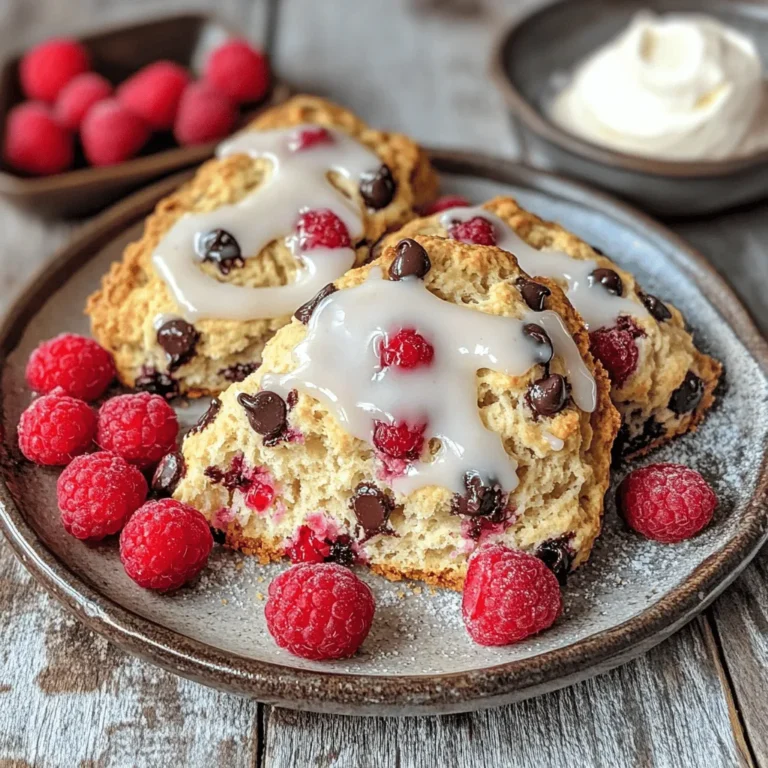
Raspberry Chocolate Chip Scones Simple and Tasty Treat
Raspberry Chocolate Chip Scones Flavorful and Easy Recipe
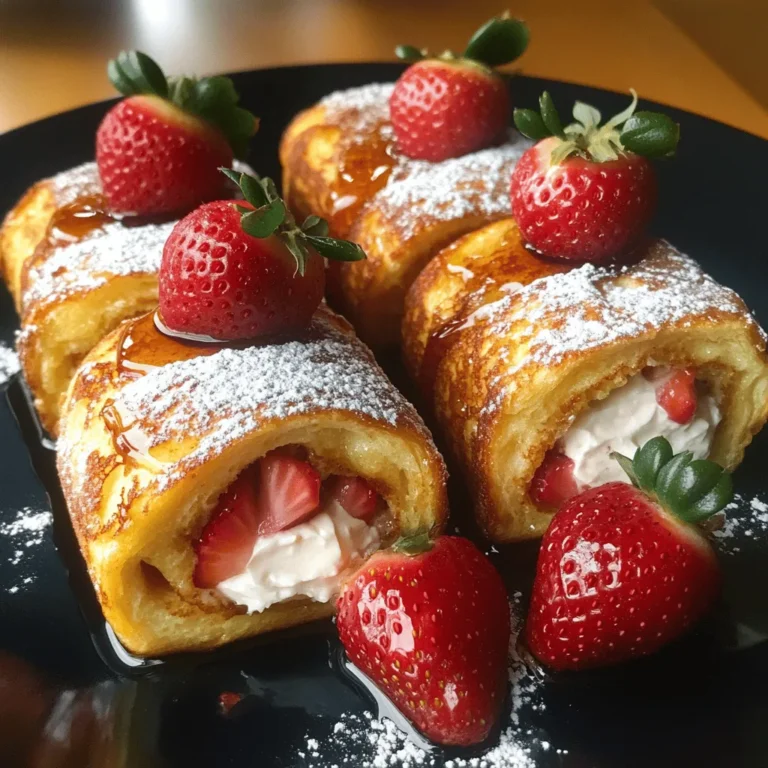
Stuffed French Toast Roll Ups Simple and Delicious Treat
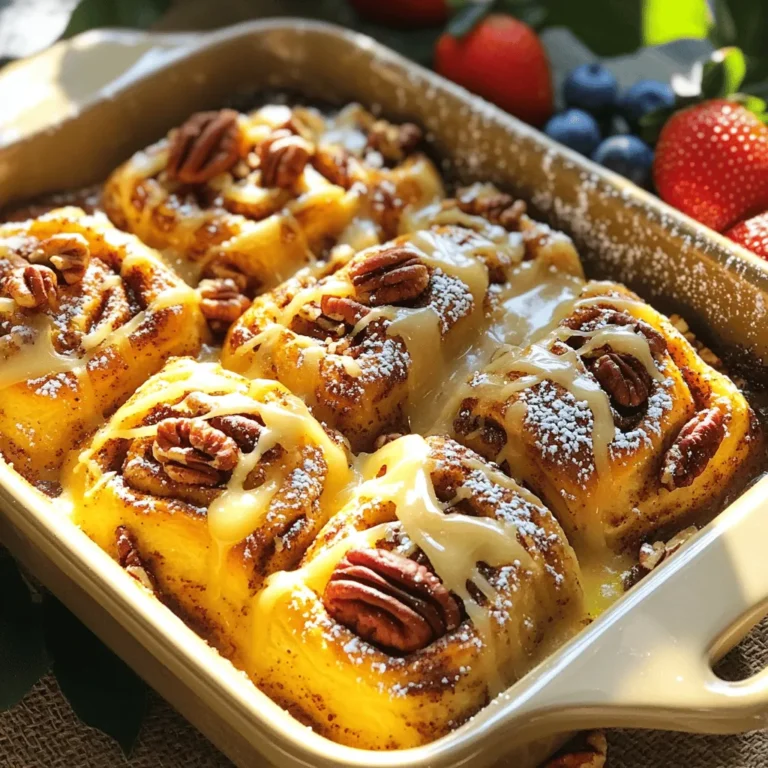
Cinnamon Roll French Toast Bake Delicious and Easy Recipe
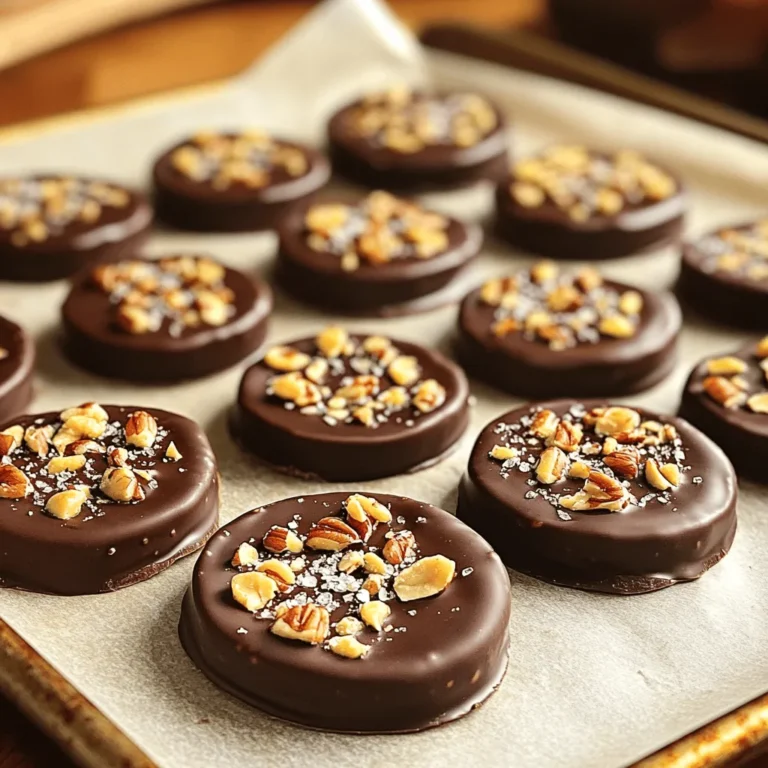
Chocolate Covered Banana Bites Irresistible Treat
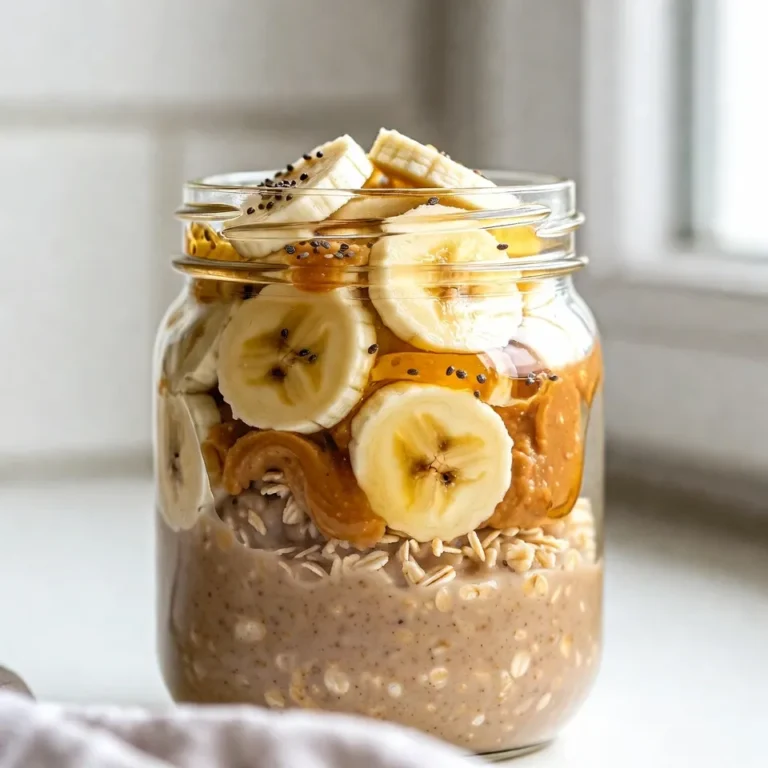
Peanut Butter Banana Overnight Oats Easy Breakfast Recipe
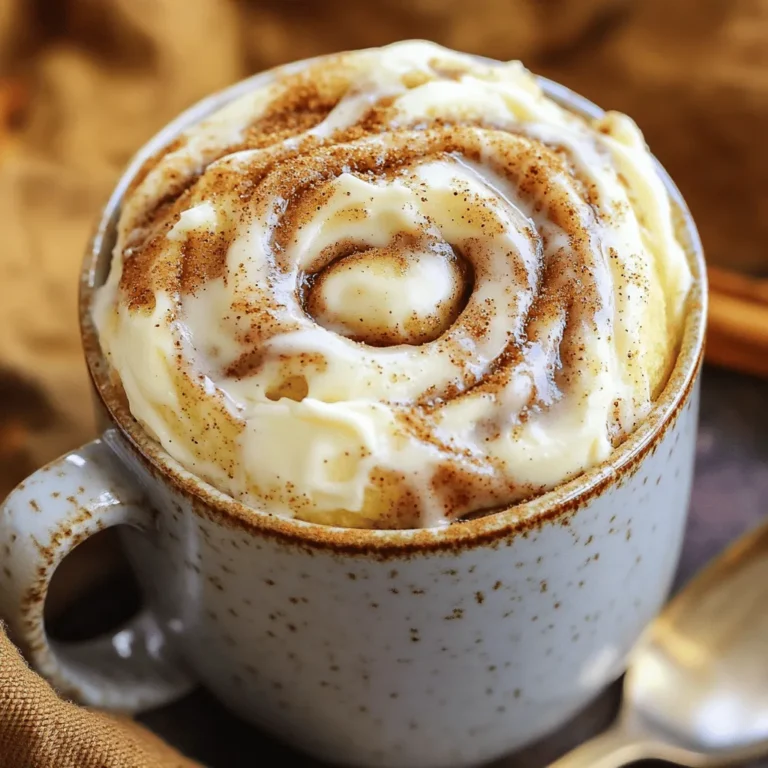
Cinnamon Roll Mug Cake Quick and Easy Delight
Page navigation
Previous Page
Previous
1
…
14
15
16
17
18
…
33
Next Page
Next
Home
Dinner
Appetizer
Desserts
Drinks
About
Contact
Privacy Policy
Toggle Menu Close
Search for:
Search