Skip to content
About
Contact
Cookie Policy
Copyright Policy
Disclaimer
Search
Home
Dinner
Appetizer
Desserts
Drinks
About
Contact
Privacy Policy
Toggle Menu
Home
/
Desserts
- Page 18
Desserts
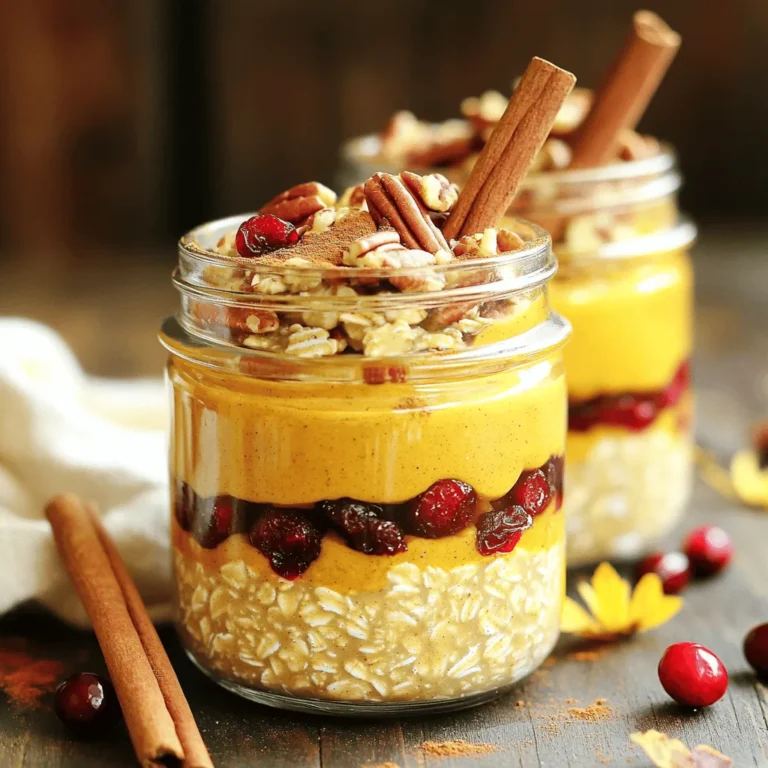
Pumpkin Spice Overnight Oats Simple and Tasty Recipe
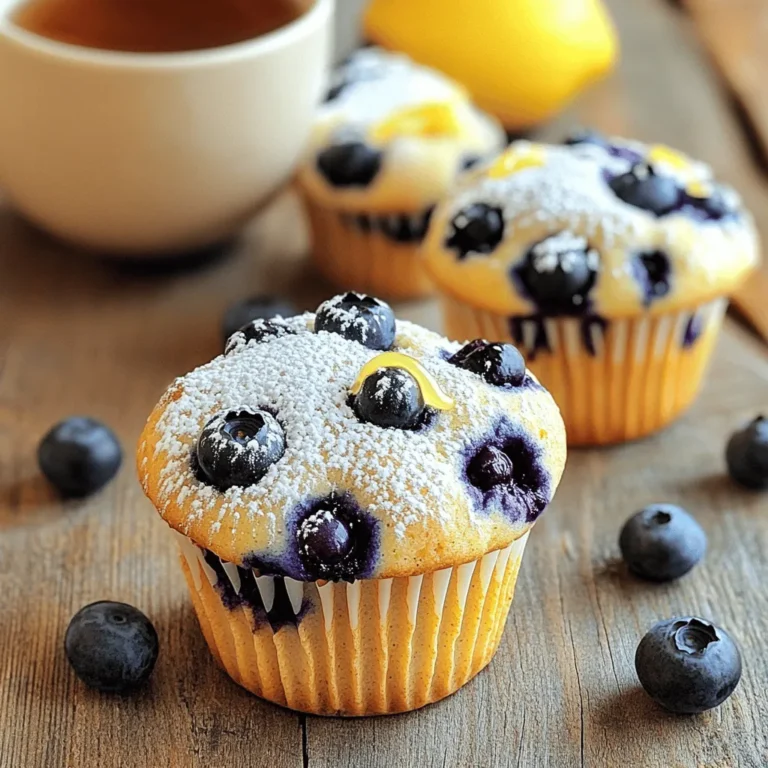
Blueberry Lemon Yogurt Muffins Tasty and Simple Recipe
Chocolate Covered Strawberry Bark Irresistible Delight
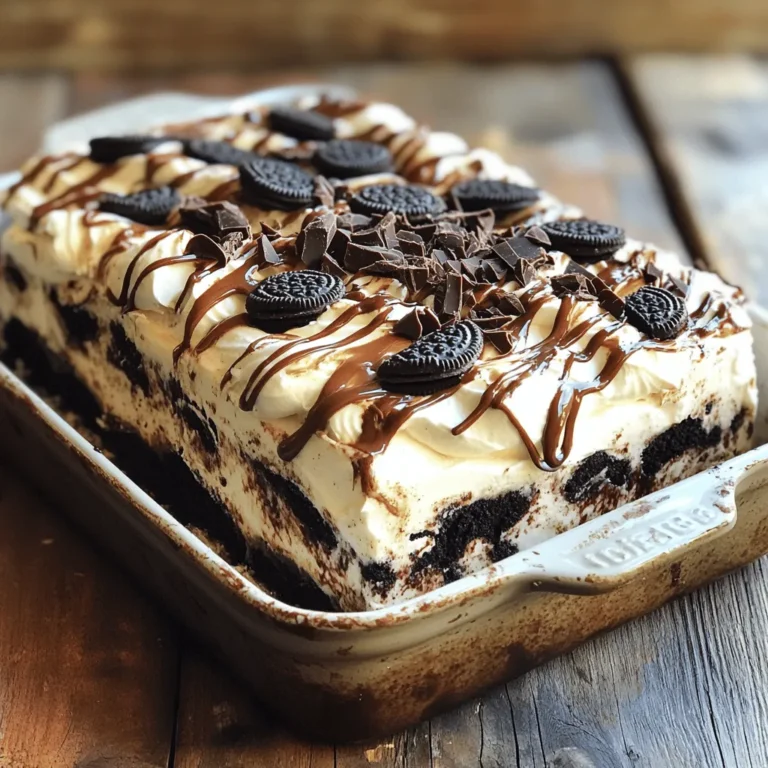
Mocha Oreo Icebox Cake Delightful No-Bake Treat
Blueberry Oatmeal Breakfast Bars Nutritious Snack Idea
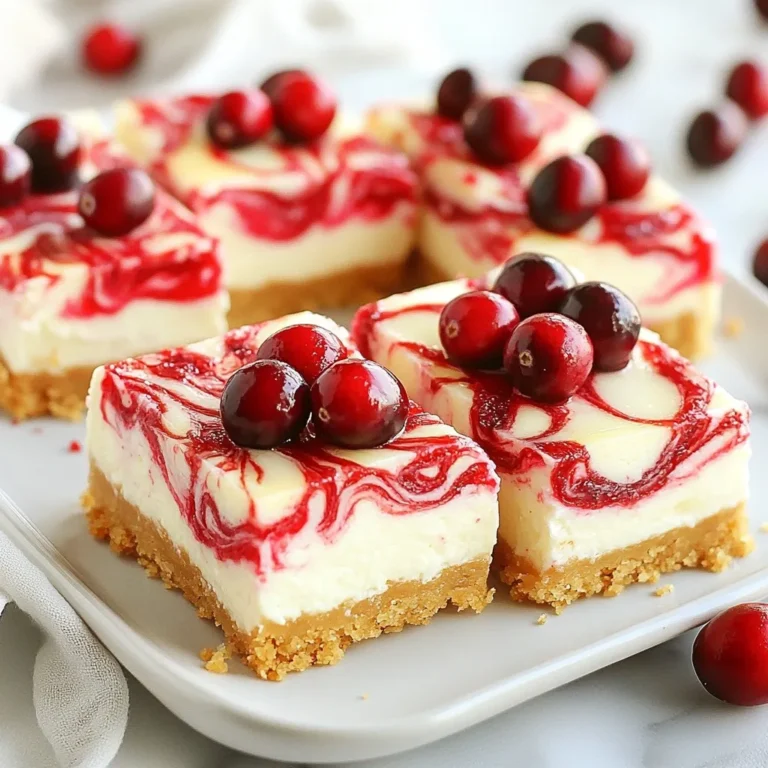
Cranberry Cheesecake Bars Decadent and Easy Recipe
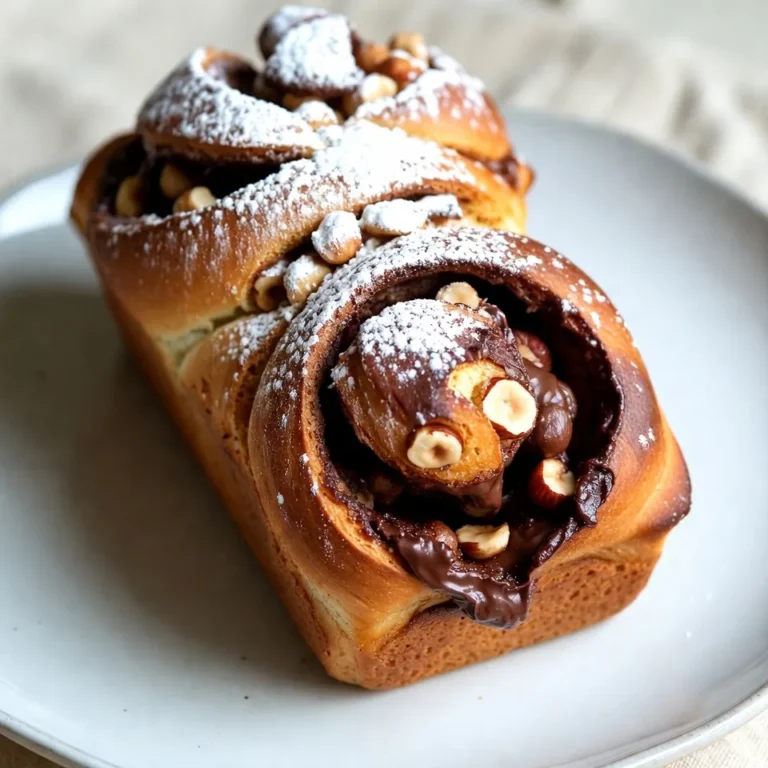
Chocolate Hazelnut Babka Irresistible and Delicious Treat
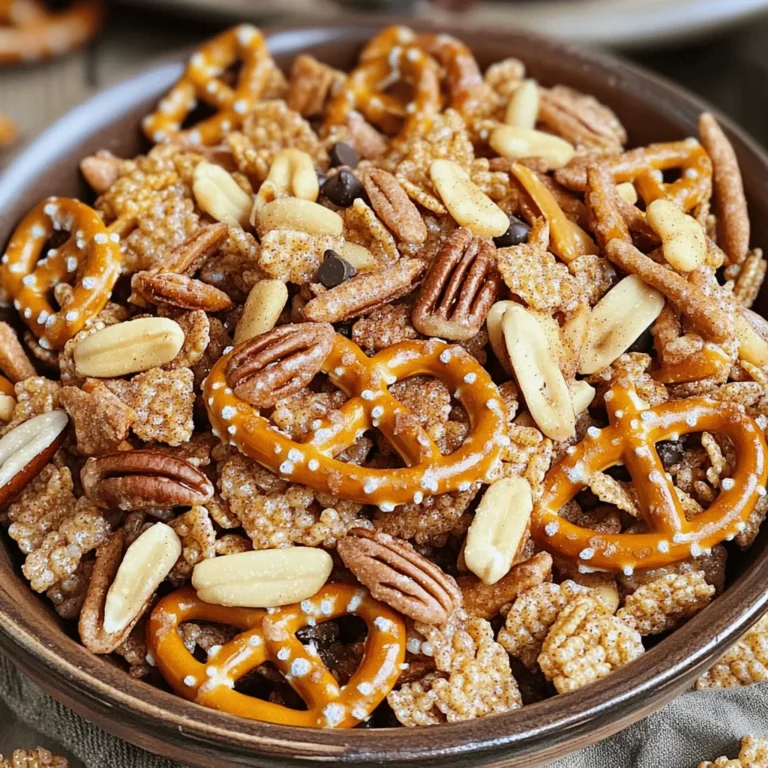
Cinnamon Sugar Pretzel Snack Mix Easy and Tasty Recipe
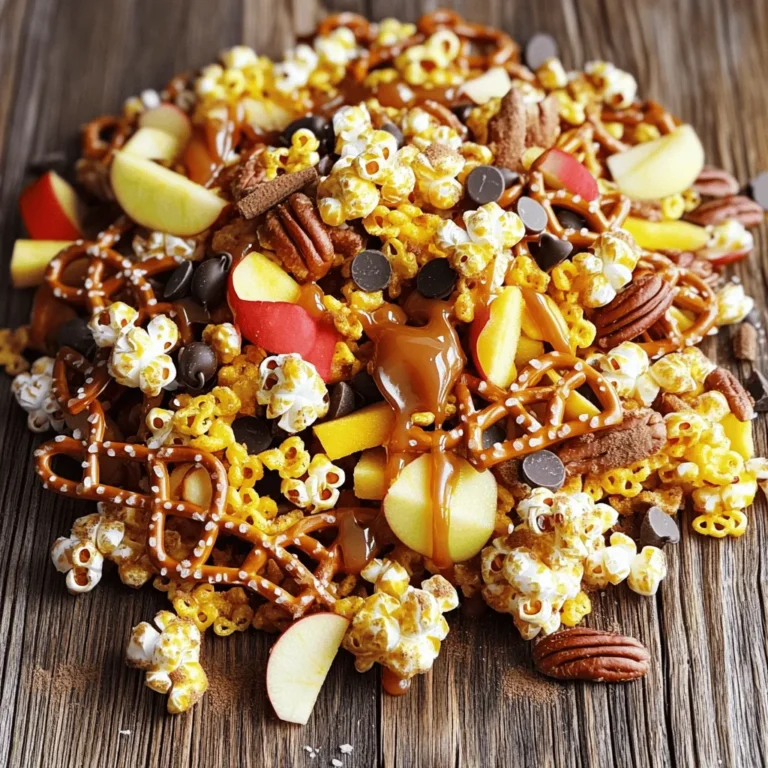
Caramel Apple Snack Mix Flavorful and Easy Recipe
Snickerdoodle Apple Cobbler Tasty and Simple Recipe
Page navigation
Previous Page
Previous
1
…
16
17
18
19
20
…
33
Next Page
Next
Home
Dinner
Appetizer
Desserts
Drinks
About
Contact
Privacy Policy
Toggle Menu Close
Search for:
Search

![- 1 cup dark chocolate chips - 1 cup white chocolate chips - 1 cup freeze-dried strawberries, crushed - 1/2 cup roasted almonds, roughly chopped (optional) - Sea salt, for a finishing sprinkle To make chocolate covered strawberry bark, you need simple ingredients. Dark chocolate chips form the base, giving a rich taste. White chocolate chips add sweetness and a lovely contrast. Freeze-dried strawberries provide a fruity crunch. If you like, you can add roasted almonds for a nutty flavor. A sprinkle of sea salt at the end really enhances everything. - For chocolate alternatives, you can use milk chocolate or vegan chocolate. - Other nuts and toppings can include walnuts, pecans, or coconut flakes. If you want to switch things up, feel free to use different chocolates. Milk chocolate offers a sweeter note, while vegan chocolate works for plant-based diets. You can also play with toppings. Try different nuts or even dried fruits like apricots or raisins. These changes keep the bark fun and exciting. 1. Lining the baking sheet Start by lining a baking sheet with parchment paper. This paper helps the bark come off easily later. Without it, the chocolate might stick. 2. Melting the dark chocolate Next, take a microwave-safe bowl and add one cup of dark chocolate chips. Microwave the chips in 30-second bursts. Stir well after each round. Keep going until the chocolate is fully melted and smooth. Be careful; you don’t want to overheat the chocolate. 3. Spreading the dark chocolate Once your dark chocolate is melted, pour it onto the lined baking sheet. Use a spatula to spread it into an even layer. Make it as thick or thin as you like. A consistent layer looks great. 4. Melting and drizzling white chocolate In another bowl, melt one cup of white chocolate chips the same way. Use the microwave in 30-second increments until it’s silky smooth. Drizzle the melted white chocolate over the dark chocolate. To create a pretty marbled effect, take a toothpick or spatula and swirl the two chocolates together. 5. Adding toppings and sea salt Now, sprinkle the crushed freeze-dried strawberries on top. If you want, add chopped roasted almonds for crunch. Finally, lightly sprinkle sea salt over everything. This adds a nice balance to the sweetness. 6. Chilling the bark Carefully place the baking sheet in the refrigerator. Chill for about 30 minutes, or until the chocolate is firm. Once set, break the bark into pieces with your hands or a knife. This gives it a rustic look. For the [Full Recipe], check the earlier section. Enjoy your chocolate-covered strawberry bark! To melt chocolate correctly, avoid overheating it. Heat can turn chocolate into a grainy mess. Use short bursts in the microwave, about 30 seconds at a time. Stir well after each interval. If you notice the chocolate starting to seize, stop heating immediately. You can also use a double boiler as an alternative. Fill a pot with a bit of water and place a heat-safe bowl on top. This method helps keep the chocolate at a steady temperature. Stir gently as it melts for a silky smooth finish. For the best texture, aim for a thickness of about 1/4 inch when spreading the chocolate. This thickness will give your bark a nice bite. If you prefer thicker pieces, adjust accordingly. If you have leftover melted chocolate, store it in a sealed container. Keep it in the fridge for up to a week. When you want to use it again, gently reheat it in the microwave. To make your Chocolate Covered Strawberry Bark look stunning, use a decorative platter for serving. Arrange some whole strawberries next to the bark for a pop of color. You can also sprinkle some colorful garnish on top. Consider using edible flowers or nuts for added texture. These small touches make a big difference in presentation. For more creative ideas, check out the Full Recipe for inspiration. {{image_4}} You can easily change the taste of your chocolate bark. Adding flavors like peppermint or orange can make it special. Just mix in a few drops of peppermint extract or some orange zest with your melted chocolate. This twist can really freshen up the bark. You can also add dried fruits. Dried cherries, blueberries, or even mango give great flavor. These fruits add a sweet and chewy bite. Just sprinkle them on top along with the strawberries. If you need gluten-free options, worry not! Both dark and white chocolate can be gluten-free. Just check the labels to be sure. You can also skip the nuts if you have allergies. This bark stays delicious and fun to eat without them. For vegan adaptations, swap the chocolate for vegan chocolate. There are many brands that make dairy-free chocolate. This way, everyone can enjoy this treat! You can create themed bark for holidays, too. For Christmas, add crushed candy canes on top for a festive touch. For Valentine's Day, use pink or red sprinkles along with the strawberries. This can make your bark look lovely and cheerful for any celebration. Check out the Full Recipe for more details on making this delightful treat! To keep your chocolate covered strawberry bark fresh, use airtight containers. This keeps moisture out and prevents the bark from getting soft. The ideal temperature for storage is cool, around 60-70°F. Avoid placing the bark in warm areas, as heat can melt the chocolate. For best taste, enjoy your chocolate covered strawberry bark within two weeks. After that, the quality may decrease. Look for signs of spoilage like a white film or off smell. If you spot these, it’s best to throw it away. Always check for freshness before enjoying this treat. Enjoy your chocolate covered strawberry bark while it’s at its best! How do I make Chocolate Covered Strawberry Bark? Making Chocolate Covered Strawberry Bark is simple! First, gather your ingredients: - 1 cup dark chocolate chips - 1 cup white chocolate chips - 1 cup freeze-dried strawberries, crushed - 1/2 cup roasted almonds, roughly chopped (optional) - Sea salt, for a finishing sprinkle Follow the steps in the Full Recipe for smooth melting and perfect layering. This treat is fun to make and even better to eat! Can I use different types of chocolate? Yes, you can use different types of chocolate! Milk chocolate, dark chocolate, or even vegan chocolate work well. Each type brings its own flavor and sweetness. Feel free to mix and match based on your taste. Where to buy pre-made Chocolate Covered Strawberry Bark If you want to skip the prep, you can find pre-made Chocolate Covered Strawberry Bark at many specialty stores. Check local gourmet shops or online marketplaces for ready-made options. Recommended brands Some popular brands to try include: - Compartés Chocolatier - See's Candies - Godiva These brands offer quality products that can satisfy your chocolate cravings. Ideal pairings with beverages Chocolate Covered Strawberry Bark pairs well with many drinks! Consider serving it with a glass of milk, hot cocoa, or even a fruity tea. The flavors blend nicely and make for a tasty treat. Best occasions for serving this treat This bark is perfect for any occasion! Serve it at birthday parties, holiday gatherings, or as a sweet snack during movie nights. It always brings smiles and joy. In this blog post, we explored how to make Chocolate Covered Strawberry Bark. We discussed the main ingredients, including dark and white chocolate, strawberries, and optional almonds. You learned step-by-step instructions for preparation and assembly. I shared tips for melting chocolate safely and achieving the right texture. We also looked at variations and storage tips for this delightful treat. Enjoy making your own chocolate bark and get creative with flavors! It's simple, fun, and perfect for sharing.](https://joymealplan.com/wp-content/uploads/2025/07/8e3d9728-8bcd-40c4-9564-7af6a171388c-768x768.webp)

![To make a tasty Snickerdoodle Apple Cobbler, you need the following ingredients: - 4 medium-sized apples (Granny Smith or Honeycrisp), peeled and thinly sliced - 1 tablespoon fresh lemon juice - 1 cup granulated sugar, divided - 1 teaspoon ground cinnamon, divided - 1 cup all-purpose flour - 2 teaspoons baking powder - 1/2 teaspoon salt - 1/2 cup unsalted butter, melted and slightly cooled - 1 large egg - 1/2 cup milk - 1/2 teaspoon pure vanilla extract - 1 teaspoon ground nutmeg (for a unique twist) These ingredients come together to create a warm, comforting dessert that everyone loves. You can add some optional ingredients to make this dessert even better. Consider these: - Chopped nuts like pecans or walnuts for crunch - A scoop of caramel sauce for extra sweetness - A sprinkle of sea salt to enhance flavors - Dried fruits like raisins or cranberries for added texture These enhancements can take your cobbler to a new level. Sometimes, you may not have every ingredient on hand. Here are some substitutions you can use: - Use other apple varieties, like Fuji or Braeburn, if needed. - Swap granulated sugar with brown sugar for a deeper flavor. - Replace all-purpose flour with whole wheat flour for more fiber. - Use coconut oil or vegetable oil instead of butter for a dairy-free option. These alternatives will keep your cobbler delicious while fitting your needs. For the complete recipe, check out the [Full Recipe]. Start by preheating your oven to 350°F (175°C). This step is vital for even baking. Next, grab a 9x9-inch baking dish and grease it lightly with butter or cooking spray. This helps prevent the cobbler from sticking. In a large mixing bowl, take four medium-sized apples. I love using Granny Smith or Honeycrisp apples. Peel them and slice them thinly. Add one tablespoon of fresh lemon juice to keep the apples bright. Then, mix in 1/2 cup of granulated sugar and 1/2 teaspoon of ground cinnamon. Stir until the apples are well-coated. Pour this delicious mixture into the prepared baking dish, spreading it out evenly. Now, let’s make the batter. In another bowl, mix one cup of all-purpose flour, two teaspoons of baking powder, 1/2 teaspoon of salt, and the remaining 1/2 cup of granulated sugar. Add 1/2 teaspoon of cinnamon for flavor. In a separate bowl, whisk together 1/2 cup of melted unsalted butter, one large egg, 1/2 cup of milk, and 1/2 teaspoon of pure vanilla extract. Gradually pour the wet mixture into the dry ingredients. Stir gently with a spatula until just combined. Be careful not to overmix. This ensures the cobbler stays tender. Now, dollop the batter over the apple mixture in the baking dish. Spread it gently to cover most apples, leaving some peeking through. For a unique twist, combine one teaspoon of ground nutmeg with a pinch of cinnamon and sugar in a small bowl. Sprinkle this mix evenly over the top of the batter. Place the baking dish in the preheated oven. Bake for 35-40 minutes. Your cobbler is done when the top is golden brown. A toothpick inserted into the center should come out clean. Once baked, take the cobbler out of the oven. Let it cool for about 10 minutes before serving. This cooling time helps all the flavors meld together beautifully. Enjoy your Snickerdoodle Apple Cobbler! For the full recipe, check out the earlier sections. To make your snickerdoodle apple cobbler shine, I have some key tips. - Choose the Right Apples: Use tart apples like Granny Smith. They balance the sweetness well. - Don’t Skip the Lemon Juice: This keeps the apples fresh and adds a nice zing. - Mix Carefully: When combining wet and dry ingredients, mix just until combined. Overmixing leads to a tough texture. - Add a Nutmeg Boost: A sprinkle of nutmeg adds warmth and depth to your cobbler. - Keep an Eye on Baking Time: Ovens vary, so check for a golden top and a clean toothpick. Baking can be tricky, and mistakes often happen. Here are some to watch out for: - Using Cold Ingredients: Make sure butter and eggs are at room temperature. This helps the batter mix better. - Not Preheating the Oven: Always preheat your oven. This ensures even baking from the start. - Overcrowding the Dish: Don’t pack the apple filling too tightly. Allow space for the apples to soften. - Ignoring the Cooling Time: Let the cobbler cool for a bit before serving. This helps the flavors blend. Having the right tools makes baking easier. Here’s what I recommend: - 9x9-inch Baking Dish: This is perfect for even baking. - Mixing Bowls: Use at least two medium bowls for mixing ingredients. - Whisk: A good whisk is vital for combining wet and dry ingredients smoothly. - Spatula: A silicone spatula is great for folding and scraping batter. - Measuring Cups and Spoons: Precision matters in baking. Accurate measurements lead to better results. For the full recipe, check out the detailed instructions to guide you through each step. {{image_4}} You can change the flavor of your Snickerdoodle Apple Cobbler easily. Adding nuts gives it a nice crunch. Try using chopped walnuts or pecans. You can also change the spices. Instead of just cinnamon, add a pinch of cardamom. This gives it a warm and unique taste. For a sweeter twist, mix in some chocolate chips. They melt and add a rich flavor to each bite. To make a healthier version, swap all-purpose flour for whole wheat flour. This adds fiber and nutrients. You can also use sugar substitutes, like stevia or coconut sugar. These options lower the calories while keeping the sweetness. If you want to cut down on fat, use applesauce instead of butter. It keeps the cobbler moist while being lighter. Change up the fruit based on the season. In spring, use fresh berries like strawberries or blueberries. In fall, pears can add a different flavor profile. They pair well with apples and spices. You could also top the cobbler with a sprinkle of oats for a crunchy topping. This adds texture and makes a great twist on the classic recipe. For the full recipe, check out the guide we provide. To keep your Snickerdoodle Apple Cobbler fresh, store it in an airtight container. Let it cool for about 10 minutes after baking. Then, cover it tightly and place it in the fridge. This helps keep the flavors intact and prevents it from drying out. Enjoy the cobbler within 3-4 days for the best taste. Reheating is simple. Preheat your oven to 350°F (175°C). Place the cobbler in an oven-safe dish. Cover it loosely with foil. Heat for about 15-20 minutes. Check if it's warm throughout. You can also microwave individual servings for about 20-30 seconds. Add a scoop of ice cream on top for a warm treat. To freeze your cobbler, let it cool completely first. Cut it into portions and wrap each piece in plastic wrap. Then, place the wrapped portions in a freezer-safe bag. Remove air to prevent freezer burn. Your cobbler will stay good for up to 3 months. When you're ready to eat, thaw it in the fridge overnight and reheat as mentioned above. For the full recipe, check the link in the article. You can tell the cobbler is done when the top is golden brown. Also, insert a toothpick into the center. If it comes out clean, your cobbler is ready. Baking usually takes 35 to 40 minutes. Keep an eye on it. If it starts to brown too quickly, cover it lightly with foil. Yes, you can use different types of apples. Granny Smith and Honeycrisp are great choices. They add a nice balance of sweet and tart. Other good options include Fuji or Braeburn. Just make sure to peel and slice them thinly for even cooking. I love serving this cobbler warm with vanilla ice cream. The creamy ice cream melts into the warm cobbler. It creates a delicious mix of flavors and textures. You can also add a light dusting of cinnamon on top. For a fresh touch, add thin apple slices as a garnish. They look great and taste amazing! For the full recipe, please visit [Full Recipe]. In this post, we explored the delightful Snickerdoodle Apple Cobbler. We covered required and optional ingredients, plus substitutions. You learned step-by-step how to prepare the filling and batter. We shared tips to avoid common mistakes and suggested the best tools for success. Variations, including healthier options, added fun. Lastly, we discussed storage and reheating. Now, you're ready to create a comforting dessert. Enjoy baking and experimenting with your own twists!](https://joymealplan.com/wp-content/uploads/2025/07/db3ea963-82dc-410a-a54c-26a74516e24e-768x768.webp)