Skip to content
About
Contact
Cookie Policy
Copyright Policy
Disclaimer
Search
Home
Dinner
Appetizer
Desserts
Drinks
About
Contact
Privacy Policy
Toggle Menu
Home
/
Desserts
- Page 3
Desserts
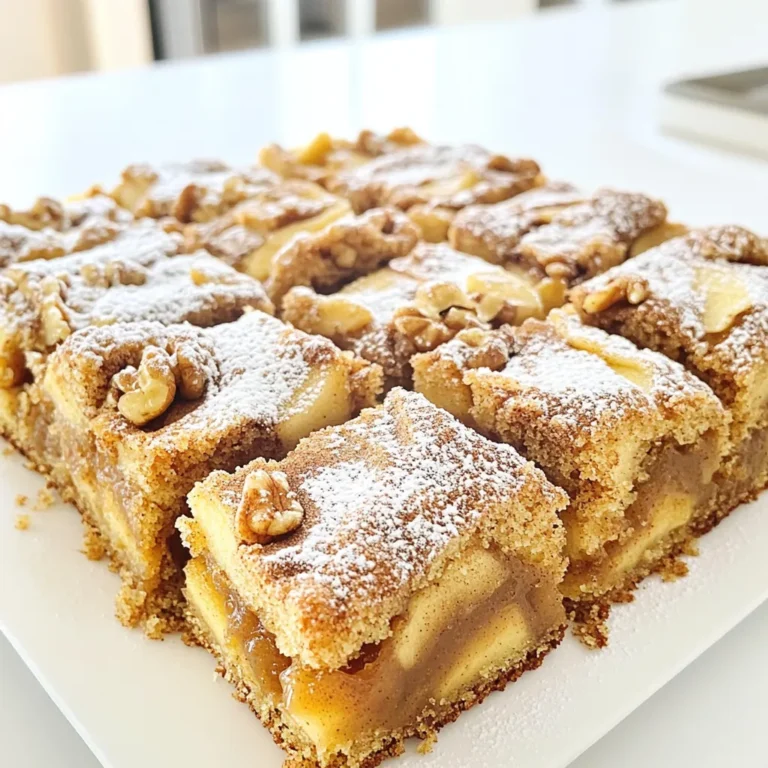
Apple Butter Coffee Cake Delightfully Simple Recipe
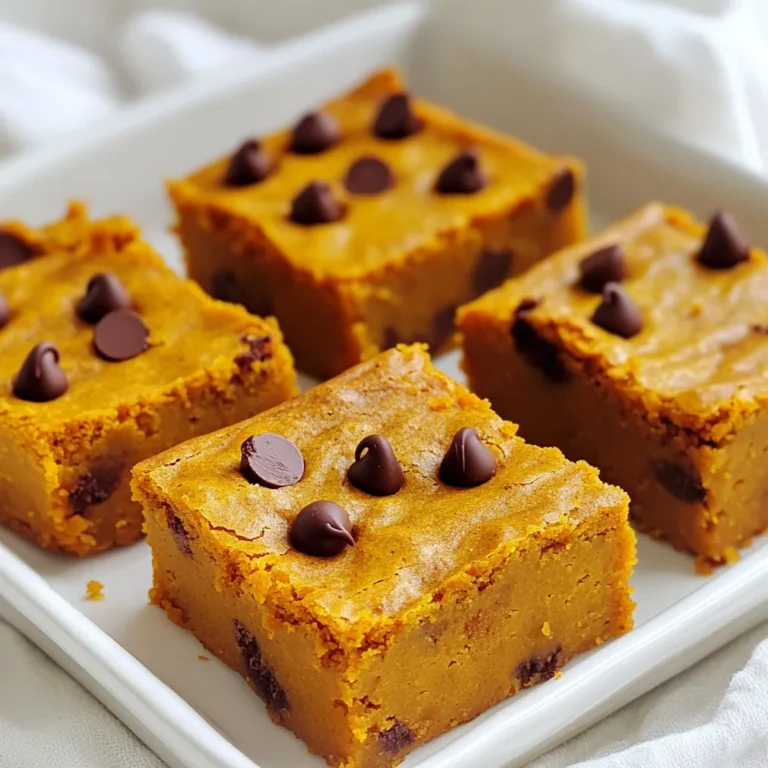
Pumpkin Chocolate Chip Blondies Tasty and Easy Treat
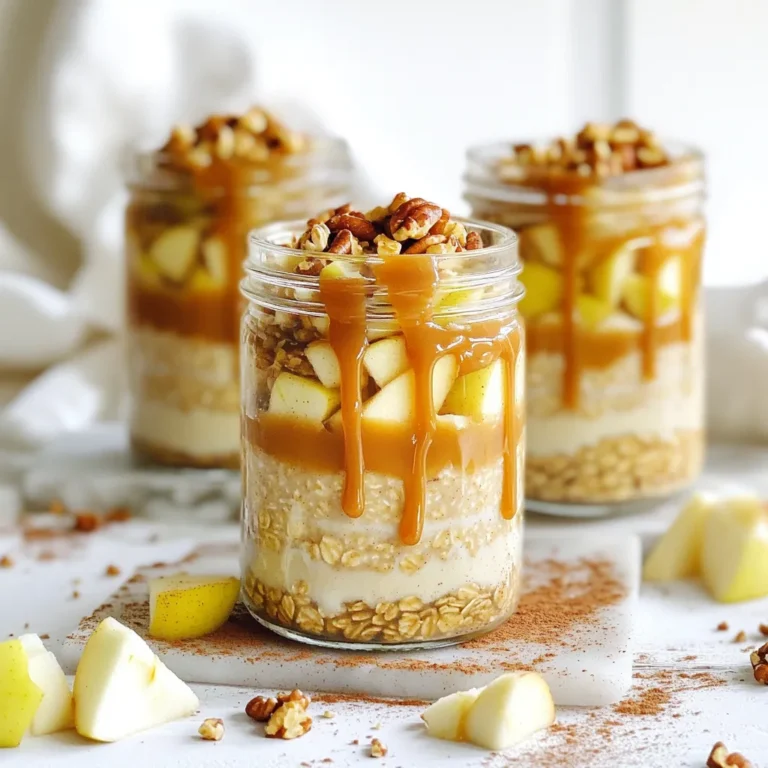
Caramel Apple Overnight Oats Tasty Breakfast Boost
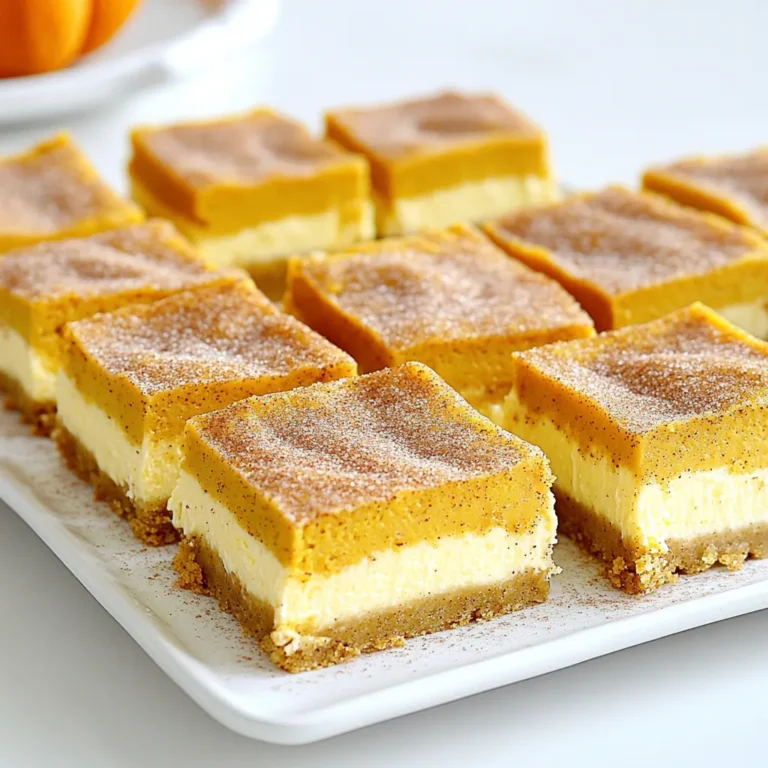
Pumpkin Snickerdoodle Cheesecake Bars Delightful Treat
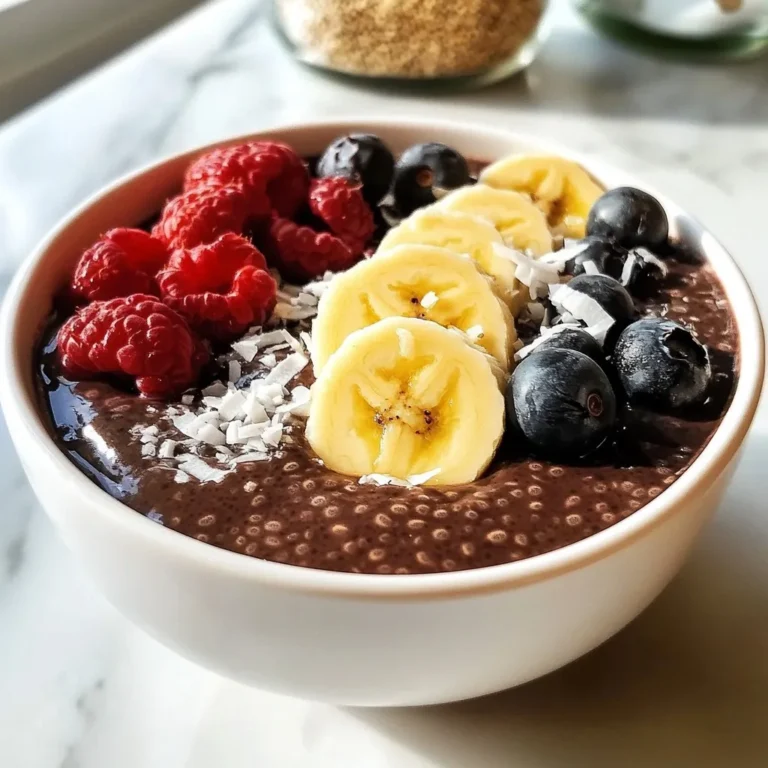
Vegan Chocolate Chia Pudding Creamy Delight Recipe
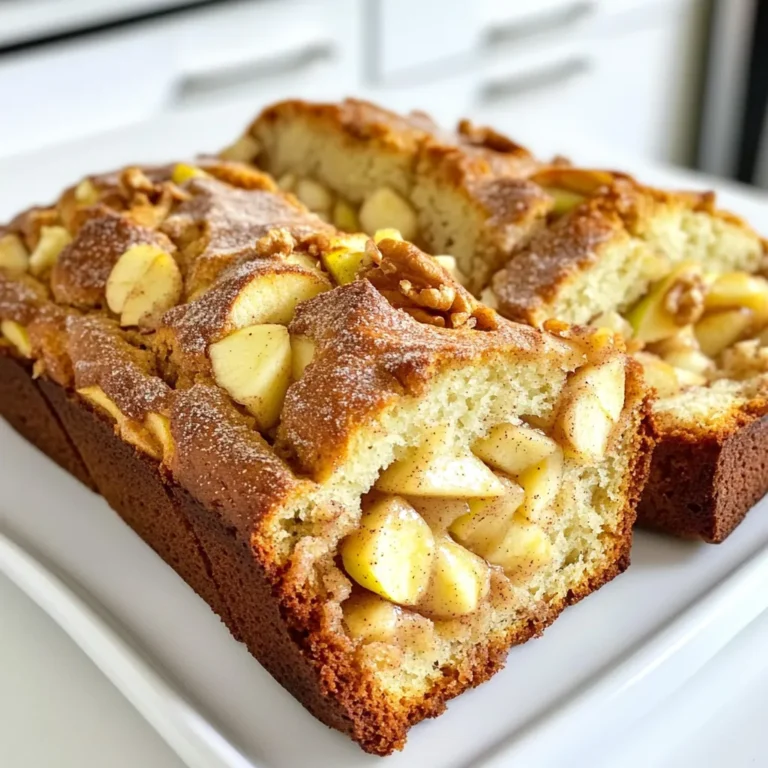
Apple Cinnamon Bread Bakery-Style Delightful Recipe
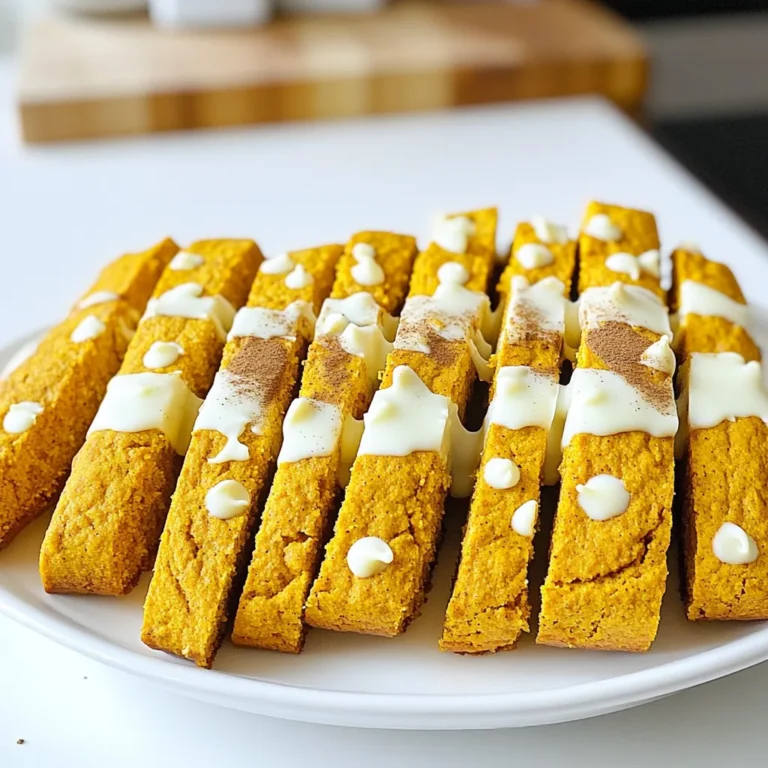
Pumpkin Spice Biscotti with White Chocolate Delight
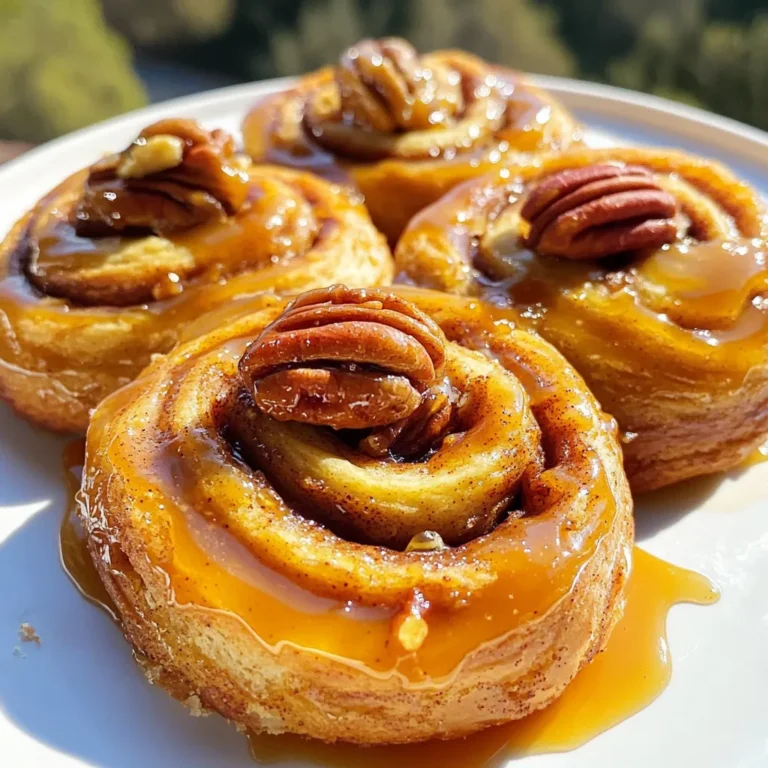
Bakery-Style Caramel Pecan Cinnamon Rolls Delight
Savory No-Bake Chocolate Covered Pumpkin Bites Recipe
Pumpkin Cream Pie Delightful and Creamy Recipe
Page navigation
Previous Page
Previous
1
2
3
4
5
…
33
Next Page
Next
Home
Dinner
Appetizer
Desserts
Drinks
About
Contact
Privacy Policy
Toggle Menu Close
Search for:
Search