Skip to content
About
Contact
Cookie Policy
Copyright Policy
Disclaimer
Search
Home
Dinner
Appetizer
Desserts
Drinks
About
Contact
Privacy Policy
Toggle Menu
Home
/
Desserts
- Page 30
Desserts
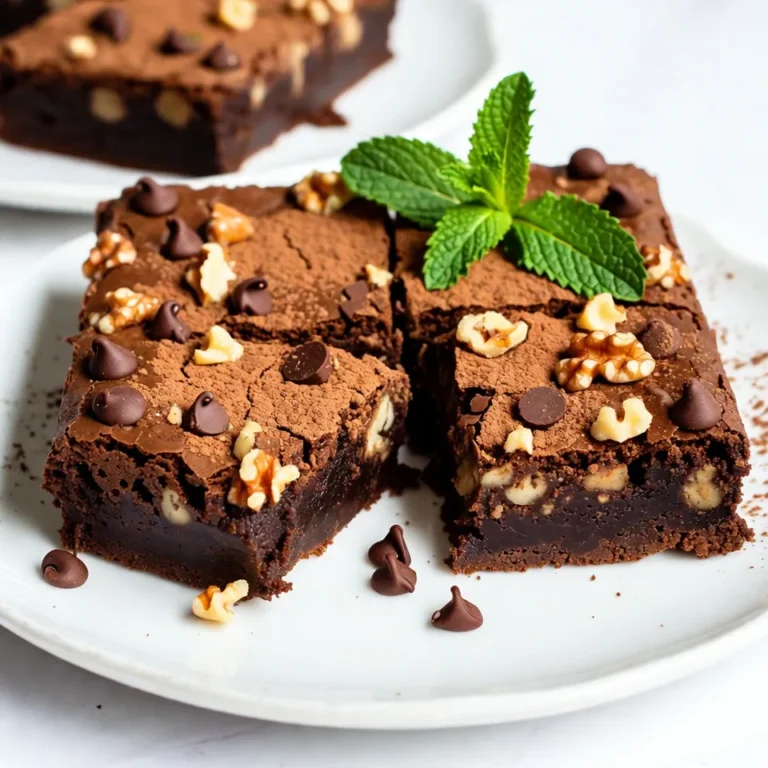
Vegan Chocolate Avocado Brownies Simple Delicious Treat
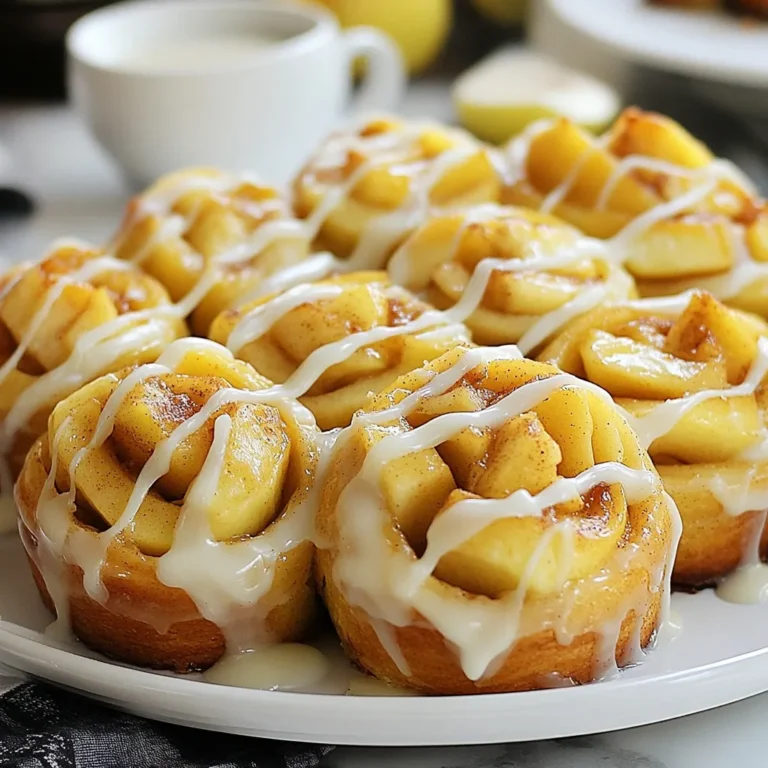
Apple Pie Cinnamon Rolls Delightful Sweet Treat
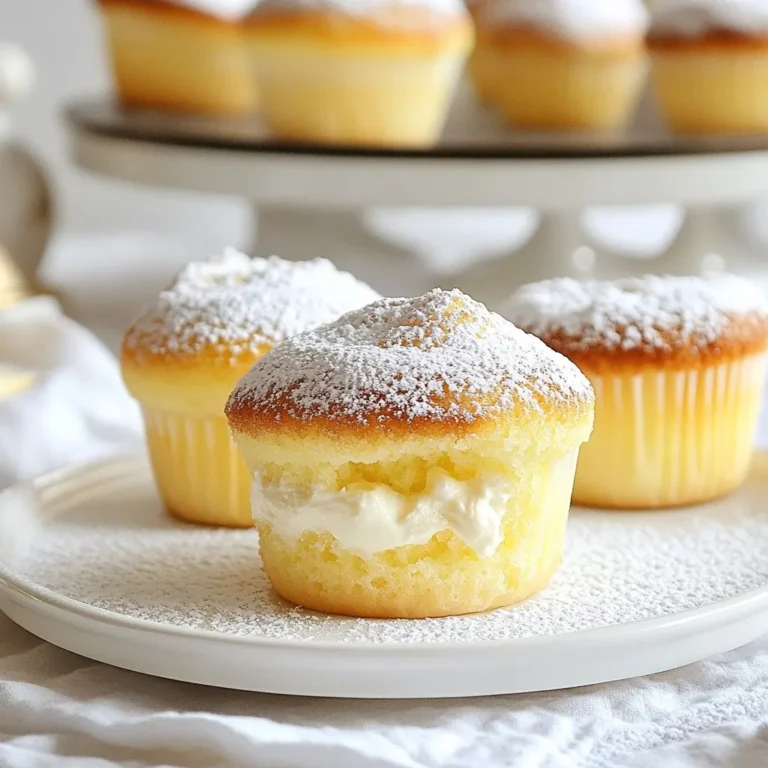
Japanese Cotton Cheesecake Cupcakes Irresistible Treat
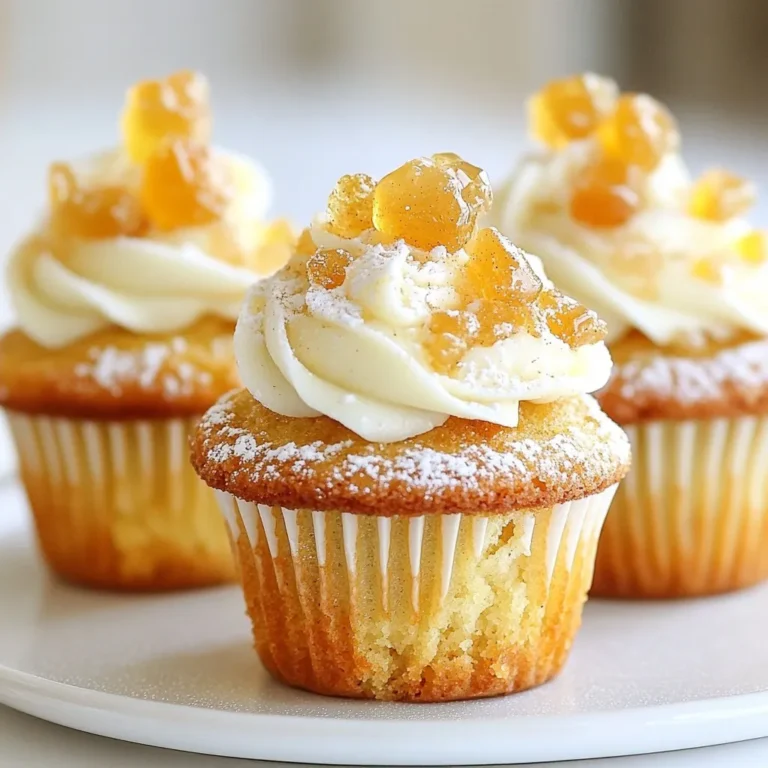
Mary Berry Ginger Cupcakes Cozy and Sweet Delight
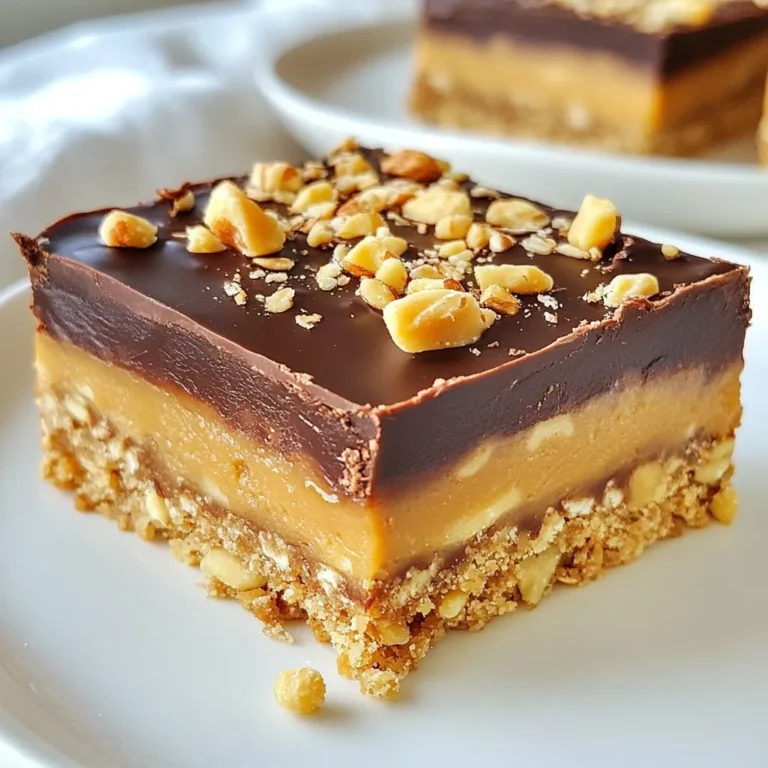
No-Bake Peanut Butter Bars Easy and Delicious Recipe
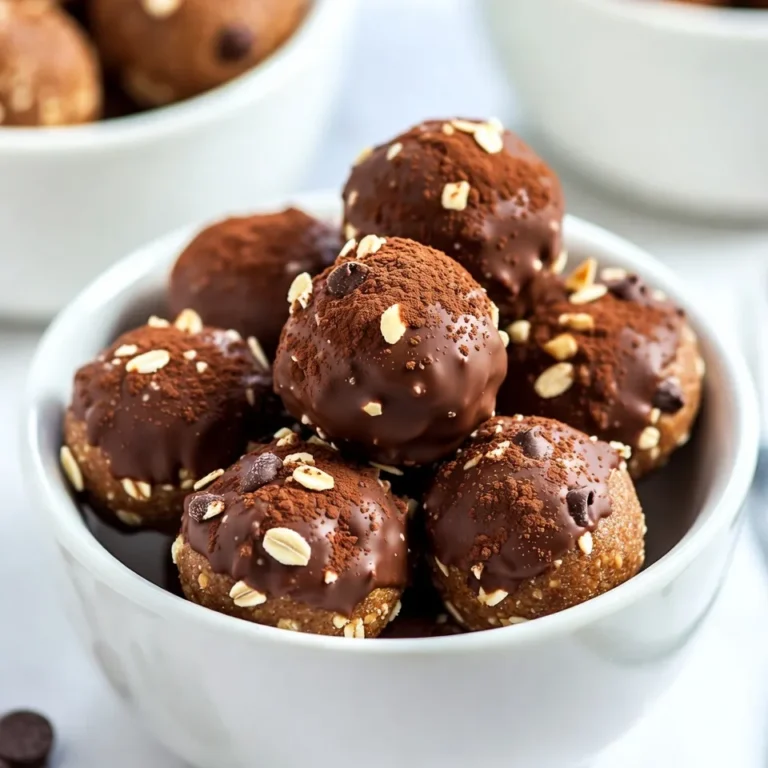
Chocolate Peanut Butter Energy Bites Easy and Healthy
Cranberry Orange Scones Irresistible Flavor Delight
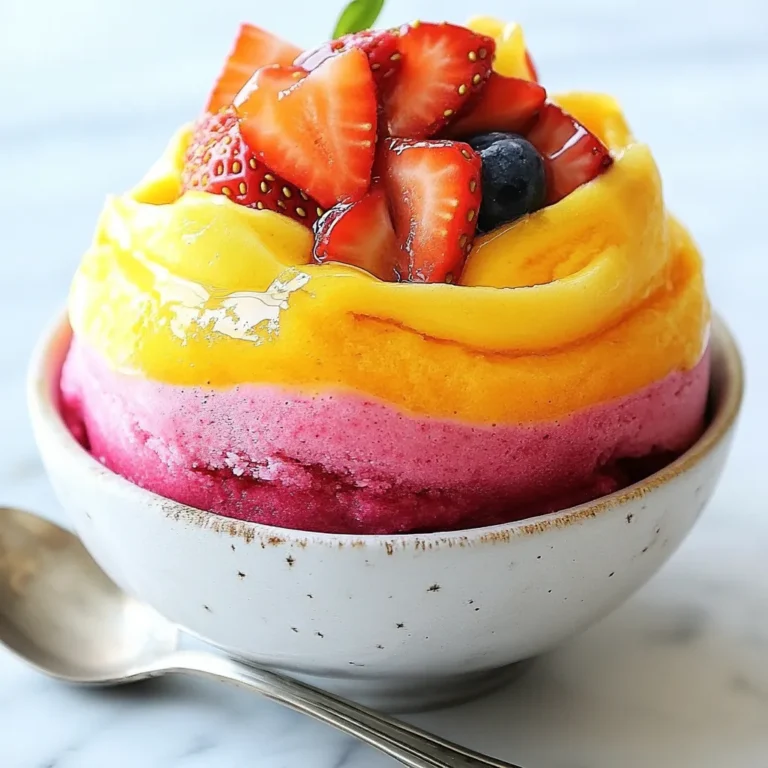
Homemade Rainbow Sherbet Refreshing Summer Treat
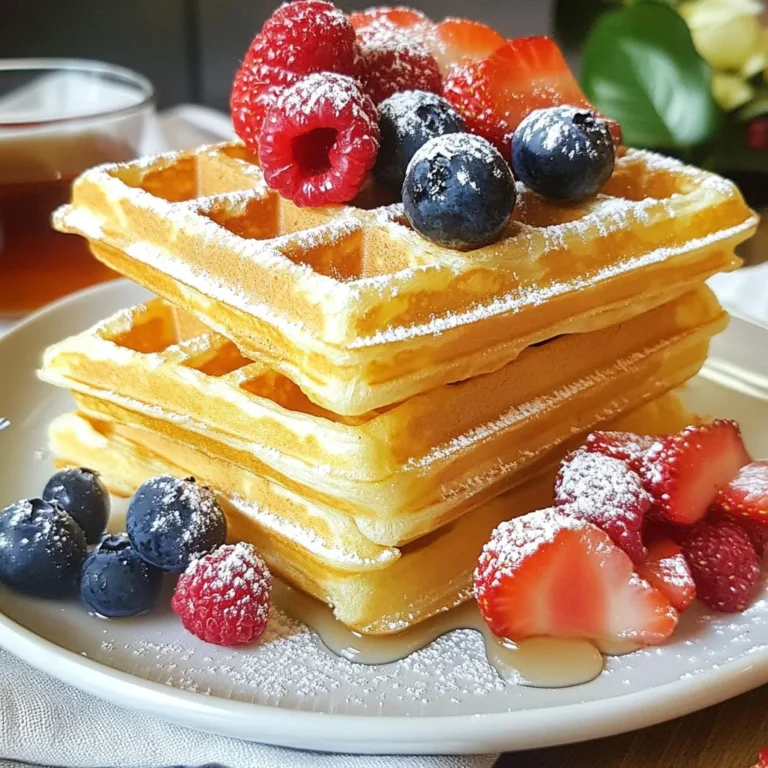
Fluffy Homemade Waffles Simple and Delicious Recipe
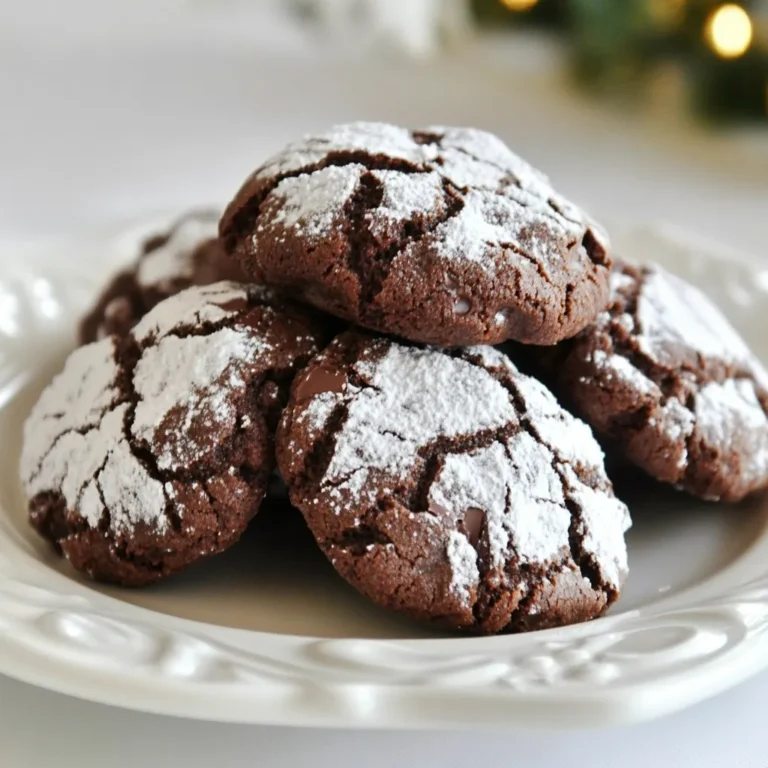
One-Bowl Chocolate Crinkle Cookies Simple Treat
Page navigation
Previous Page
Previous
1
…
28
29
30
31
32
33
Next Page
Next
Home
Dinner
Appetizer
Desserts
Drinks
About
Contact
Privacy Policy
Toggle Menu Close
Search for:
Search