Skip to content
About
Contact
Cookie Policy
Copyright Policy
Disclaimer
Search
Home
Dinner
Appetizer
Desserts
Drinks
About
Contact
Privacy Policy
Toggle Menu
Home
/
Desserts
- Page 31
Desserts
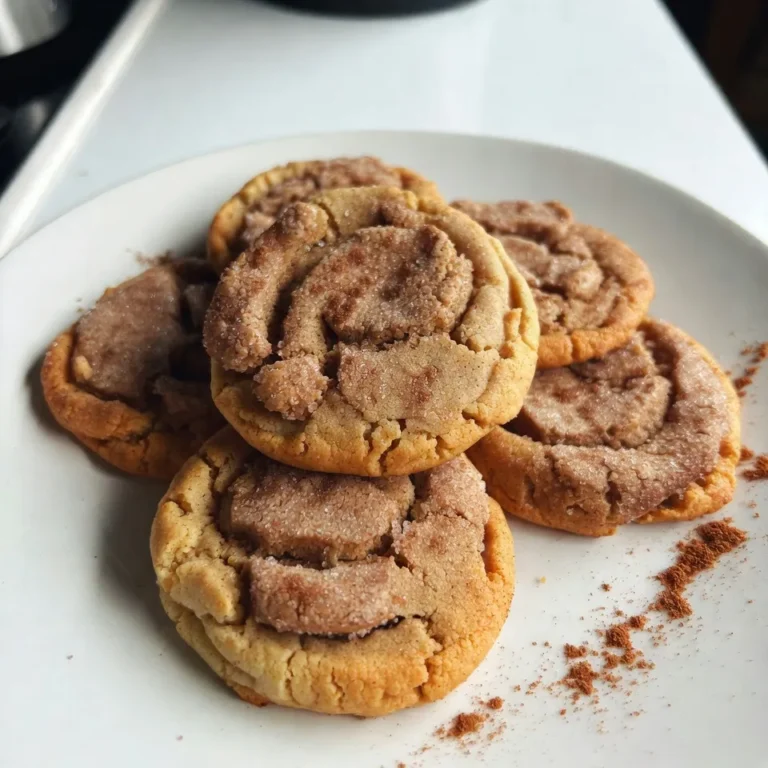
Pumpkin Spice Snickerdoodles Irresistible Fall Treat
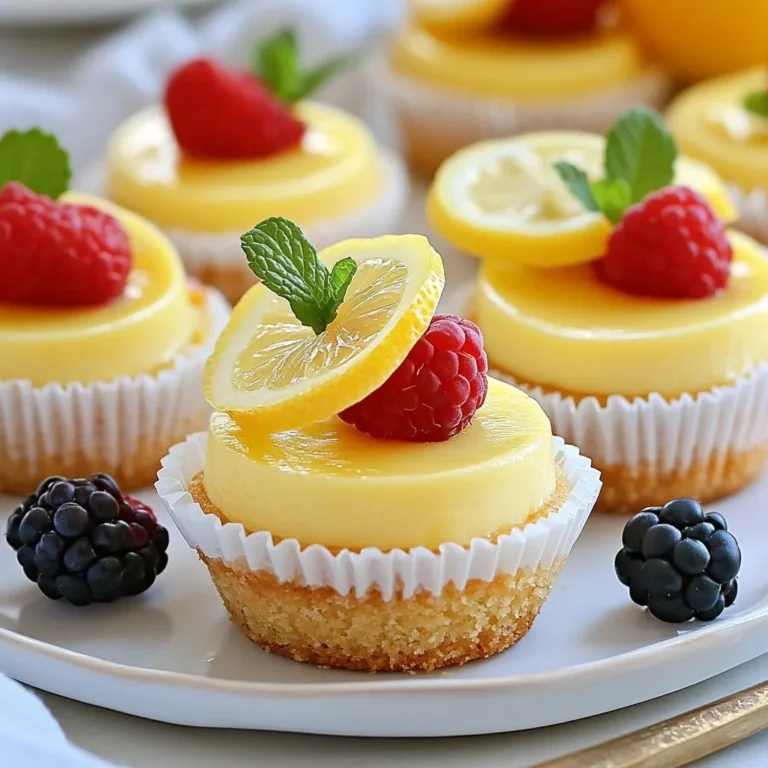
Mini Lemon Cheesecakes Scrumptious and Easy Recipe
Chocolate Peanut Butter Mug Cake Simple and Tasty
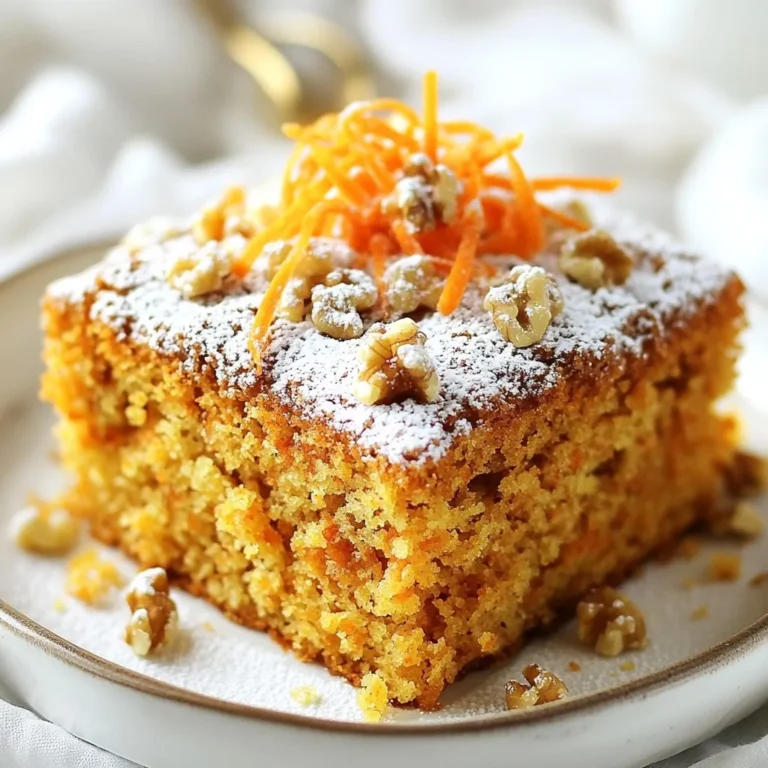
Healthy Oatmeal Carrot Cake Deliciously Easy Recipe
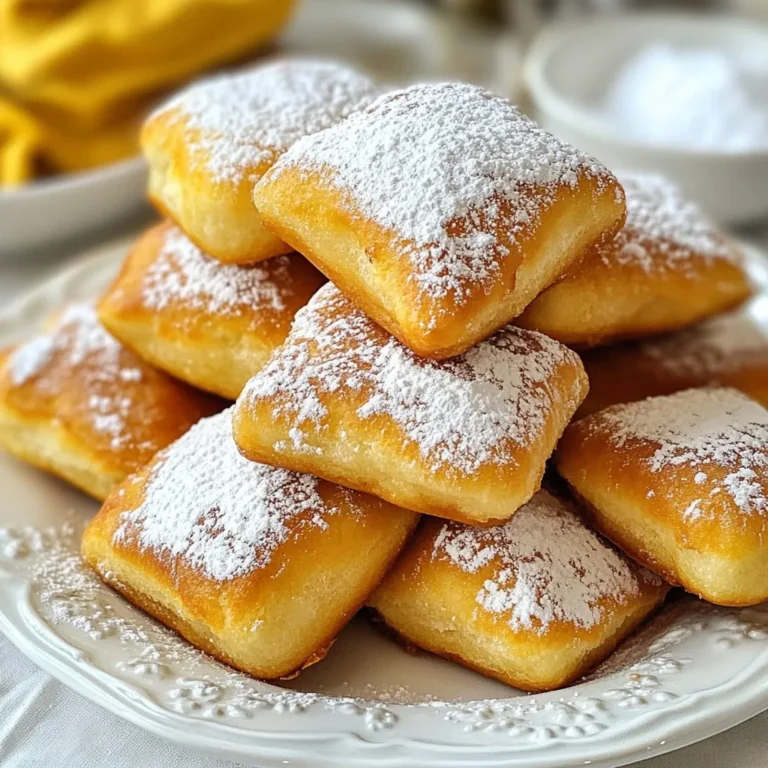
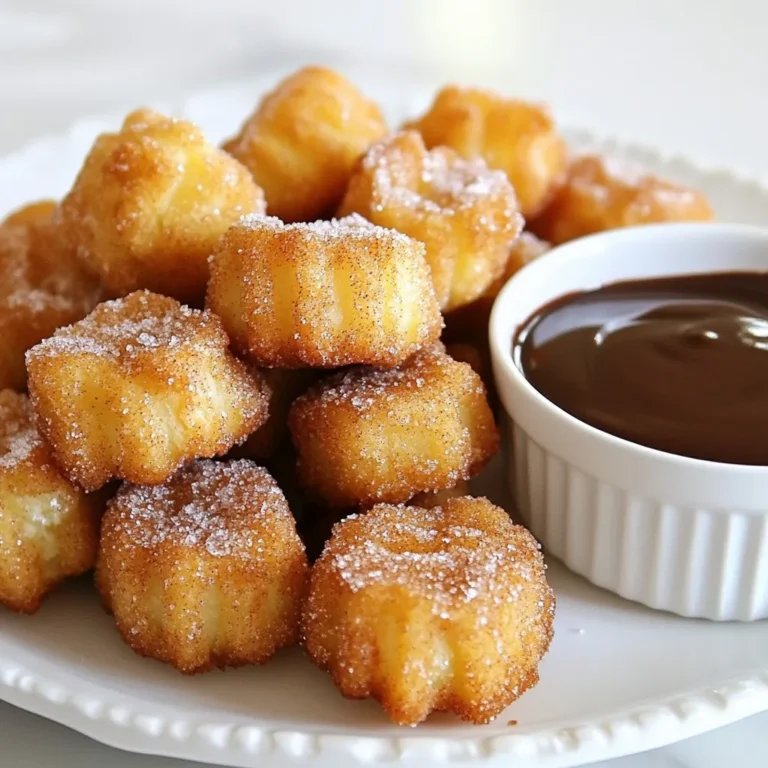
Easy Homemade Beignets Quick and Simple Recipe
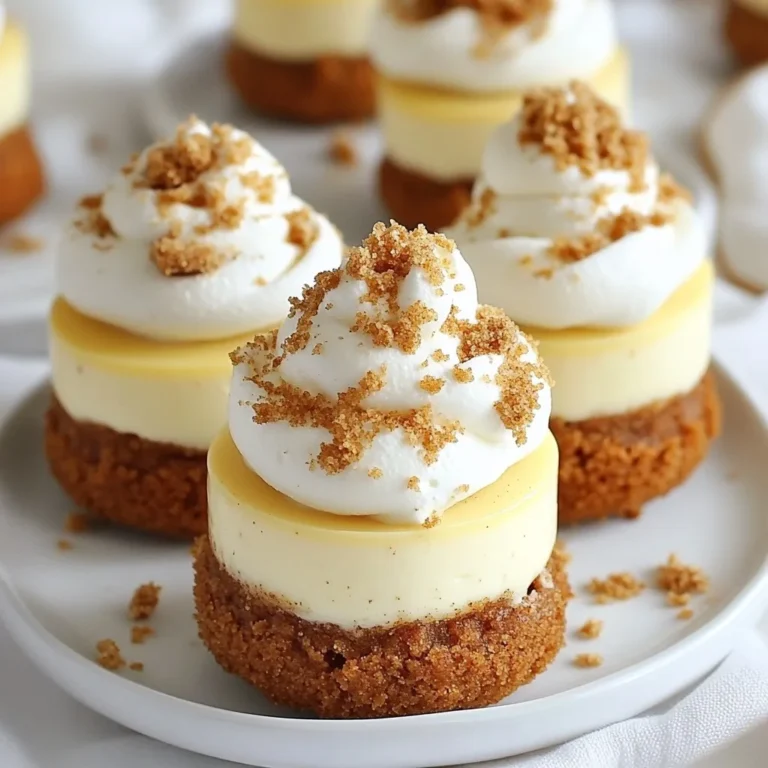
Mini Gingerbread Cheesecakes Delightful Holiday Treat
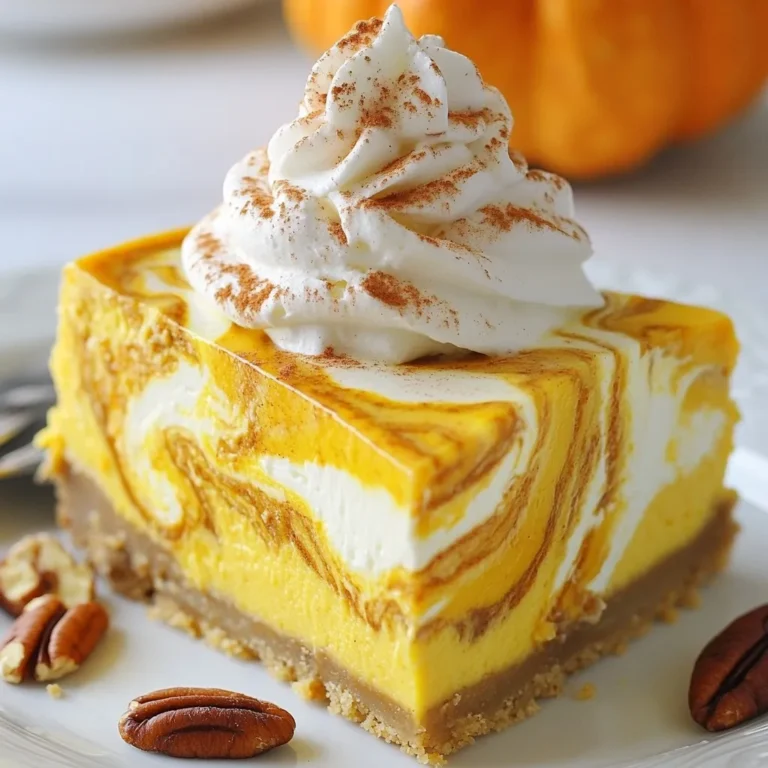
Pumpkin Swirl Cheesecake Irresistible Holiday Treat
Delicious Angel Food Churro Bites Easy Dessert Recipe
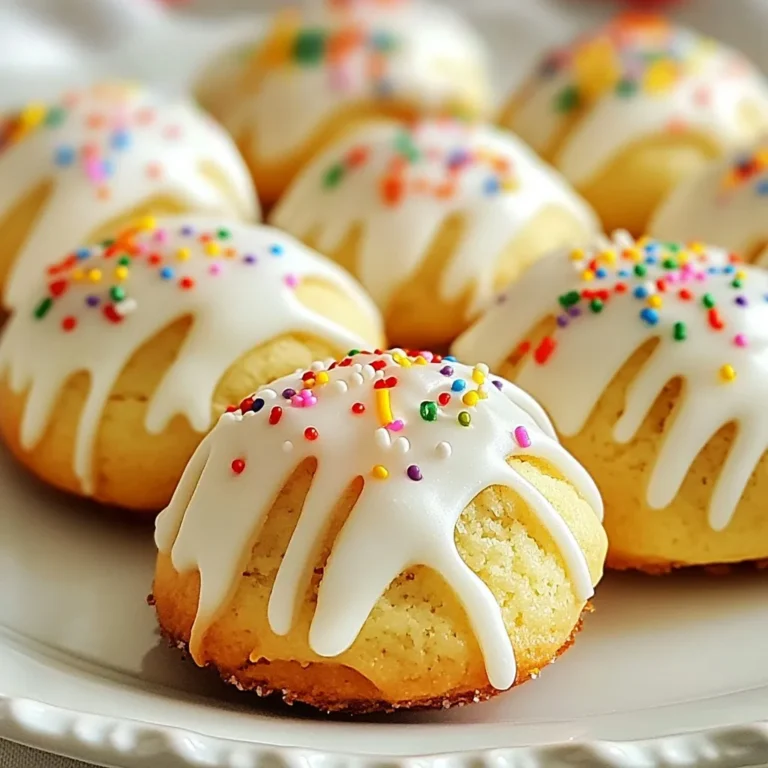
Italian Christmas Cookies Festive and Flavorful Treats
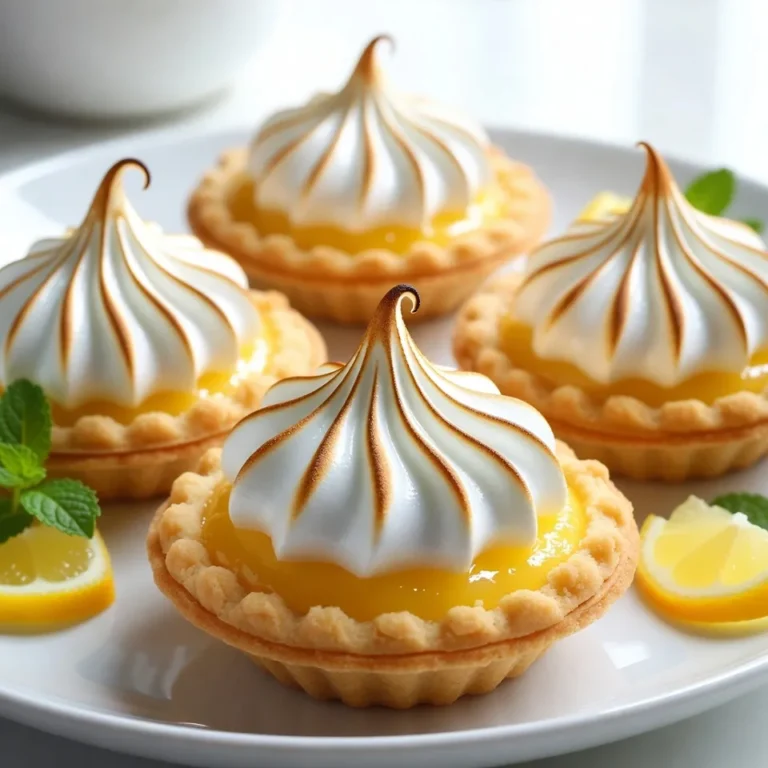
Mini Lemon Meringue Pies Delightful Sweet Treat
Page navigation
Previous Page
Previous
1
…
29
30
31
32
33
Next Page
Next
Home
Dinner
Appetizer
Desserts
Drinks
About
Contact
Privacy Policy
Toggle Menu Close
Search for:
Search