Skip to content
About
Contact
Cookie Policy
Copyright Policy
Disclaimer
Search
Home
Dinner
Appetizer
Desserts
Drinks
About
Contact
Privacy Policy
Toggle Menu
Home
/
Desserts
- Page 32
Desserts
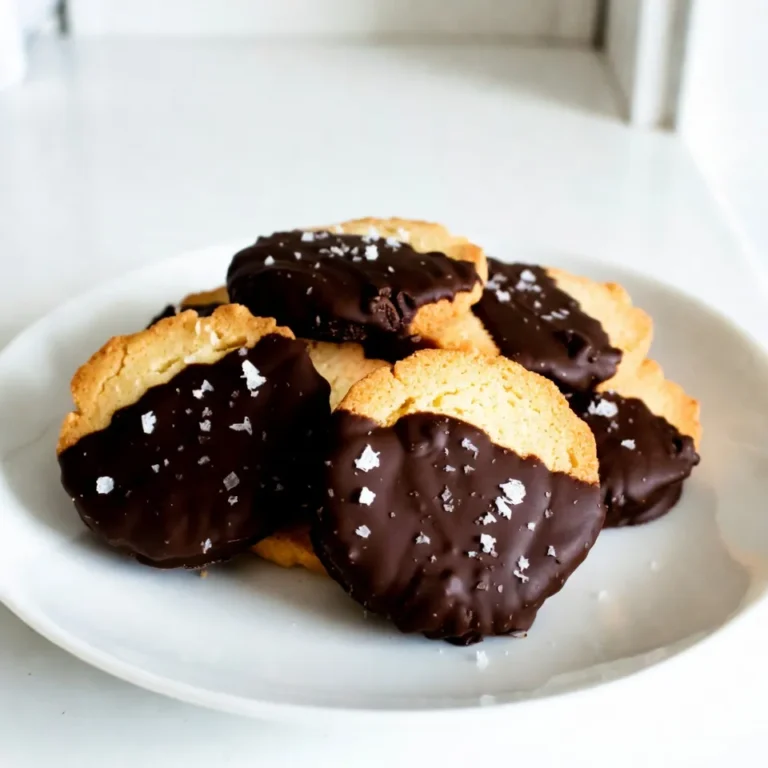
Chocolate Dipped Shortbread Rich and Buttery Delight
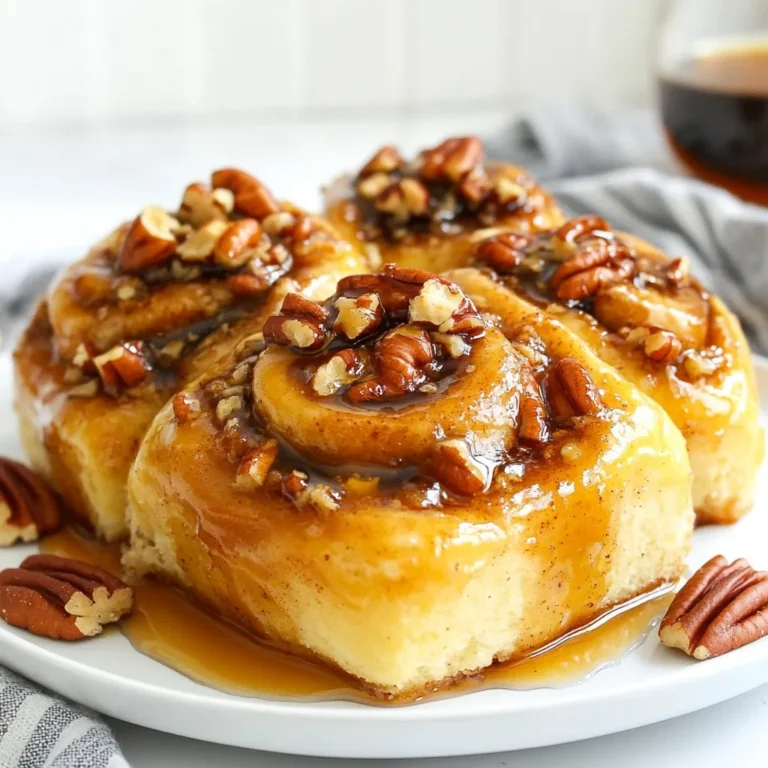
Maple Pecan Sticky Buns Irresistible Homemade Treat
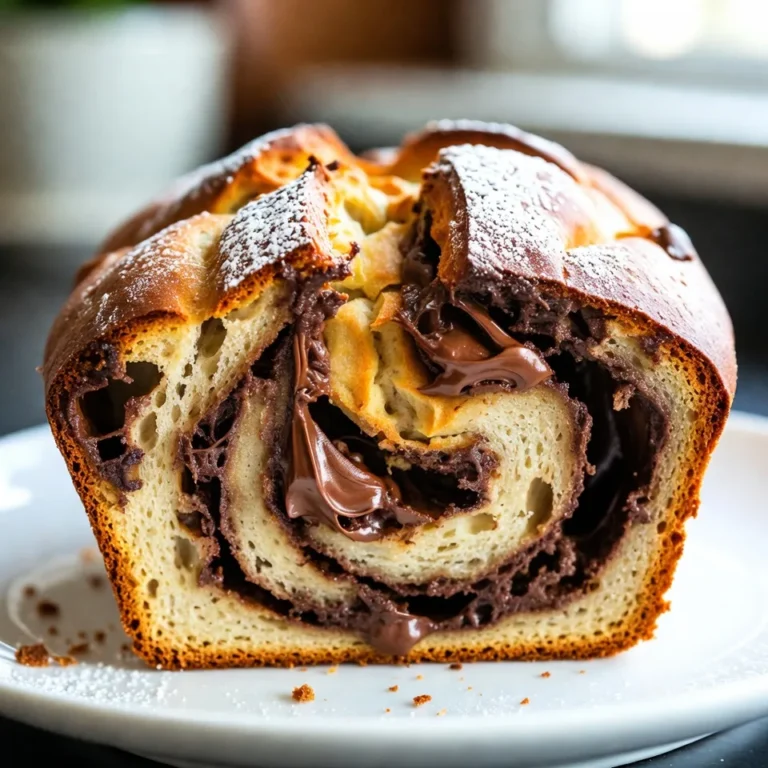
Banana Nutella Swirl Bread Irresistible Treat Recipe
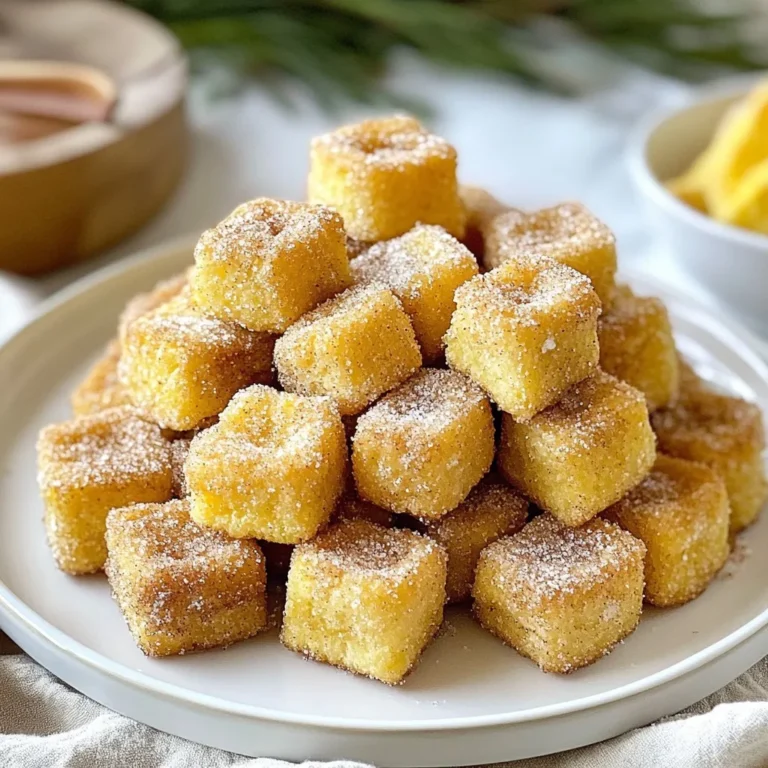
Baked Churro Bites Tasty Treat for Everyone
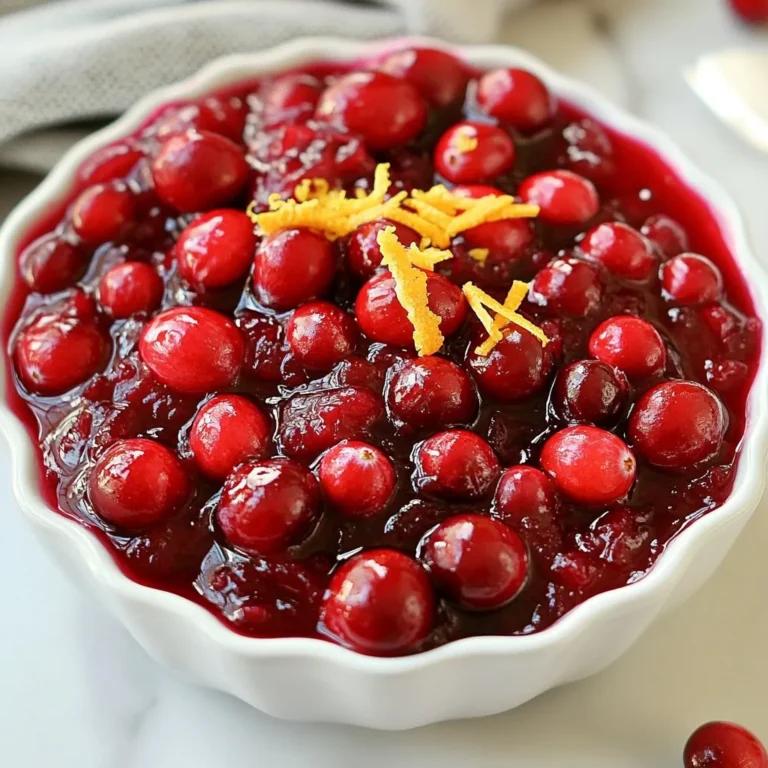
Small Batch Cranberry Sauce Rich and Flavorful Recipe
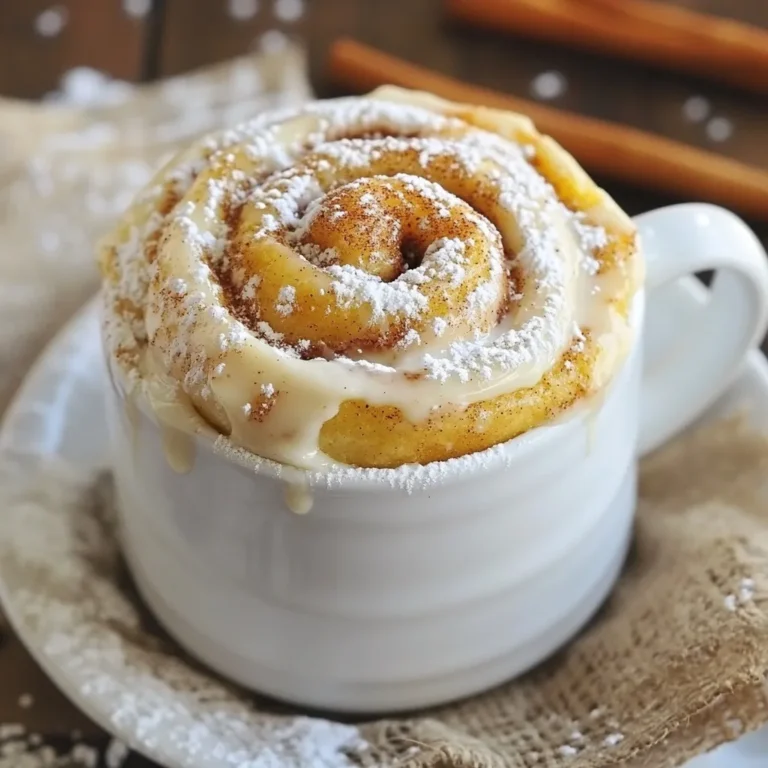
Cinnamon Roll Mug Cake Quick and Easy Recipe
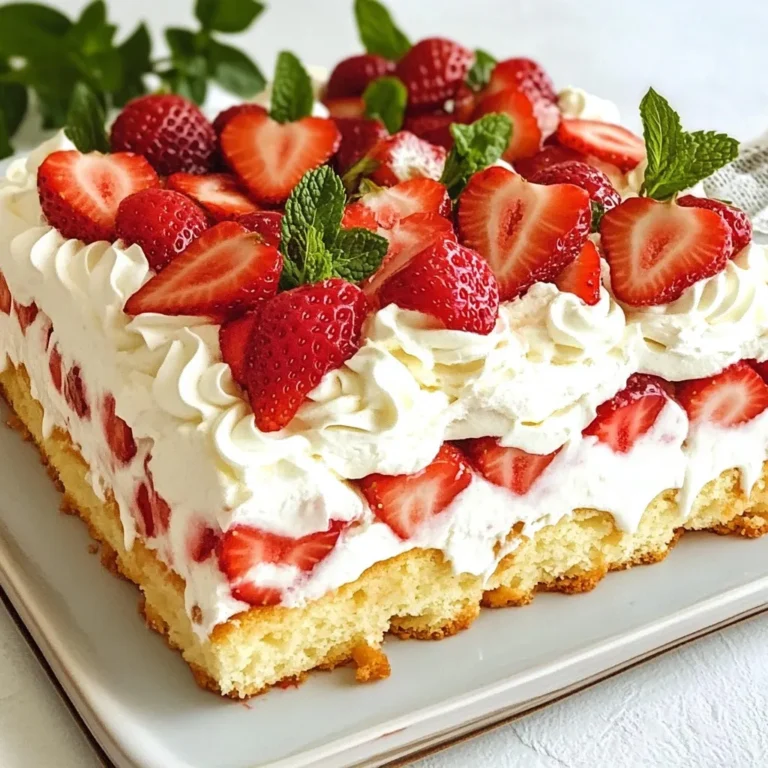
Strawberry Shortcake Icebox Cake Dreamy Summer Delight
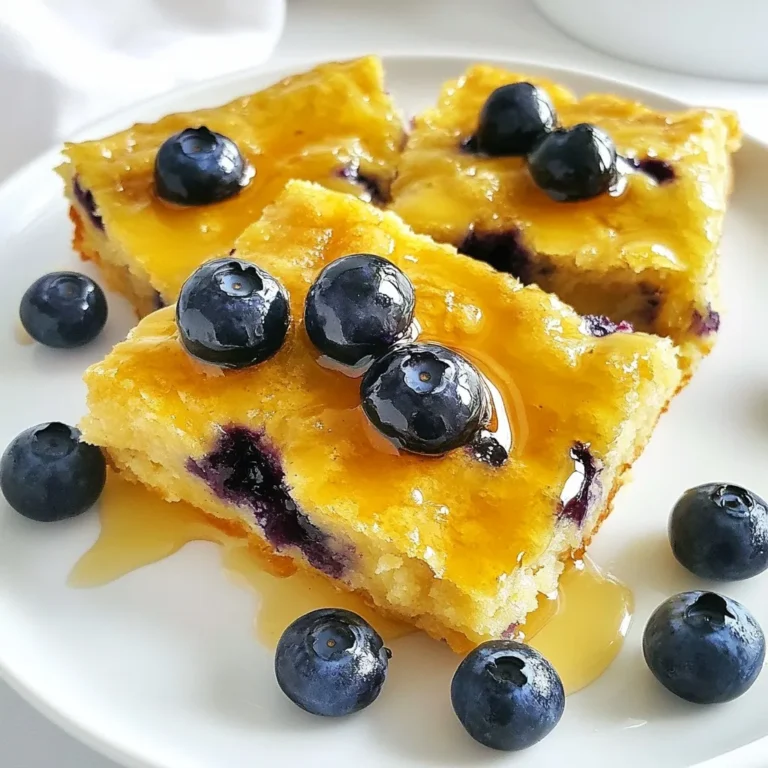
Blueberry Buttermilk Pancake Casserole Delight
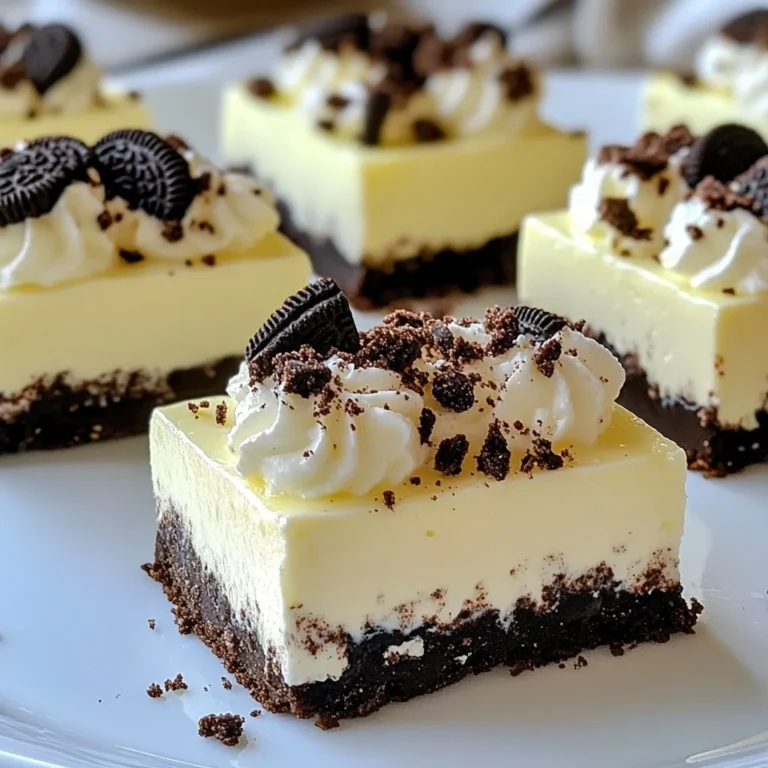
No-Bake Oreo Cheesecake Bars Simple and Delicious Treat
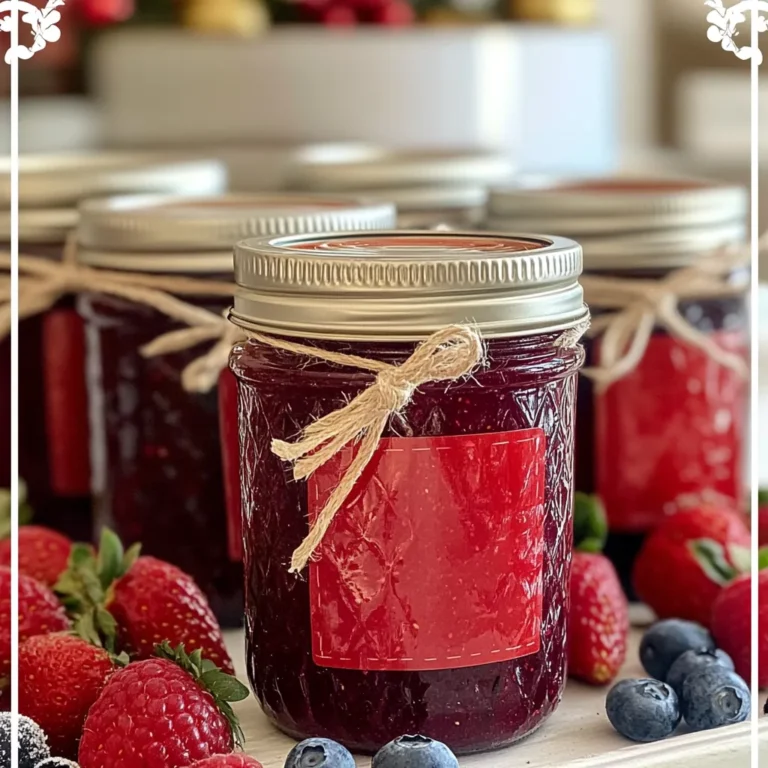
Amish Christmas Jam Festive and Flavorful Delight
Page navigation
Previous Page
Previous
1
…
30
31
32
33
Next Page
Next
Home
Dinner
Appetizer
Desserts
Drinks
About
Contact
Privacy Policy
Toggle Menu Close
Search for:
Search