Skip to content
About
Contact
Cookie Policy
Copyright Policy
Disclaimer
Search
Home
Dinner
Appetizer
Desserts
Drinks
About
Contact
Privacy Policy
Toggle Menu
Home
/
Desserts
- Page 4
Desserts
Pumpkin Cream Pie Delightful and Creamy Recipe
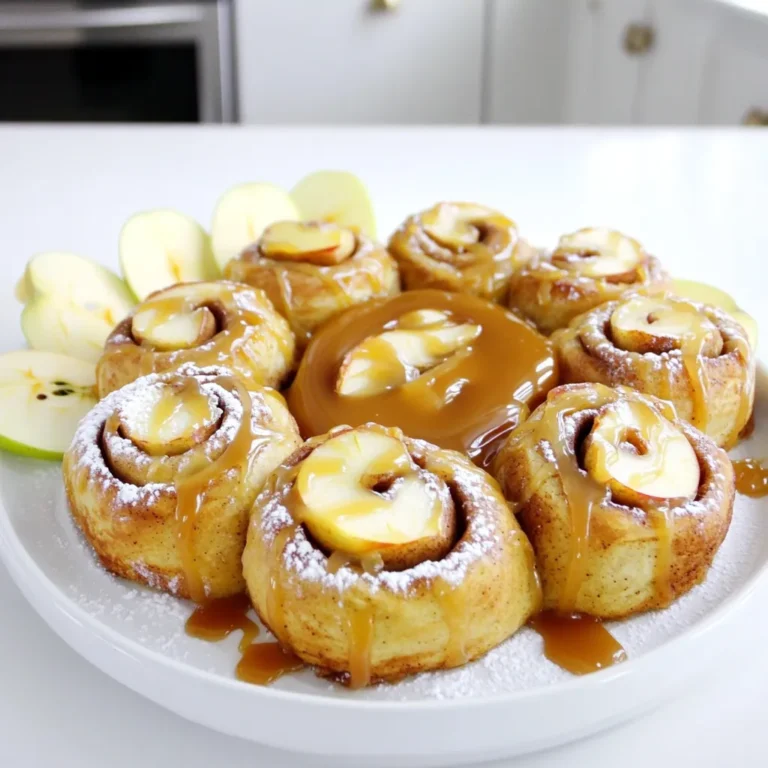
Apple Cinnamon Rolls with Caramel Irresistible Delight
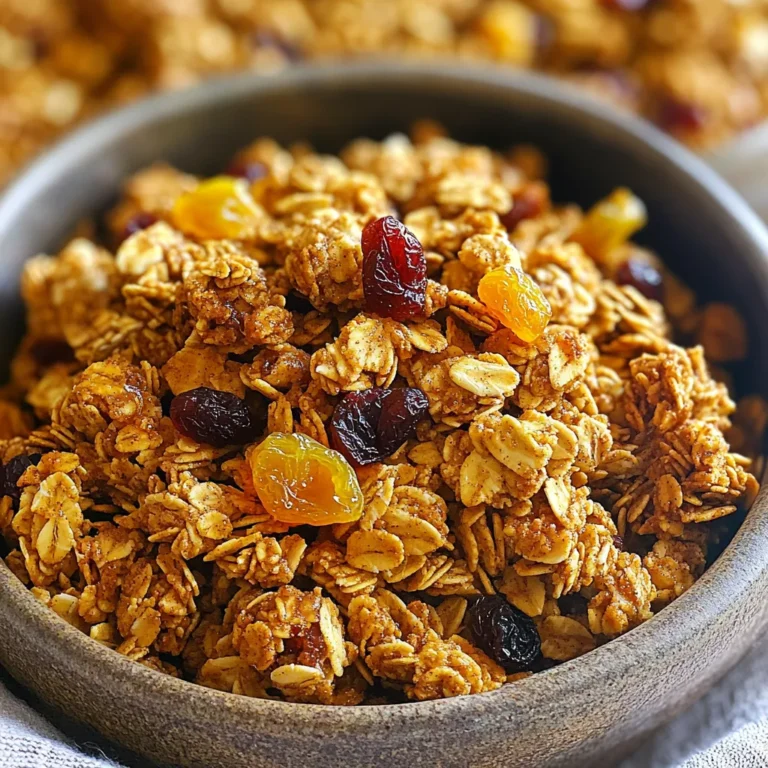
Maple Cinnamon Granola Clusters Crunchy and Tasty
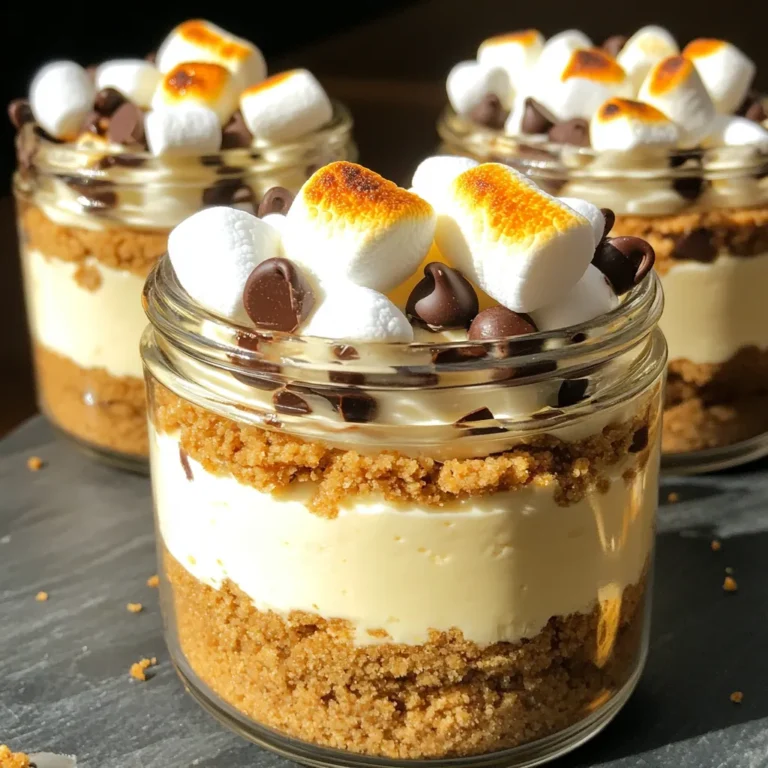
No-Bake S’mores Cheesecake Jars Easy and Delicious Treat
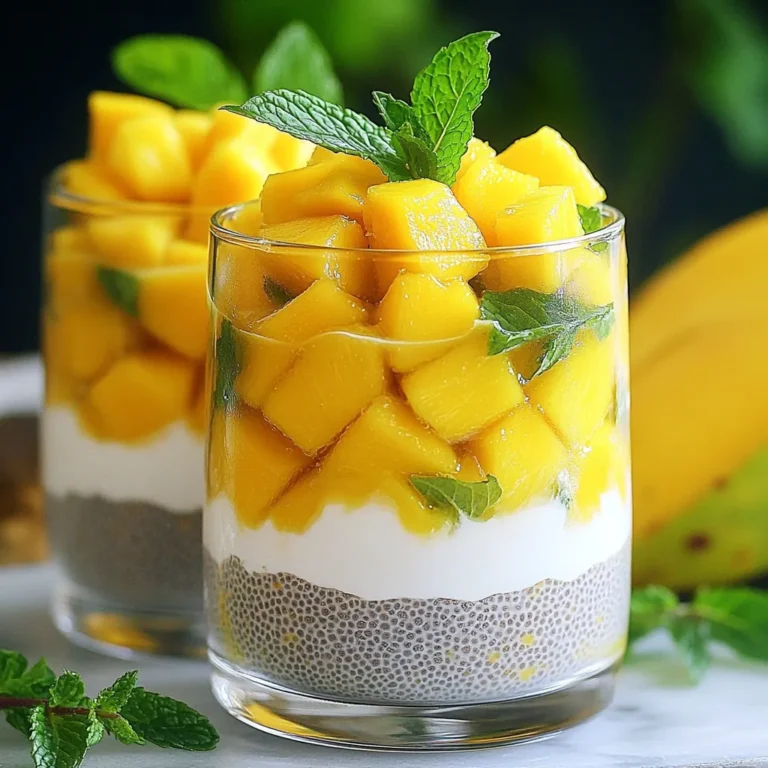
Mango Coconut Chia Pudding Quick and Tasty Delight
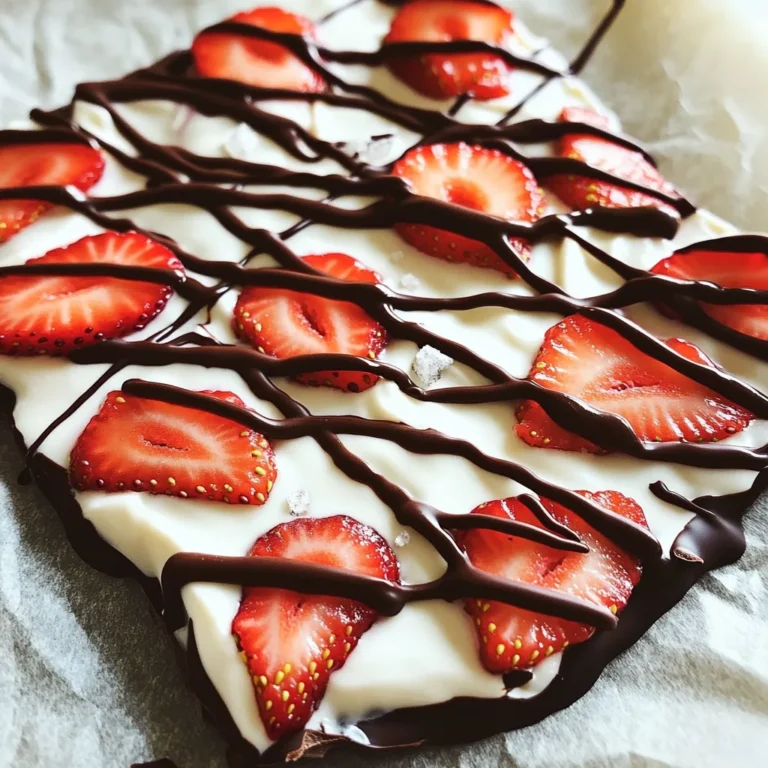
Chocolate Covered Strawberry Yogurt Bark Delight
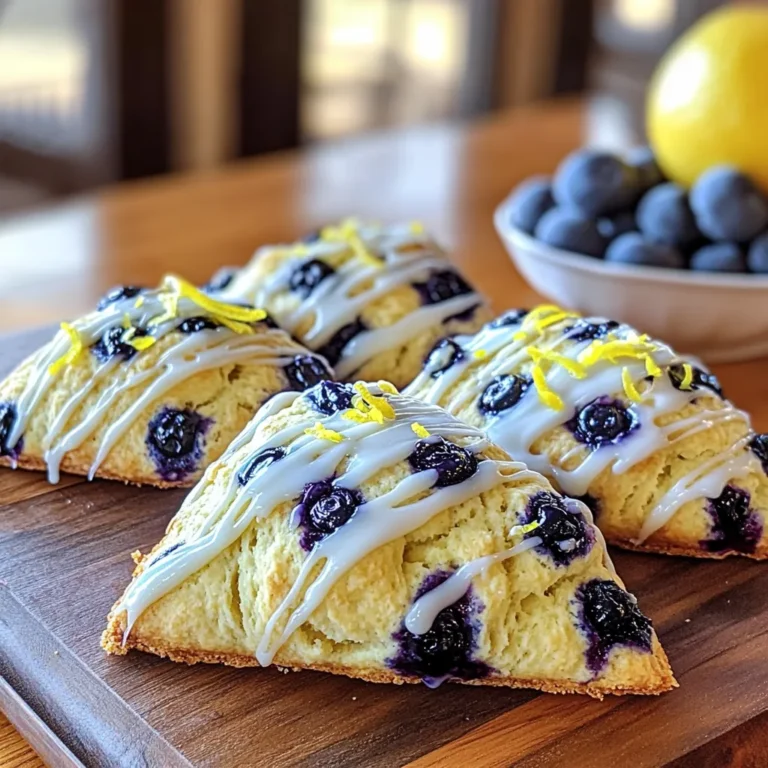
Zesty Lemon Blueberry Scones Perfectly Flaky Treat
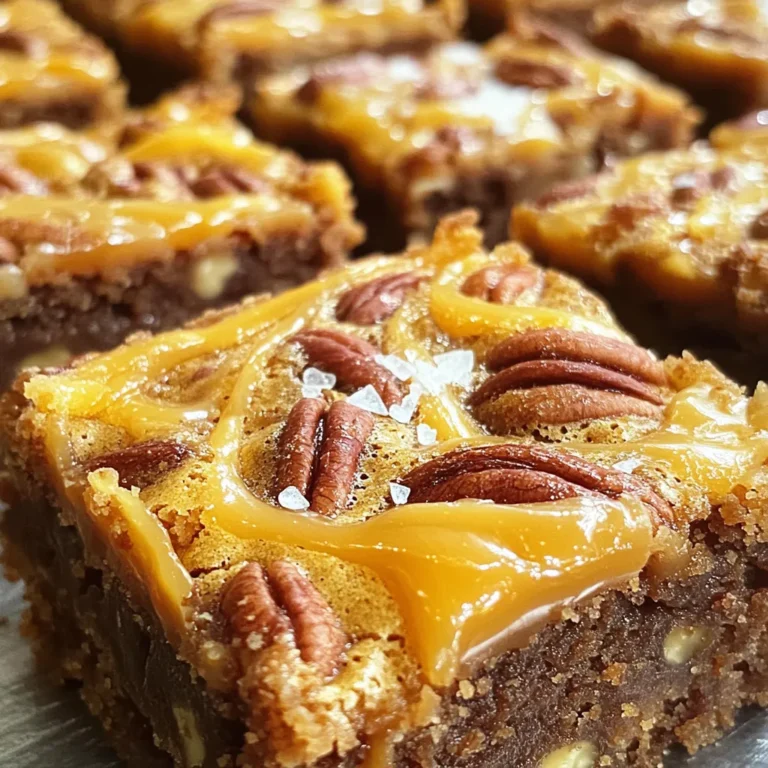
Caramel Pecan Blondies Irresistible Treat to Enjoy
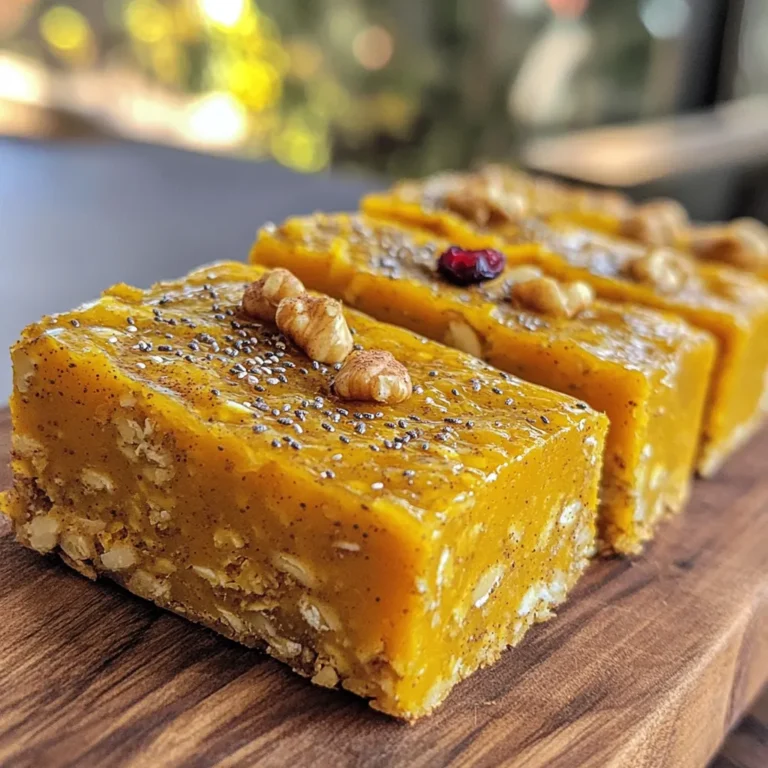
Pumpkin Spice Energy Bars Tasty and Healthy Snack
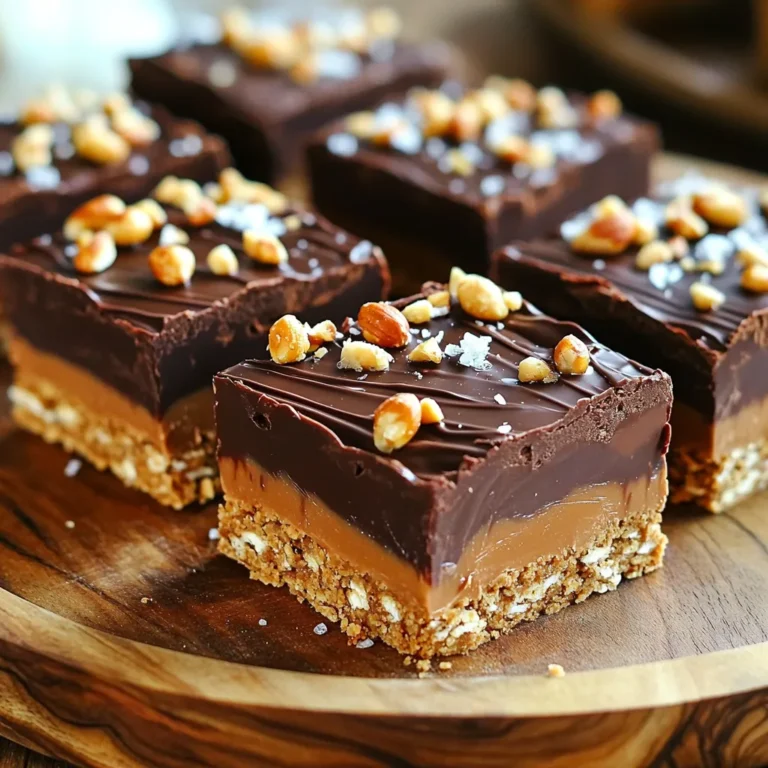
No-Bake Chocolate Peanut Butter Bars Easy and Quick
Page navigation
Previous Page
Previous
1
2
3
4
5
6
…
33
Next Page
Next
Home
Dinner
Appetizer
Desserts
Drinks
About
Contact
Privacy Policy
Toggle Menu Close
Search for:
Search