Skip to content
About
Contact
Cookie Policy
Copyright Policy
Disclaimer
Search
Home
Dinner
Appetizer
Desserts
Drinks
About
Contact
Privacy Policy
Toggle Menu
Home
/
Desserts
- Page 5
Desserts
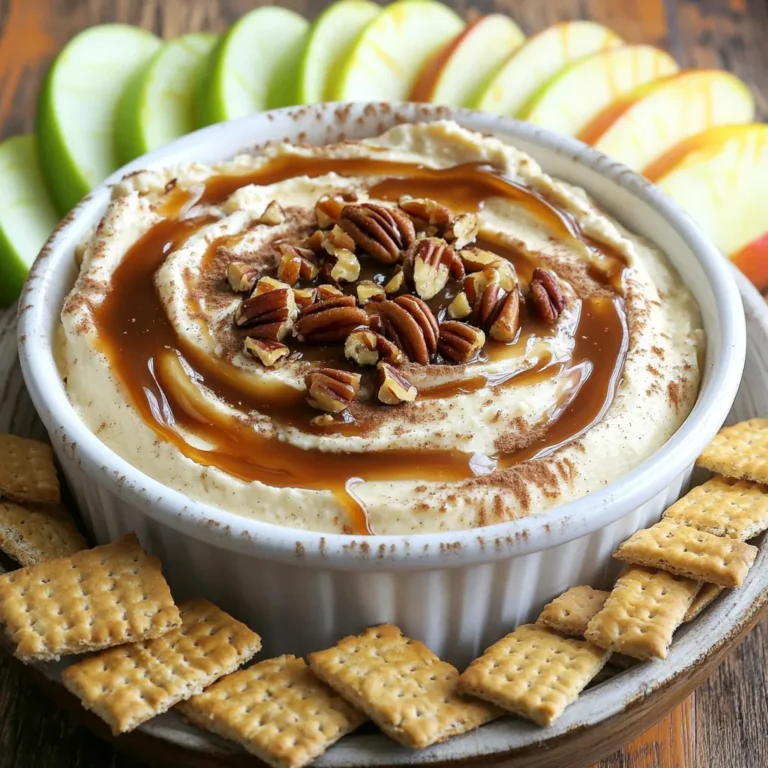
Caramel Apple Cheesecake Dip Rich and Creamy Delight
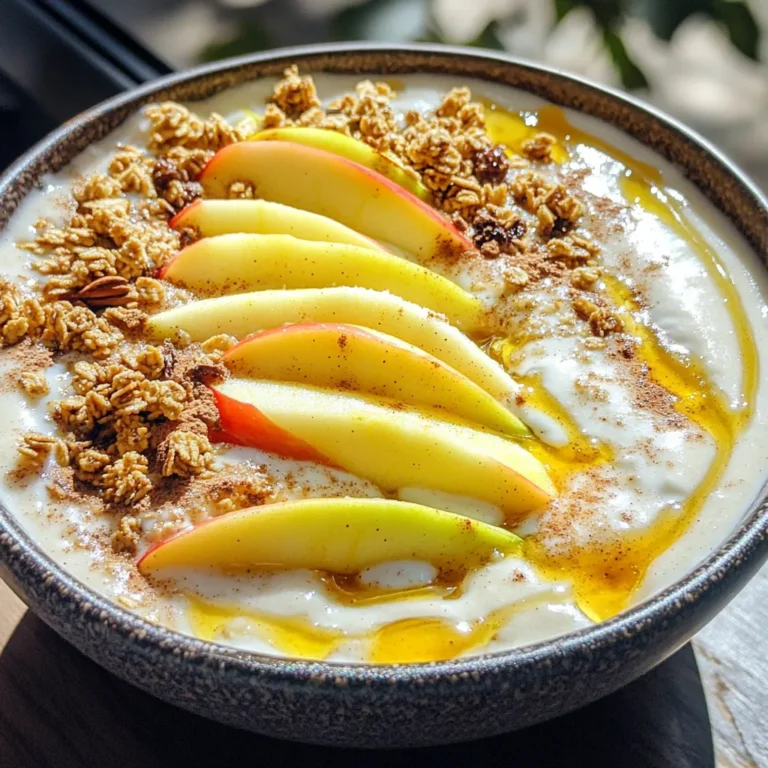
Apple Pie Smoothie Bowl Flavorful and Healthy Delight
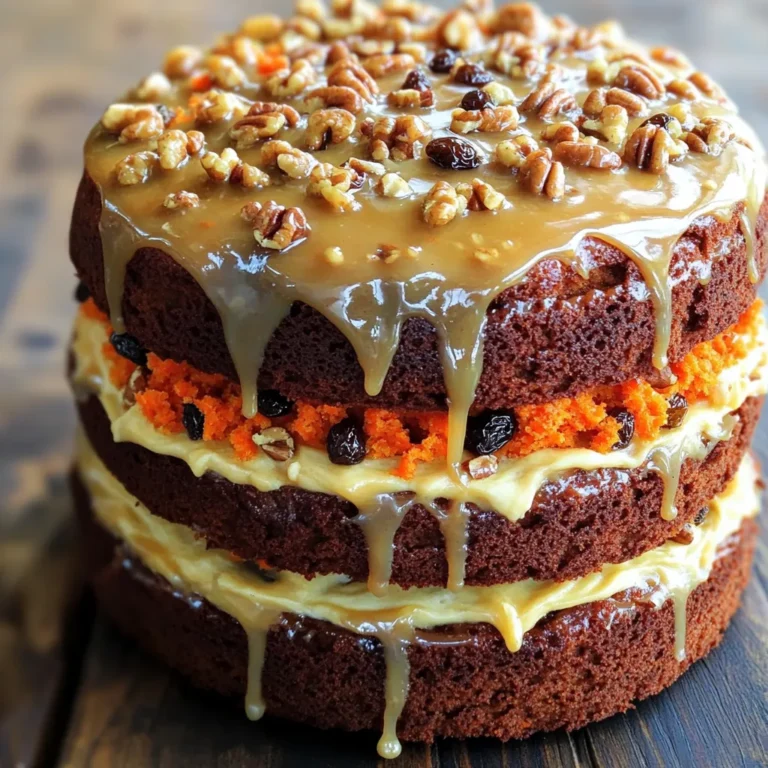
Maple Glazed Carrot Cake Irresistible Dessert Recipe
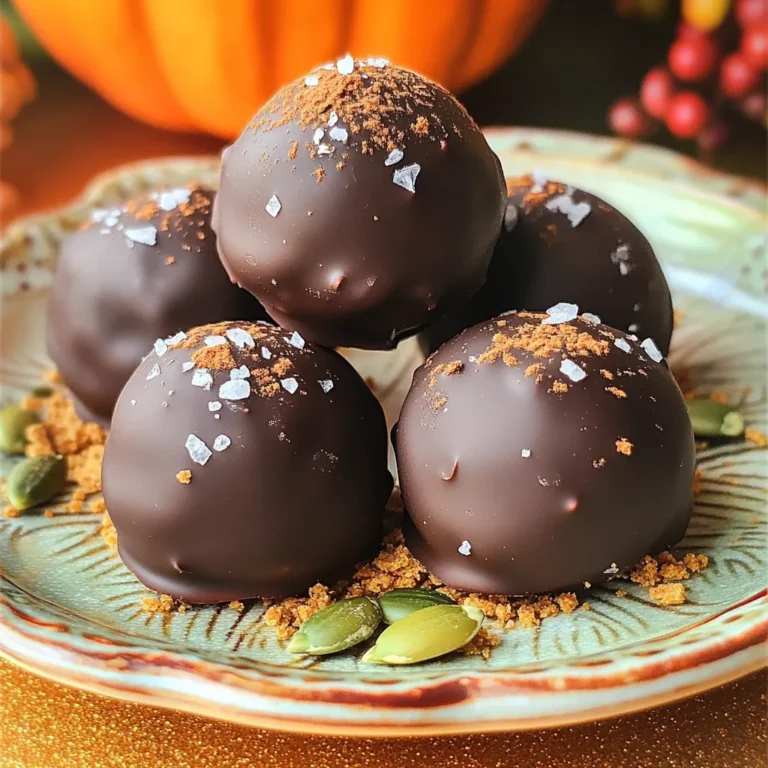
Pumpkin Cream Cheese Truffles Easy and Tasty Treat
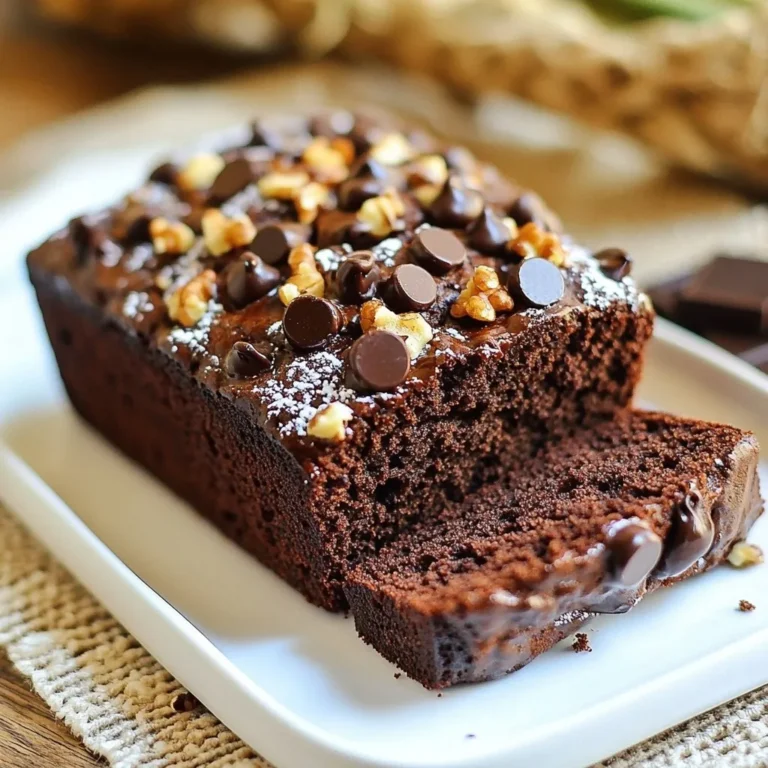
Decadent Double Chocolate Zucchini Bread Recipe
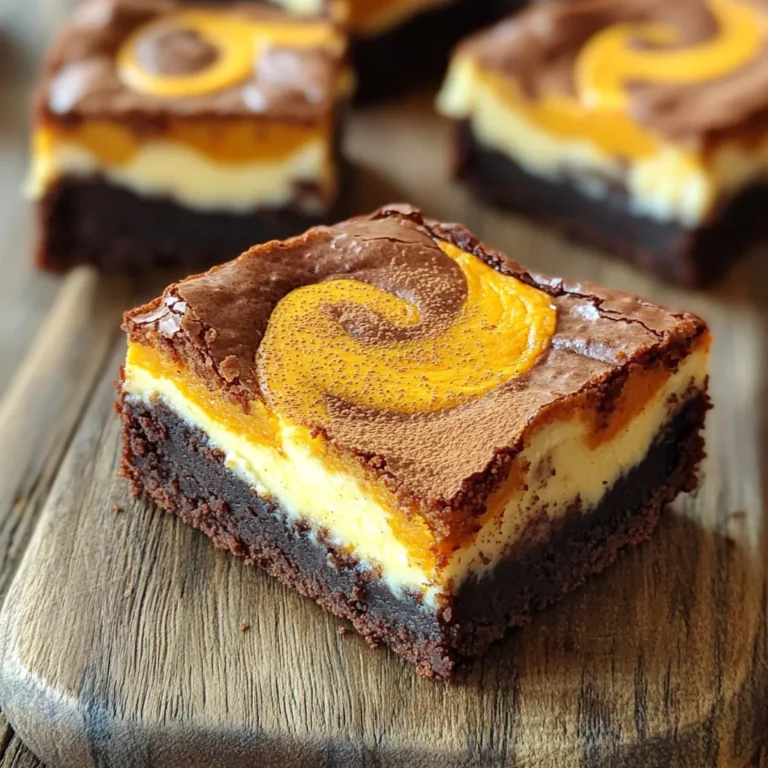
Pumpkin Cheesecake Swirl Brownies Irresistible Delight
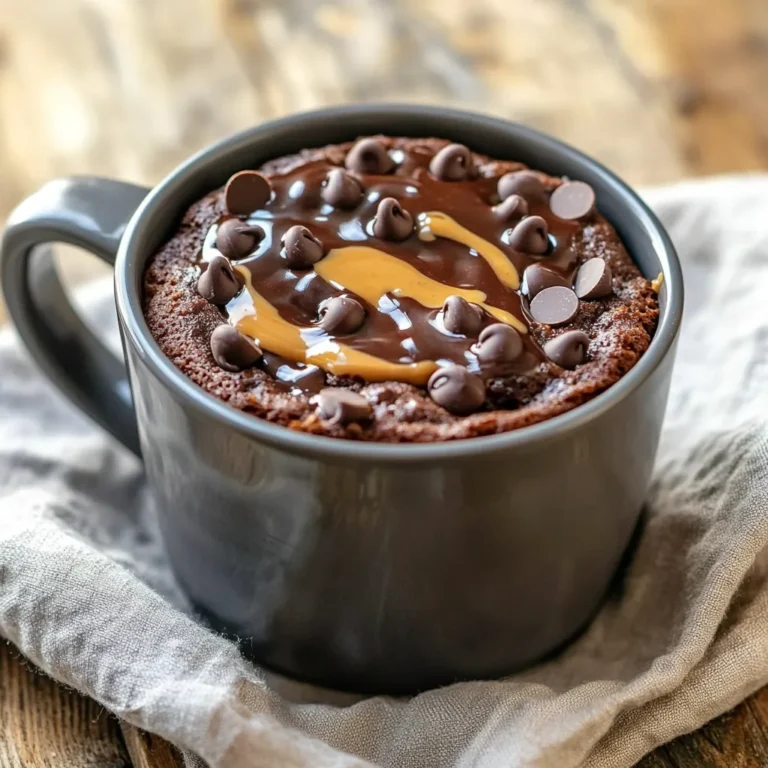
Chocolate Peanut Butter Mug Cake Simple and Quick Treat
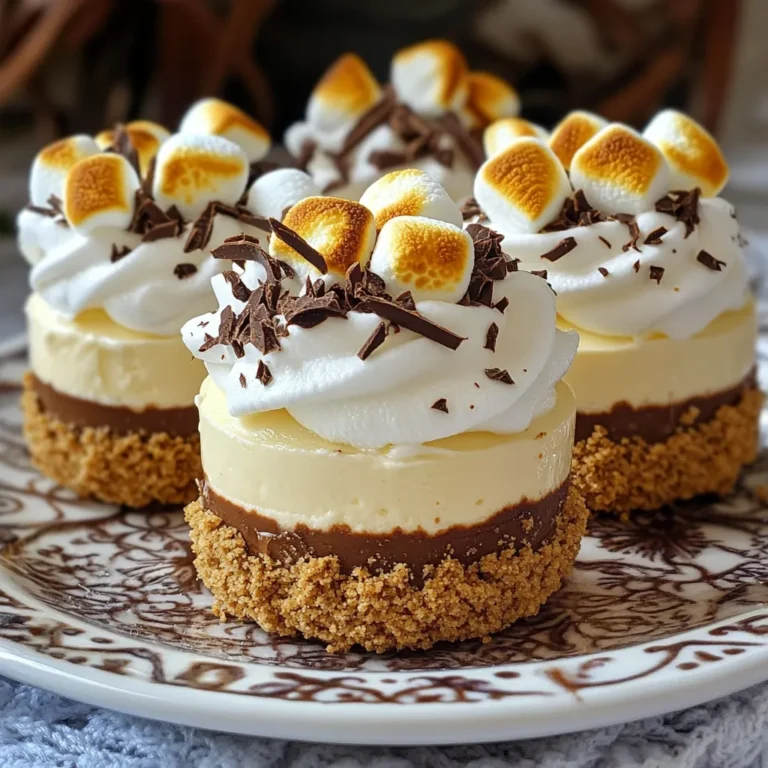
No Bake S’mores Cheesecake Cups Tasty Dessert Recipe
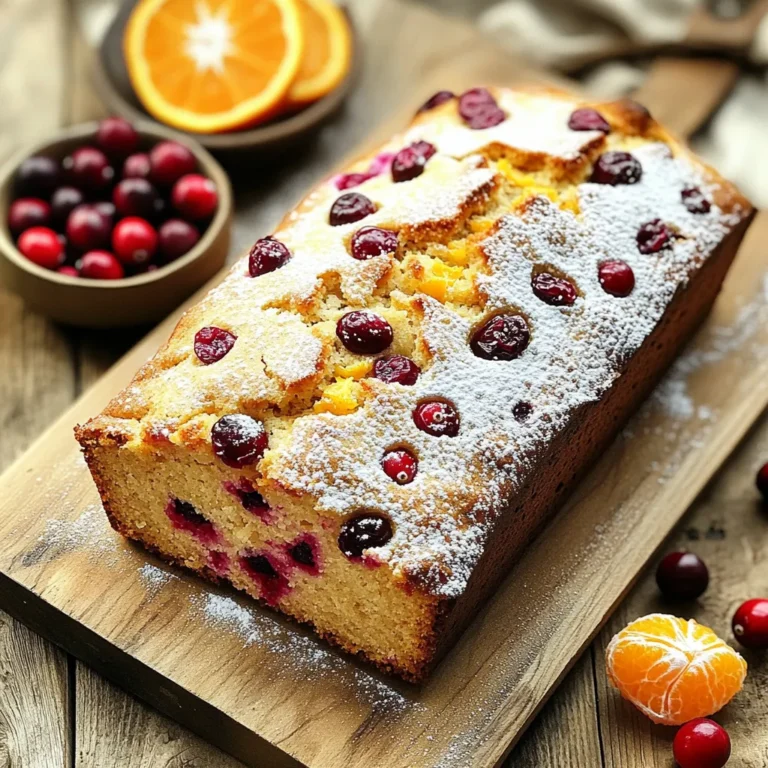
Cranberry Orange Loaf Cake Easy and Tasty Recipe
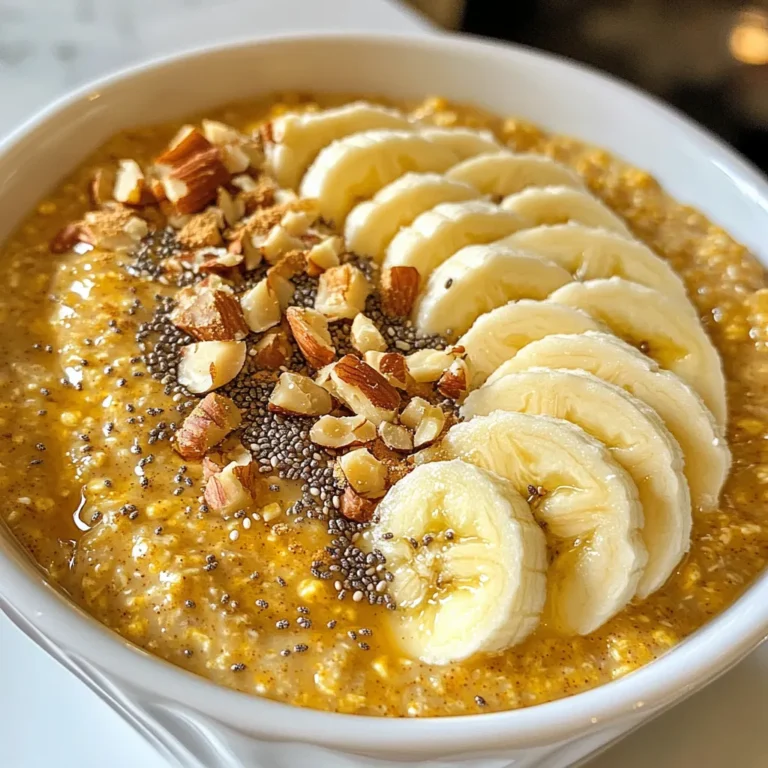
Pumpkin Spice Overnight Oats Easy and Tasty Recipe
Page navigation
Previous Page
Previous
1
…
3
4
5
6
7
…
33
Next Page
Next
Home
Dinner
Appetizer
Desserts
Drinks
About
Contact
Privacy Policy
Toggle Menu Close
Search for:
Search