Skip to content
About
Contact
Cookie Policy
Copyright Policy
Disclaimer
Search
Home
Dinner
Appetizer
Desserts
Drinks
About
Contact
Privacy Policy
Toggle Menu
Home
/
Desserts
- Page 9
Desserts
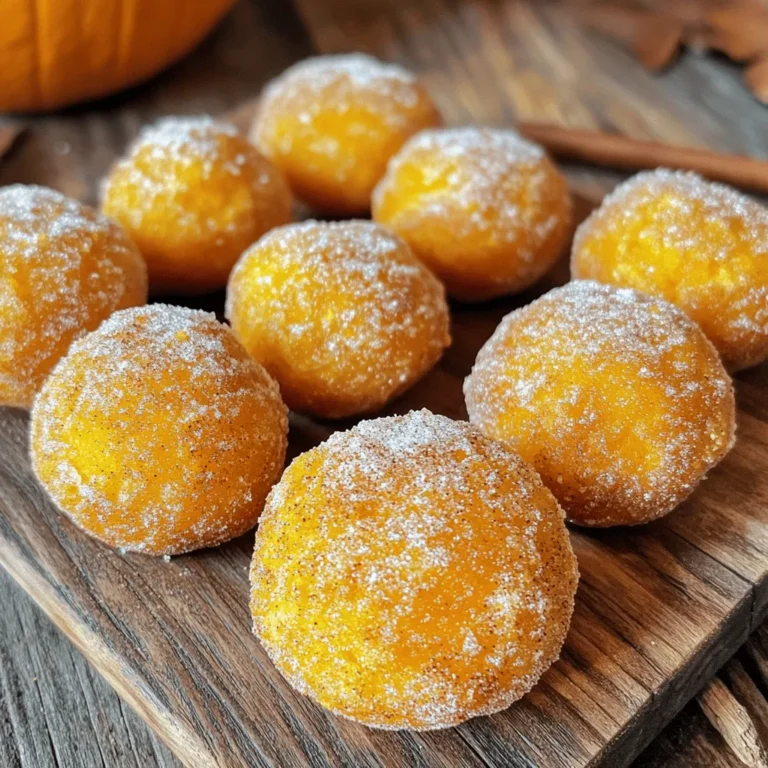
Pumpkin Donut Holes Simple and Tasty Dessert
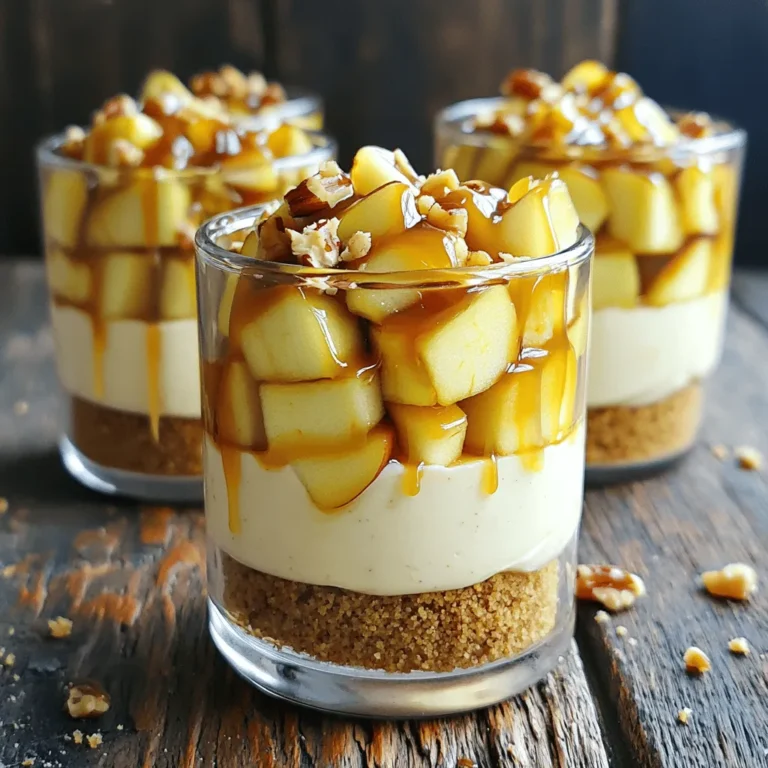
No Bake Caramel Apple Cheesecake Cups Delightful Treat
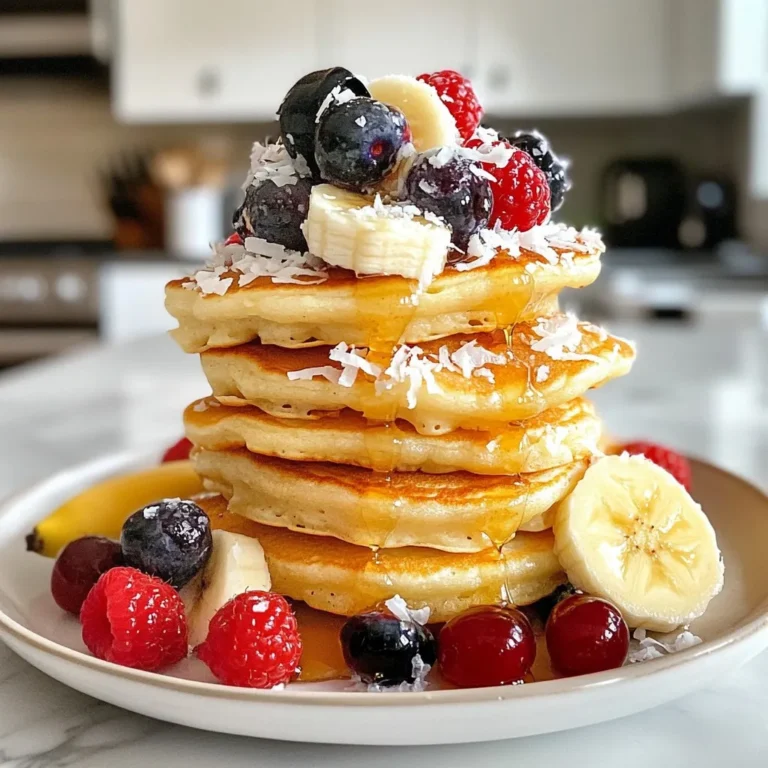
Coconut Cream Pancakes Fluffy Delightful Breakfast
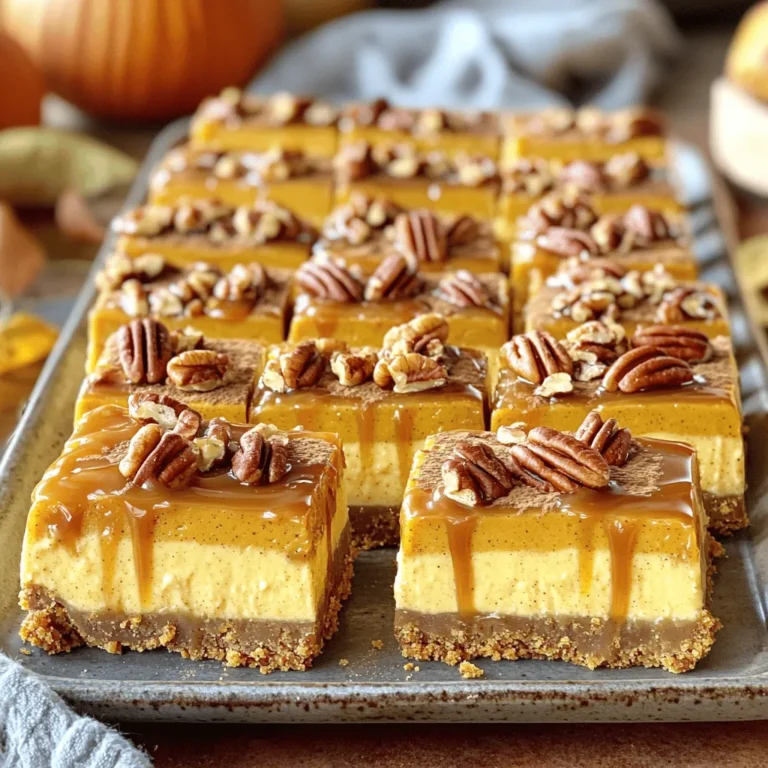
Caramel Pecan Pumpkin Cheesecake Bars Delightful Treat
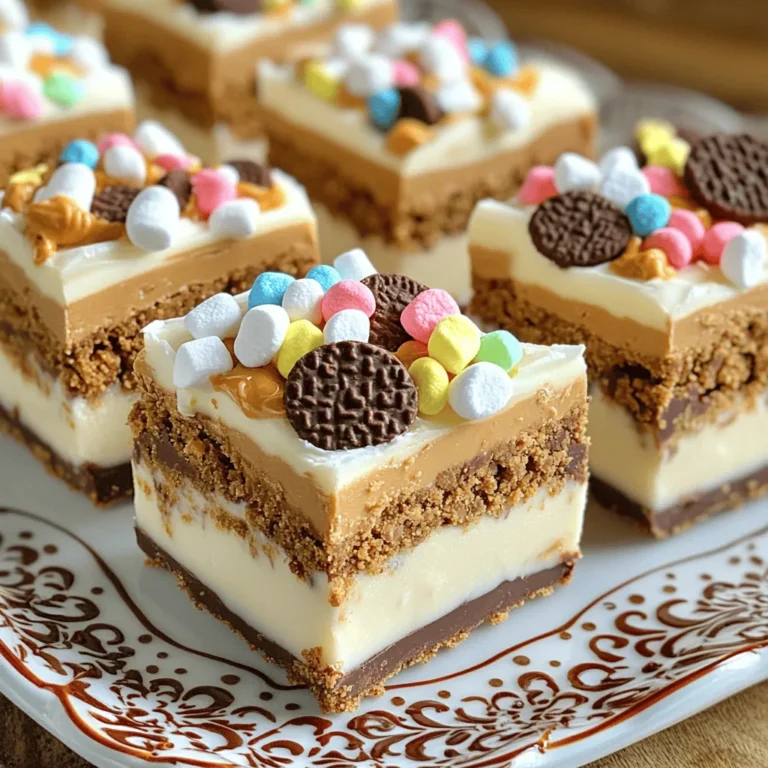
Cookies and Cream Fudge Bars Easy No-Bake Delight
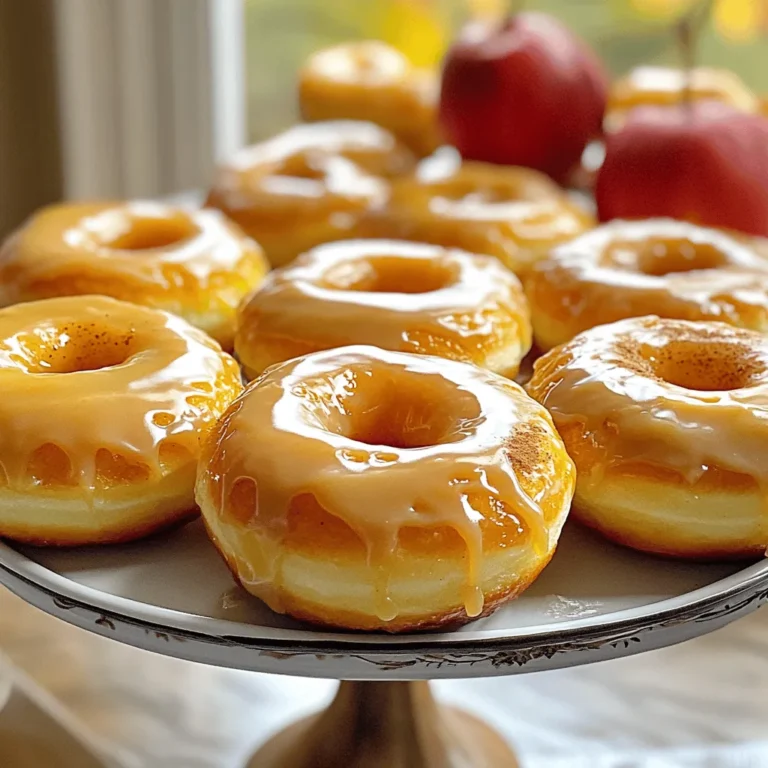
Apple Cider Glazed Donuts Simple and Tasty Treat
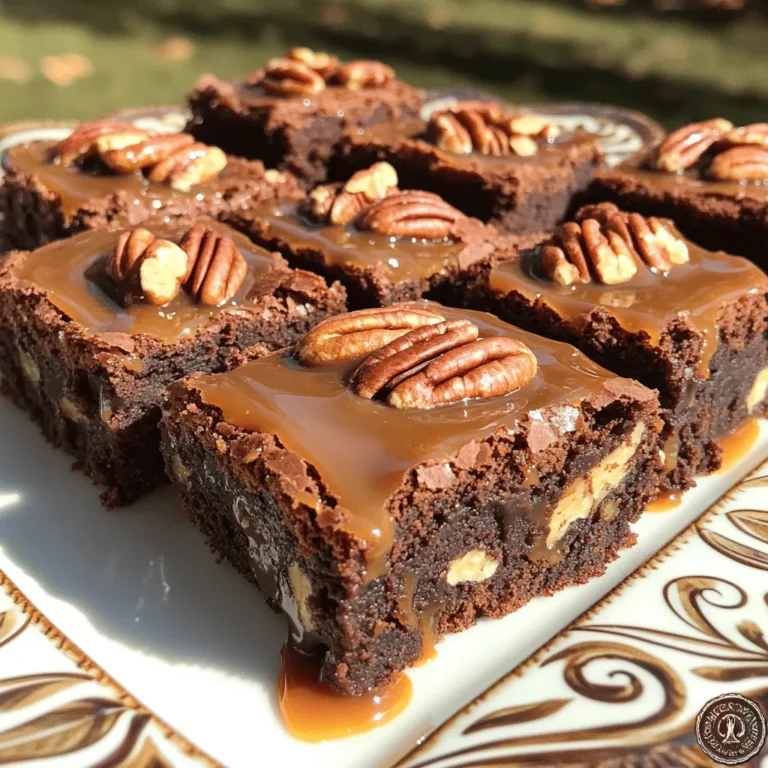
Caramel Pecan Turtle Brownies Deliciously Indulgent Treat
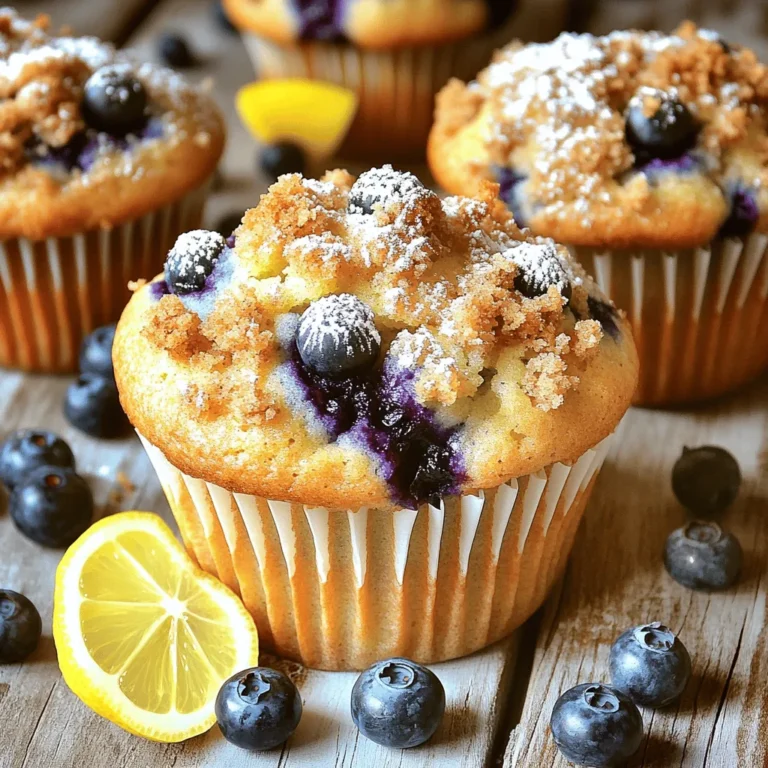
Blueberry Lemon Streusel Muffins Perfectly Delicious Treat
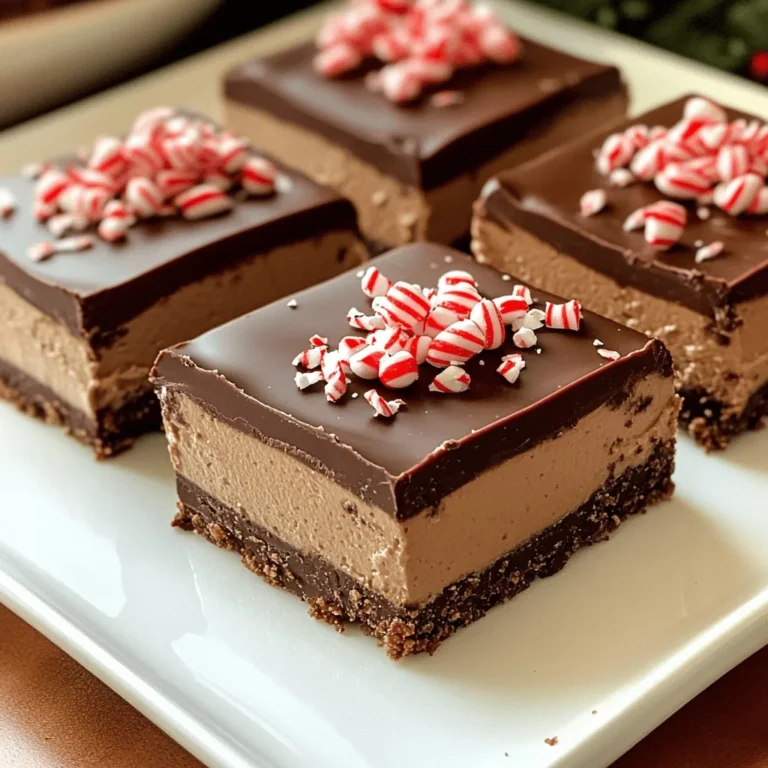
No Bake Chocolate Peppermint Cheesecake Bars Delight
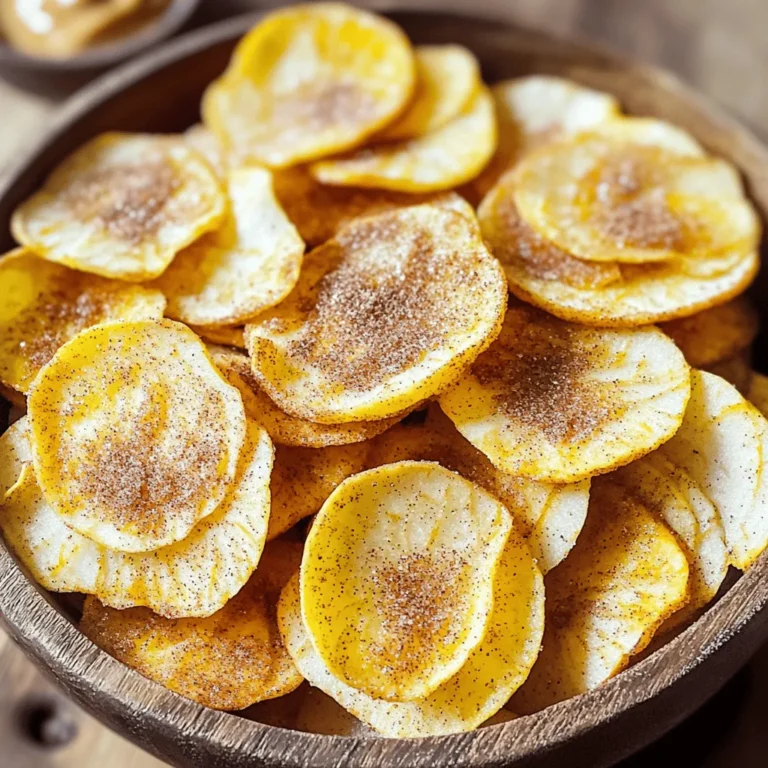
Air Fryer Cinnamon Apple Chips Crunchy Delight
Page navigation
Previous Page
Previous
1
…
7
8
9
10
11
…
33
Next Page
Next
Home
Dinner
Appetizer
Desserts
Drinks
About
Contact
Privacy Policy
Toggle Menu Close
Search for:
Search