Skip to content
About
Contact
Cookie Policy
Copyright Policy
Disclaimer
Search
Home
Dinner
Appetizer
Desserts
Drinks
About
Contact
Privacy Policy
Toggle Menu
Home
/
Dinner
Dinner
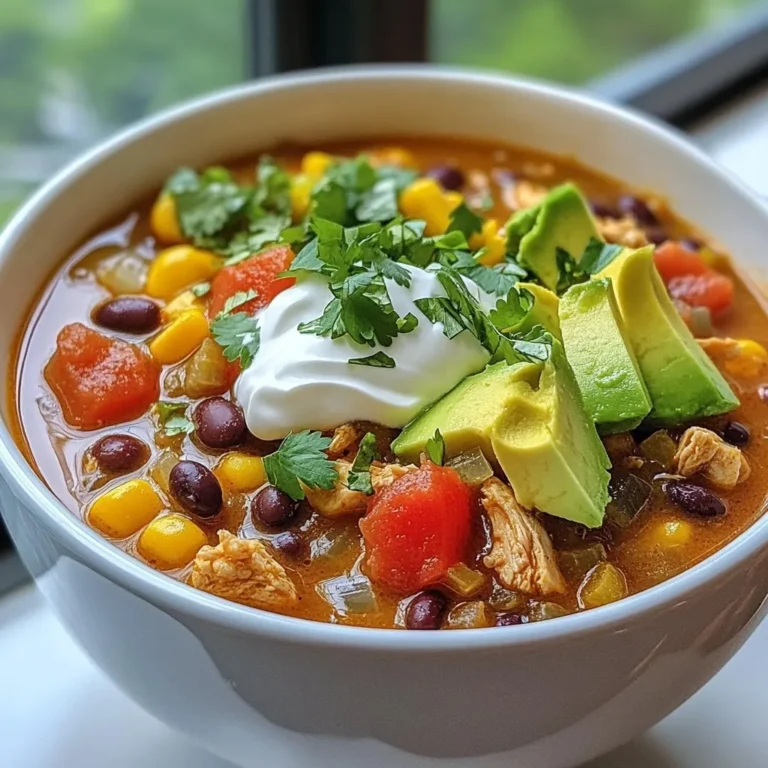
Chicken Taco Soup Flavorful and Easy Weeknight Meal
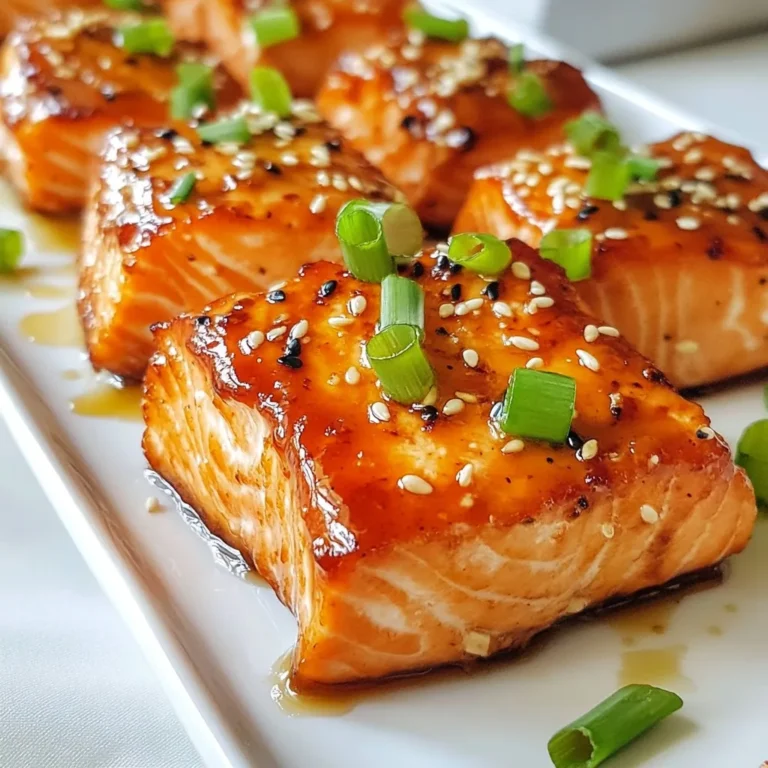
Air Fryer Honey Garlic Salmon Bites Quick and Tasty
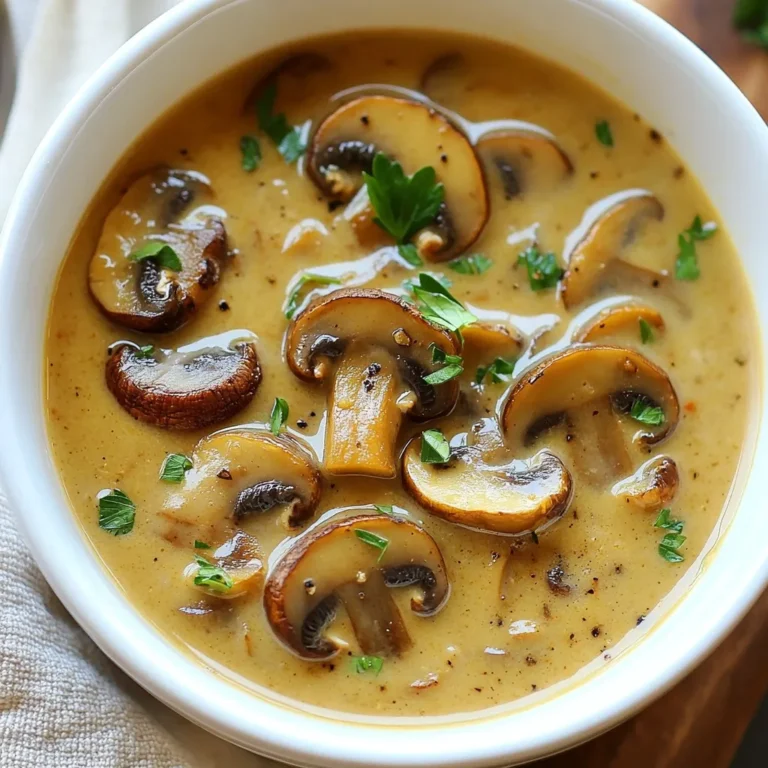
Hungarian Mushroom Soup Rich and Flavorful Delight
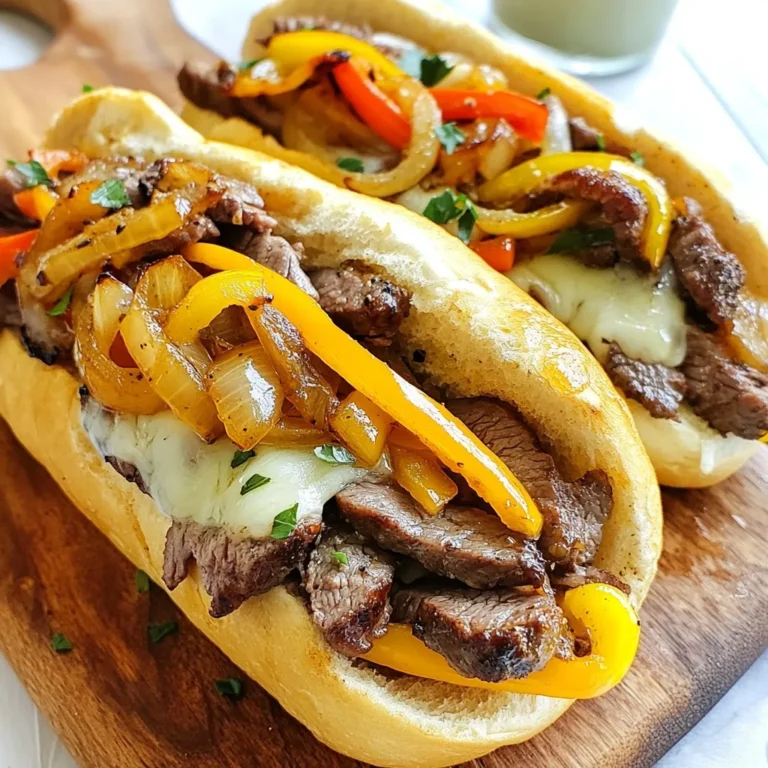
Beef Philly Cheesesteaks Culinary Delight Made Simple
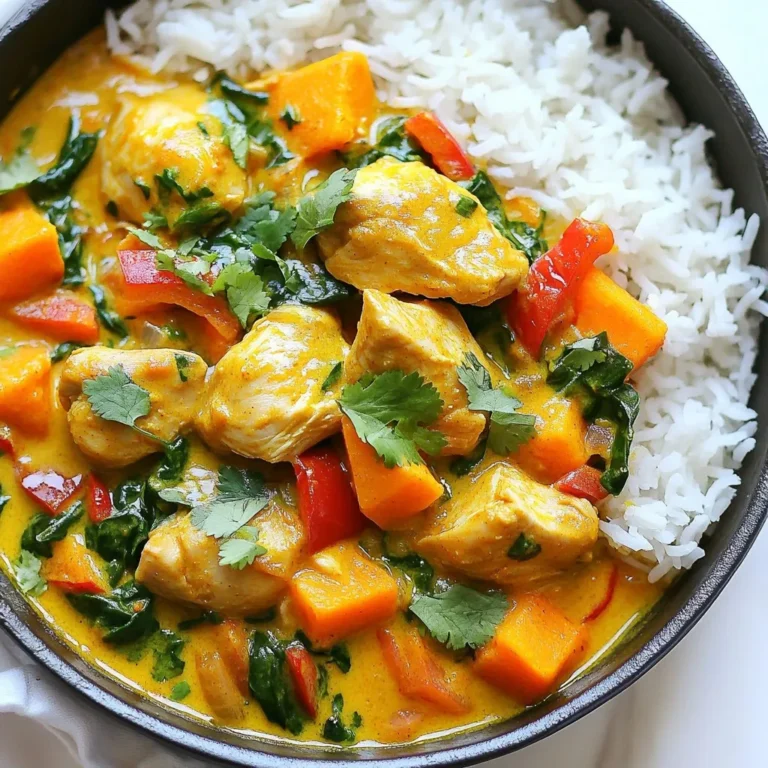
Chicken Sweet Potato Curry Flavorful and Simple Dish
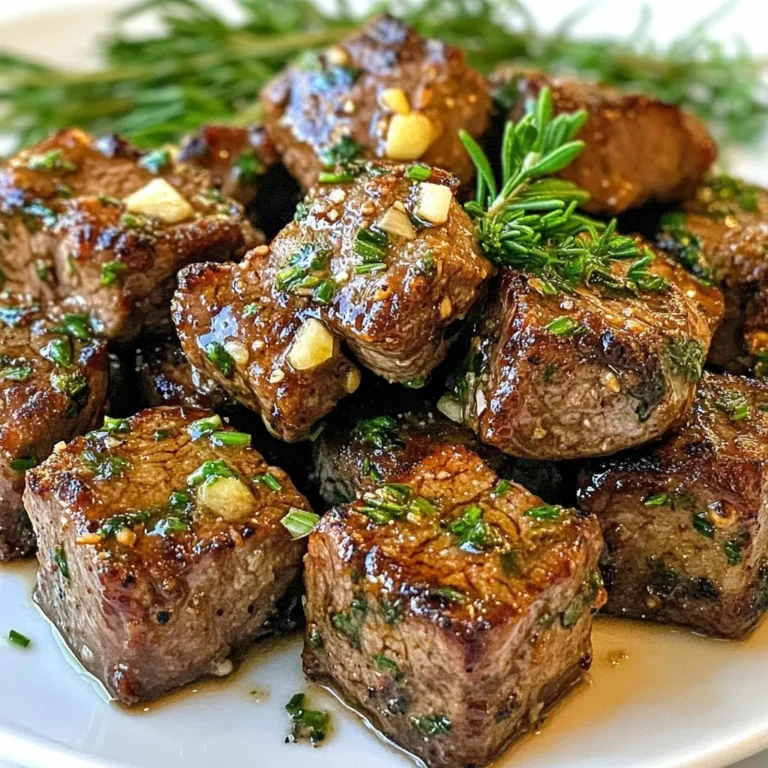
Garlic Butter Steak Bites Juicy and Simple Delight
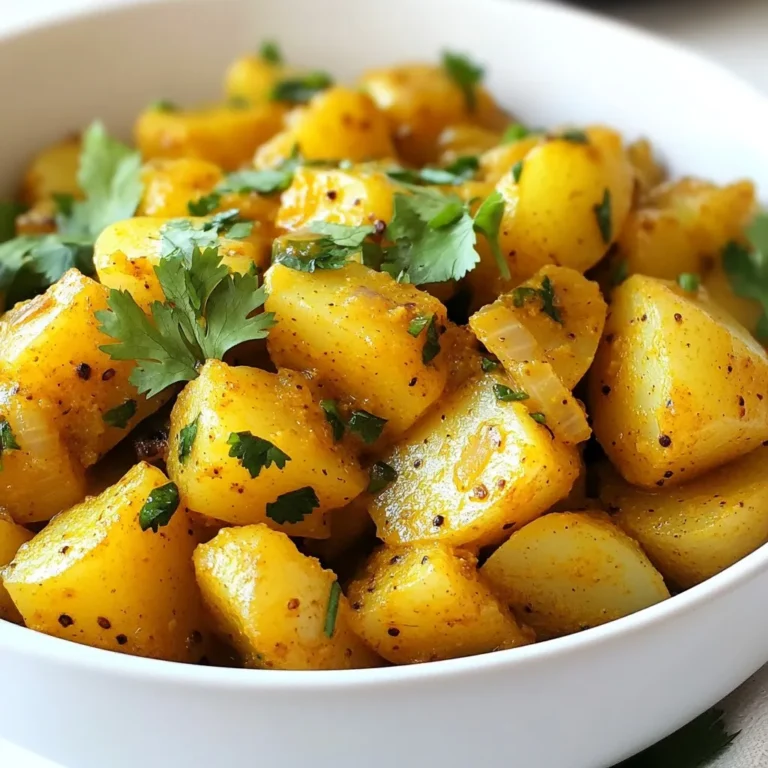
Persian Dopiazeh Aloo Flavorful Potato Dish
Sweet Maple Sausage Breakfast Casserole Delight
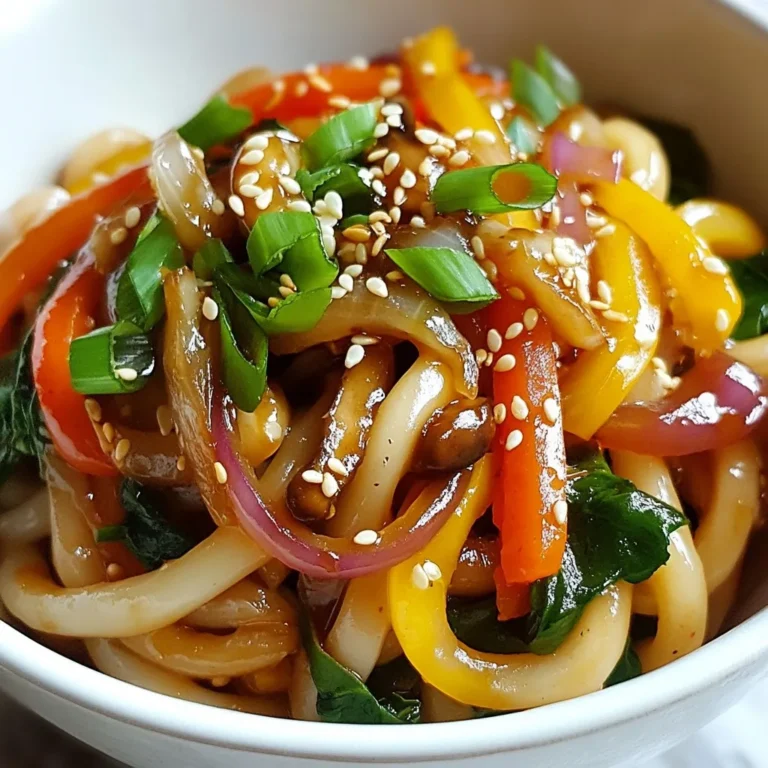
Yaki Udon Noodles Flavorful and Easy Recipe Guide
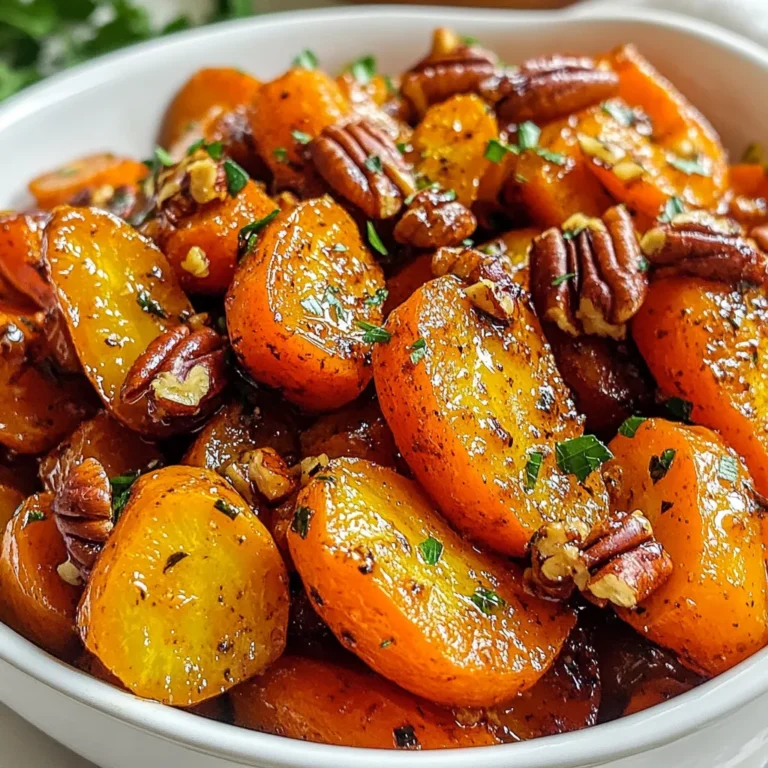
Maple Pecan Roasted Carrots Flavorful Side Dish
Page navigation
1
2
3
…
63
Next Page
Next
Home
Dinner
Appetizer
Desserts
Drinks
About
Contact
Privacy Policy
Toggle Menu Close
Search for:
Search