Skip to content
About
Contact
Cookie Policy
Copyright Policy
Disclaimer
Search
Home
Dinner
Appetizer
Desserts
Drinks
About
Contact
Privacy Policy
Toggle Menu
Home
/
Dinner
- Page 11
Dinner
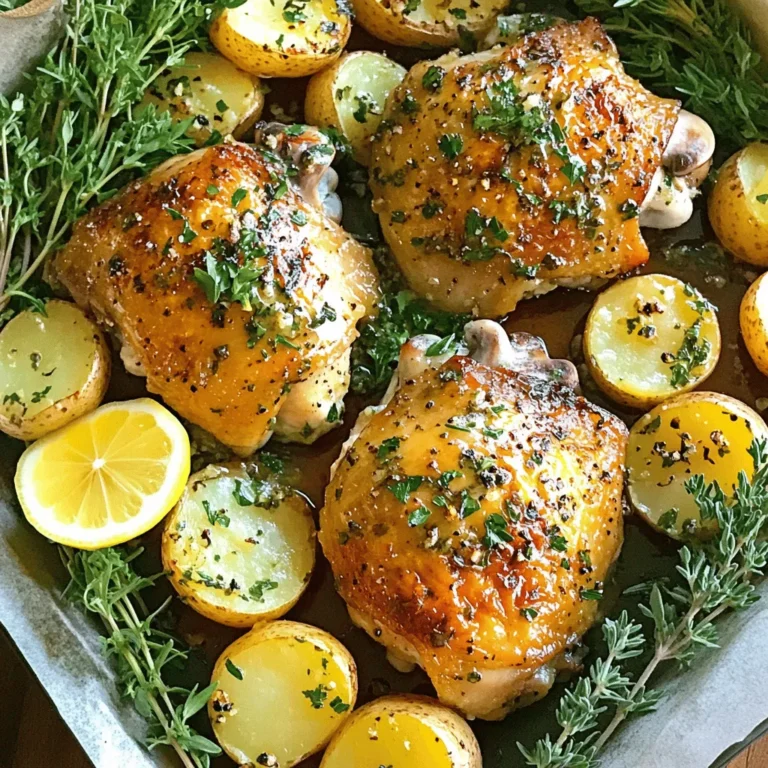
Garlic Butter Chicken and Potatoes Sheet Pan Delight
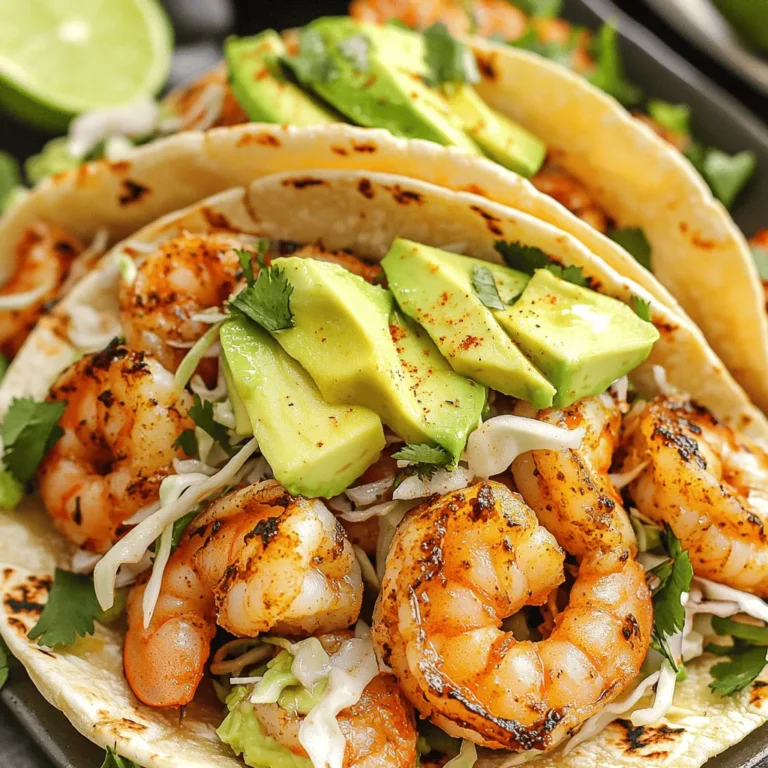
Spicy Garlic Shrimp Tacos Flavorful and Fresh Meal
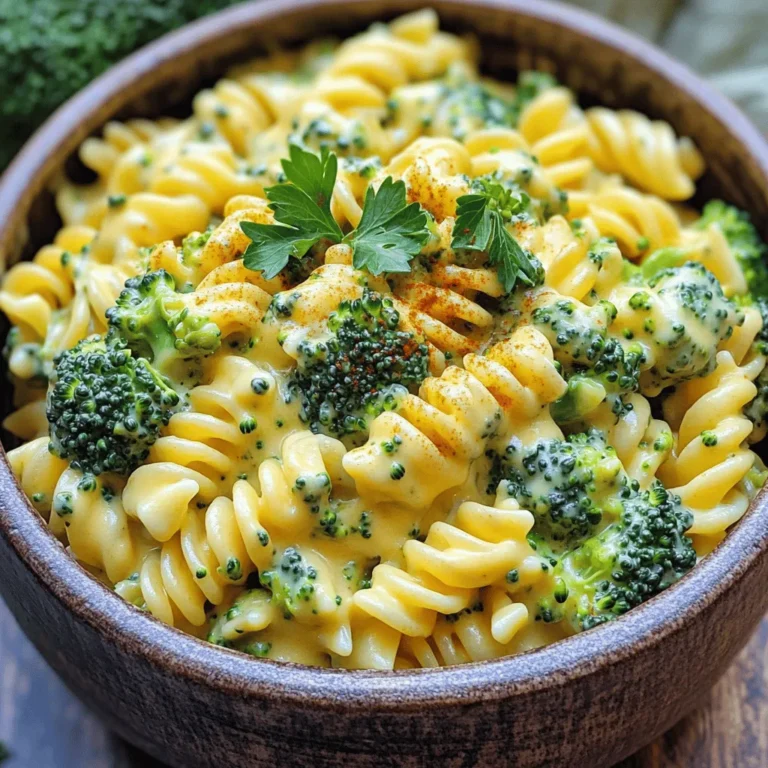
Creamy Broccoli Cheddar Pasta Simple and Delicious Meal
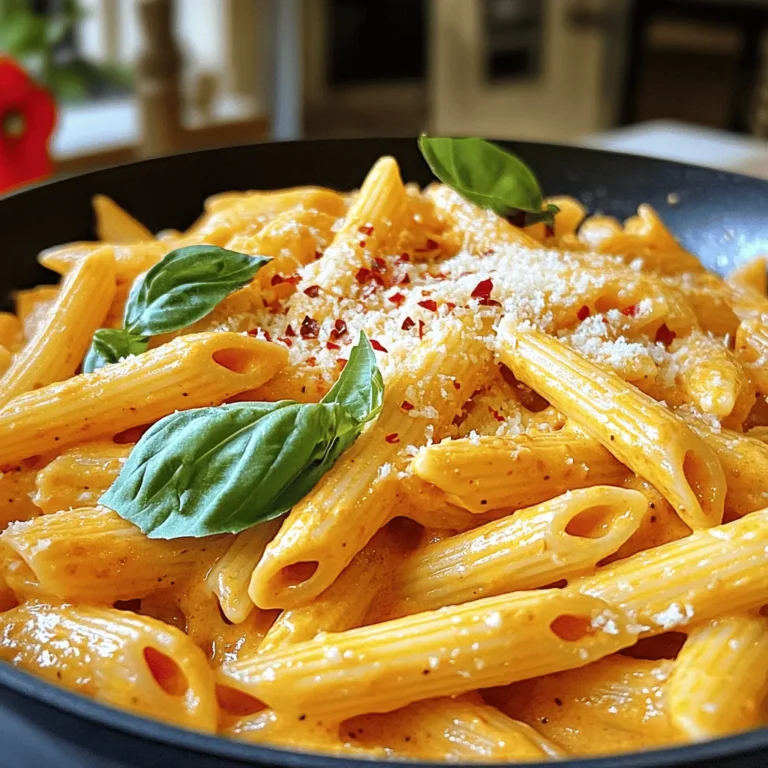
Creamy Roasted Red Pepper Pasta Delight in Minutes
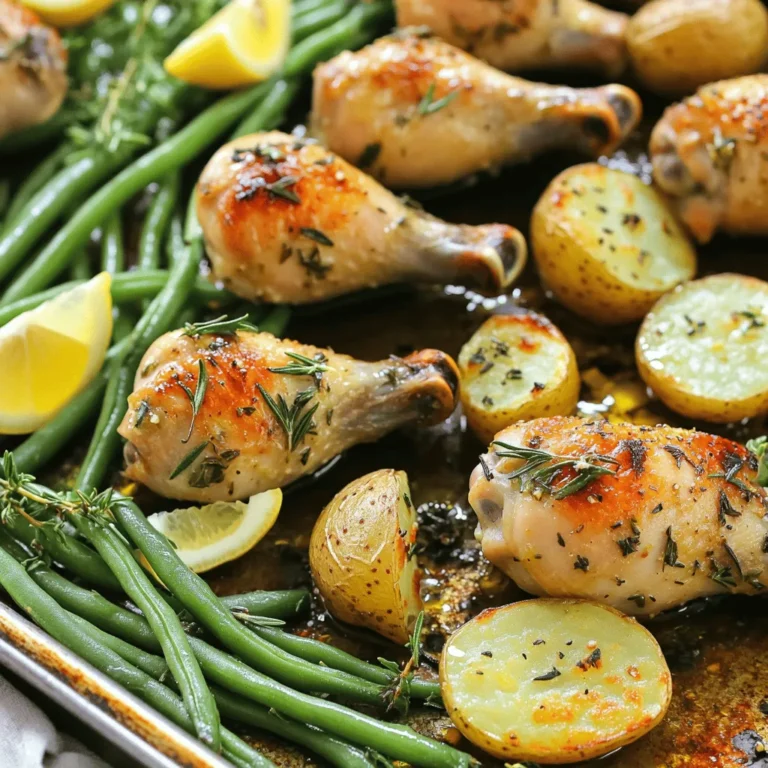
Garlic Herb Chicken Drumsticks Sheet Pan Delight
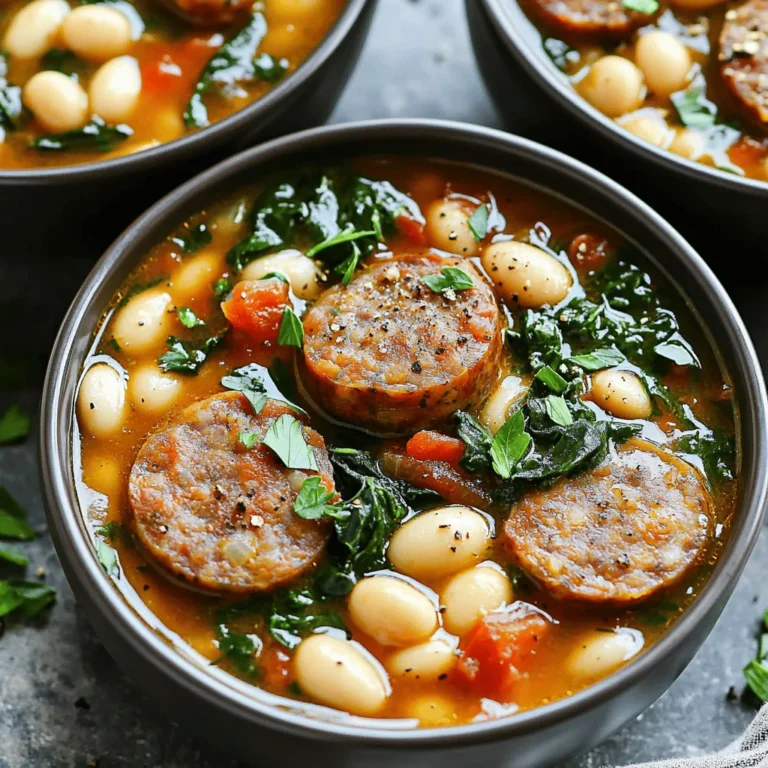
Slow Cooker Sausage White Bean Stew Delightful Dinner
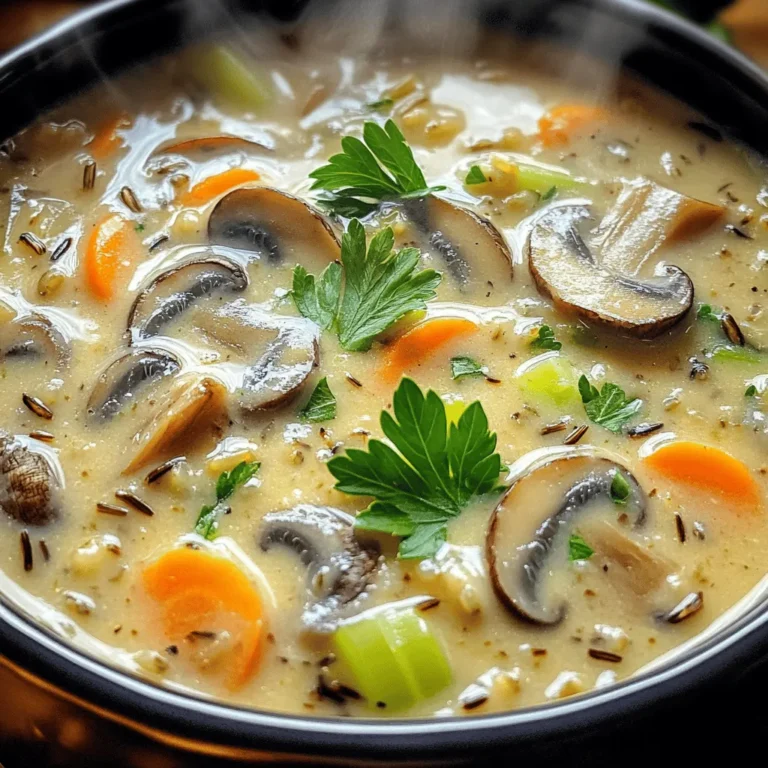
Creamy Mushroom Wild Rice Soup Flavorful and Easy Recipe
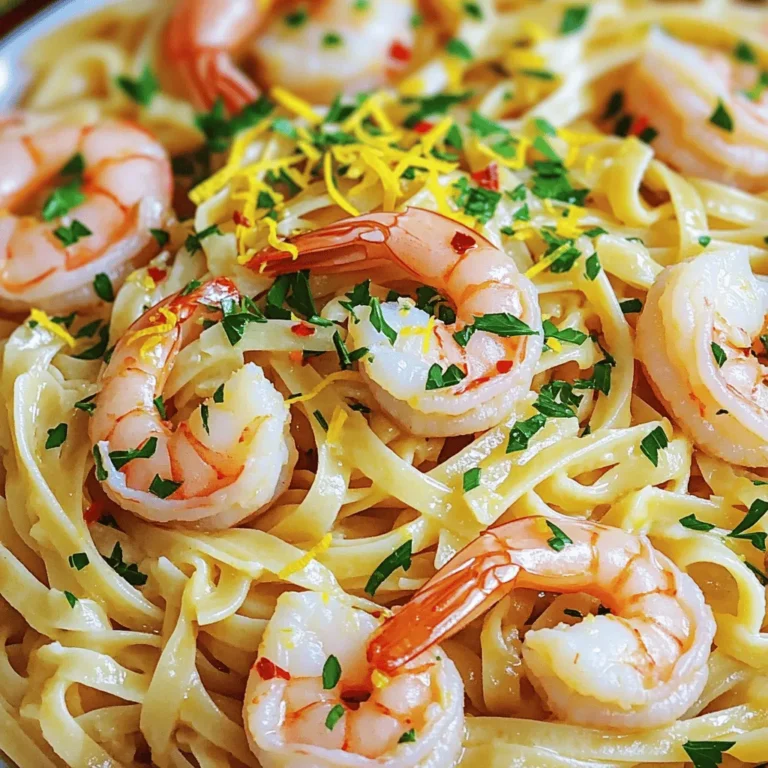
Garlic Butter Scampi Linguine Flavorful and Easy Meal
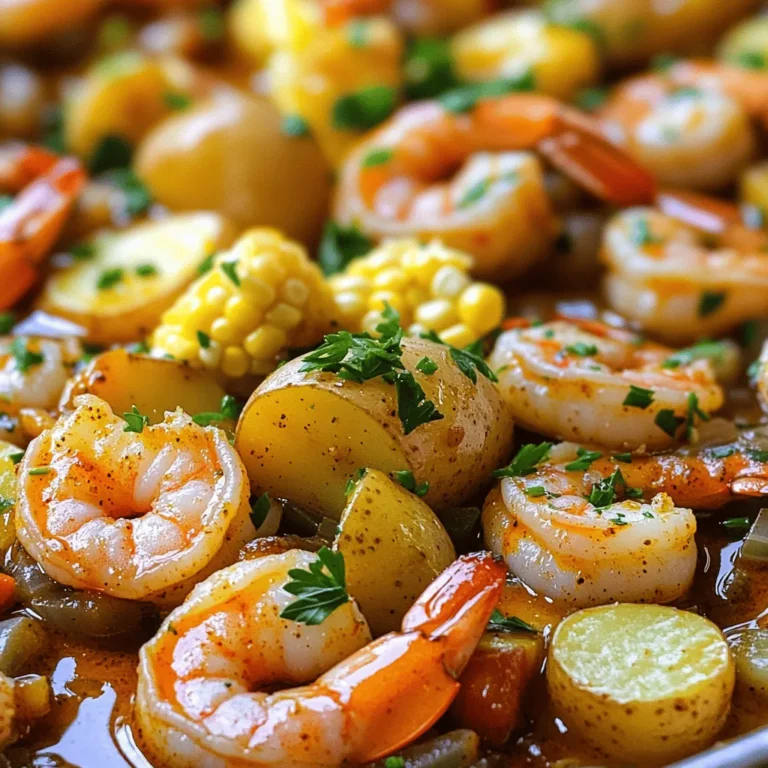
Cajun Shrimp with Corn and Potatoes Delightful Meal
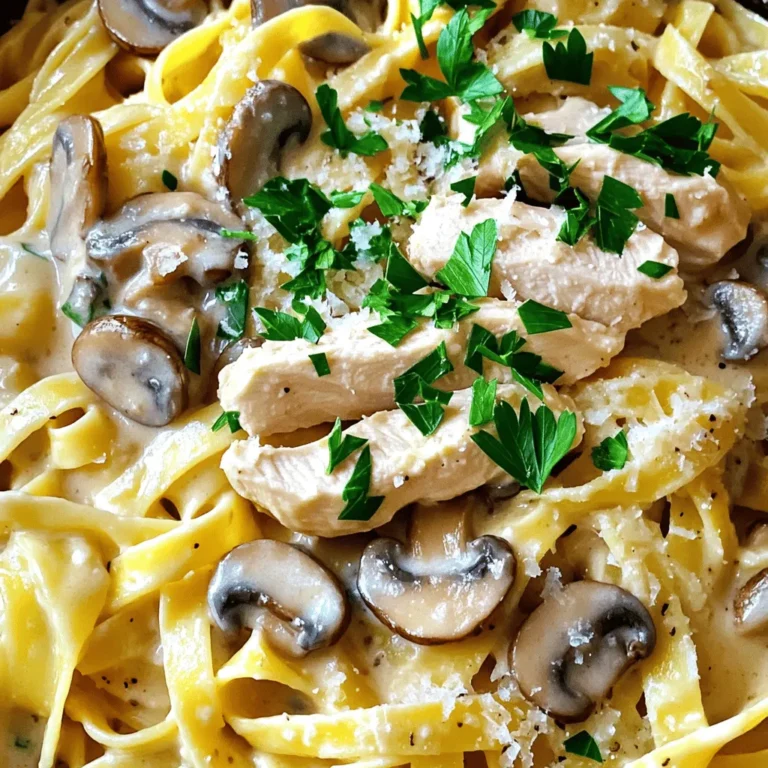
Creamy Chicken Marsala Pasta Flavorful Weeknight Meal
Page navigation
Previous Page
Previous
1
…
9
10
11
12
13
…
63
Next Page
Next
Home
Dinner
Appetizer
Desserts
Drinks
About
Contact
Privacy Policy
Toggle Menu Close
Search for:
Search