Skip to content
About
Contact
Cookie Policy
Copyright Policy
Disclaimer
Search
Home
Dinner
Appetizer
Desserts
Drinks
About
Contact
Privacy Policy
Toggle Menu
Home
/
Dinner
- Page 15
Dinner
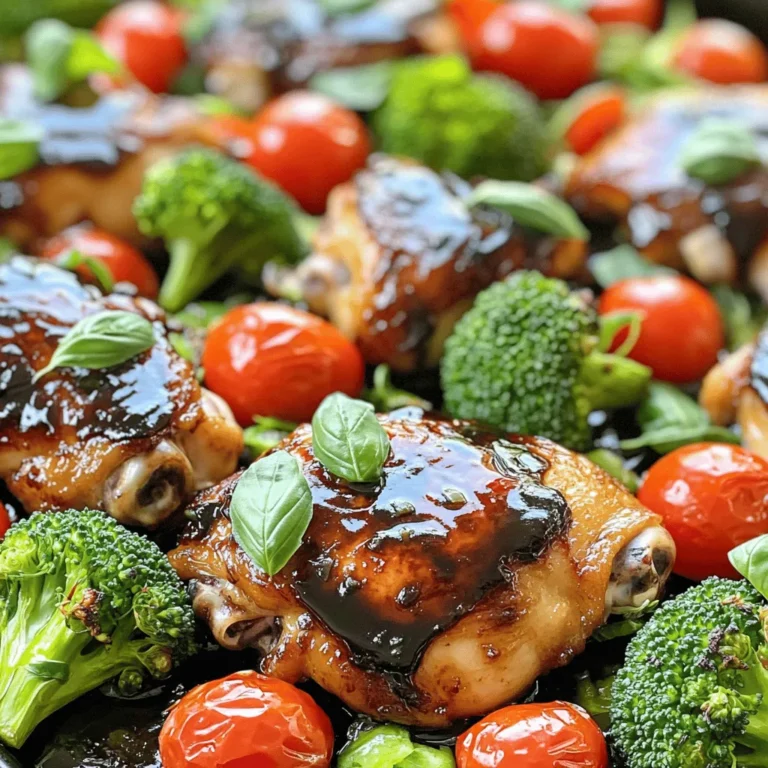
Sheet Pan Balsamic Chicken & Veggies Flavor Boost
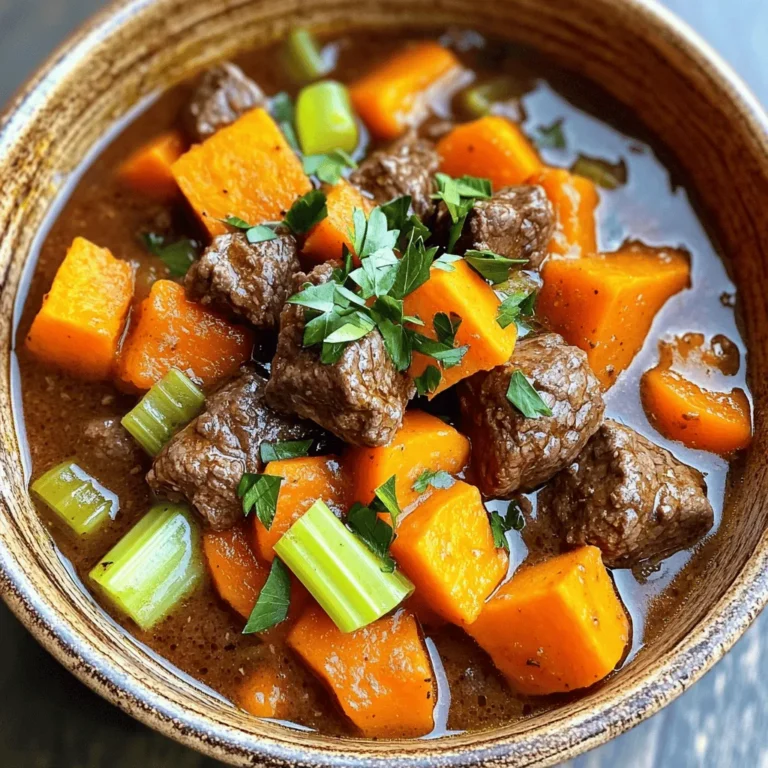
Slow Cooker Beef and Sweet Potato Stew Delight
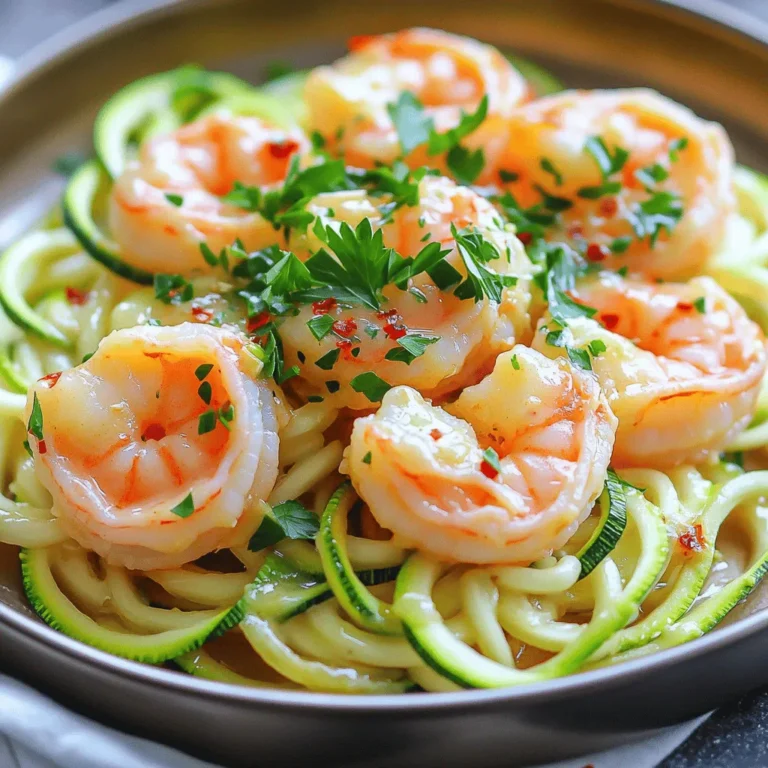
Savory Sheet-Pan Garlic Butter Shrimp and Zoodles Dish
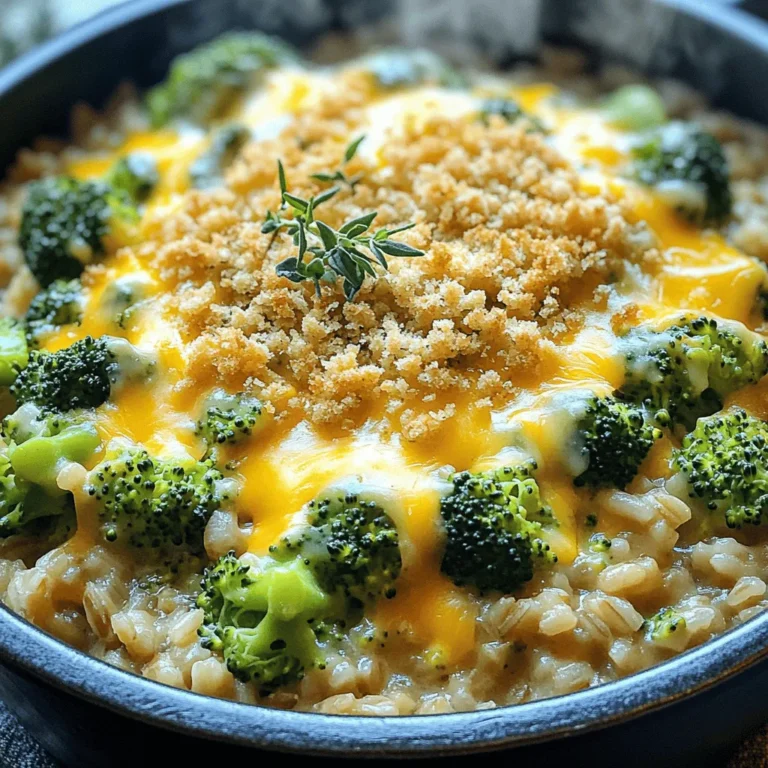
One-Pot Cheesy Broccoli Rice Casserole Delight
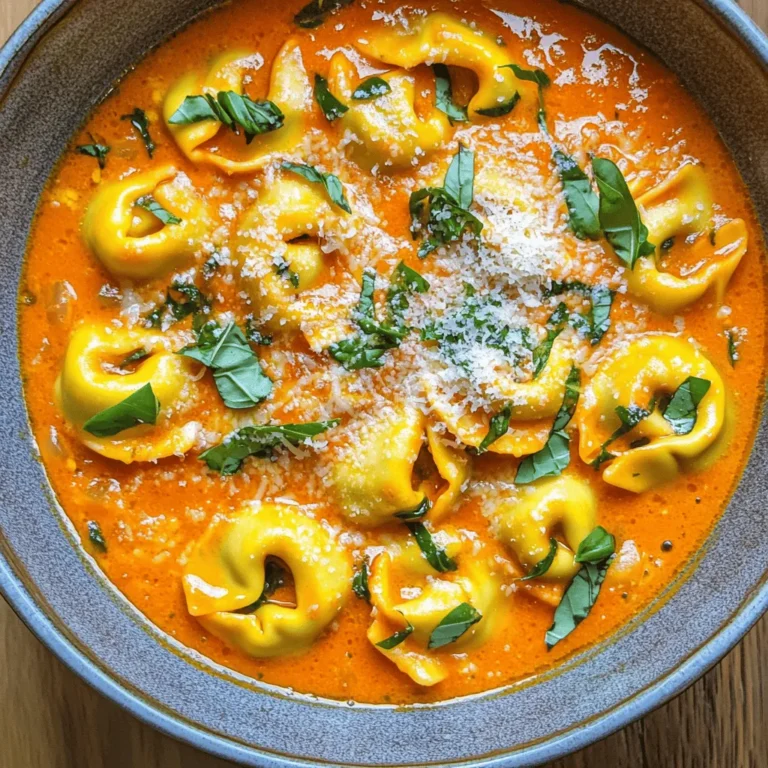
Creamy Tomato Basil Tortellini One Pot Delight
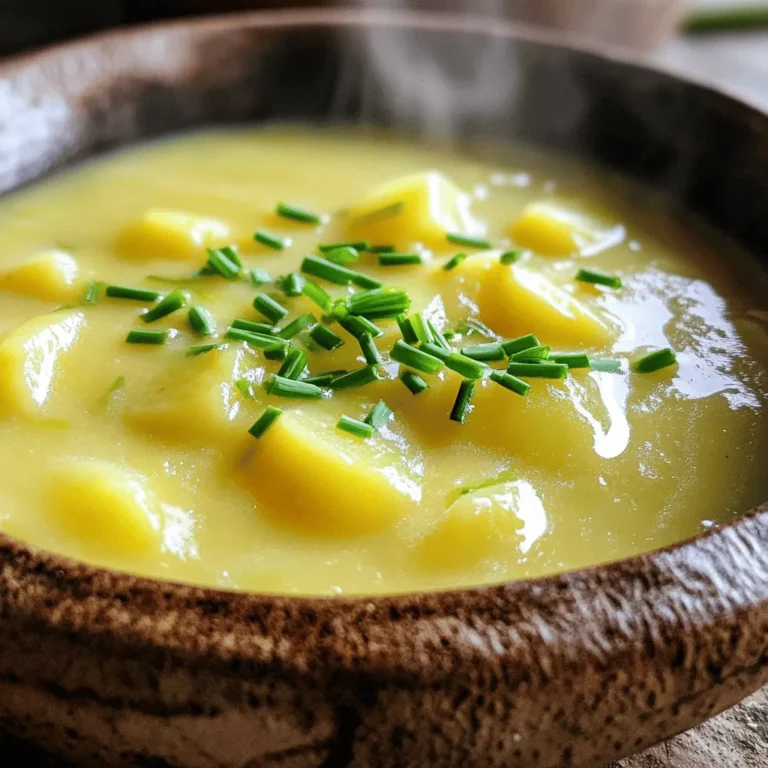
Creamy Potato Leek Soup Cozy and Comforting Dish
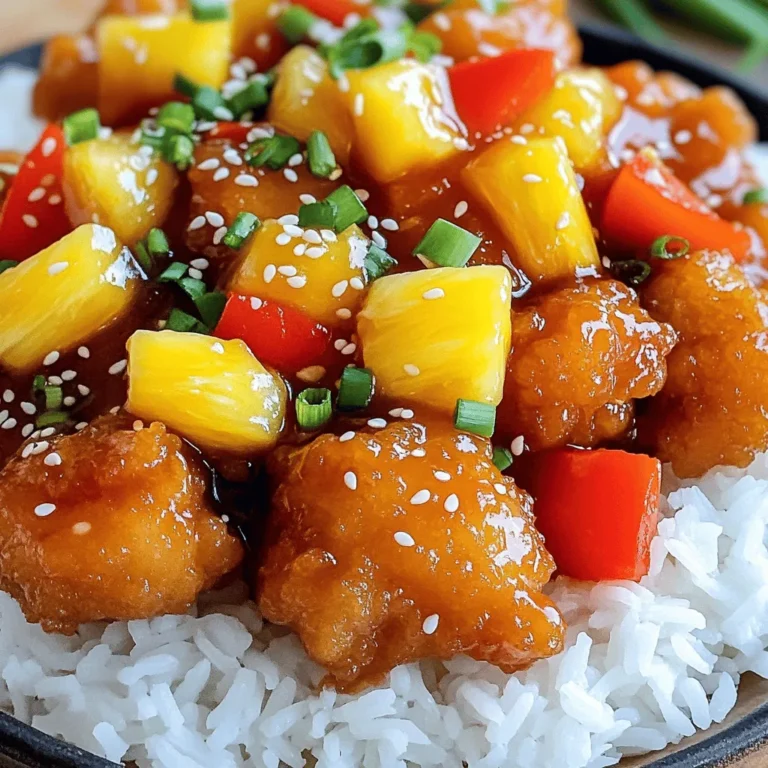
Sweet and Sour Chicken Better Than Takeout Recipe
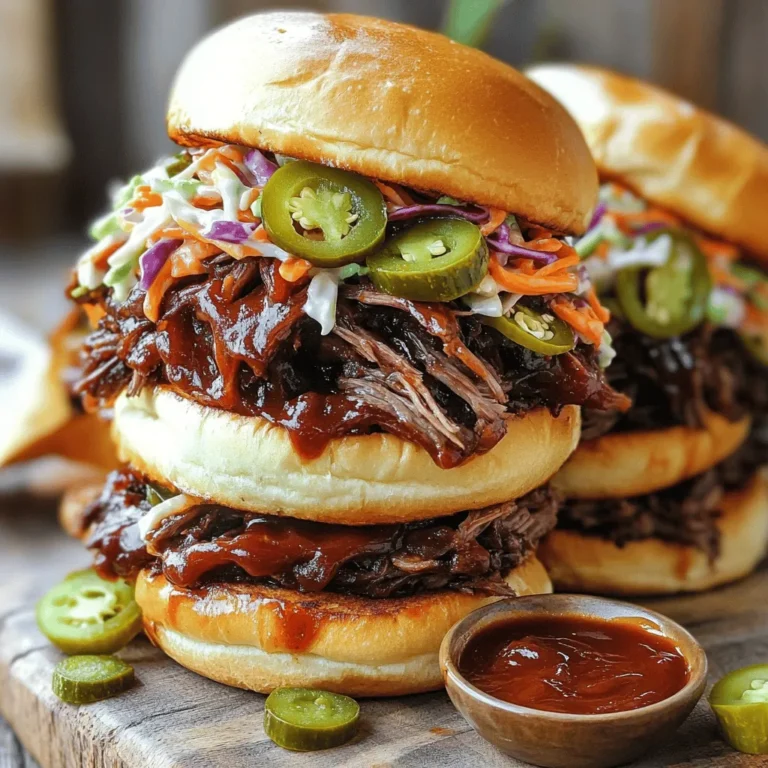
Pulled Beef Sandwiches Slow Cooker Simple Delight
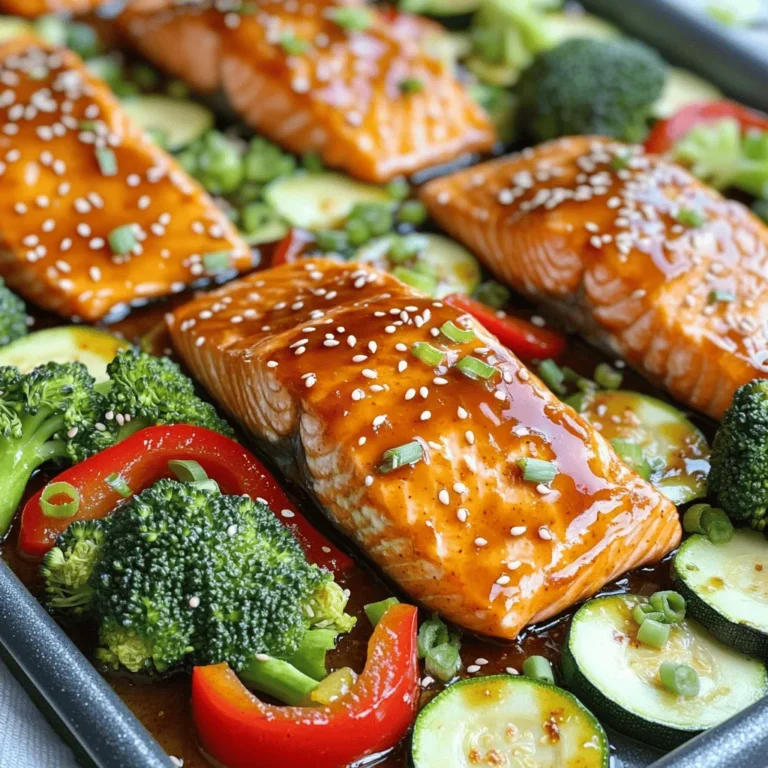
Sweet Chili Glazed Salmon Sheet Pan Dinner Delight
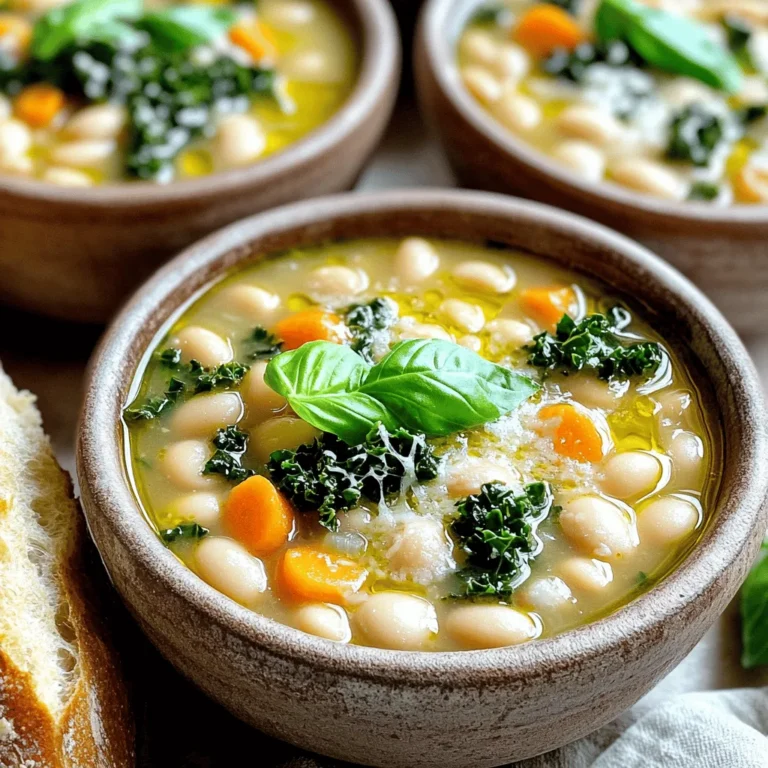
Cozy Tuscan White Bean Soup Hearty and Simple Meal
Page navigation
Previous Page
Previous
1
…
13
14
15
16
17
…
64
Next Page
Next
Home
Dinner
Appetizer
Desserts
Drinks
About
Contact
Privacy Policy
Toggle Menu Close
Search for:
Search