Skip to content
About
Contact
Cookie Policy
Copyright Policy
Disclaimer
Search
Home
Dinner
Appetizer
Desserts
Drinks
About
Contact
Privacy Policy
Toggle Menu
Home
/
Dinner
- Page 17
Dinner
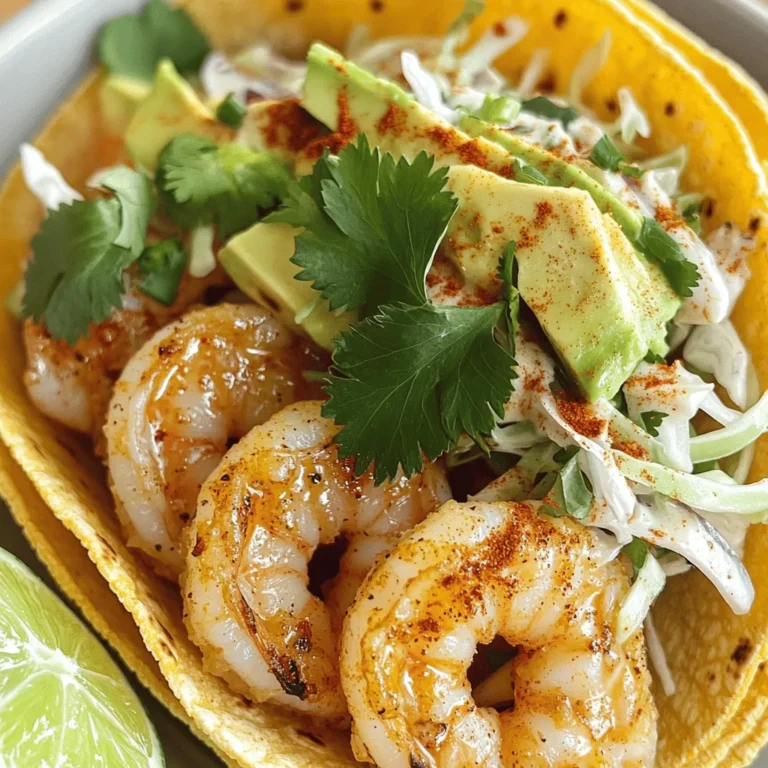
Minute Garlic Butter Shrimp Tacos Quick and Easy Feast
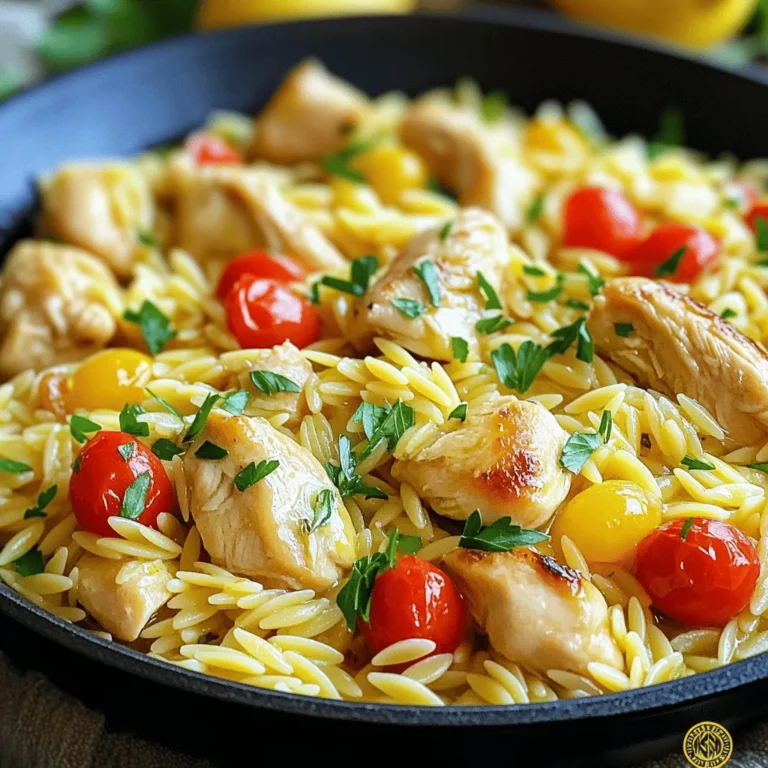
Lemon Garlic Chicken Orzo Skillet Simple and Tasty
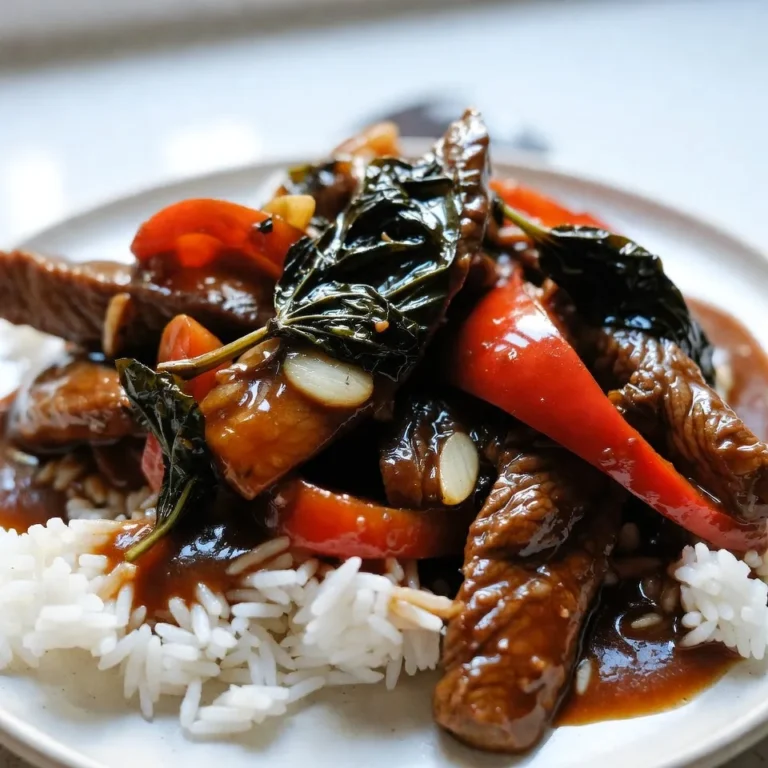
Spicy Thai Basil Beef Flavorful Family Favorite Dish
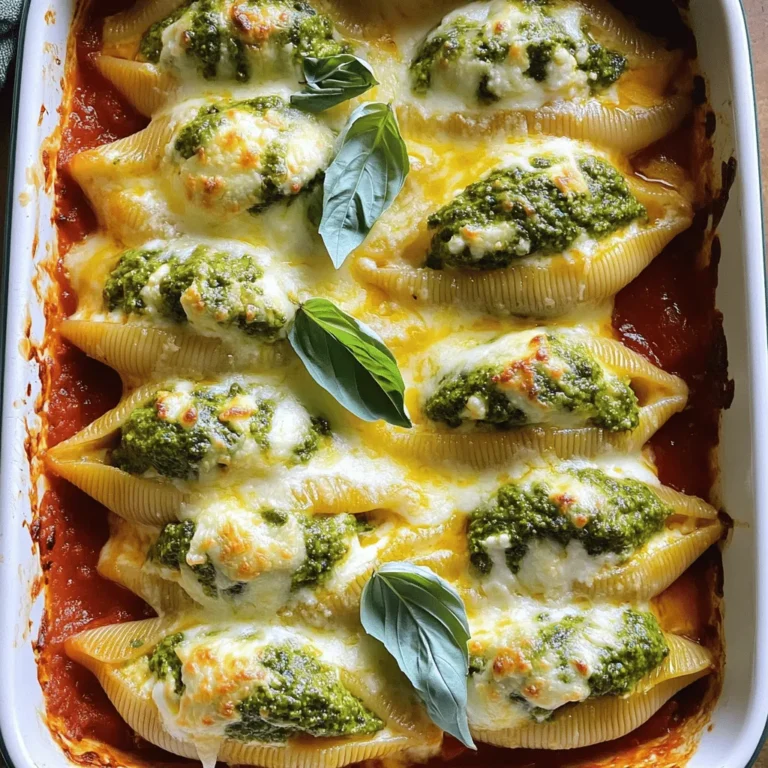
Pesto Ricotta Stuffed Shells Flavorful Dinner Idea
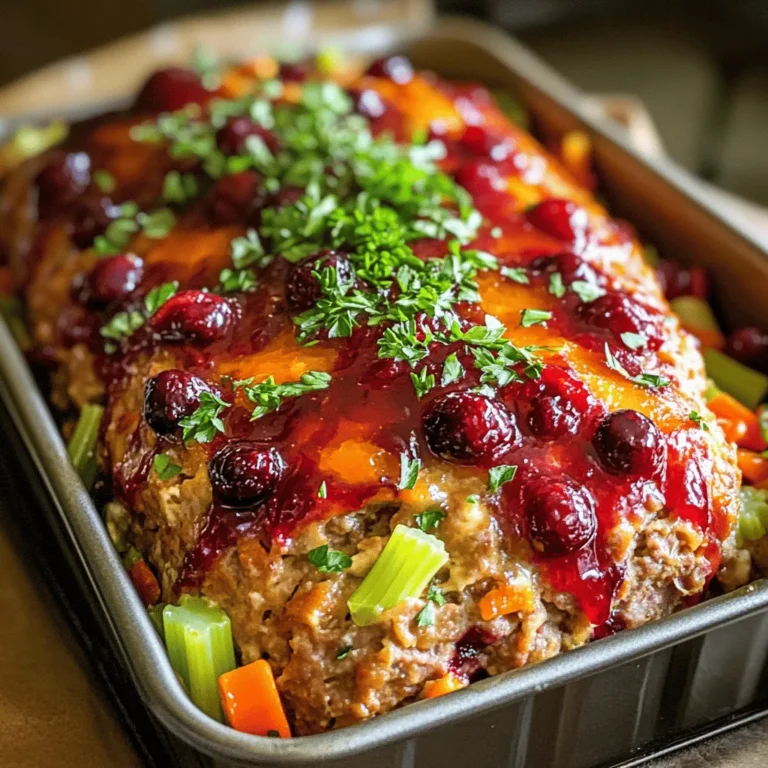
Cranberry Orange Glazed Turkey Meatloaf Delight
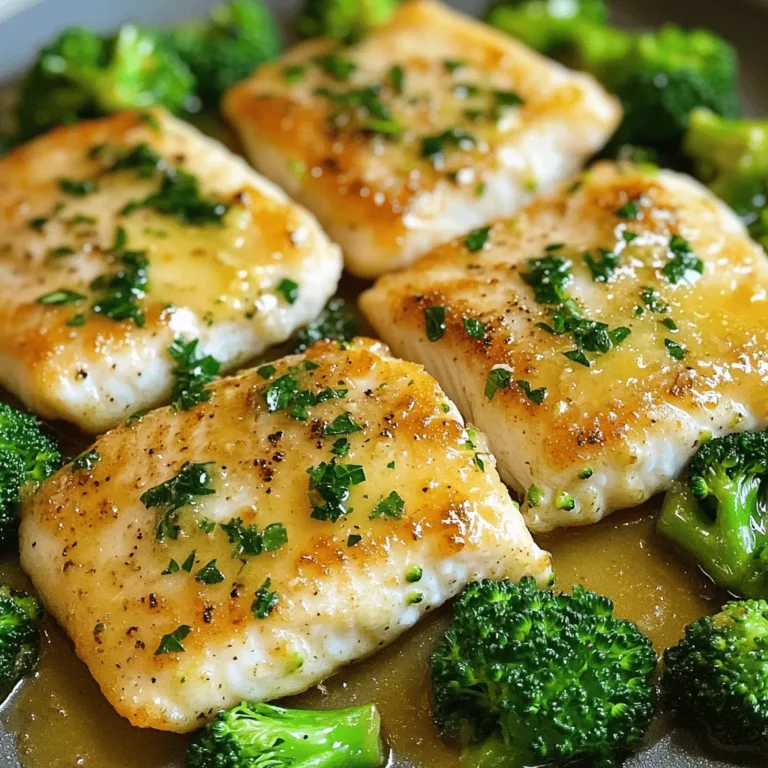
Sheet Pan Garlic Butter Tilapia & Broccoli Delight
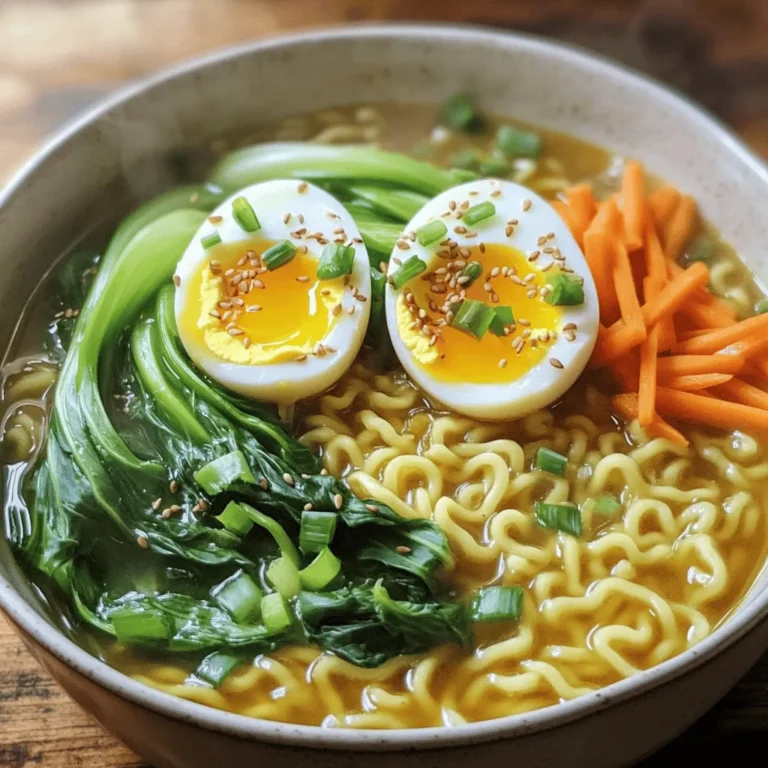
Savory Miso Ginger Ramen with Jammy Eggs Recipe
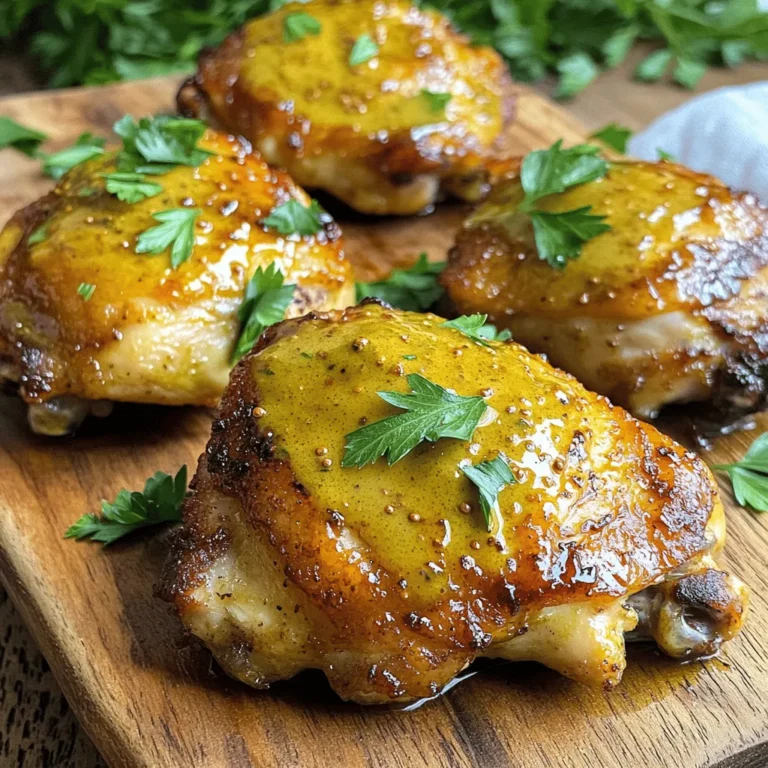
Air Fryer Honey Dijon Chicken Thighs Flavor Boost
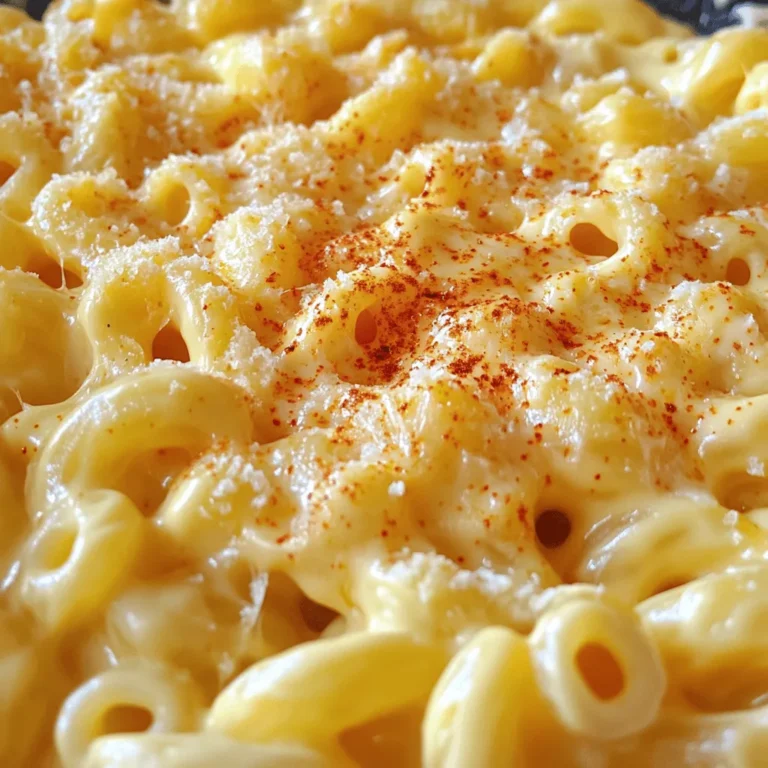
Instant Pot Creamy Mac & Cheese Flavorful Delight
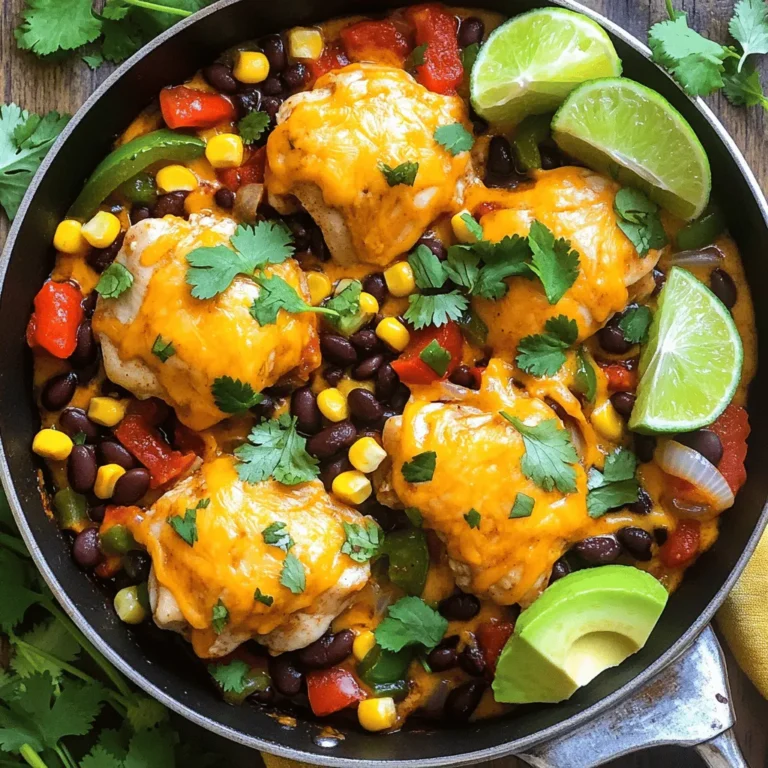
Tex-Mex Chicken Skillet Flavorful and Easy Recipe
Page navigation
Previous Page
Previous
1
…
15
16
17
18
19
…
65
Next Page
Next
Home
Dinner
Appetizer
Desserts
Drinks
About
Contact
Privacy Policy
Toggle Menu Close
Search for:
Search