Skip to content
About
Contact
Cookie Policy
Copyright Policy
Disclaimer
Search
Home
Dinner
Appetizer
Desserts
Drinks
About
Contact
Privacy Policy
Toggle Menu
Home
/
Dinner
- Page 18
Dinner
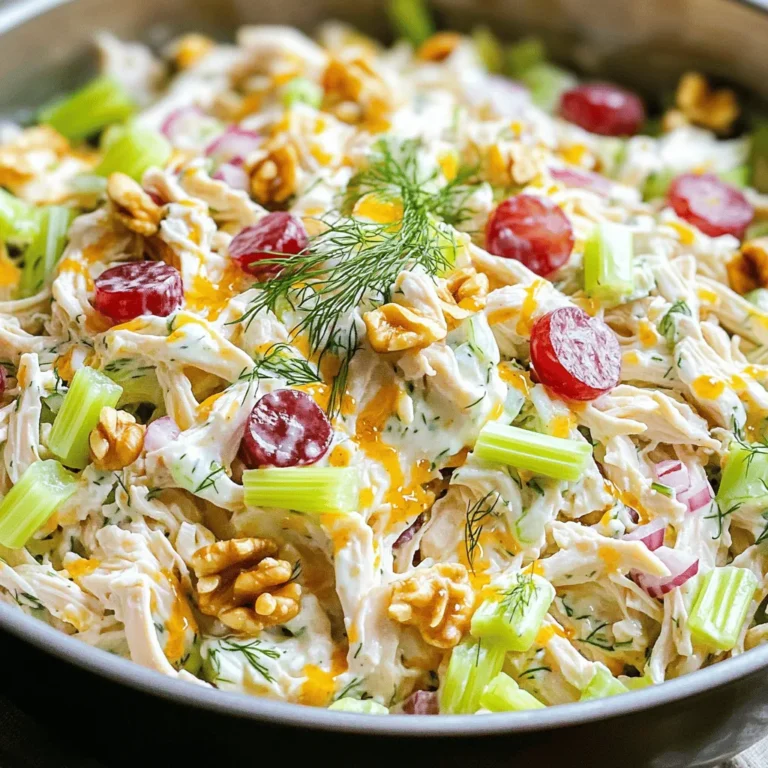
Greek Yogurt Chicken Salad Tasty and Light Meal Ideas
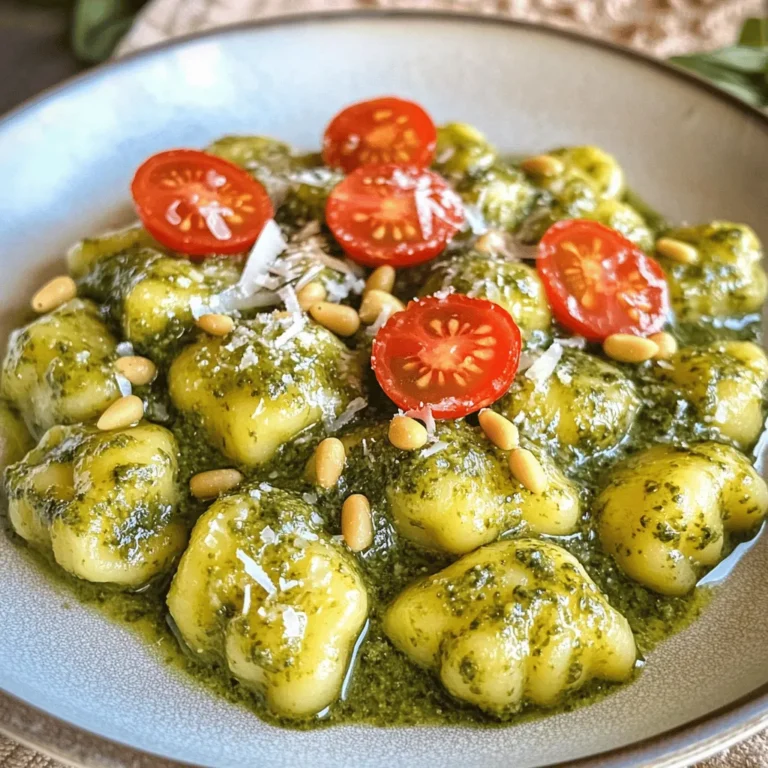
Creamy Pesto Gnocchi Simple and Flavorful Recipe
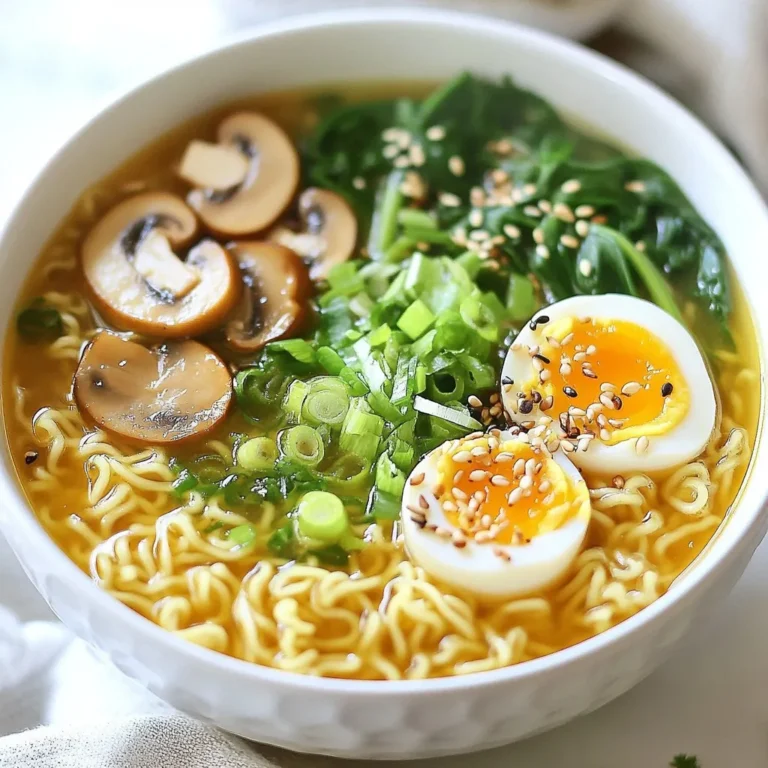
Spicy Garlic Ramen Noodles Quick and Flavorful Recipe
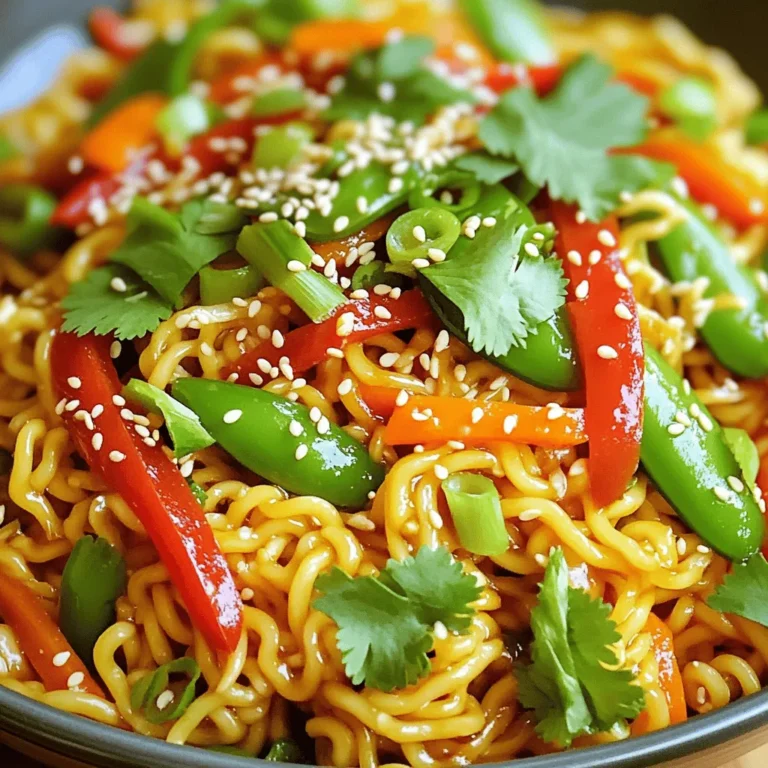
Spicy Sesame Ramen Stir-Up Flavorful Quick Recipe
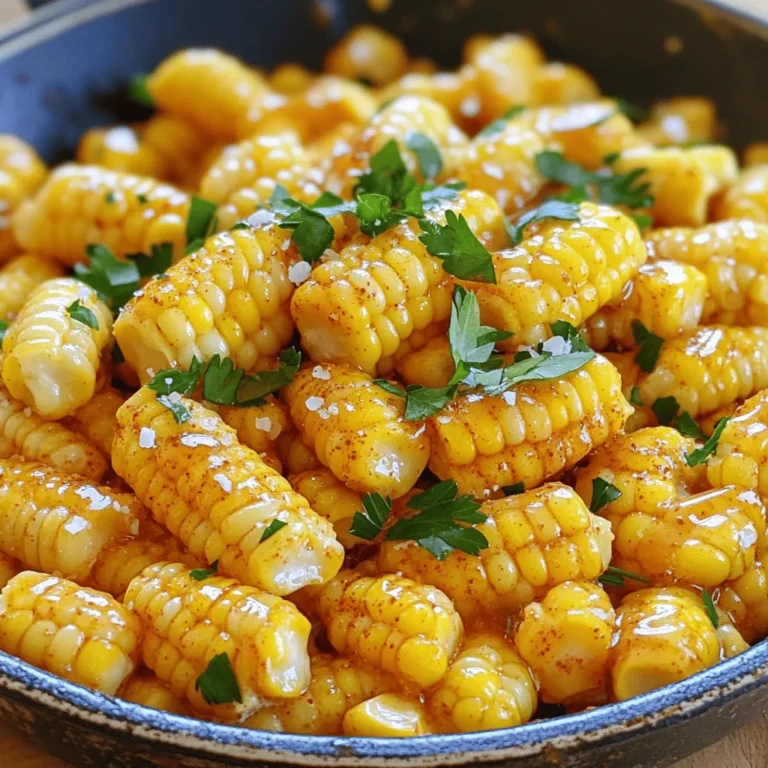
Honey Butter Skillet Corn Quick and Flavorful Recipe
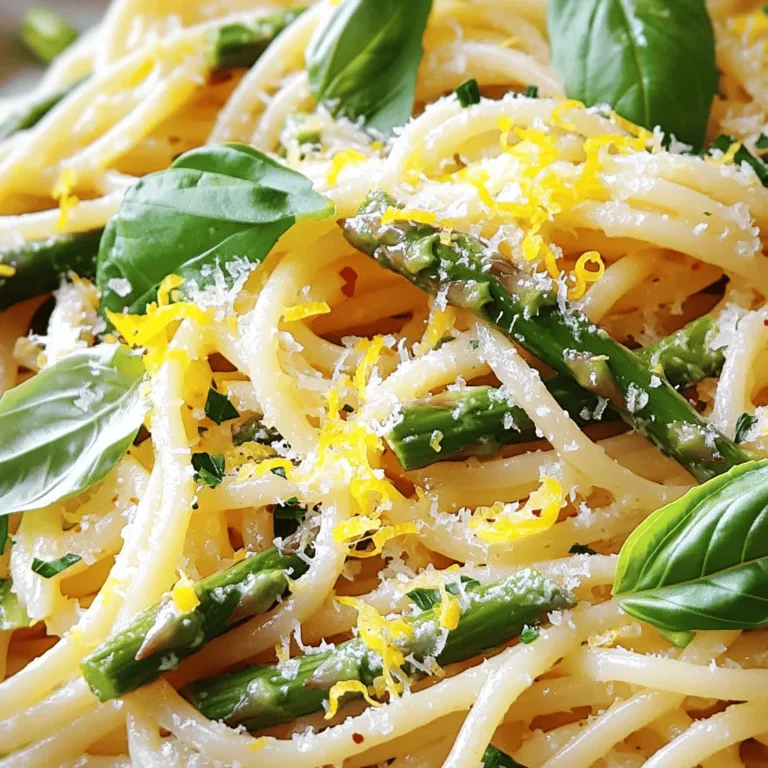
Lemon Garlic Asparagus Pasta Fresh and Flavorful Dish
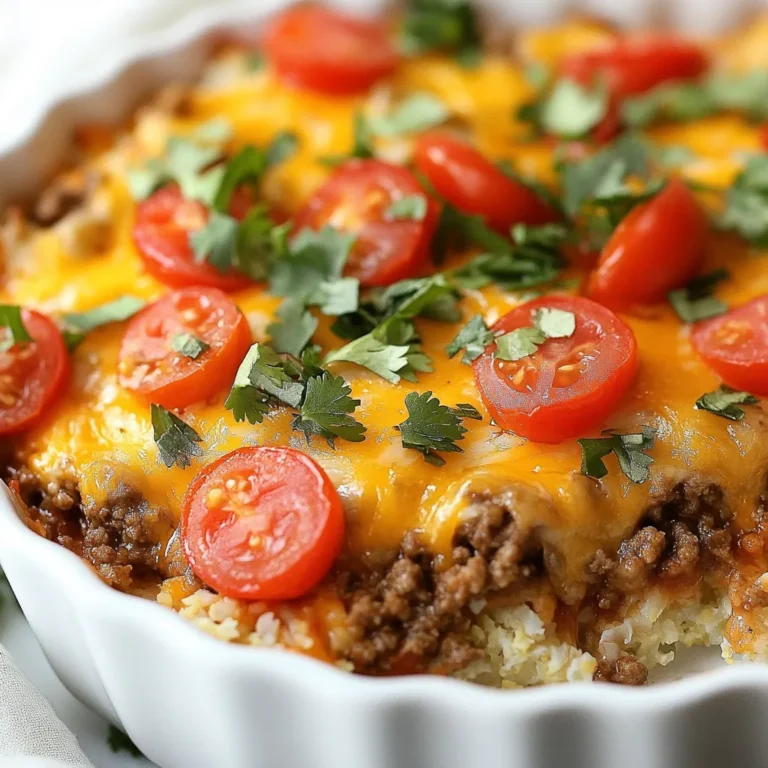
Keto Taco Pizza Casserole Easy and Flavorful Dish
Cheesy Chicken Broccoli Orzo Simple and Tasty Meal
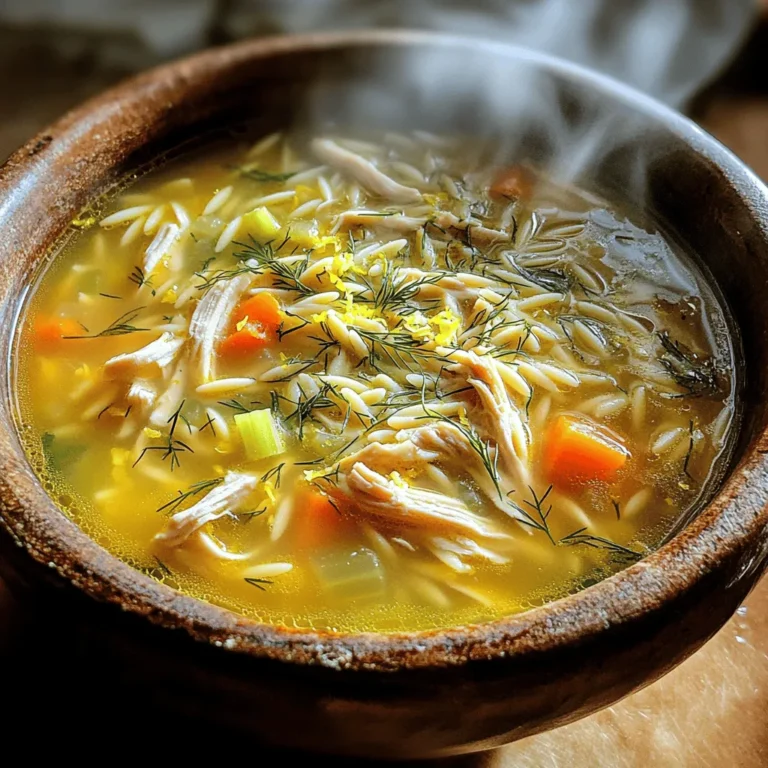
Greek Lemon Chicken Soup Flavorful and Nutritious Dish
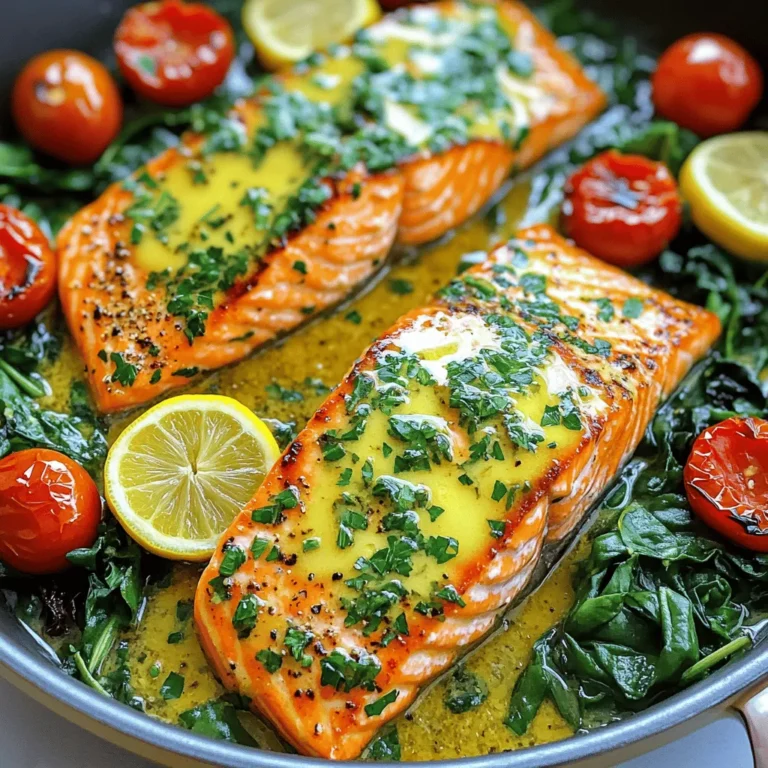
One-Pan Garlic Butter Salmon Quick and Delicious Meal
Page navigation
Previous Page
Previous
1
…
16
17
18
19
20
…
65
Next Page
Next
Home
Dinner
Appetizer
Desserts
Drinks
About
Contact
Privacy Policy
Toggle Menu Close
Search for:
Search