Skip to content
About
Contact
Cookie Policy
Copyright Policy
Disclaimer
Search
Home
Dinner
Appetizer
Desserts
Drinks
About
Contact
Privacy Policy
Toggle Menu
Home
/
Dinner
- Page 2
Dinner
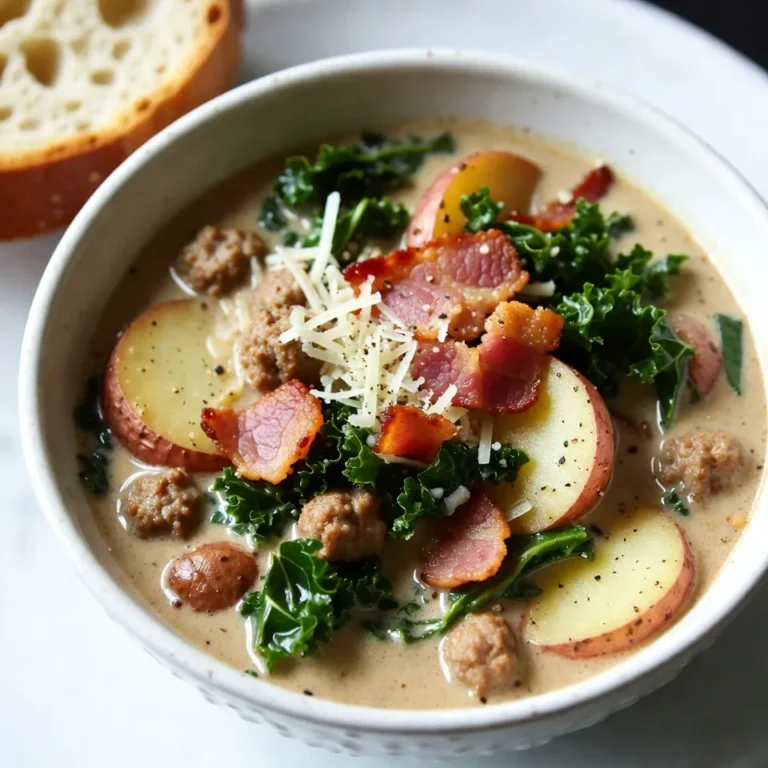
Copycat Olive Garden Zuppa Toscana Flavorful Comfort Soup
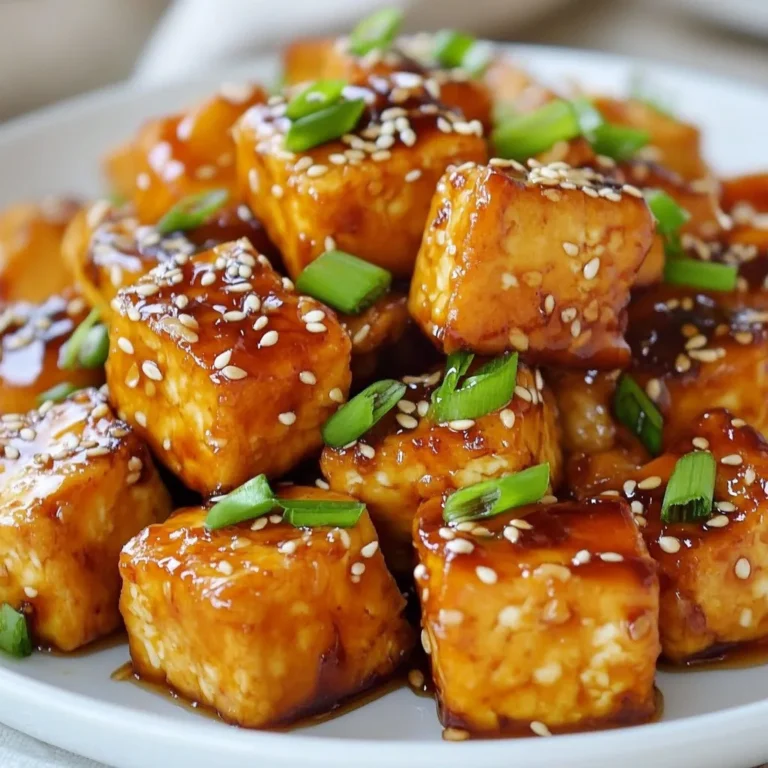
Crispy Honey Garlic Tofu Quick and Easy Recipe
Garlic Parmesan Chicken and Pasta Flavorful Delight
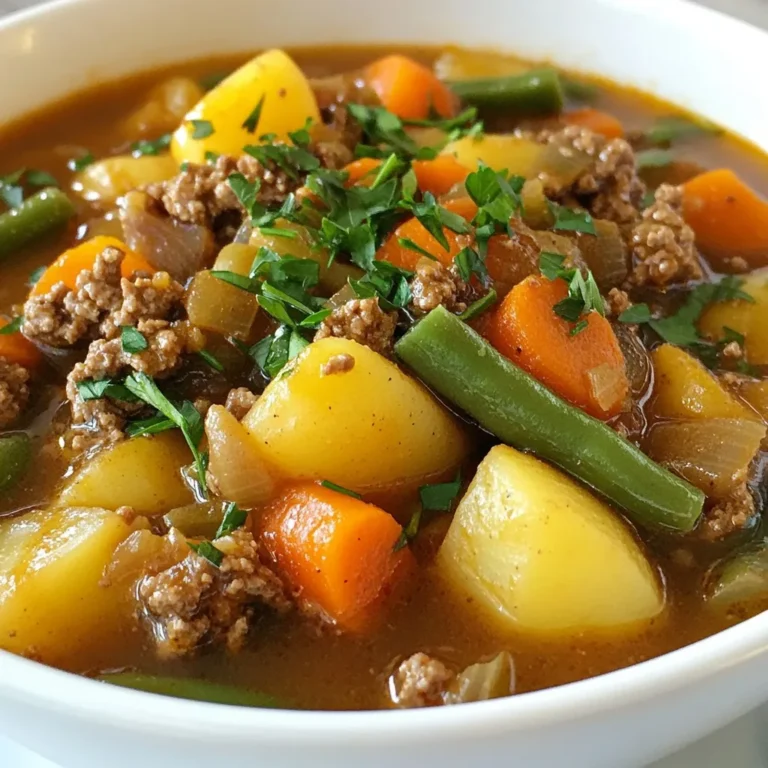
Hearty Hamburger Stew Flavorful and Cozy Meal
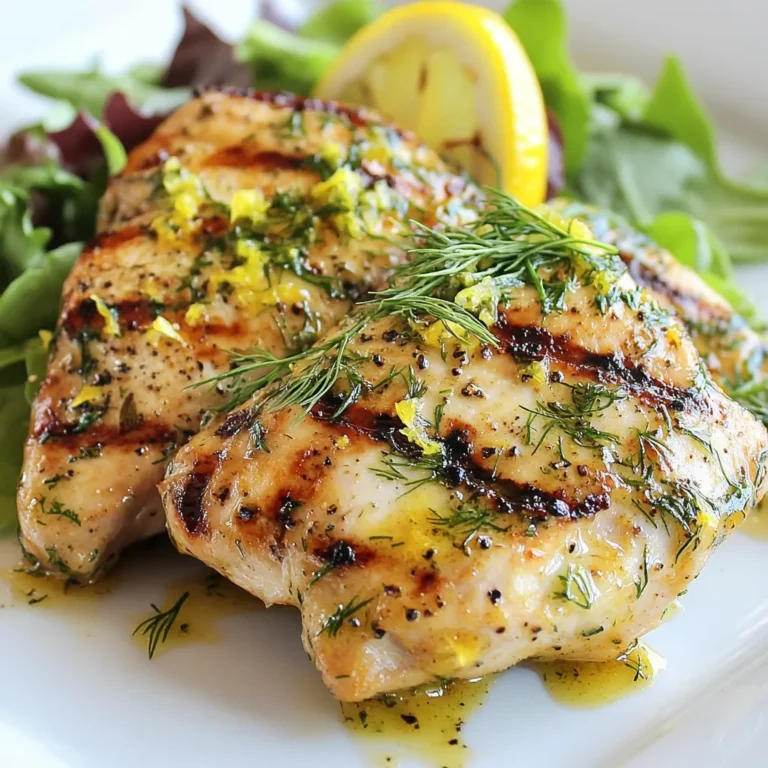
Paleo Lemon Dill Chicken Flavorful Grill Delight
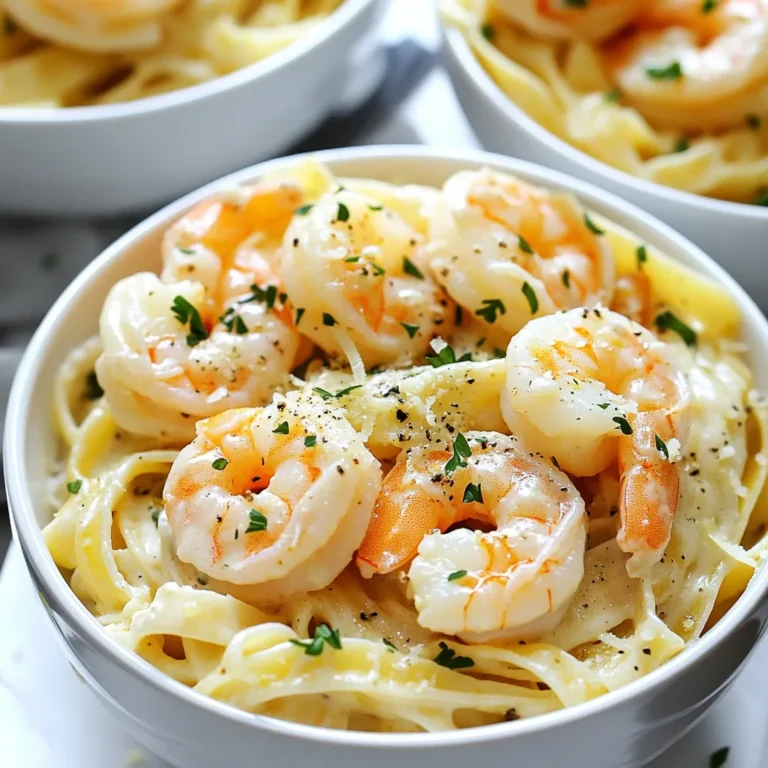
Creamy Garlic Shrimp Pasta Easy Flavorful Recipe
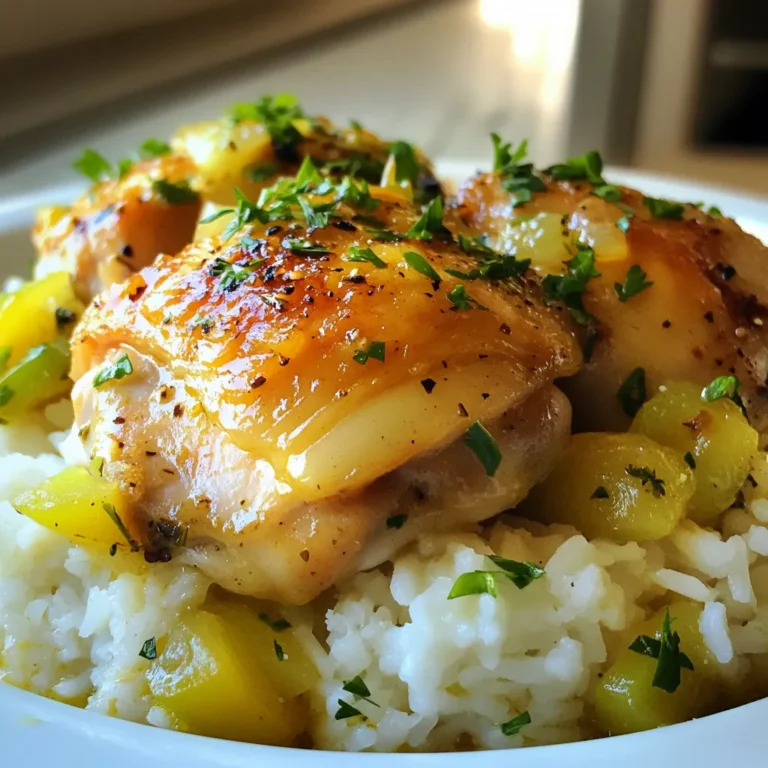
Smothered Chicken and Rice Comforting Easy Dinner
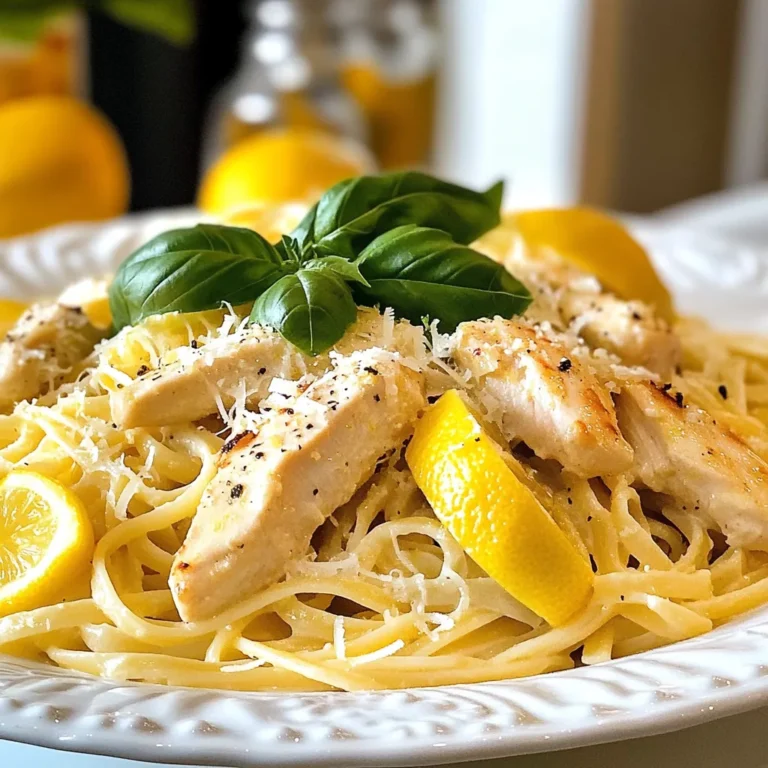
Lemon Chicken Pasta Simple and Flavorful Dinner Dish
Slow Cooker Turkey Chili Flavorful and Easy Recipe
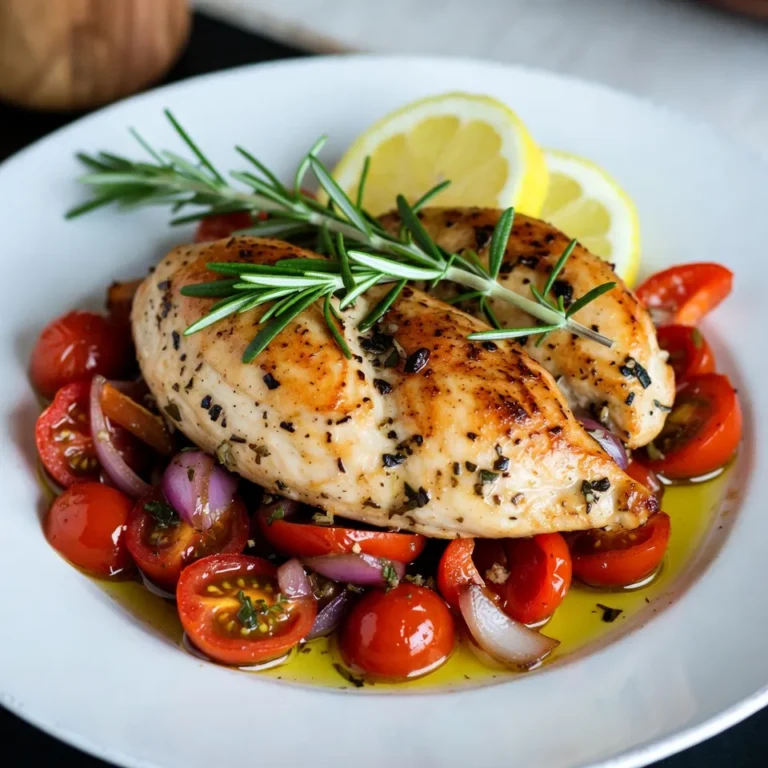
Sheet Pan Lemon Rosemary Chicken Simple and Tasty
Page navigation
Previous Page
Previous
1
2
3
4
…
63
Next Page
Next
Home
Dinner
Appetizer
Desserts
Drinks
About
Contact
Privacy Policy
Toggle Menu Close
Search for:
Search