Skip to content
About
Contact
Cookie Policy
Copyright Policy
Disclaimer
Search
Home
Dinner
Appetizer
Desserts
Drinks
About
Contact
Privacy Policy
Toggle Menu
Home
/
Dinner
- Page 20
Dinner
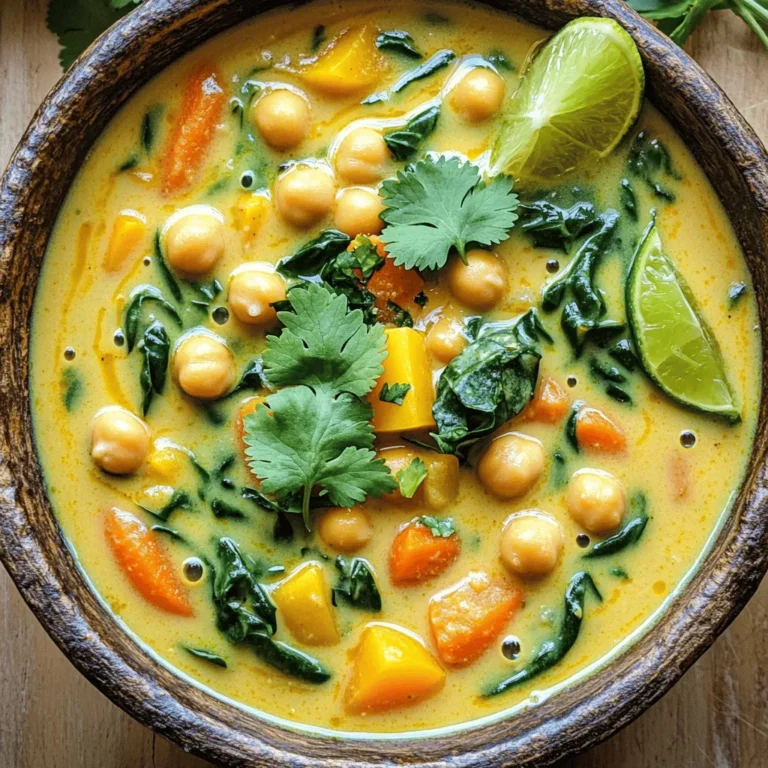
Coconut Curry Chickpea Soup Flavorful and Hearty Dish
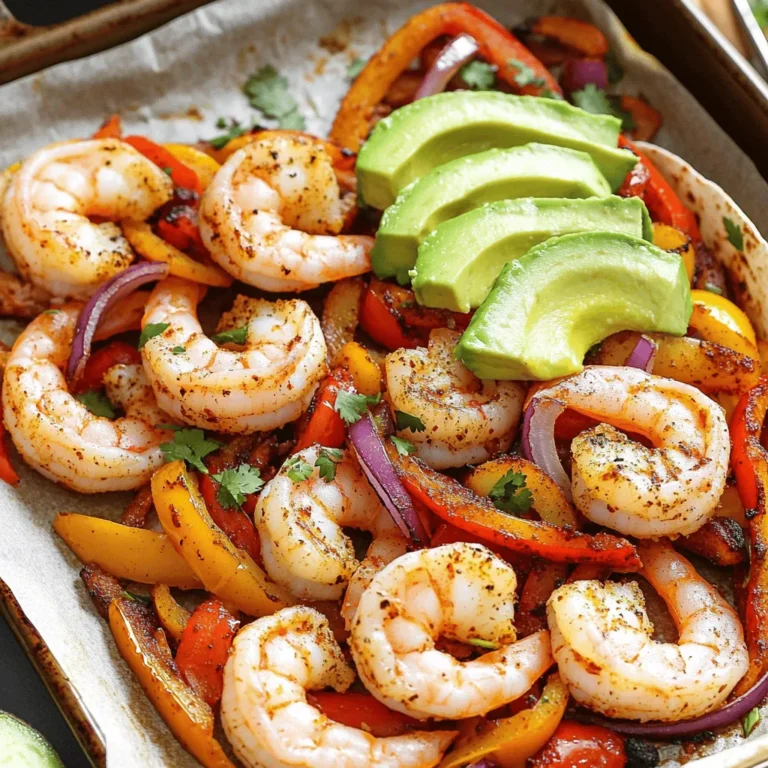
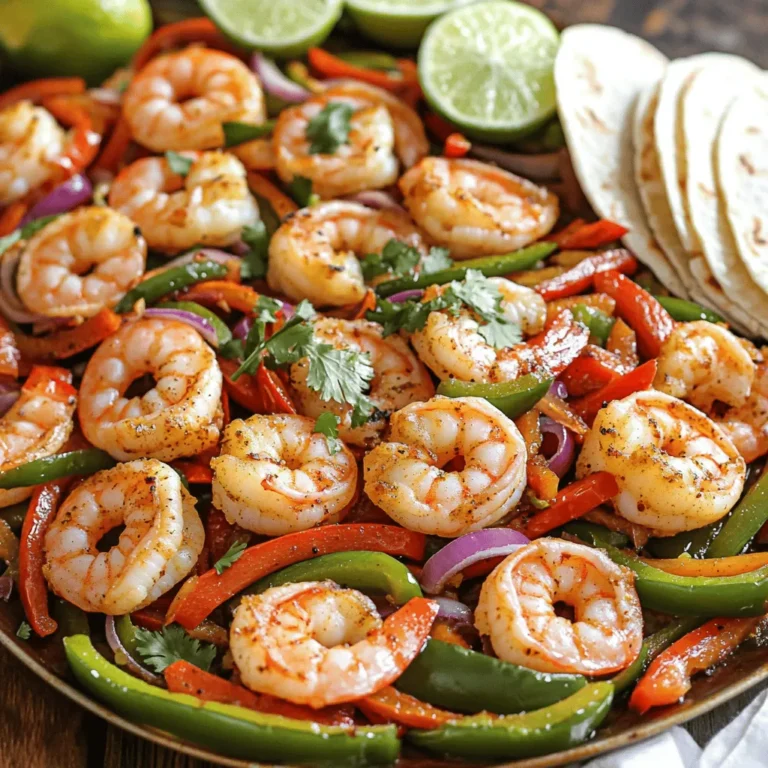
Sheet Pan Shrimp Fajitas Easy and Flavorful Recipe
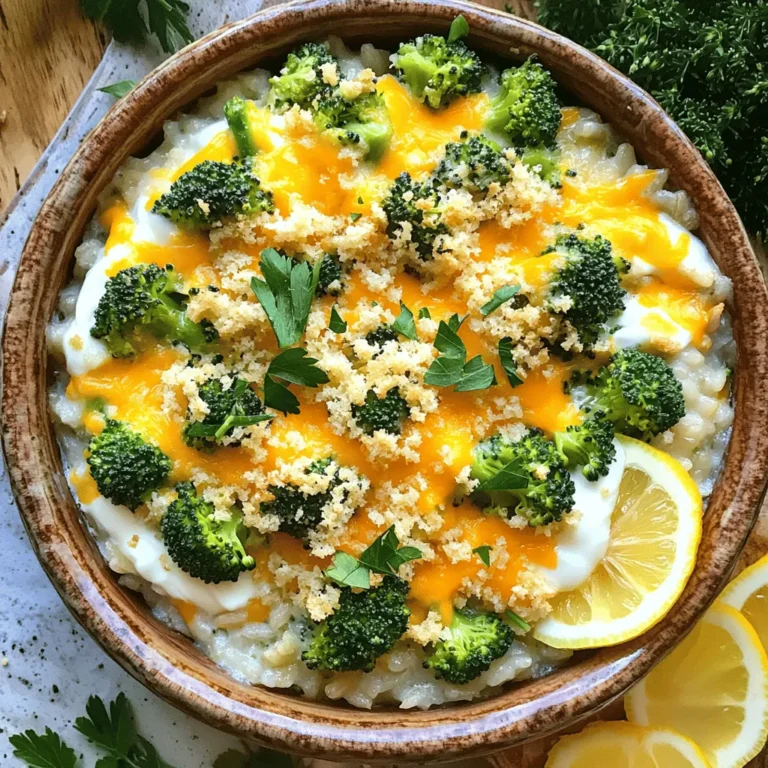
Cheesy Broccoli Rice Casserole Flavorful Comfort Food
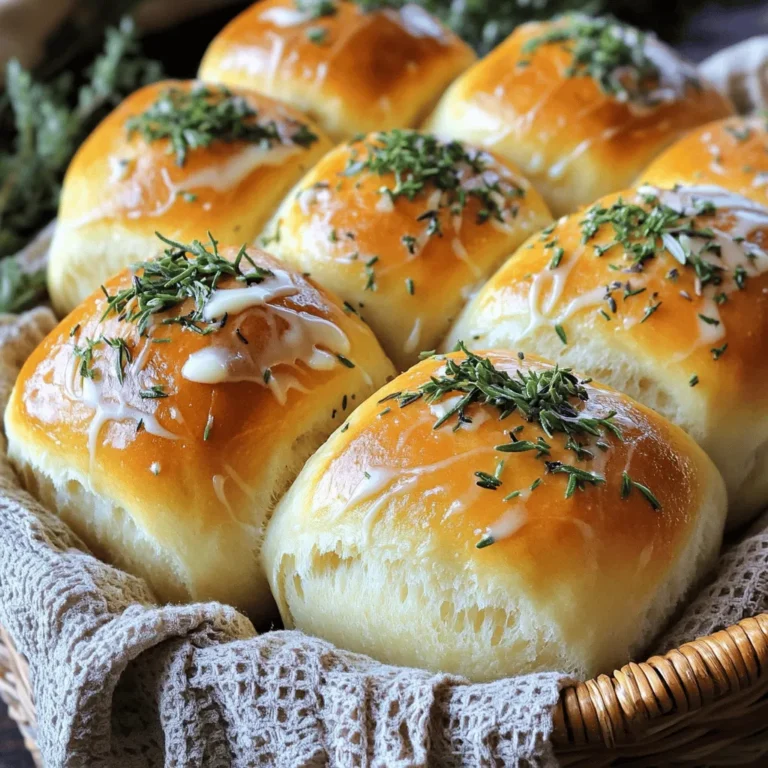
Buttery Herb Dinner Rolls Soft and Fluffy Delight
Sheet Pan Shrimp Fajitas Quick and Flavorful Dish
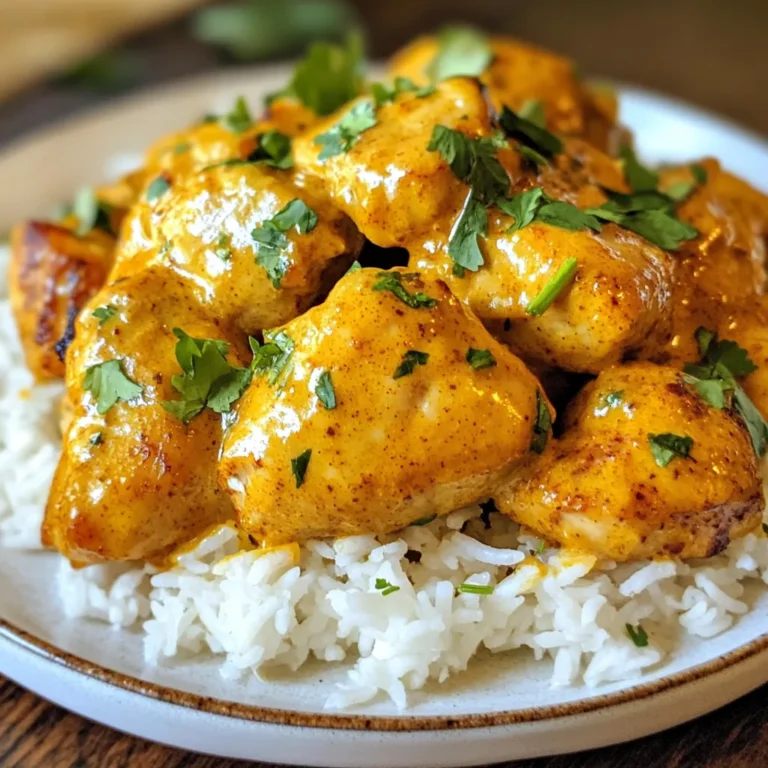
Tasty Texas Roadhouse Butter Chicken Skillet Recipe
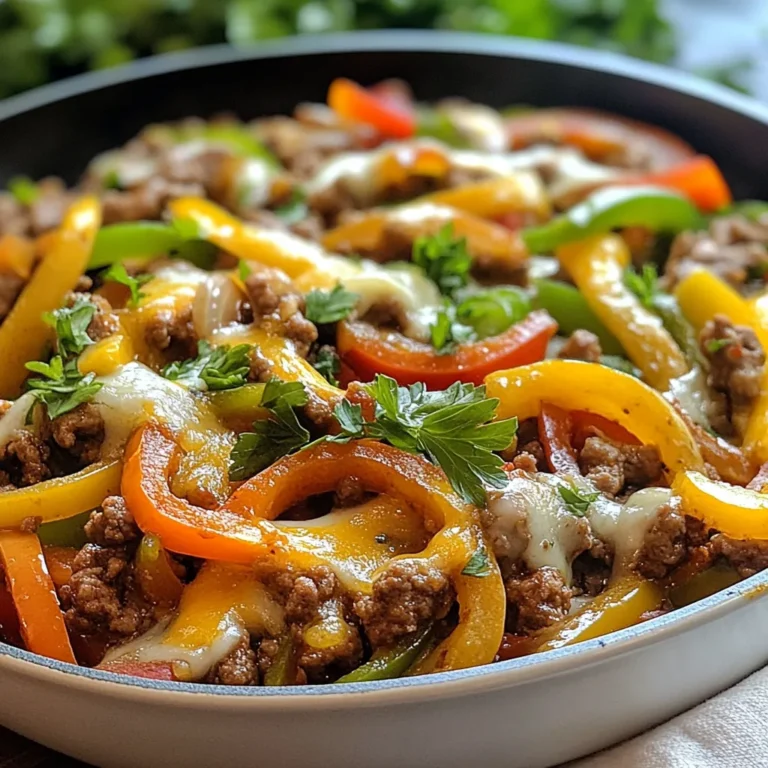
Ground Beef Philly Cheesesteak Skillet Flavor Boost
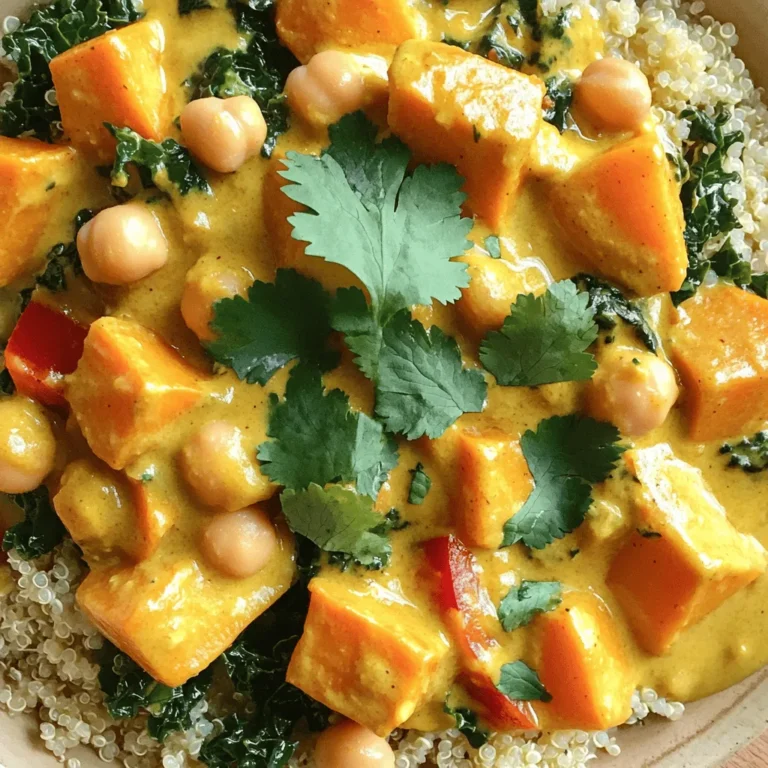
Vegan Sweet Potato Curry Flavorful and Easy Recipe
Margherita Tortilla Pizza Simple and Tasty Recipe
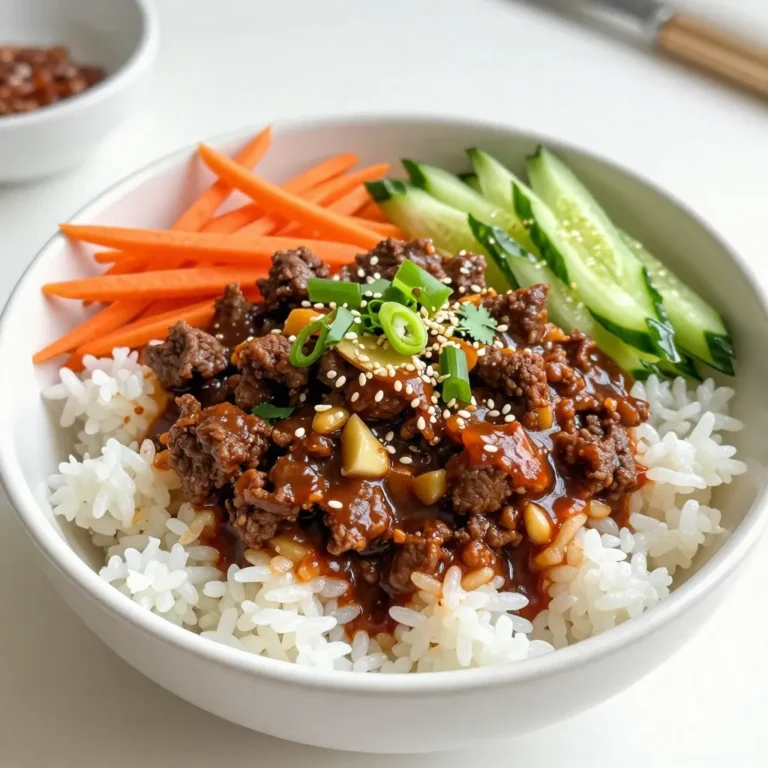
Spicy Korean Beef Bowls Flavorful and Easy Meal
Page navigation
Previous Page
Previous
1
…
18
19
20
21
22
…
65
Next Page
Next
Home
Dinner
Appetizer
Desserts
Drinks
About
Contact
Privacy Policy
Toggle Menu Close
Search for:
Search