Skip to content
About
Contact
Cookie Policy
Copyright Policy
Disclaimer
Search
Home
Dinner
Appetizer
Desserts
Drinks
About
Contact
Privacy Policy
Toggle Menu
Home
/
Dinner
- Page 21
Dinner
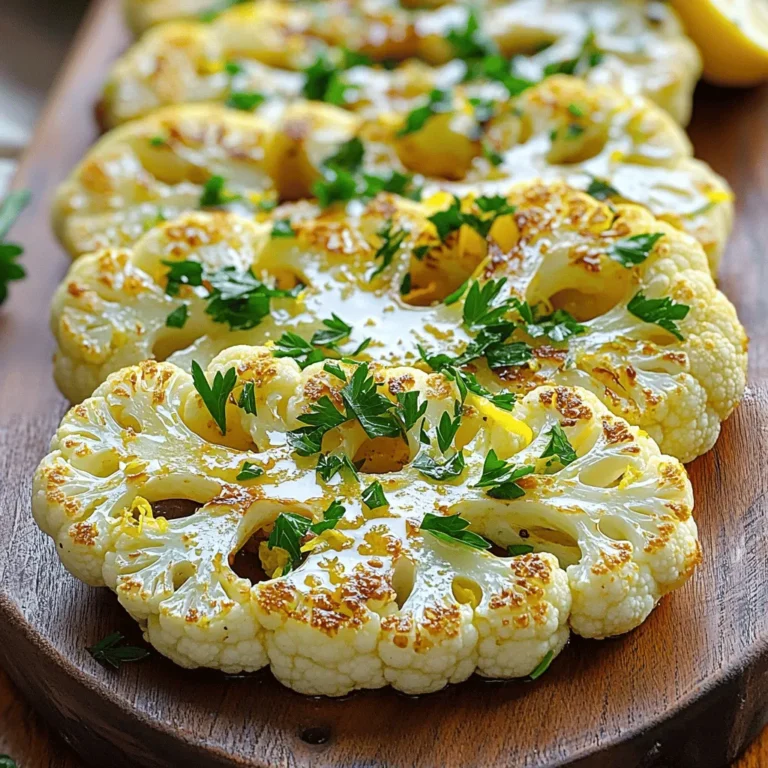
Garlic Lemon Roasted Cauliflower Steaks Delight
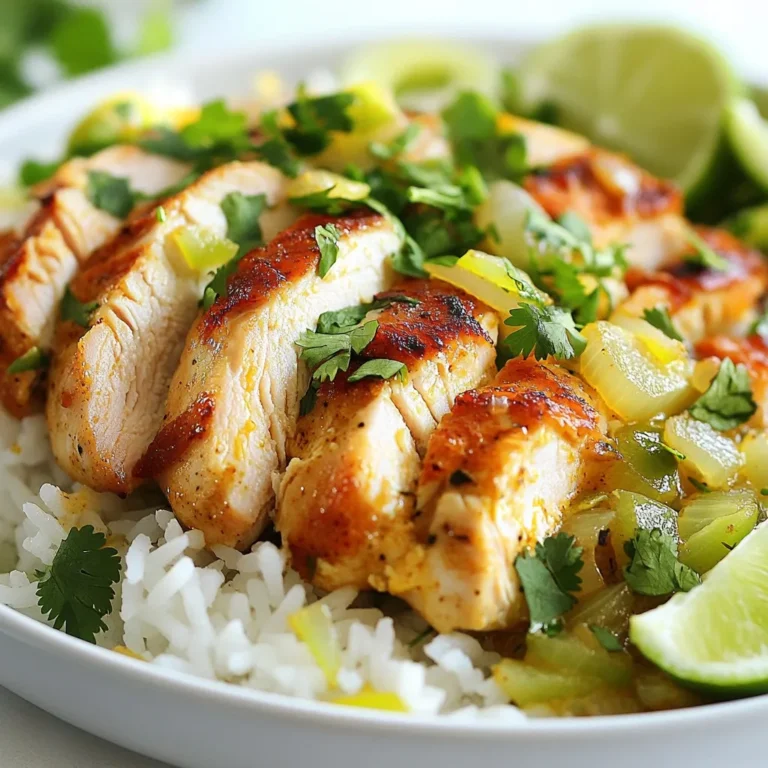
Coconut Chicken & Rice Flavorful One-Pot Delight
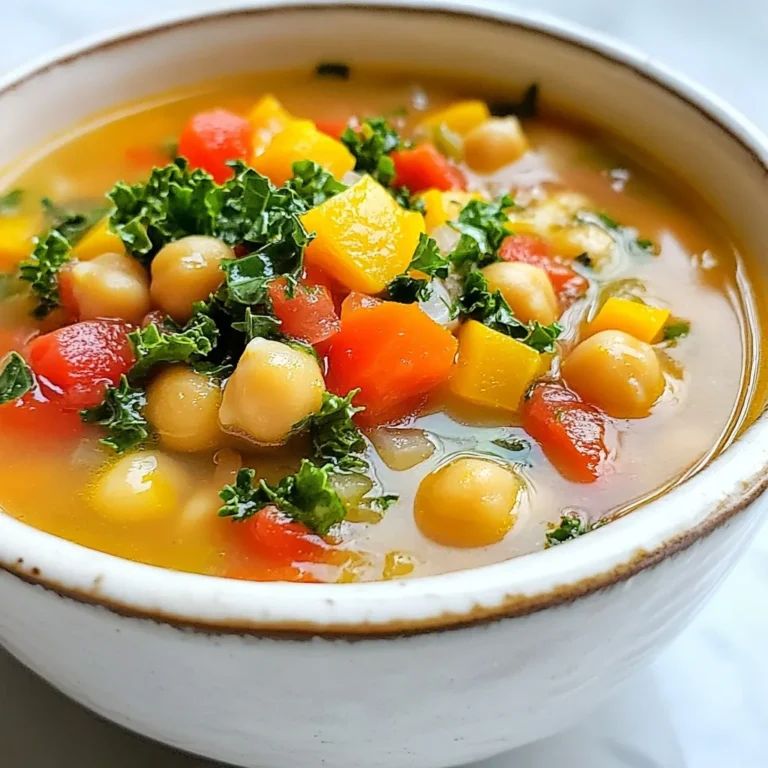
Tuscan Chickpea Soup Hearty and Flavorful Meal
Mediterranean Lentil Soup Flavorful and Healthy Meal
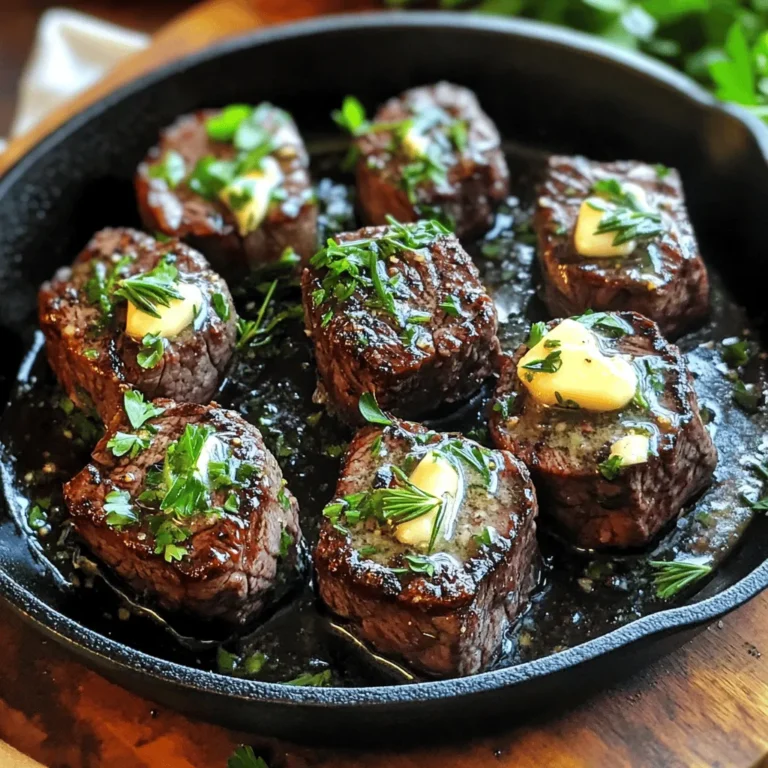
Garlic Herb Butter Steak Bites Savory and Quick Meal
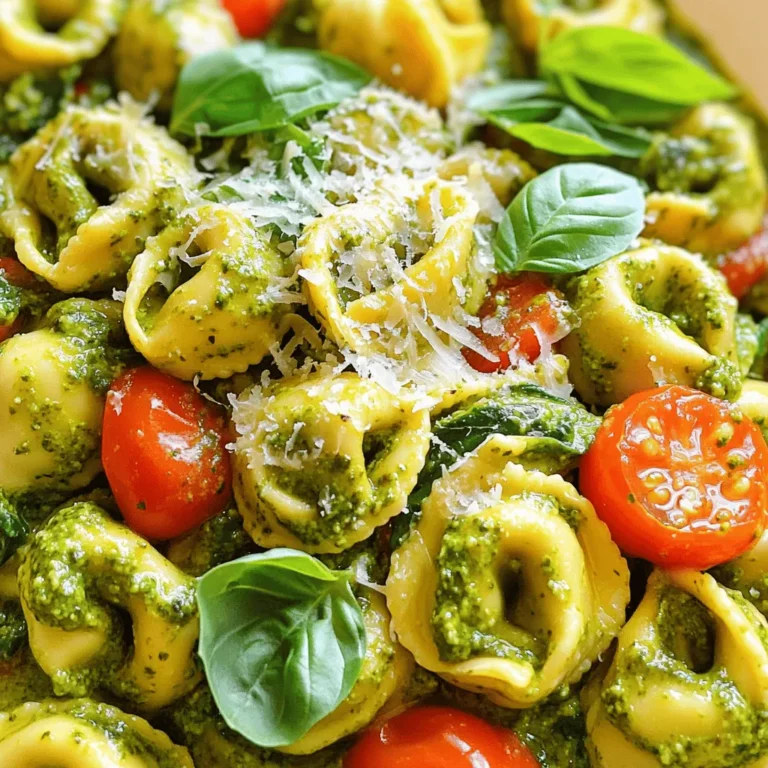
Creamy Pesto Tortellini Savory Dinner Delight
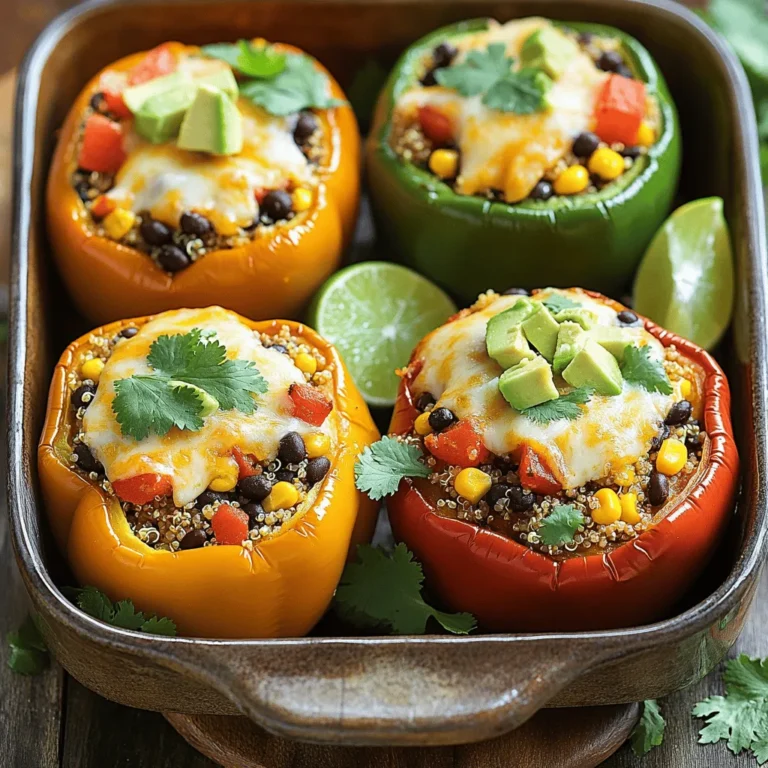
Tex Mex Stuffed Peppers Flavorful and Simple Dish
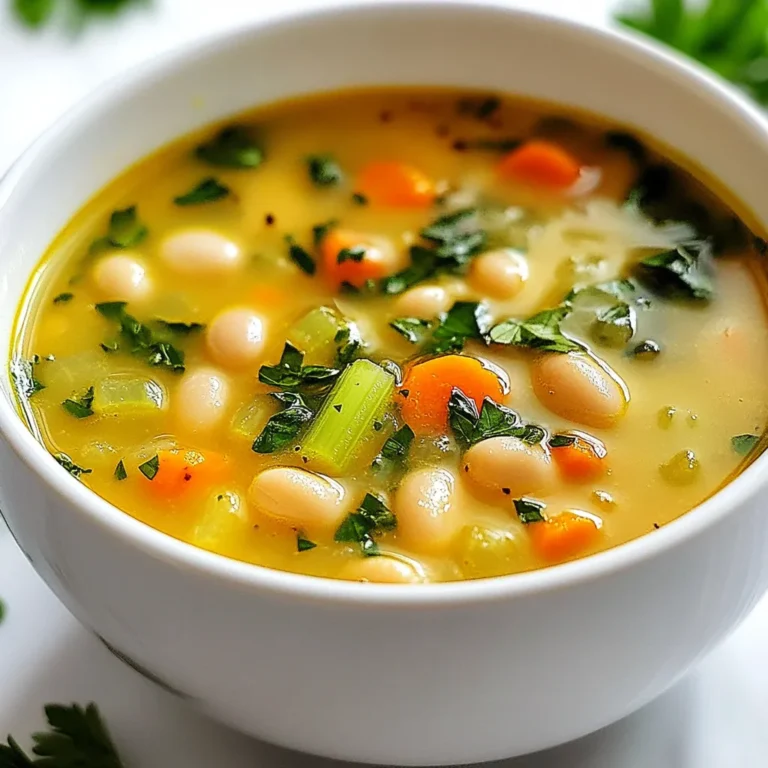
High Protein White Bean Soup Easy and Healthy Meal
Zucchini Pizza Casserole Flavorful and Simple Dish
Ground Turkey Black Bean Enchiladas Flavorful Recipe
Page navigation
Previous Page
Previous
1
…
19
20
21
22
23
…
65
Next Page
Next
Home
Dinner
Appetizer
Desserts
Drinks
About
Contact
Privacy Policy
Toggle Menu Close
Search for:
Search