Skip to content
About
Contact
Cookie Policy
Copyright Policy
Disclaimer
Search
Home
Dinner
Appetizer
Desserts
Drinks
About
Contact
Privacy Policy
Toggle Menu
Home
/
Dinner
- Page 22
Dinner
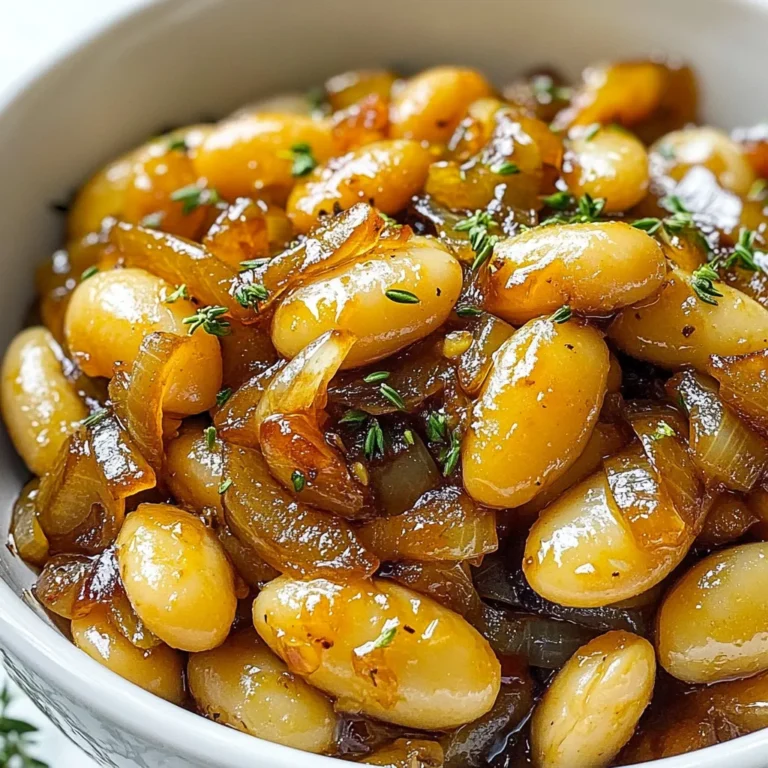
Caramelized Onion Butter Beans Savory and Easy Dish
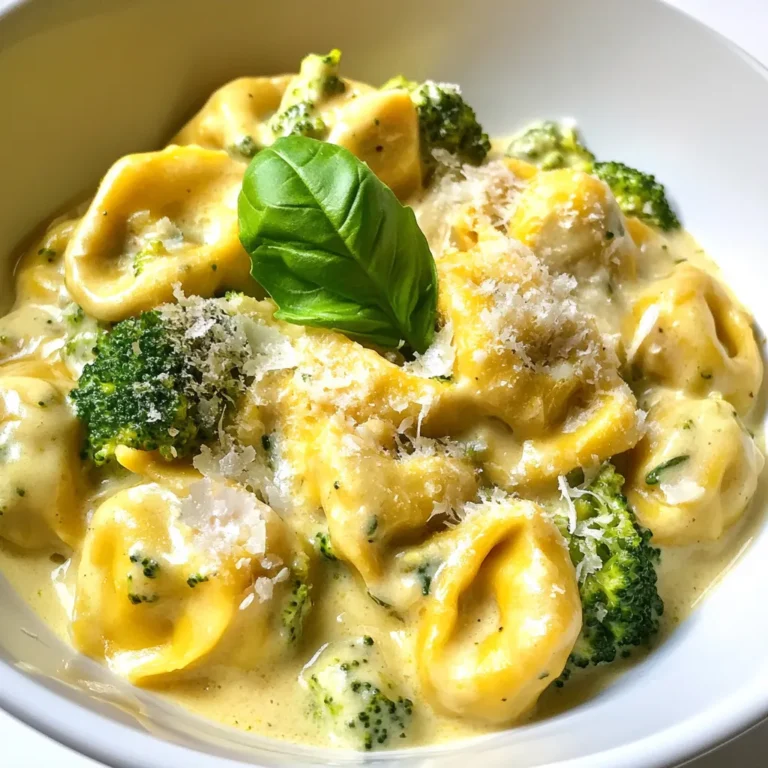
Creamy Chicken Tortellini with Broccoli Delight
Brown Sugar Pineapple Chicken Flavorful Easy Recipe
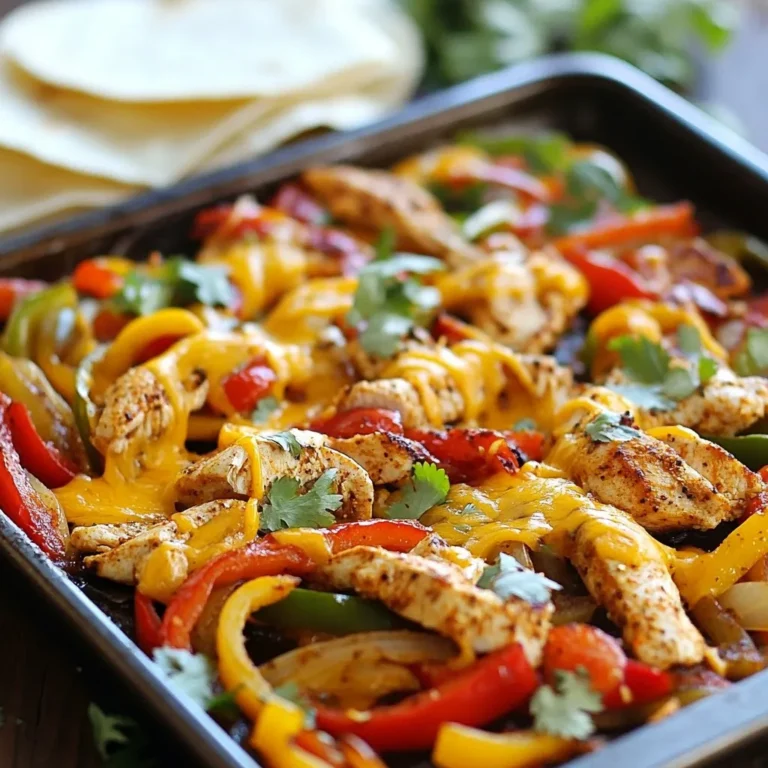
Easy Chicken Fajita Bake Simple and Tasty Dinner
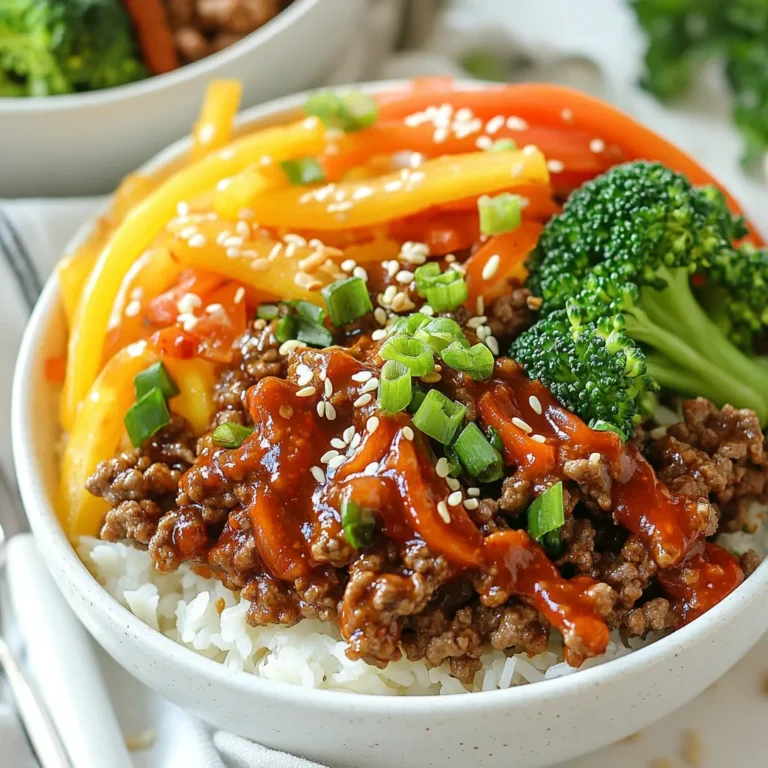
Spicy Korean Beef Bowls Flavorful Quick Meal Idea
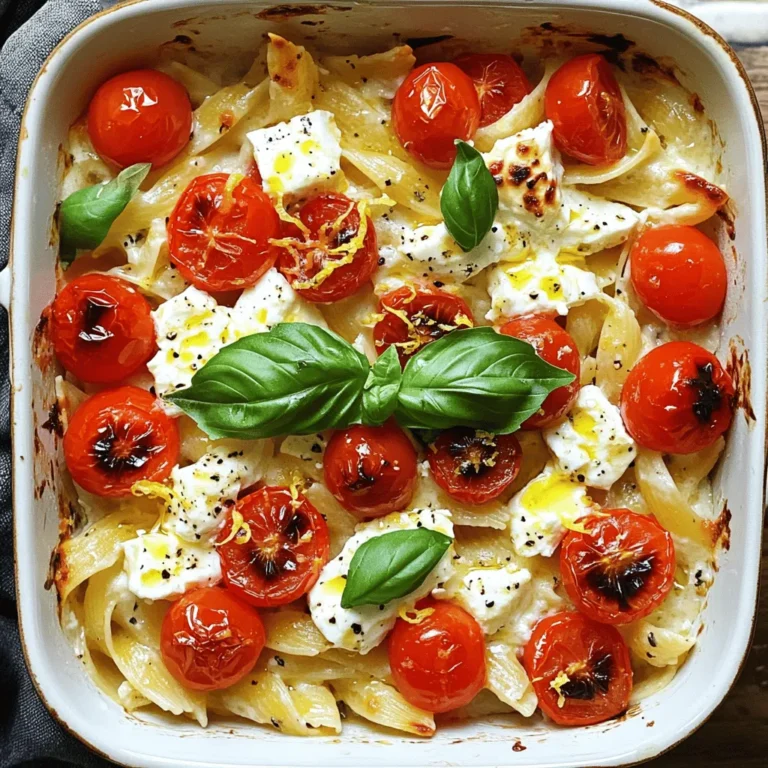
Baked Feta Tomato Pasta Easy and Flavorful Recipe
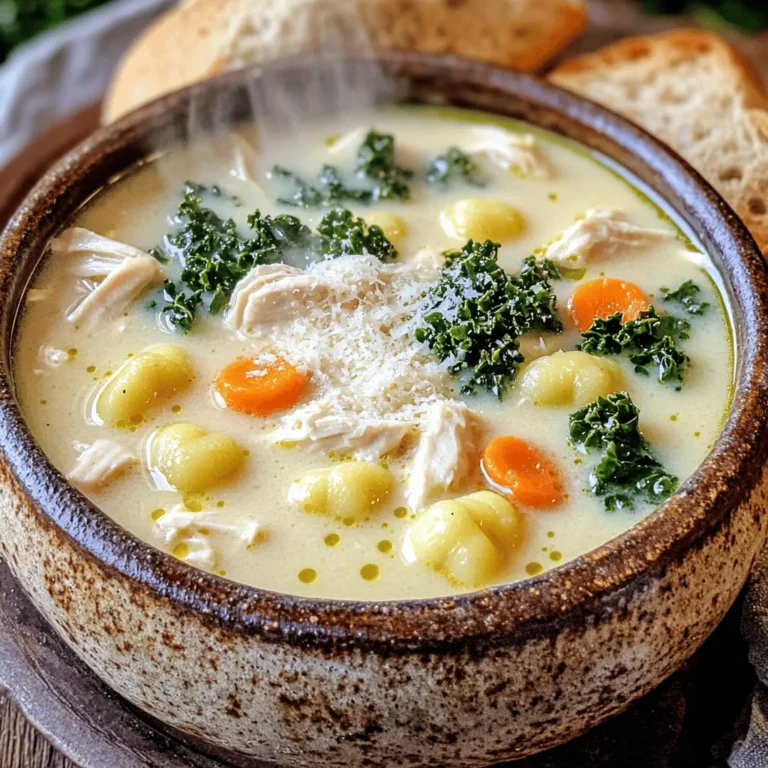
Creamy Chicken Gnocchi Soup Cozy and Comforting Meal
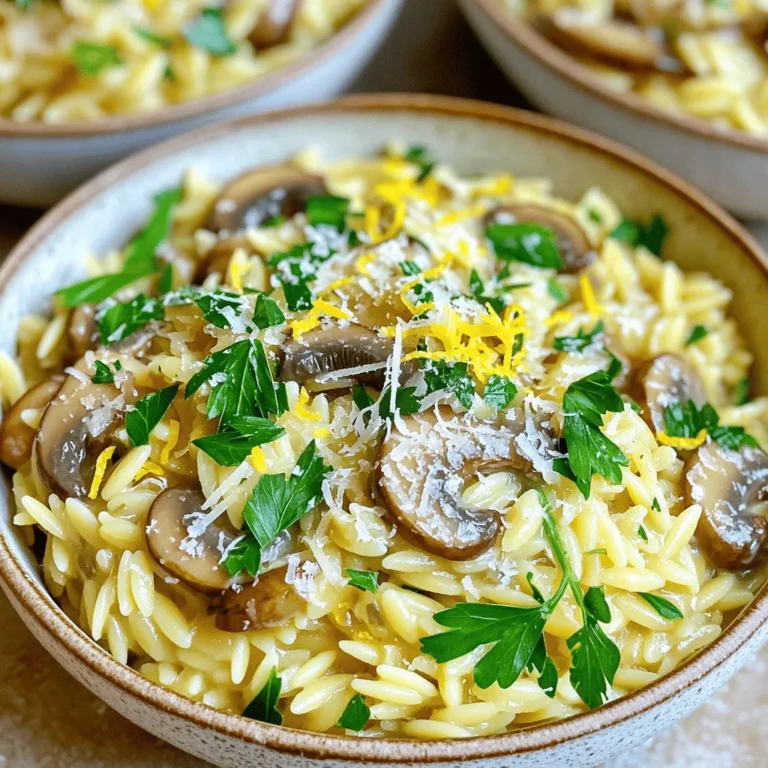
Garlic Butter Mushroom Orzo Flavorful Delight Recipe
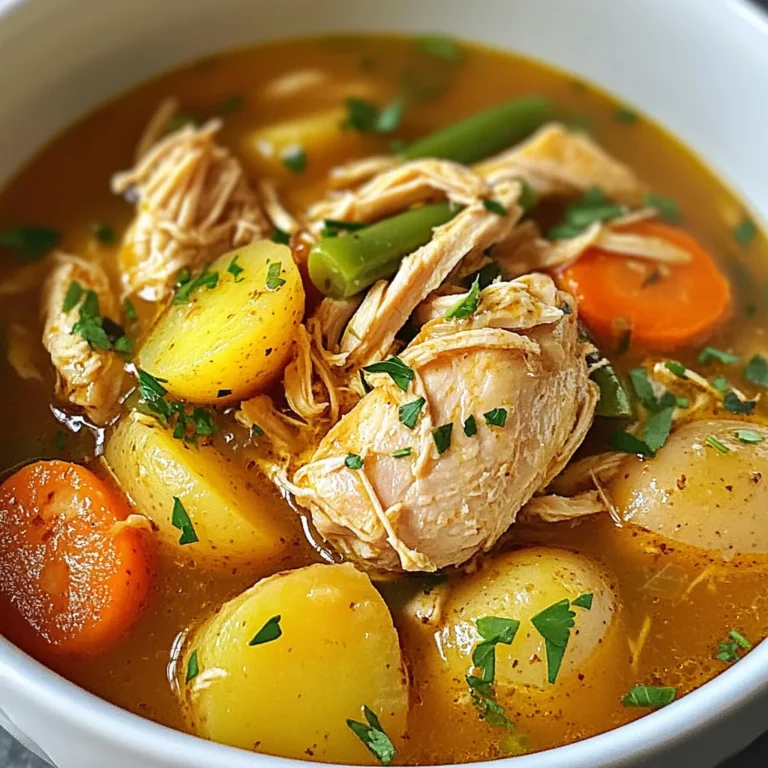
Savory Slow Cooker Chicken Stew Easy and Hearty Meal
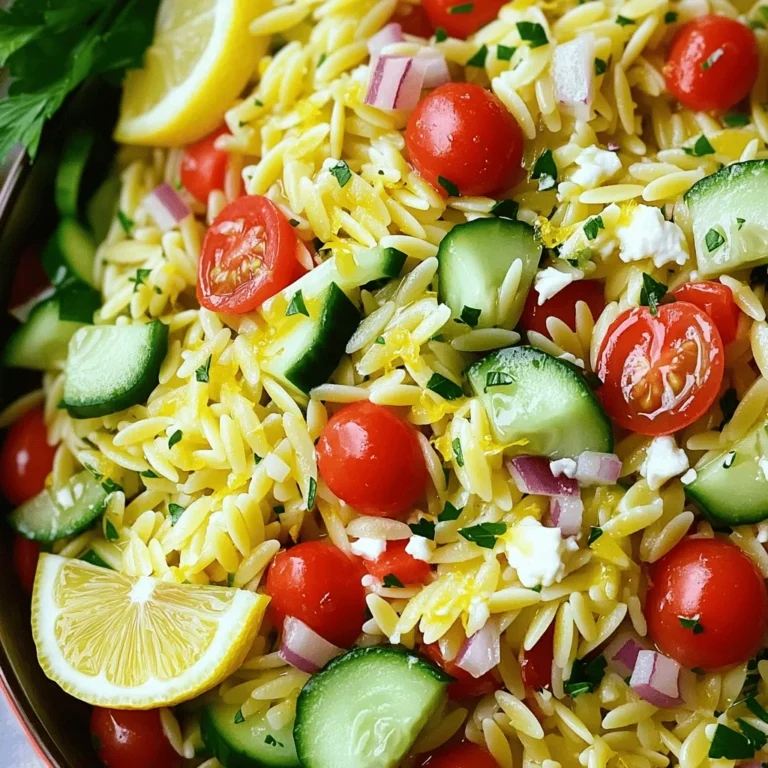
Lemon Garlic Orzo Salad Fresh and Flavorful Delight
Page navigation
Previous Page
Previous
1
…
20
21
22
23
24
…
65
Next Page
Next
Home
Dinner
Appetizer
Desserts
Drinks
About
Contact
Privacy Policy
Toggle Menu Close
Search for:
Search