Skip to content
About
Contact
Cookie Policy
Copyright Policy
Disclaimer
Search
Home
Dinner
Appetizer
Desserts
Drinks
About
Contact
Privacy Policy
Toggle Menu
Home
/
Dinner
- Page 23
Dinner
Creamy Spinach Mushroom Gnocchi Delightful Dinner Idea
Creamy Italian Meatball Soup Hearty Comfort Dish
Garlic Parmesan Hasselback Potatoes Flavor Explosion
Baked Beef Tortellini Flavorful and Comforting Meal
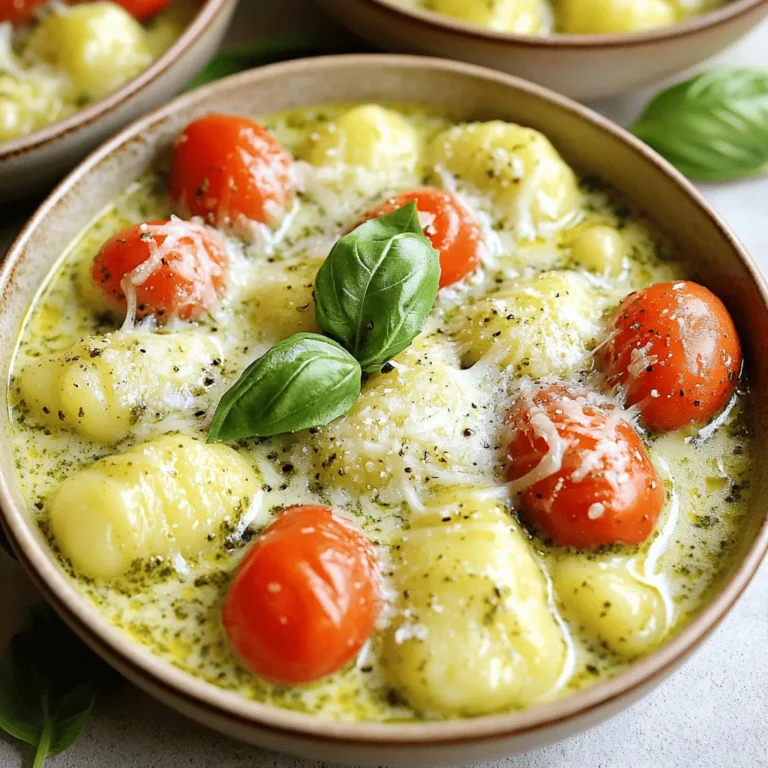
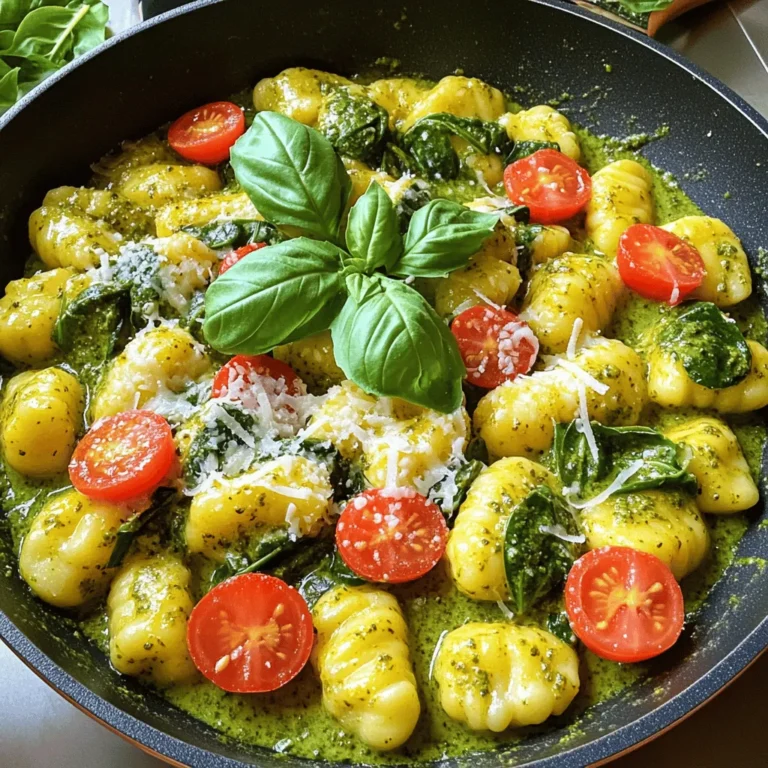
Creamy Pesto Gnocchi Skillet Quick and Tasty Meal
Cheesy Taco Potatoes Flavorful and Easy Dinner Recipe
Creamy Pesto Gnocchi Skillet Irresistible Weeknight Meal
Garlic Butter Steak Bites Savory and Quick Dish
Savory Sweet Potato Black Bean Chili Easy and Hearty
Vegan Lentil Shepherd’s Pie Comforting and Hearty Dish
Page navigation
Previous Page
Previous
1
…
21
22
23
24
25
…
65
Next Page
Next
Home
Dinner
Appetizer
Desserts
Drinks
About
Contact
Privacy Policy
Toggle Menu Close
Search for:
Search


![To make a hearty Sweet Potato Black Bean Chili, you will need: - 2 medium sweet potatoes, peeled and cut into ½-inch cubes - 1 can (15 oz) black beans, thoroughly drained and rinsed - 1 large onion, finely diced - 2 cloves garlic, finely minced - 1 red bell pepper, chopped into small pieces - 1 can (14.5 oz) diced tomatoes with their juices - 2 cups vegetable broth (preferably low-sodium) - 1 tablespoon chili powder - 1 teaspoon ground cumin - 1 teaspoon smoked paprika - ½ teaspoon cayenne pepper (adjust according to your spice preference) - Sea salt and freshly cracked black pepper, to taste - 2 tablespoons olive oil Adding toppings can enhance the chili's flavor and look. Here are some tasty options: - Diced avocado for creaminess - Fresh cilantro leaves for a pop of color - Lime wedges for a zesty touch Each ingredient brings unique health benefits: - Sweet potatoes are rich in vitamins A and C. They provide fiber and antioxidants. - Black beans are a great source of protein and fiber. They help keep you full longer. - Onions contain antioxidants and may help reduce inflammation. - Garlic has immune-boosting properties and adds flavor. - Bell peppers are high in vitamin C and help with skin health. This chili is not just filling; it also packs a nutritious punch, making it a well-rounded meal for any day. For the full recipe, check out the recipe section above. Start with a large pot. Heat 2 tablespoons of olive oil over medium heat. Wait until the oil shimmers. Add 1 finely diced onion and 1 chopped red bell pepper. Sauté for about 5 minutes. Stir often until the onion is soft and clear. Next, add 2 minced garlic cloves. Sauté for 1 more minute, just enough to let the garlic smell good. Now, it’s time for the sweet potatoes. Add 2 medium sweet potatoes, cut into ½-inch cubes. Sprinkle in 1 tablespoon chili powder, 1 teaspoon ground cumin, 1 teaspoon smoked paprika, and ½ teaspoon cayenne pepper. Don’t forget salt and pepper to taste! Stir well to coat the sweet potatoes in the spices. Pour in 1 can of diced tomatoes with juices and 2 cups of vegetable broth. Mix everything together and bring it to a boil. Once boiling, lower the heat. Cover the pot and let the chili simmer for 25 to 30 minutes. The sweet potatoes should be soft but not mushy when you poke them with a fork. After the sweet potatoes cook, stir in 1 can of black beans, drained and rinsed. Heat through for another 5 minutes. This gives the beans time to warm up. Taste the chili and add more salt or pepper if you want. - Sauté onion and bell pepper: 5 minutes - Sauté garlic: 1 minute - Simmer chili: 25 to 30 minutes - Heat black beans: 5 minutes - Cut sweet potatoes into even pieces for uniform cooking. - Stir the chili occasionally to prevent sticking. - Adjust the spice levels based on your taste. - Let the chili sit for a few minutes before serving; this helps the flavors blend. For the full recipe, check out [Full Recipe]. Enjoy creating this hearty dish! Many people rush the cooking. Take your time to sauté the onion and pepper. This step builds flavor. If you skip it, your chili may taste flat. Another mistake is adding too much spice at once. Start small, then adjust to your taste. Remember to drain the black beans well. This avoids a watery chili. Use fresh herbs like cilantro or parsley for a burst of freshness. A squeeze of lime juice adds brightness. You can also try adding a splash of soy sauce for depth. If you want more heat, add diced jalapeños or a dash of hot sauce. Lastly, consider a drizzle of olive oil before serving. This adds richness and a nice finish. For this chili, you need a sturdy large pot. A good pot helps with even cooking. A sharp knife and cutting board make prep easy. You also need measuring spoons for spices and a can opener for the beans and tomatoes. A wooden spoon works best for stirring. Having these tools ready will make your cooking smooth and fun. For the full recipe, refer back to the main article. {{image_4}} You can switch up beans in this chili. Try using kidney beans or pinto beans. Both add a different flavor and texture. If you want a creamier chili, use cannellini beans. Mixing beans can make your dish more fun and unique. Feel free to add more veggies. Corn adds sweetness and crunch. Zucchini or carrots can boost nutrition and color. For a protein boost, add cooked quinoa or lentils. You can even throw in some chopped kale or spinach for added greens. These additions can change your chili into a new dish each time. Want more heat? Add extra cayenne pepper or diced jalapeños. For a milder taste, reduce the cayenne or skip it altogether. You can also add a dash of hot sauce when serving for those who like it spicy. If you love smoky flavors, try adding chipotle peppers in adobo sauce. Adjust the spices to fit your taste and make it your own. For the full recipe, check out the Sweet Potato Black Bean Chili section above. To keep your Sweet Potato Black Bean Chili fresh, let it cool first. Once cool, transfer it to an airtight container. It’s best to refrigerate the chili within two hours of cooking. When stored correctly, it lasts in the fridge for about 4 to 5 days. Be sure to label the container with the date. This helps you track how long it has been stored. If you want to keep your chili for a longer time, consider freezing it. First, let the chili cool completely. Then, pour it into freezer-safe bags or containers. Make sure to leave some space for expansion. Seal them tightly to prevent freezer burn. You can freeze the chili for up to 3 months. When you’re ready to enjoy it, just thaw it overnight in the fridge. To reheat your chili, you have a few options. The microwave is quick, but it can heat unevenly. Stir the chili halfway through heating. For the stove, pour the chili into a pot and heat it over medium heat. Stir often until it’s hot. This method helps maintain flavor and texture. If it seems thick, add a splash of vegetable broth or water. Enjoy your chili just like the first time you made it! For the full recipe, check out the details above. You can use pinto beans or kidney beans instead of black beans. They have a similar texture and flavor. If you want a different taste, try chickpeas. They add a nutty flavor and work well in this chili. Just make sure to drain and rinse them, just like you do with black beans. Yes, you can make this chili in a slow cooker! Start by sautéing the onion, garlic, and bell pepper on the stove. Then, add all ingredients to the slow cooker. Cook on low for 6 to 8 hours or on high for 3 to 4 hours. This method lets the flavors blend over time. Leftovers can stay fresh in the fridge for about 4 to 5 days. Make sure to store the chili in an airtight container. This helps keep it flavorful and safe to eat. If you want to keep it longer, you can freeze it! Yes, this chili is perfect for vegans! All ingredients are plant-based and wholesome. You can enjoy it without any worries. It’s full of flavor and nutrients, making it a great choice for everyone. You can find the full recipe [here](#). In this blog post, we explored how to make Sweet Potato Black Bean Chili. We covered the full list of ingredients, cooking steps, and essential tips to avoid common mistakes. Remember to experiment with toppings and variations to make it your own. Proper storage ensures your leftovers stay tasty. This chili is not only delicious but also packed with nutrients. Enjoy this easy recipe that fits many diets, including vegan. Cooking it can be fun and rewarding. Try it out, and discover your new favorite dish!](https://joymealplan.com/wp-content/uploads/2025/07/8ade8b74-c48b-4df7-852e-5be035604d83-768x768.webp)