Skip to content
About
Contact
Cookie Policy
Copyright Policy
Disclaimer
Search
Home
Dinner
Appetizer
Desserts
Drinks
About
Contact
Privacy Policy
Toggle Menu
Home
/
Dinner
- Page 3
Dinner
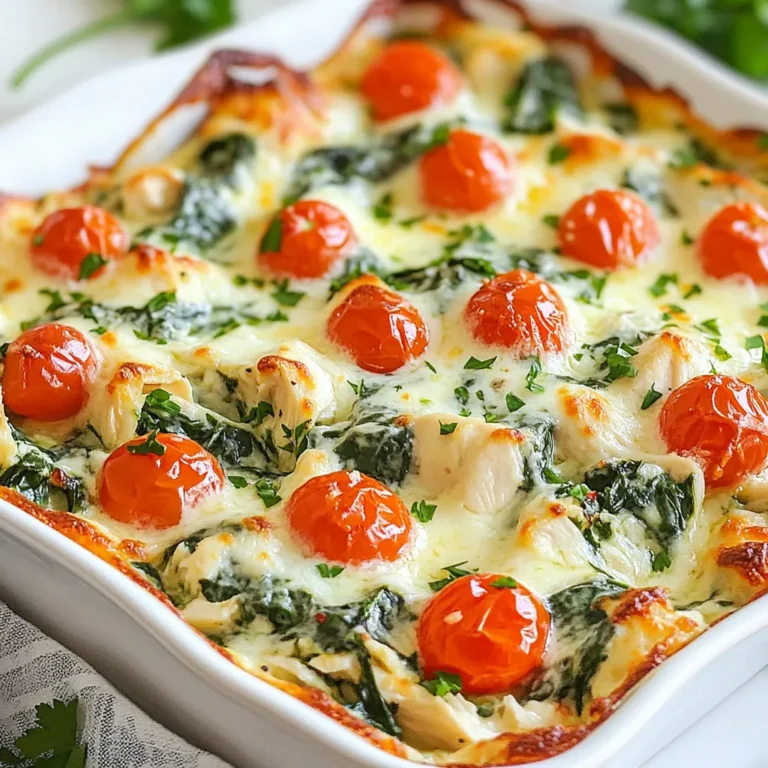
Creamy Spinach Chicken Casserole Tasty Family Meal
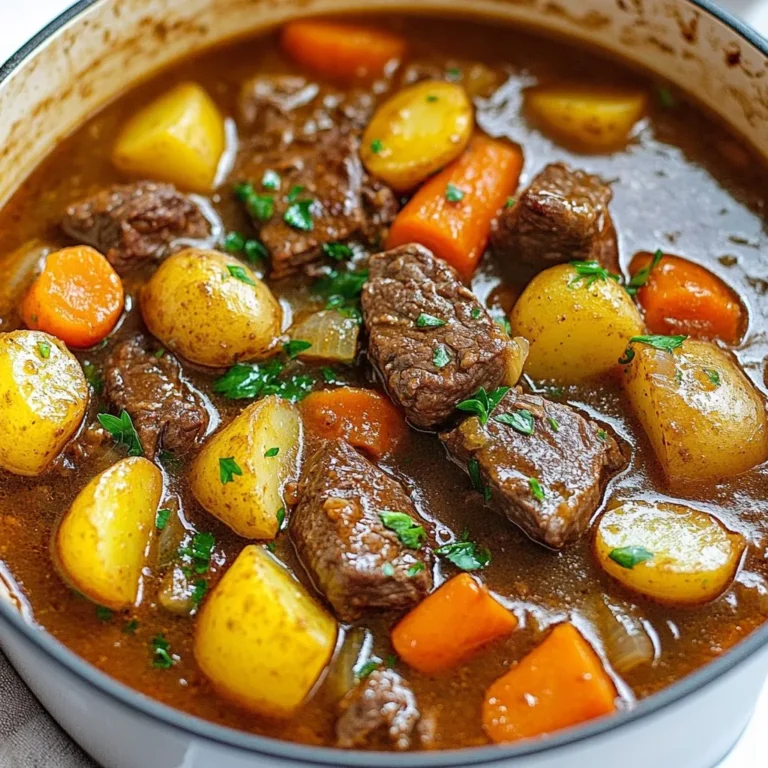
Anthony Bourdain Inspired Beef Stew Flavorful Delight
Authentic Cajun Jambalaya Flavorful and Simple Recipe
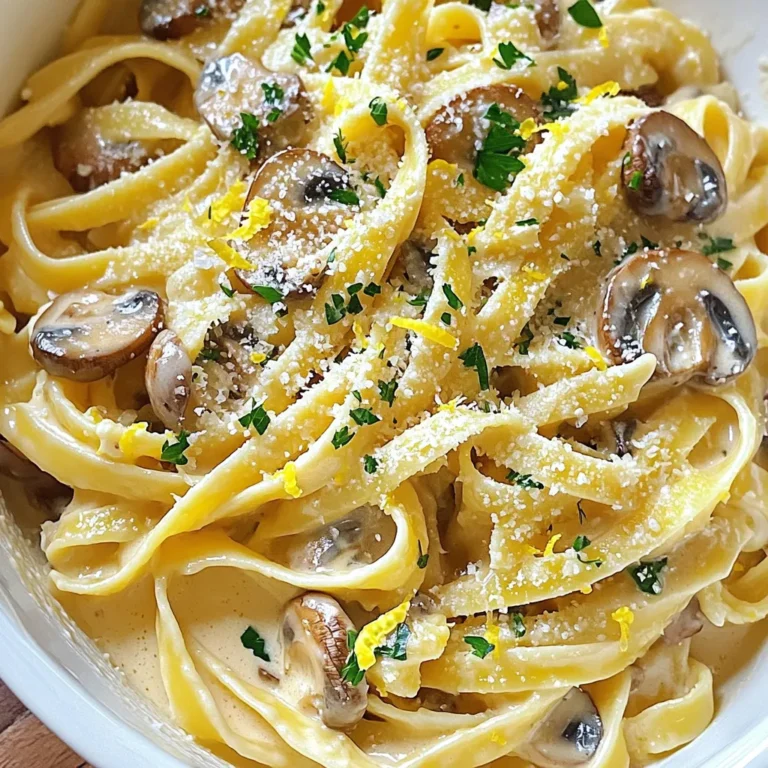
Creamy Garlic Mushroom Pasta Rich and Flavorful Dish
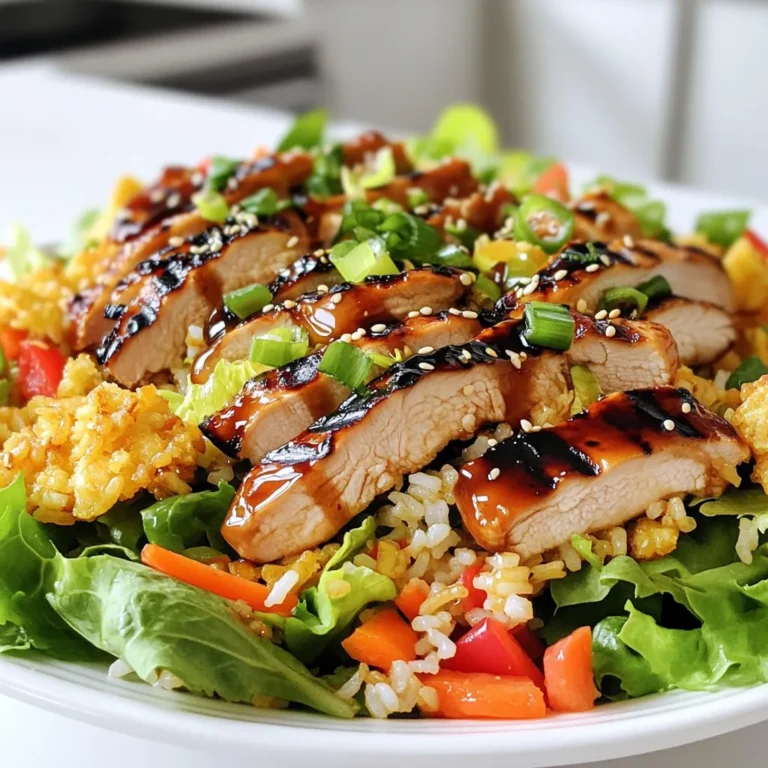
Teriyaki Chicken Crispy Rice Salad Flavorful Meal Idea
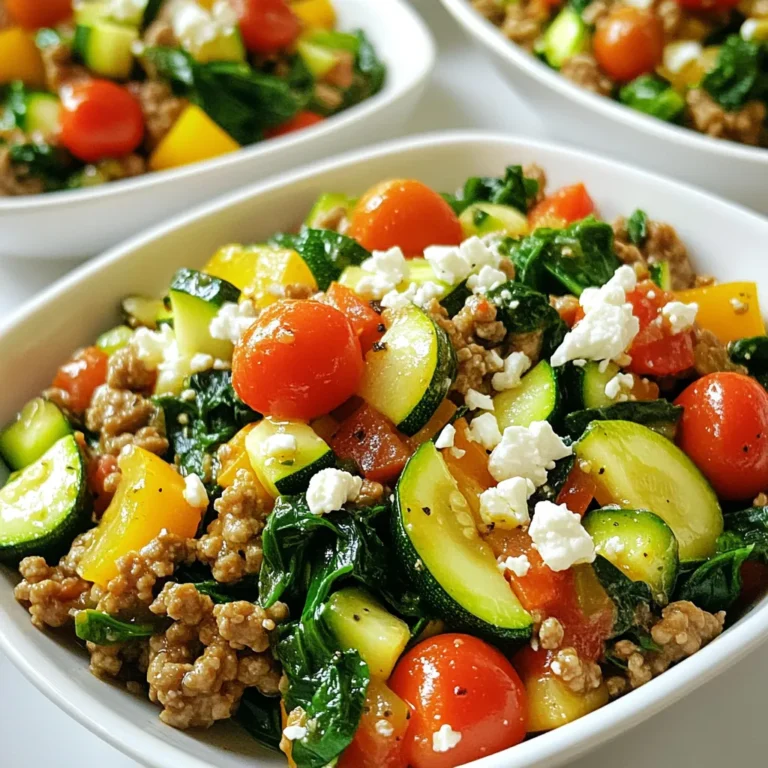
Turkey Veggie Skillet Delightfully Simple Recipe
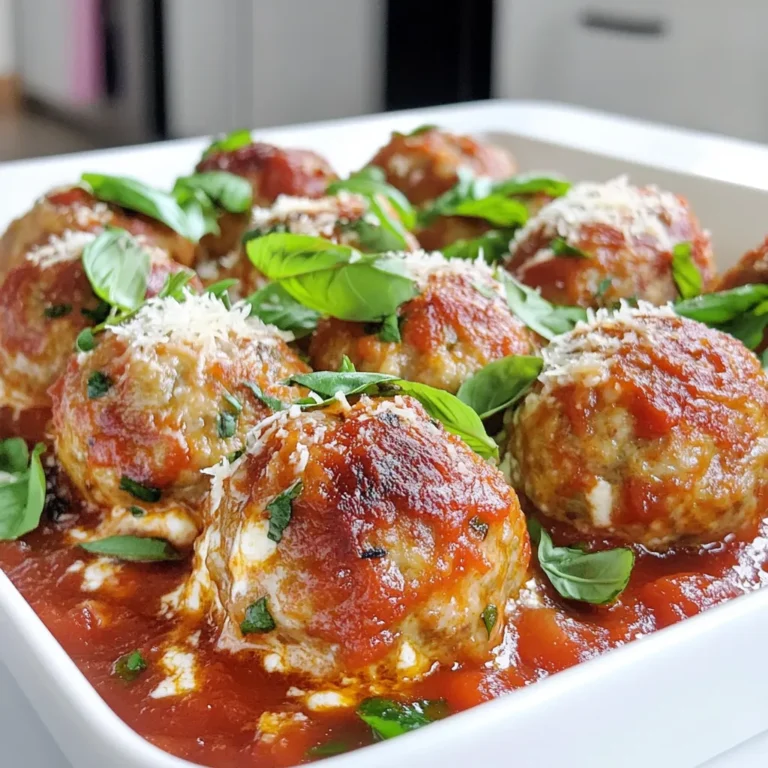
Ricotta Meatballs Flavorful and Easy Dinner Recipe
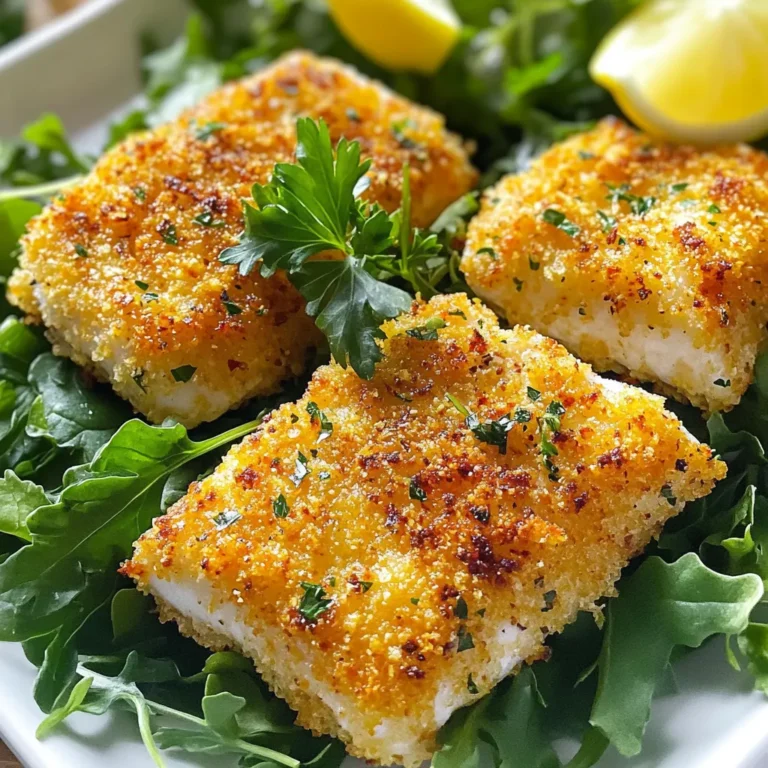
Air Fryer Parmesan Crusted Tilapia Crispy Delight
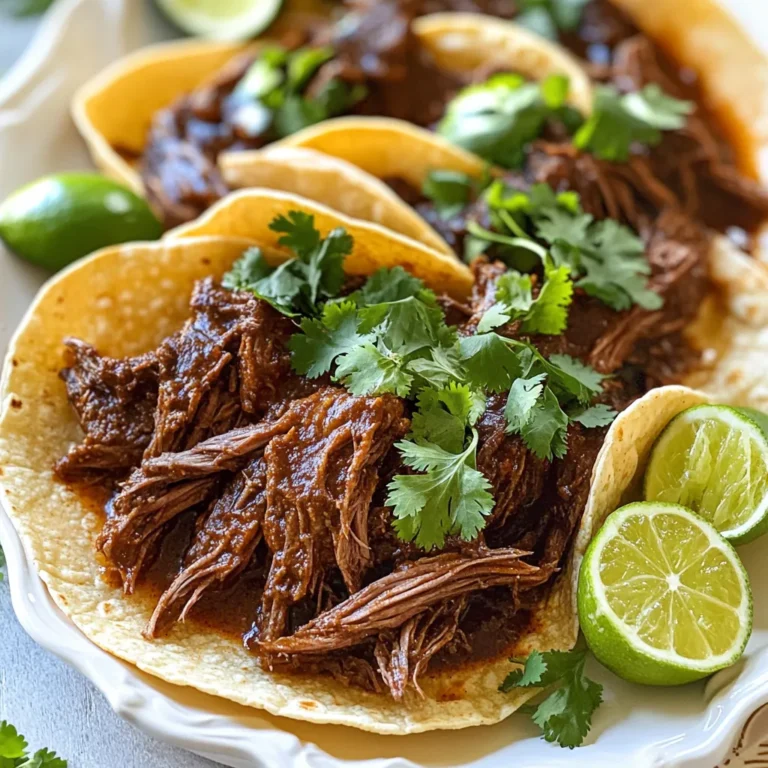
Slow Cooker Chipotle Beef Barbacoa Simple Recipe
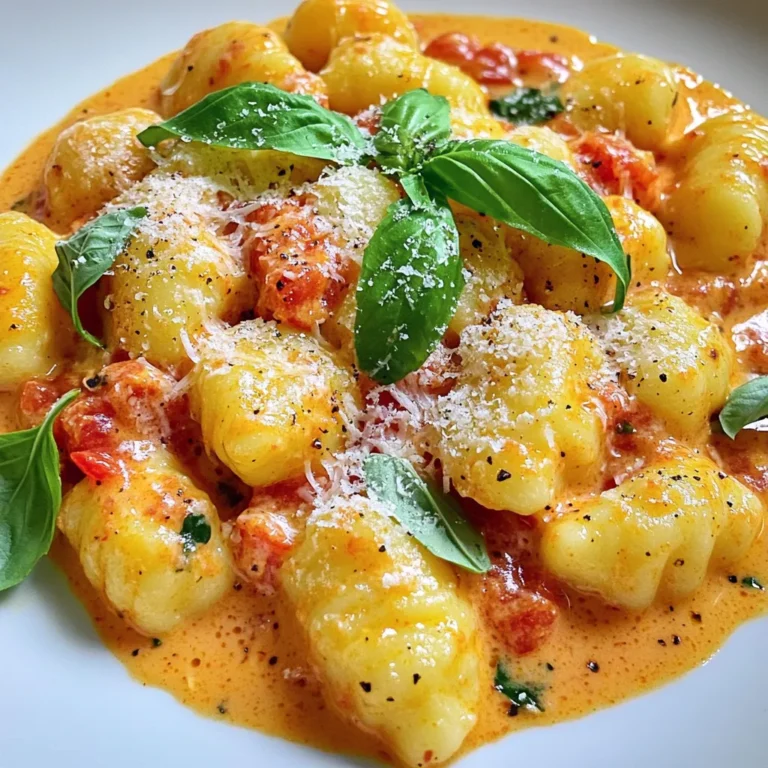
Minute Creamy Tomato Gnocchi One-Pot Delight
Page navigation
Previous Page
Previous
1
2
3
4
5
…
63
Next Page
Next
Home
Dinner
Appetizer
Desserts
Drinks
About
Contact
Privacy Policy
Toggle Menu Close
Search for:
Search