Skip to content
About
Contact
Cookie Policy
Copyright Policy
Disclaimer
Search
Home
Dinner
Appetizer
Desserts
Drinks
About
Contact
Privacy Policy
Toggle Menu
Home
/
Dinner
- Page 4
Dinner
Sheet Pan Maple Dijon Salmon Tasty and Easy Recipe
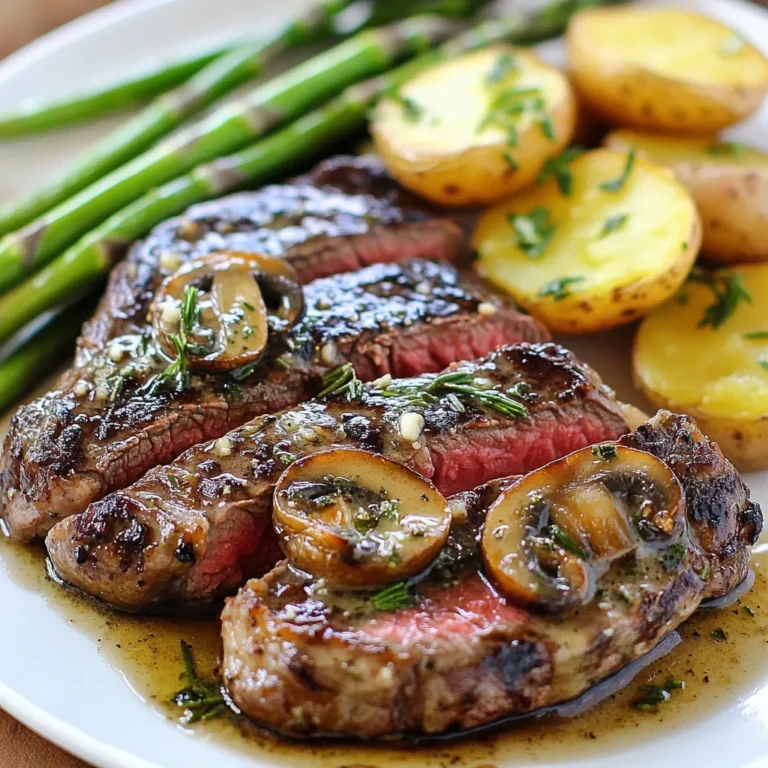
Five-Star Steak Dinner Elevated to Perfection
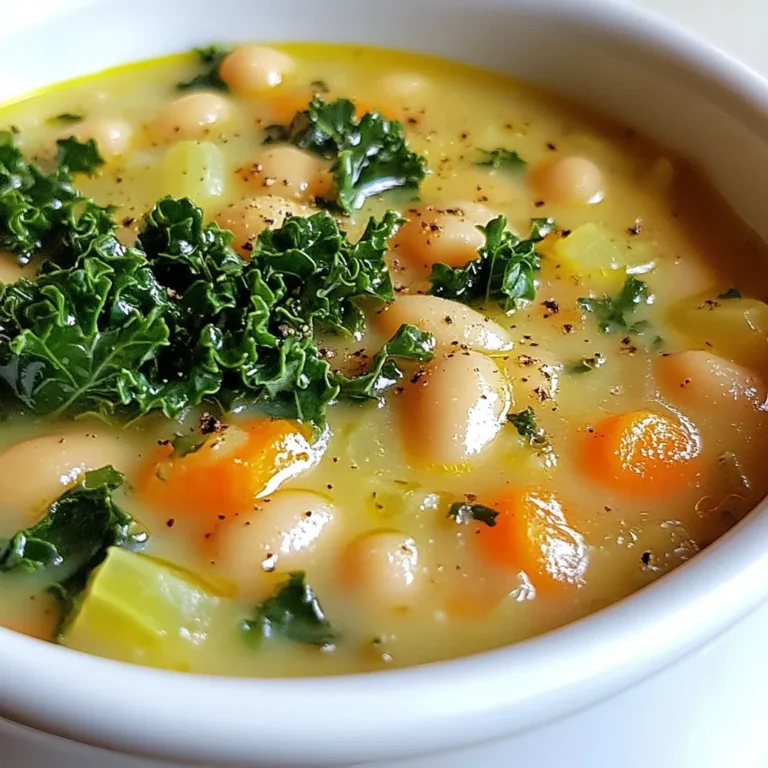
Best White Bean Soup Flavorful and Simple Recipe
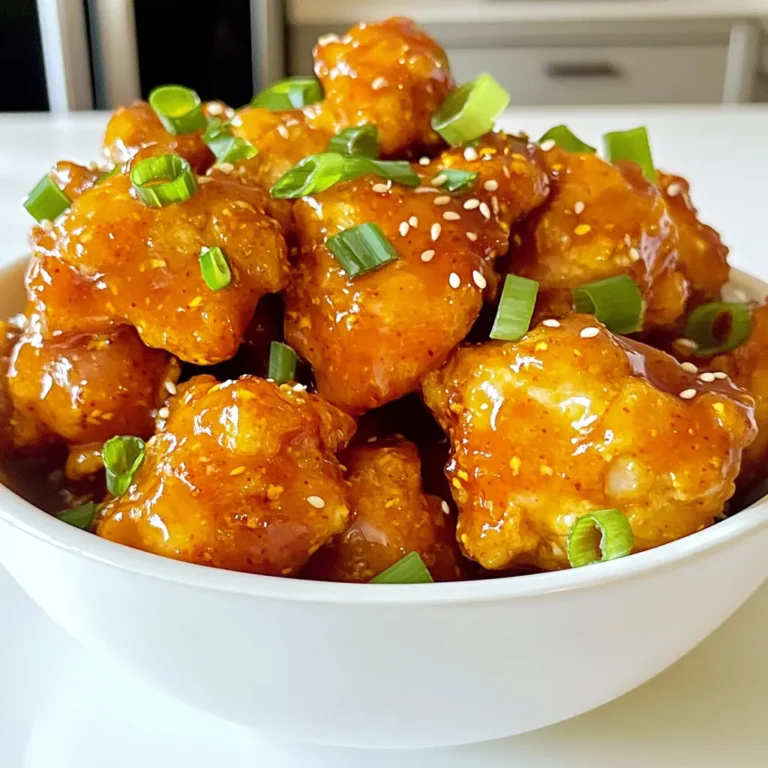
Air Fryer Orange Chicken Flavorful and Easy Recipe
Slow Cooker French Dip Sandwiches Rich and Flavorful Meal
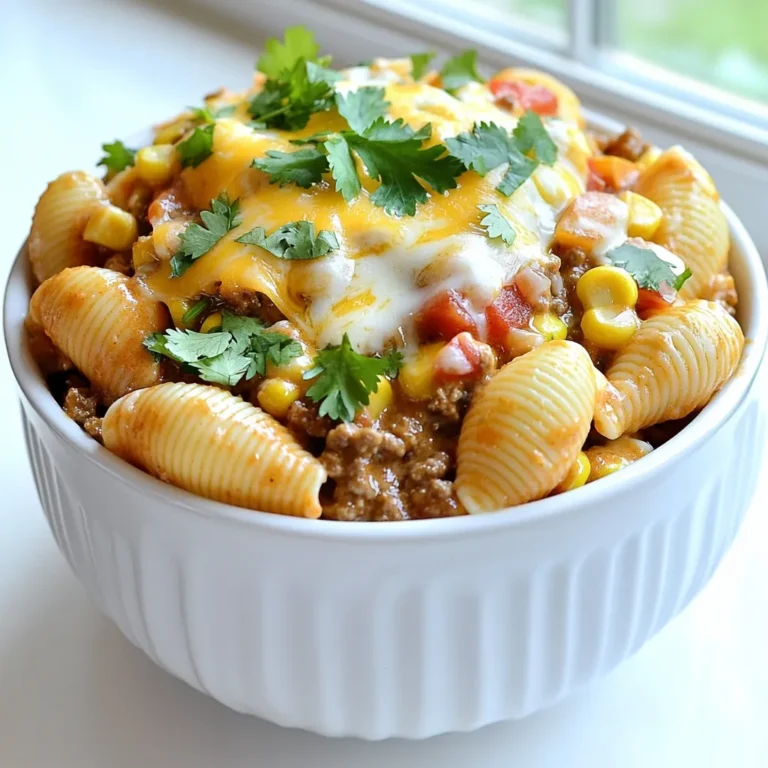
One Pot Cheesy Taco Pasta Simple and Tasty Meal
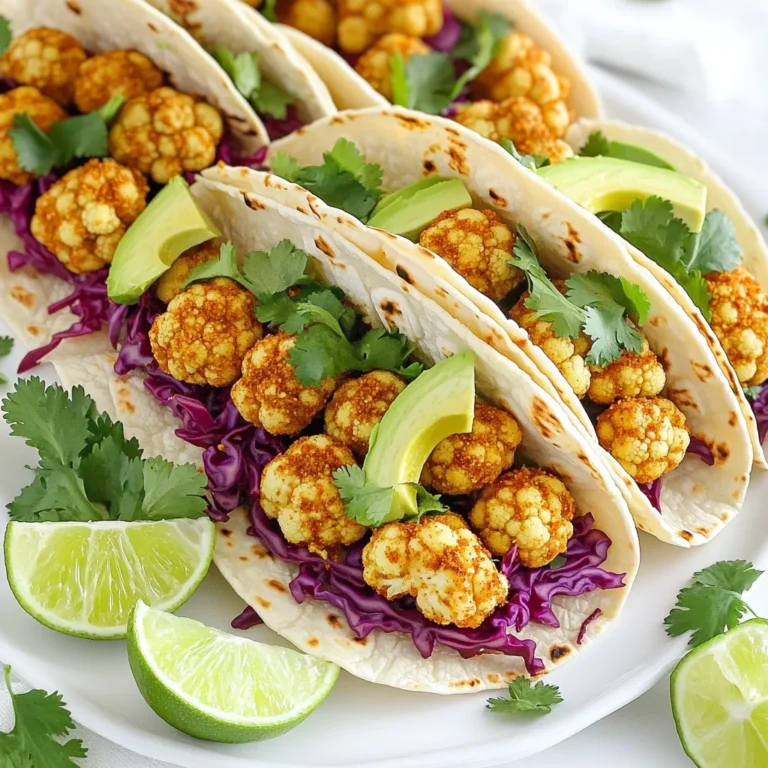
Flavorful Air Fryer Cauliflower Tacos Recipe Guide
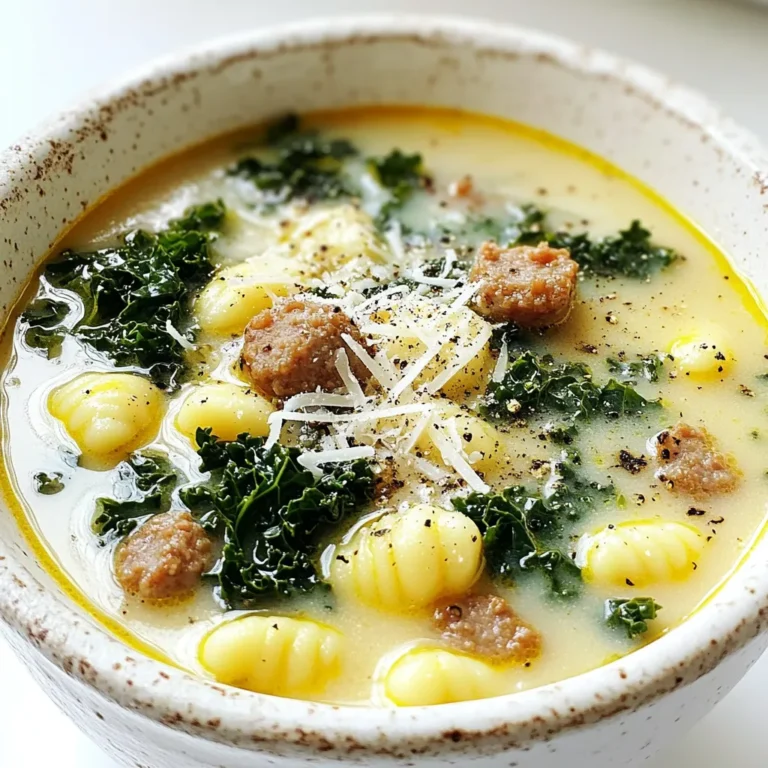
Sausage Kale Gnocchi Soup Hearty and Flavorful Delight
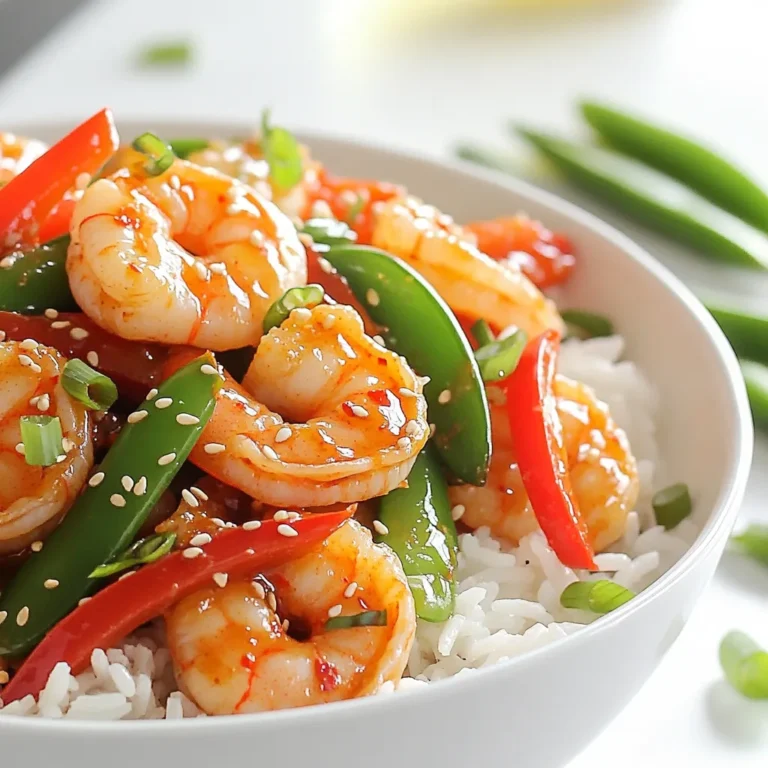
Garlic Chili Shrimp Stir Fry Bold and Flavorful Meal
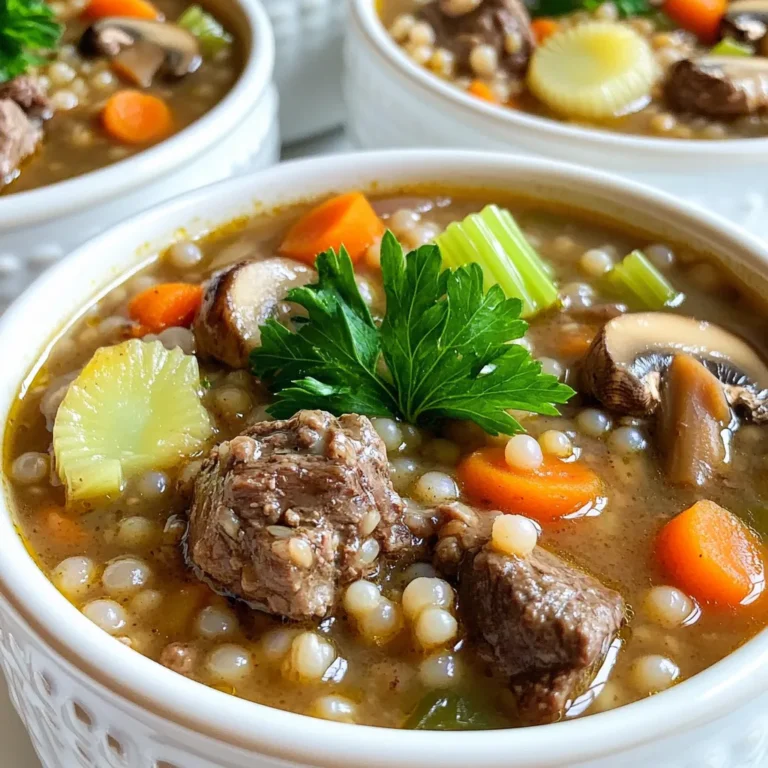
Slow Cooker Beef Barley Mushroom Soup Comforting Delight
Page navigation
Previous Page
Previous
1
2
3
4
5
6
…
63
Next Page
Next
Home
Dinner
Appetizer
Desserts
Drinks
About
Contact
Privacy Policy
Toggle Menu Close
Search for:
Search