Skip to content
About
Contact
Cookie Policy
Copyright Policy
Disclaimer
Search
Home
Dinner
Appetizer
Desserts
Drinks
About
Contact
Privacy Policy
Toggle Menu
Home
/
Dinner
- Page 42
Dinner
One Pan Zucchini Parmesan Simple and Flavorful Meal
Turmeric Chicken Soup Flavorful and Nourishing Recipe
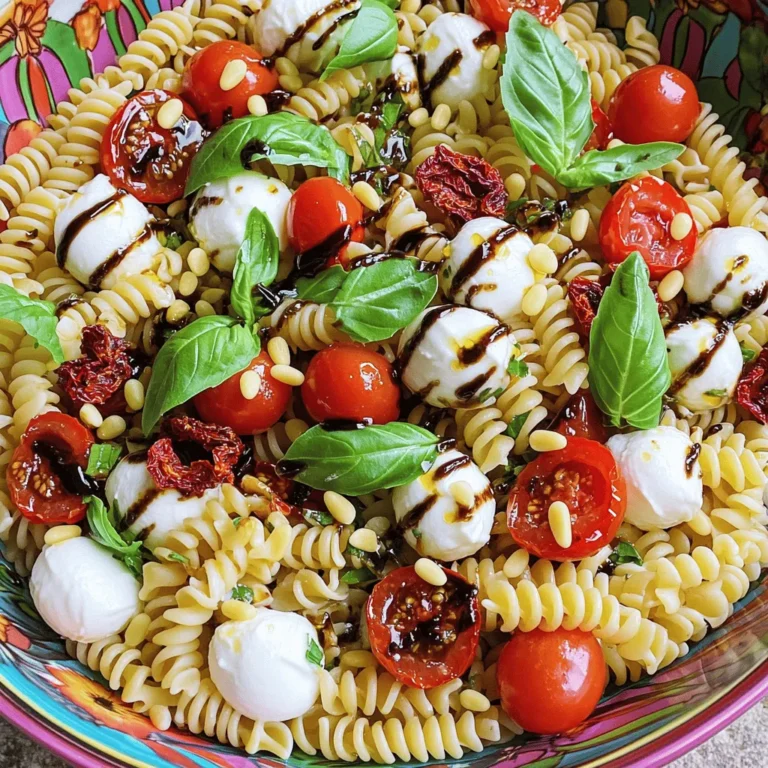
Caprese Pasta Salad Fresh and Flavorful Delight
Roasted Garlic Mashed Potatoes Creamy Comfort Food
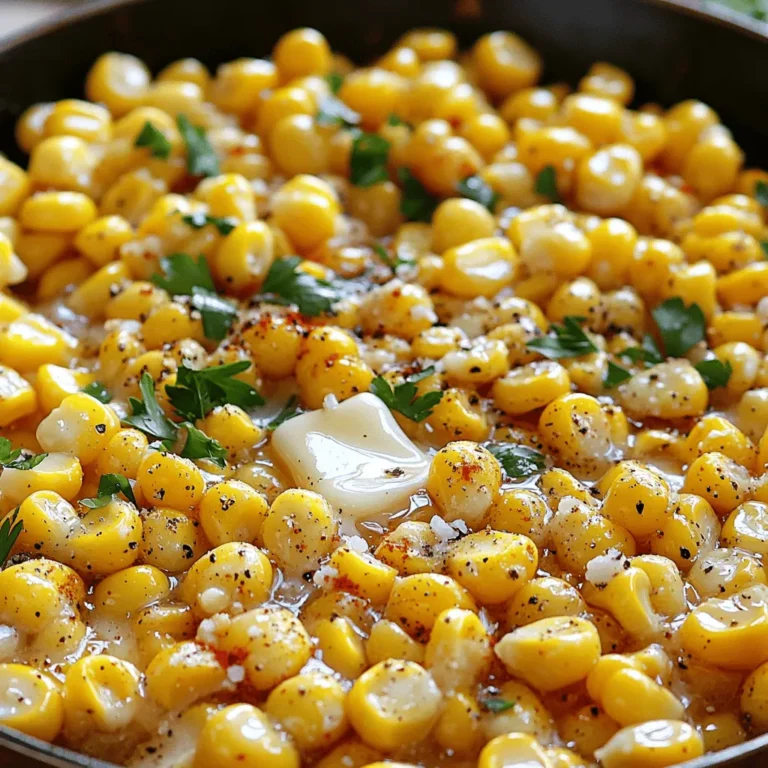
Honey Butter Skillet Corn Flavorful Side Dish Delight
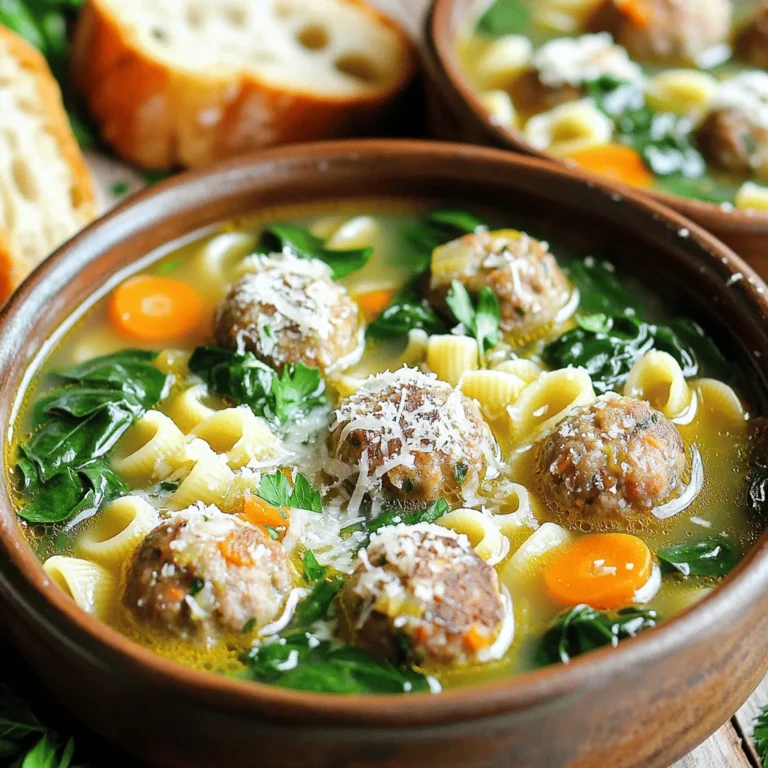
Classic Italian Wedding Soup Flavorful Comfort Dish
Spicy Shrimp Tacos with Slaw Flavorful and Fresh Meal
Buffalo Chicken Cauliflower Casserole Flavorful Dish
Creamy Kielbasa Pasta Flavorful and Easy Dish
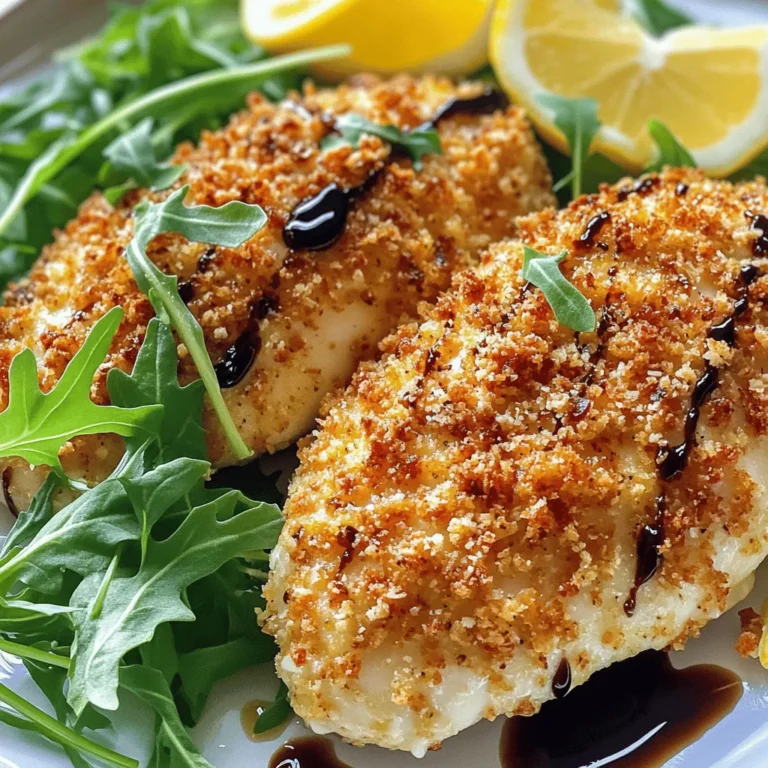
Parmesan Crusted Chicken Flavorful and Crispy Delight
Page navigation
Previous Page
Previous
1
…
40
41
42
43
44
…
65
Next Page
Next
Home
Dinner
Appetizer
Desserts
Drinks
About
Contact
Privacy Policy
Toggle Menu Close
Search for:
Search

. To store leftovers, let the dish cool first. Use an airtight container to keep it fresh. Place the container in the fridge. It will stay good for about 3 to 4 days. When you're ready to eat, just reheat it in the oven or microwave. Heating it in the oven helps keep the cheese nice and melty. If you want to enjoy One Pan Zucchini Parmesan later, freezing is a great option. Allow the dish to cool completely before freezing. Use a freezer-safe container or bag. It can last up to 2 months in the freezer. When you're ready to eat, thaw it overnight in the fridge. Reheat it in the oven at 350°F (175°C) until hot and bubbly. This way, you get a delicious meal even after some time! For the full recipe, check out the earlier section. Can I make this dish ahead of time? Yes, you can make One Pan Zucchini Parmesan ahead. Simply prepare the dish, but don’t bake it. Cover it and store it in the fridge for up to 24 hours. When you’re ready to eat, bake it as directed. This keeps the flavors fresh and ensures a warm meal. How do I make this recipe healthier? To make this dish healthier, you can: - Use less cheese or choose lower-fat versions. - Add more veggies like bell peppers or spinach. - Use whole-grain breadcrumbs for a crunch. These changes keep the taste while reducing calories. What do I serve with One Pan Zucchini Parmesan? This dish pairs well with: - A simple green salad for freshness. - Crusty bread to soak up the juices. - Grilled chicken or fish for protein. These sides balance the meal and add variety. What to do if the cheese isn't melting properly? If the cheese doesn’t melt, check the oven temperature. It should be at 400°F. You can also place the pan under the broiler for a few minutes. Just watch closely to avoid burning. How to avoid watery zucchini? To prevent watery zucchini, try these tips: - Salt the zucchini slices and let them sit for 15 minutes. This draws out moisture. - Pat them dry with a paper towel before cooking. By reducing moisture, you get a better texture in your dish. This recipe for One Pan Zucchini Parmesan is easy and tasty. You learned about the fresh ingredients needed, the simple steps to prepare and bake, and some helpful tips. Remember to experiment with different cheeses and flavors for variety. Proper storage can keep your dish fresh longer, too. I hope you enjoy making and sharing this dish with others! Get creative and make it your own.](https://joymealplan.com/wp-content/uploads/2025/06/9342c215-57b6-41ef-a9e0-54692f75029a-768x768.webp)