Skip to content
About
Contact
Cookie Policy
Copyright Policy
Disclaimer
Search
Home
Dinner
Appetizer
Desserts
Drinks
About
Contact
Privacy Policy
Toggle Menu
Home
/
Dinner
- Page 49
Dinner
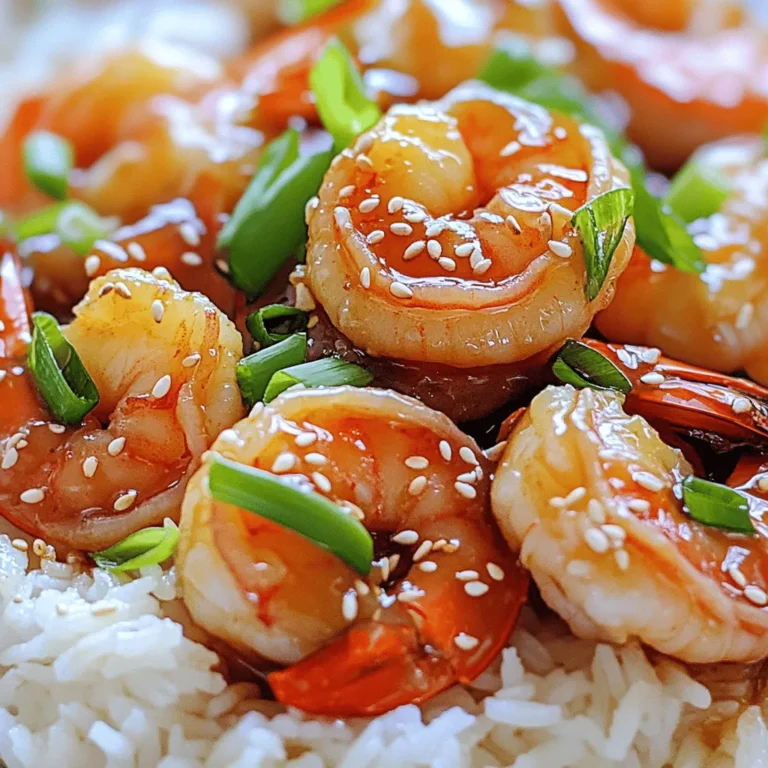
Honey Garlic Shrimp Delight Quick and Flavorful Meal
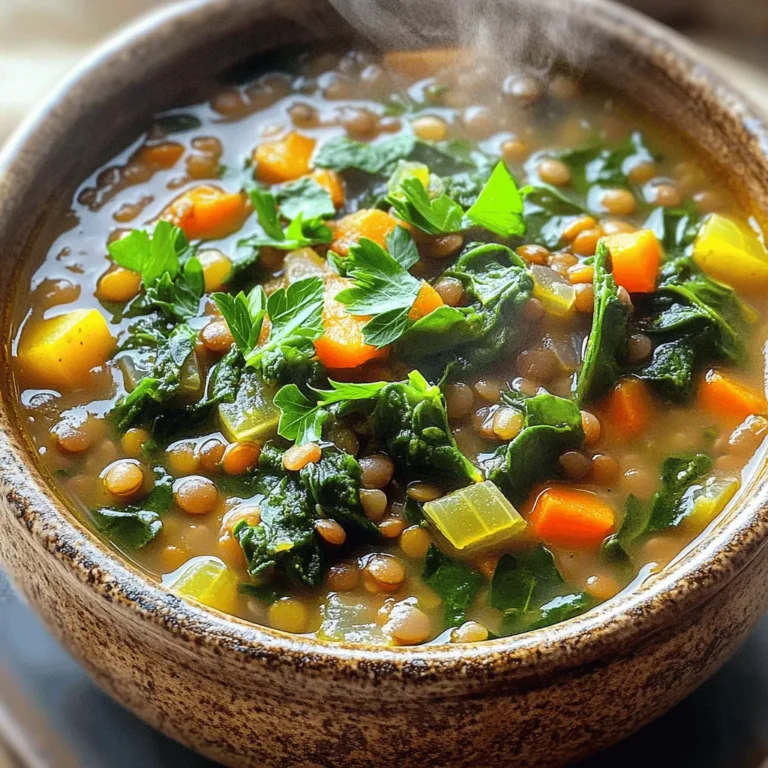
Lentil Soup with Spinach Flavorful and Nutritious Meal
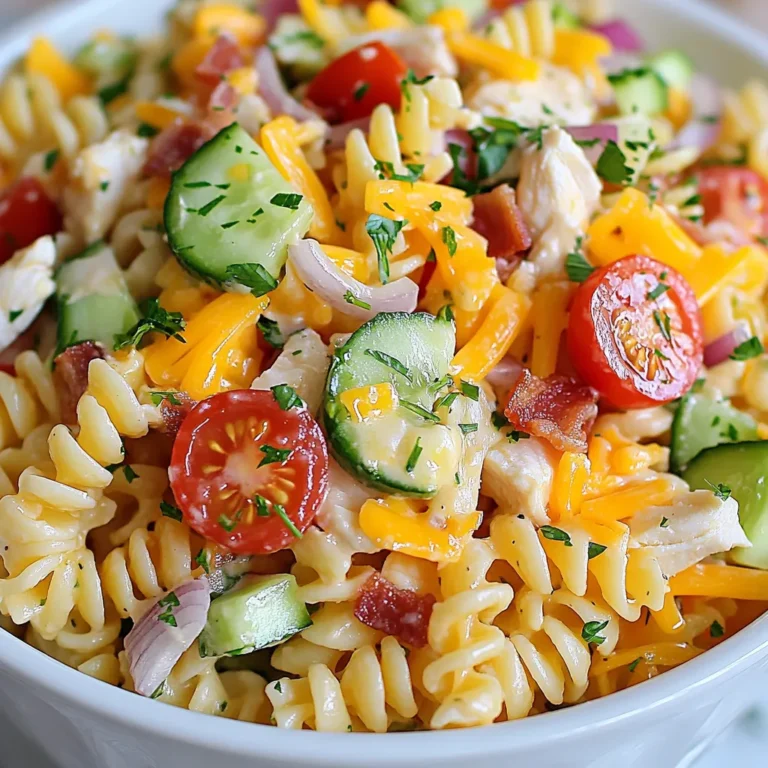
Savory Club Sandwich Pasta Salad Easy and Tasty Recipe
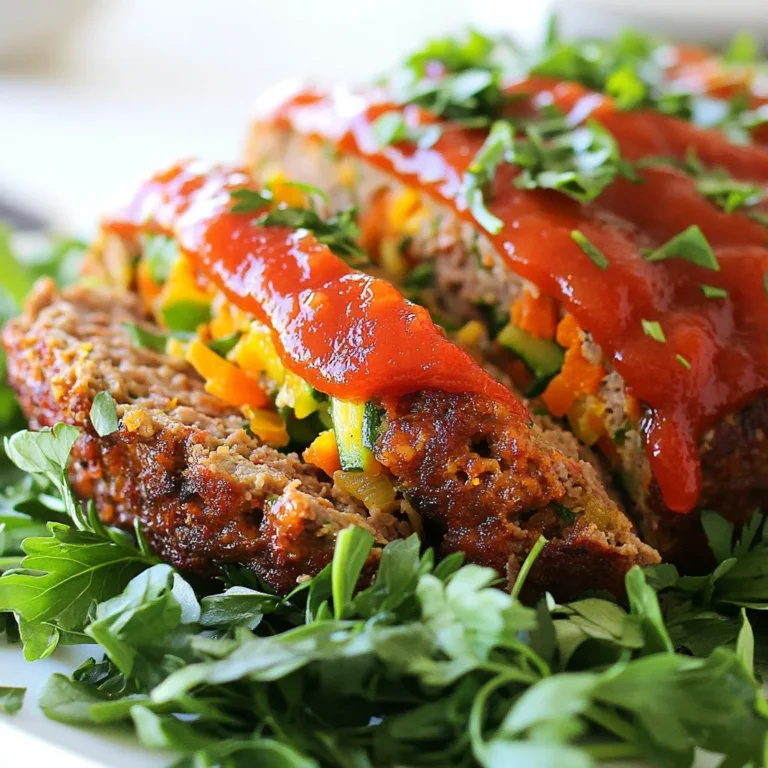
Whole30 Meatloaf Flavorful and Satisfying Recipe
Chickpea Salad Sandwich Flavorful and Quick Meal
Honey Garlic Roasted Carrots Savory and Sweet Treat
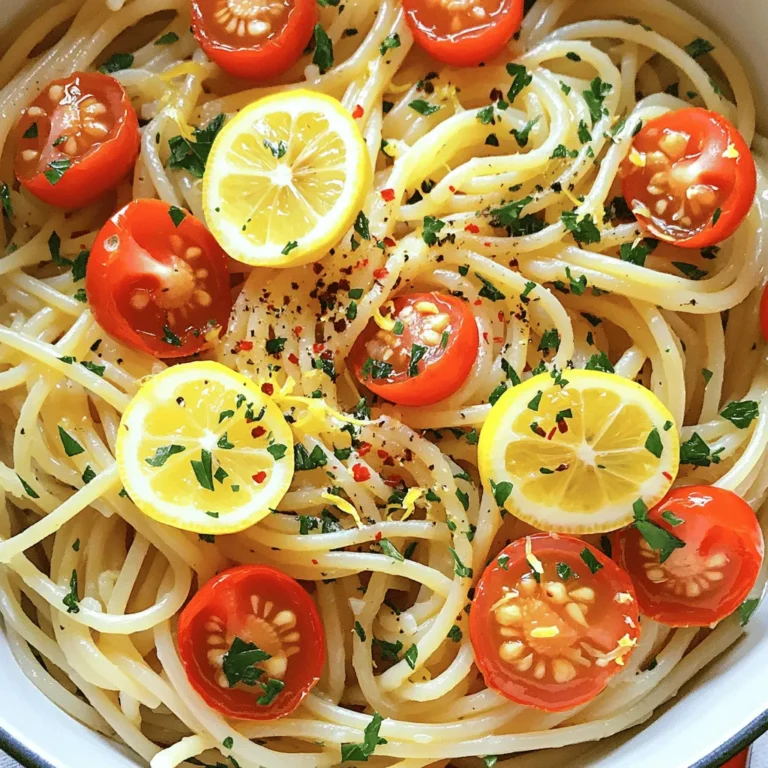
One-Pot Lemon Garlic Pasta Flavorful and Easy Meal
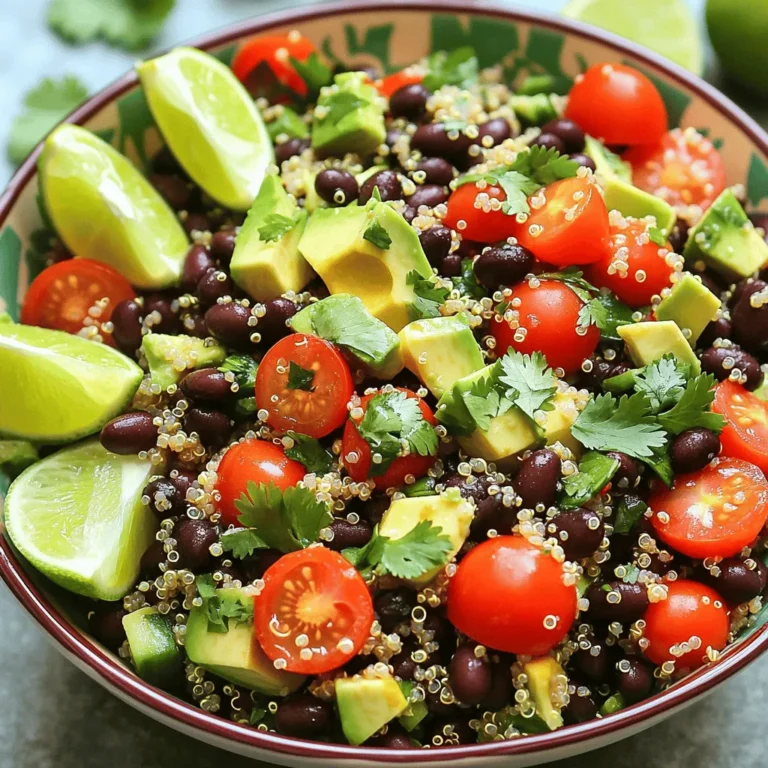
Spicy Quinoa Black Bean Salad Fresh and Flavorful Mix
Flavorful Vegetable Fried Rice Easy Cooking Guide
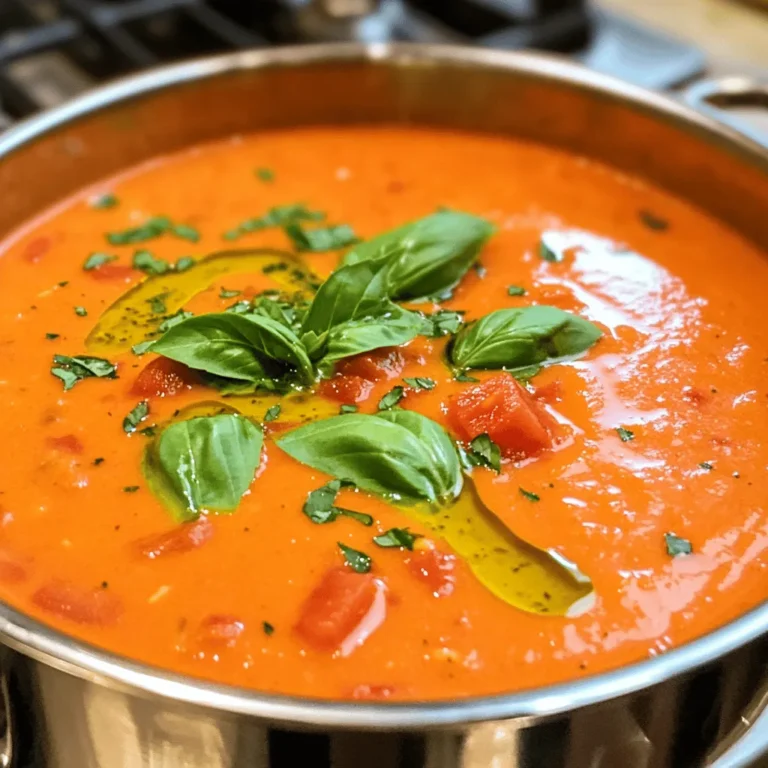
Creamy Tomato Basil Soup Rich and Flavorful Recipe
Page navigation
Previous Page
Previous
1
…
47
48
49
50
51
…
64
Next Page
Next
Home
Dinner
Appetizer
Desserts
Drinks
About
Contact
Privacy Policy
Toggle Menu Close
Search for:
Search

. Choosing the Right Bread for Best Results Use whole grain or sourdough bread for your sandwich. These options add great flavor and texture. Whole grain offers a nutty taste, while sourdough gives a tangy bite. Both hold up well against the creamy chickpea salad. Adjusting Seasoning to Suit Your Taste Taste as you mix! If you like it spicier, add more smoked paprika. Want a zesty kick? Toss in an extra dash of lemon juice. Salt and pepper can elevate the flavors, so adjust them to your liking. Don’t be shy to make it your own! Storing Leftovers Safely Keep any leftover chickpea salad in an airtight container. It stays fresh for up to three days in the fridge. If you make extra sandwiches, wrap them tightly in plastic wrap. This helps to prevent the bread from getting soggy. For best taste, eat them within a day. Check out the Full Recipe for more details! {{image_4}} Adding Avocado for Creaminess Avocado makes everything better, right? When you add ripe avocado to your chickpea salad, you boost creaminess. It adds healthy fats, too! Just mash half an avocado into the mixture. This makes it richer and smoother. Incorporating Different Vegetables Get creative with your veggies. You can use any crunchy veggie you like. Carrots, cucumbers, or even radishes bring a nice crunch. Dice them up and mix them in. This not only adds texture but also color. Your salad will look and taste vibrant! Exploring Spice Combinations Want to switch up the flavor? Try different spices! You can add cumin or curry powder for warmth. A pinch of cayenne pepper adds heat if you like spice. Just remember to start small. Mix in a little and taste as you go. This way, you’ll find your perfect flavor blend! Try these ideas to make your chickpea salad unique and fun. For more details, check the Full Recipe. Refrigeration Guidelines You can store chickpea salad in an airtight container. It keeps well in the fridge for up to three days. The flavors blend better over time, so it tastes even better the next day. Freezing Chickpea Salad I do not recommend freezing chickpea salad. The texture changes and may become mushy. It’s best enjoyed fresh or refrigerated. Best Practices for Storing Sandwiches If you make sandwiches, wrap them tightly in plastic wrap or foil. They stay fresh for up to two days in the fridge. To keep the bread from getting soggy, add the salad only when you're ready to eat. Keep lettuce separate until serving for a crisp bite. How long can I store the chickpea salad in the fridge? You can keep the chickpea salad in the fridge for about 3 to 5 days. Make sure to store it in an airtight container. This helps keep it fresh and tasty. Can I make this sandwich gluten-free? Yes! To make this sandwich gluten-free, simply use gluten-free bread. Many brands offer tasty options that work well with the chickpea salad. What are the best side dishes to serve with a chickpea salad sandwich? Some great side dishes include fresh veggie sticks, a light salad, or even some crunchy chips. These add texture and color to your meal. Is this recipe suitable for meal prep? This recipe is perfect for meal prep! You can make a big batch of chickpea salad. Just store it in the fridge and assemble the sandwiches when you're ready to eat. How can I add more protein to my salad? To boost the protein, you can add diced tofu, cooked quinoa, or even some nuts. Each option adds flavor and makes your meal more filling. What can I substitute for the Greek yogurt? You can use vegan yogurt or mashed avocado as a substitute. Both options give a creamy texture while keeping the salad delicious and healthy. For the full recipe, check out the detailed instructions above! This blog post covered how to make a tasty chickpea salad sandwich. We discussed all key ingredients. You learned easy steps to prepare it. I shared tips for flavor and texture. Variations gave you ideas for creating new tastes. In the end, this dish is healthy and fun. Enjoy experimenting with your own twists! Your kitchen can be your playground. Try this recipe today and share your results!](https://joymealplan.com/wp-content/uploads/2025/06/f6dcc47c-3922-4411-88c6-dd6f558f55a2-768x768.webp)

. Enjoy your cooking! Start by washing your vegetables well. Fresh veggies make the dish pop! Dice the mixed peppers into small cubes. Cut the carrot into thin strips, or julienne it. Trim the sugar snap peas and separate the broccoli into small florets. The key is to keep all the pieces similar in size, so they cook evenly. For this recipe, use cooked jasmine rice. Day-old rice works best because it's less sticky. If you need to cook rice, rinse it under cold water until the water runs clear. This step helps remove excess starch. Then, cook it according to package instructions. Once done, let it cool before using. Heat two tablespoons of vegetable oil in a large pan or wok over medium-high heat. Add three minced garlic cloves and one teaspoon of grated ginger. Stir for about 30 seconds until fragrant. Next, toss in the broccoli and stir-fry for two minutes. Now, add the julienned carrots, sugar snap peas, and diced peppers. Stir-fry these for another three to four minutes until they're tender but still crisp. Push the veggies to one side of the pan. Add the cooked rice to the other side. Drizzle two tablespoons of soy sauce and one tablespoon of sesame oil over the rice. Use a spatula to break up any clumps and mix everything well. Finally, add sliced green onions and season with salt and pepper to taste. Cook for two more minutes to let the flavors blend. Serve hot, garnished with sesame seeds and fresh cilantro leaves. For the full recipe, check out the detailed instructions! To make fluffy rice, start with cold, day-old rice. Freshly cooked rice is too moist. Spread it out on a plate to cool and dry. This helps separate the grains. When cooking, use a bit less water than usual. This prevents soggy rice. For the best results, choose jasmine or basmati rice. They have a nice texture and flavor. Avoid sticky rice types for this dish. When you pick vegetables, look for bright colors and firm textures. Fresh veggies taste better and add crunch. Avoid any that look wilted or have brown spots. Store your vegetables in the fridge, but keep them dry. Use airtight bags to prevent moisture. This helps keep them fresh longer. Use them within a week for the best flavor. To get great flavor in your fried rice, use high heat. A hot pan sears the veggies and rice, adding depth. Start with garlic and ginger for aroma. Use soy sauce for a salty kick, but don’t overdo it. You can also add sesame oil for a nutty taste. Mix in the veggies at the right time. This keeps them crisp and colorful. For more ideas, try adding some chili flakes for heat or a splash of lime for brightness. For the full recipe, check out the Rainbow Veggie Fried Rice. {{image_4}} You can easily add protein to your vegetable fried rice. Tofu is a great choice for a plant-based meal. Use firm tofu for the best texture. Just cube the tofu and sauté it until it's golden. If you prefer meat, chicken is also a fantastic option. Use diced chicken breast and cook it until it’s no longer pink. Both options boost the meal’s nutrition and flavor. To keep your dish vegan, skip the chicken and use soy sauce that is gluten-free. Coconut aminos can also be a tasty substitute. For a gluten-free fried rice, make sure to check all sauce labels. You can enjoy this meal without compromising on taste or dietary needs. You can change the flavor of your fried rice easily. To make it spicy, add chili paste or red pepper flakes. For a sweeter taste, try adding a bit of pineapple or a drizzle of sweet soy sauce. Experiment with different herbs like basil or cilantro. Each variant can turn this simple dish into something new and exciting. Feel free to explore these variations to make your vegetable fried rice unique. For the full recipe, check out the Rainbow Veggie Fried Rice. Storing leftover vegetable fried rice is simple. First, let it cool. Place it in an airtight container. You can keep it in the fridge for up to three days. Make sure it’s sealed well to keep out moisture and odors. If you have a lot, divide it into smaller portions. This makes it easy to reheat later. To reheat your fried rice, use a skillet or a microwave. If you use a skillet, add a splash of water. This helps steam the rice and keeps it from drying out. Heat over medium heat for about five minutes. Stir often to warm it evenly. In the microwave, cover the rice with a damp paper towel. Heat for one to two minutes, checking every 30 seconds. You can freeze vegetable fried rice too. Place it in a freezer-safe container. Make sure to leave some space at the top. Rice expands when frozen. It can last up to three months in the freezer. To thaw, move it to the fridge overnight. You can also reheat it straight from the freezer. Just add a few extra minutes to your cooking time. This way, you’ll enjoy that great taste again! The best rice for fried rice is jasmine rice. It has a nice texture and flavor. Day-old rice works best because it dries out a bit. This helps keep the rice fluffy. You can also use long-grain rice if you prefer. Just make sure it's cooked and cooled before frying. Yes, you can use frozen vegetables. They are a quick and easy option. Just make sure to thaw and drain them first. This helps prevent excess water from making your fried rice soggy. Frozen mixes often have a nice variety, too. To make it healthier, add more veggies like spinach or peas. You can also reduce the oil used in cooking. Using low-sodium soy sauce cuts down on salt. Another option is to swap some rice for cauliflower rice. This adds fiber and lowers carbs. Vegetable fried rice has roots in China. It started as a way to use leftover rice and vegetables. Different cultures adapted the dish over time. You can find many versions worldwide, each with unique flavors and ingredients. Yes, you can prepare vegetable fried rice in advance. Cook the rice and veggies, then store them separately. You can mix them just before serving. This keeps everything fresh. It also makes it easy to reheat later. Check out the Full Recipe for more details! Vegetable fried rice offers a tasty, simple meal. We covered essential ingredients, types of rice, and optional flavors. You learned how to prepare veggies, cook rice, and mix everything for the best taste. Remember to store leftovers well and try different proteins or flavors for variety. Whether you prefer tofu, chicken, or vegan options, there’s a fried rice for you. Try these tips to elevate your dish and enjoy!](https://joymealplan.com/wp-content/uploads/2025/06/1a929e2b-4b2d-416b-b92a-3d8add5a3088-768x768.webp)