Skip to content
About
Contact
Cookie Policy
Copyright Policy
Disclaimer
Search
Home
Dinner
Appetizer
Desserts
Drinks
About
Contact
Privacy Policy
Toggle Menu
Home
/
Dinner
- Page 5
Dinner
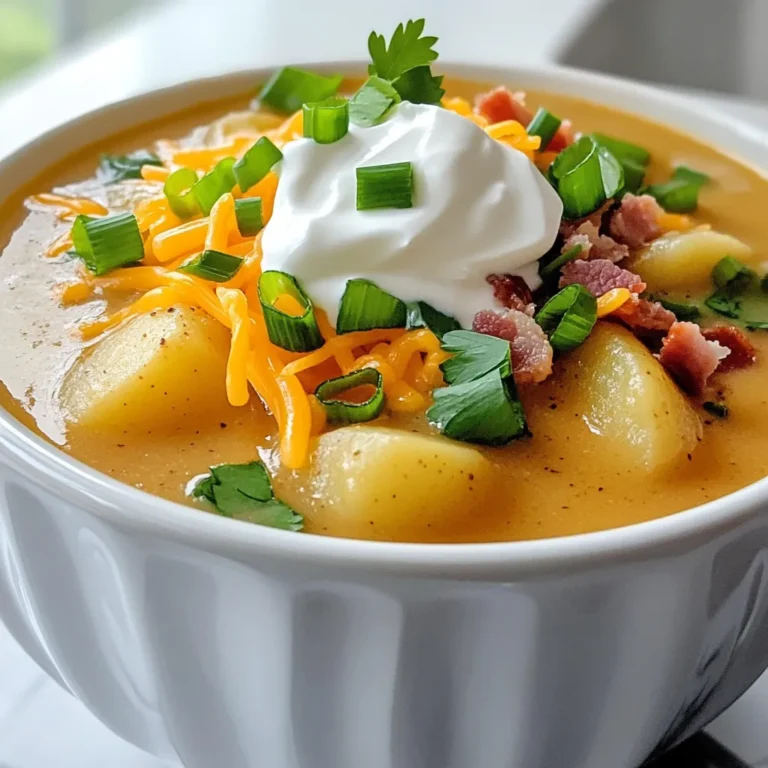
Loaded Baked Potato Soup Slow Cooker Delightful Dish
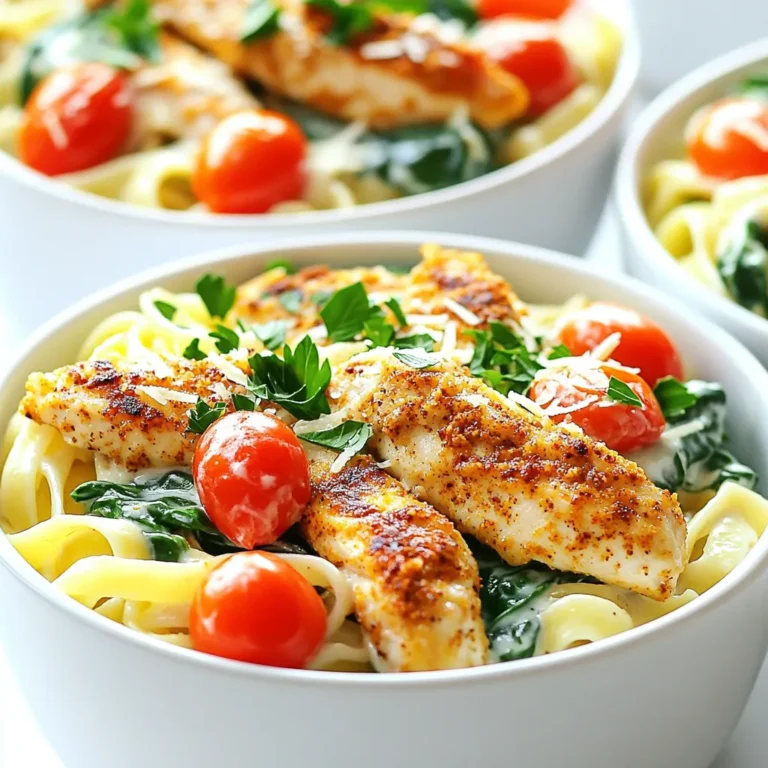
Cajun Chicken Alfredo One Pot Creamy Comfort Meal
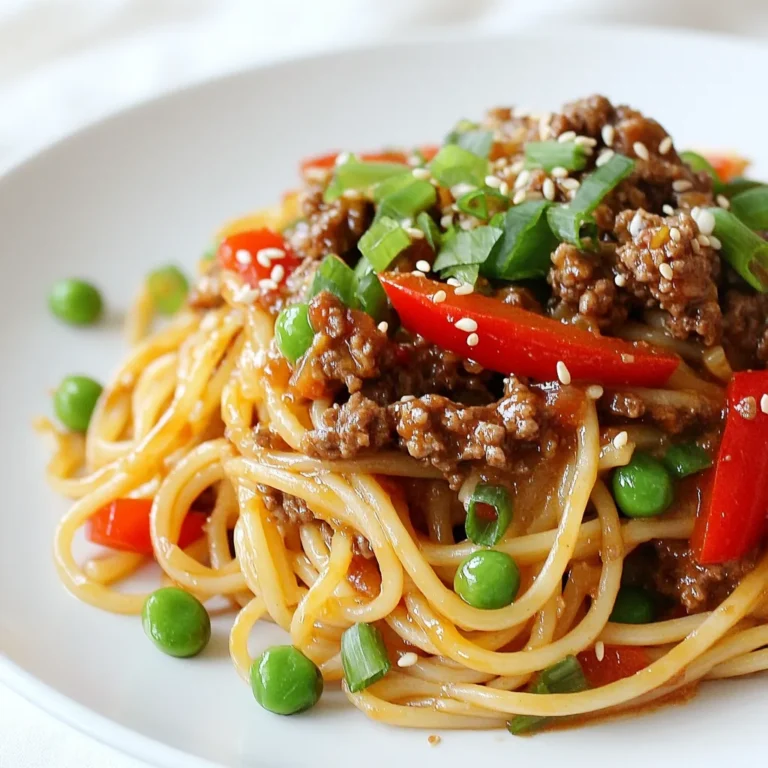
Asian Ground Beef Spaghetti Flavorful Dinner Delight
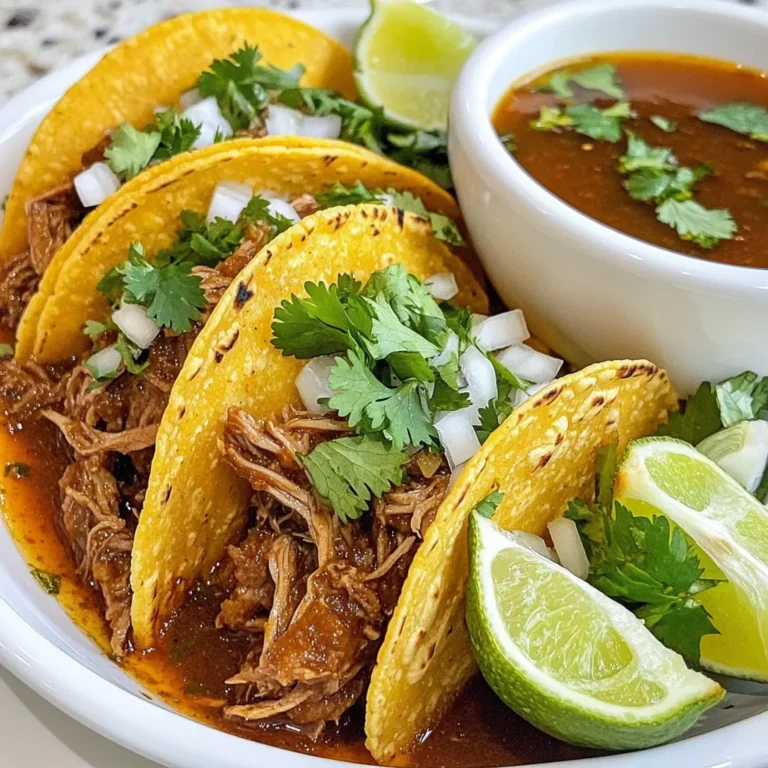
Traditional Mexican Birria Flavorful and Authentic Dish
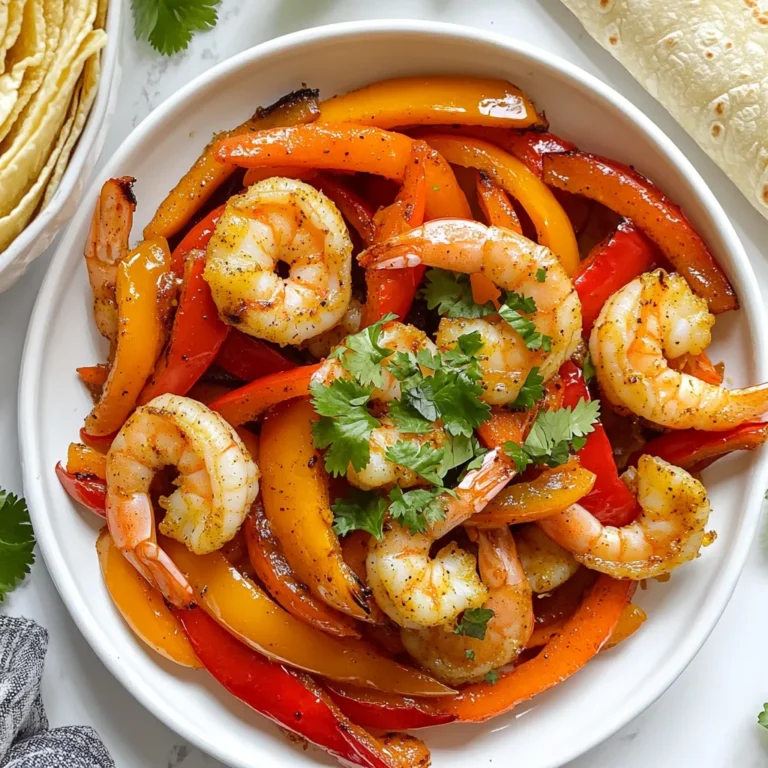
Chili Lime Shrimp Fajitas Sheet-Pan Flavor Burst
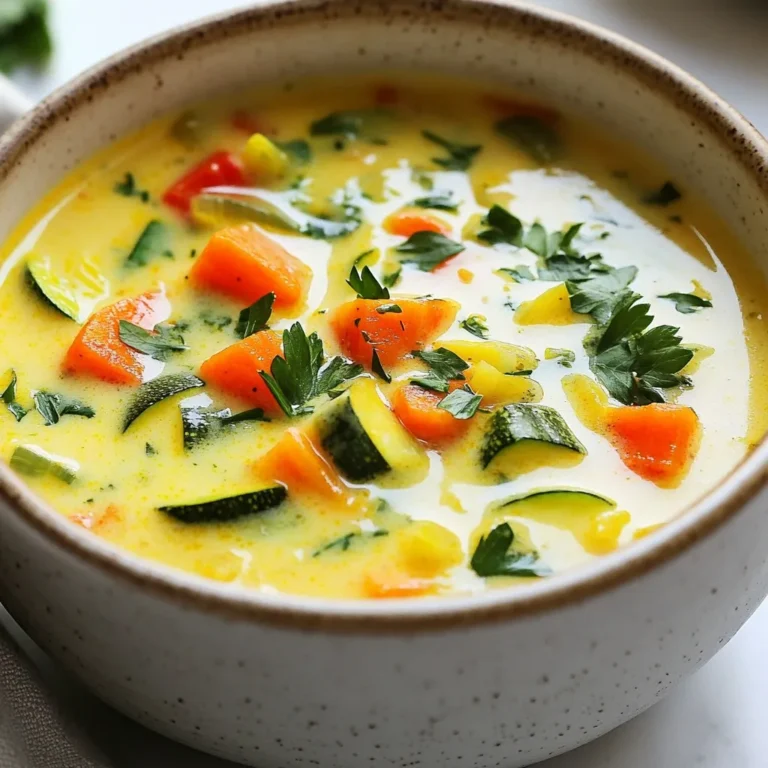
One-Pot Creamy Veggie Soup Comforting and Easy Meal
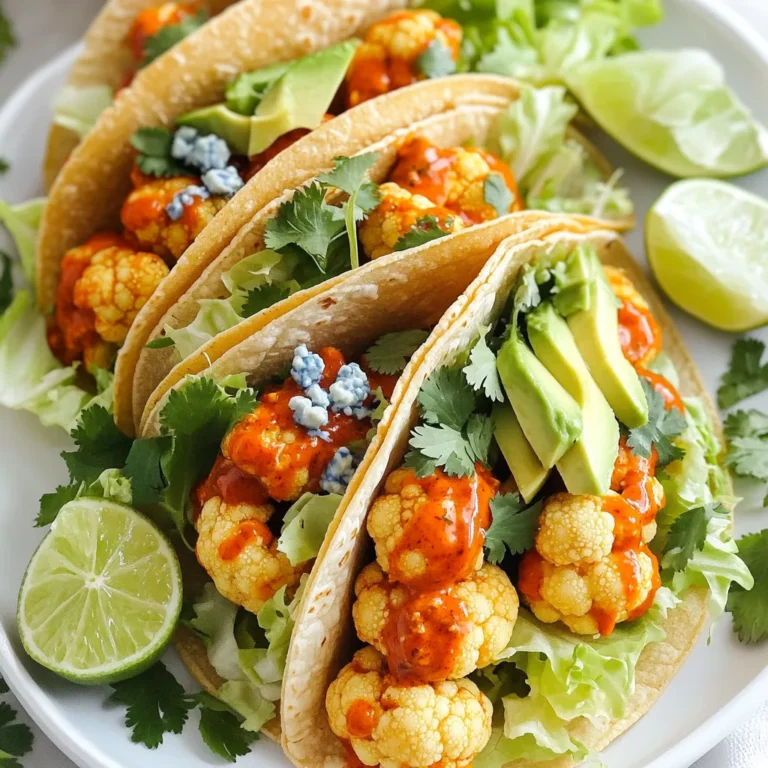
Crispy Air Fryer Buffalo Cauliflower Tacos Delight
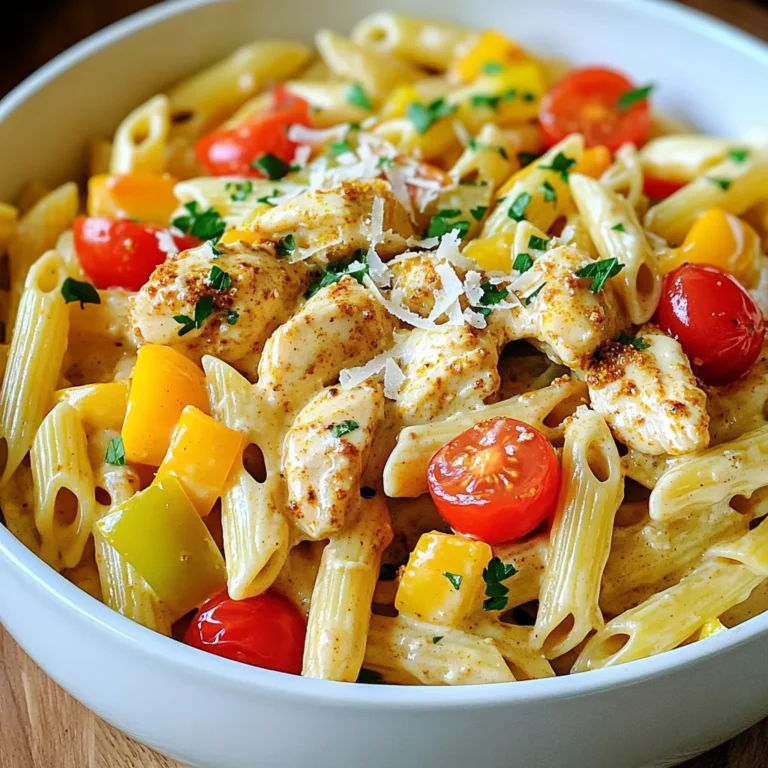
One-Pan Creamy Cajun Chicken Pasta Delight
Savory Slow Cooker Beef Bourguignon with Mushrooms
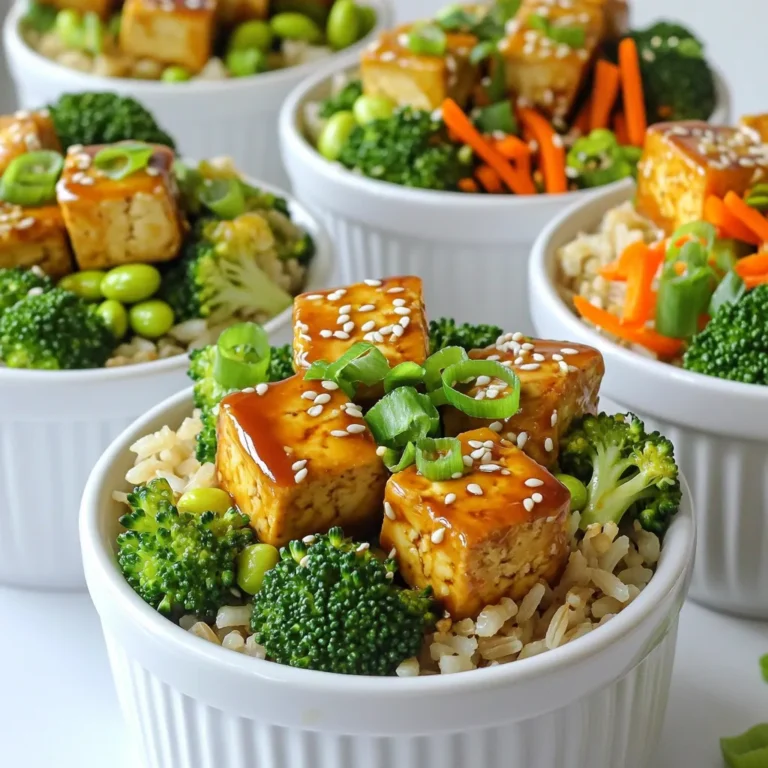
Minute Sesame Teriyaki Tofu Bowls Easy and Healthy Meal
Page navigation
Previous Page
Previous
1
…
3
4
5
6
7
…
63
Next Page
Next
Home
Dinner
Appetizer
Desserts
Drinks
About
Contact
Privacy Policy
Toggle Menu Close
Search for:
Search