Skip to content
About
Contact
Cookie Policy
Copyright Policy
Disclaimer
Search
Home
Dinner
Appetizer
Desserts
Drinks
About
Contact
Privacy Policy
Toggle Menu
Home
/
Dinner
- Page 51
Dinner
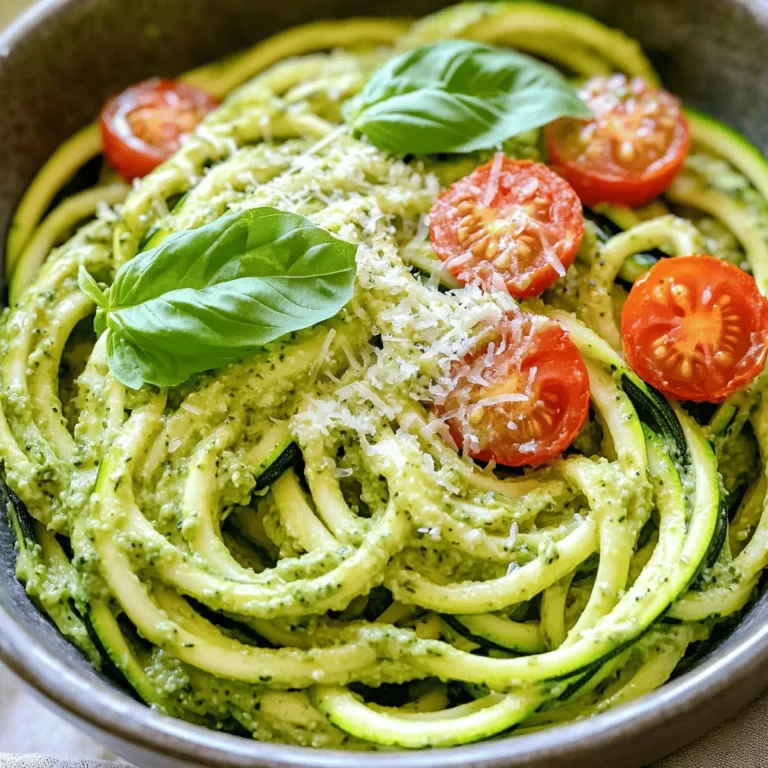
Zucchini Noodles with Pesto Flavorful Meal Idea
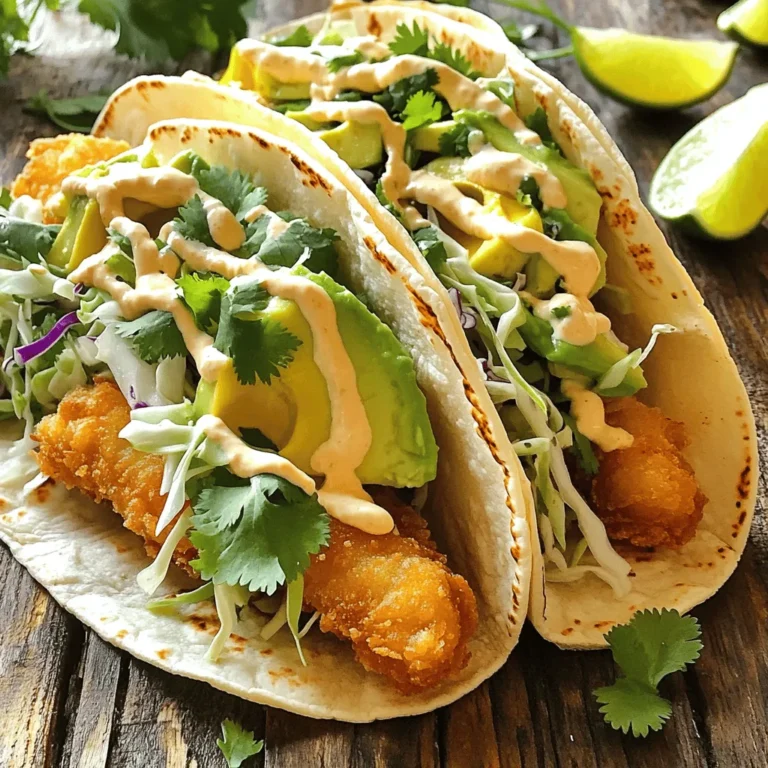
Crispy Fish Tacos Easy and Flavorful Recipe
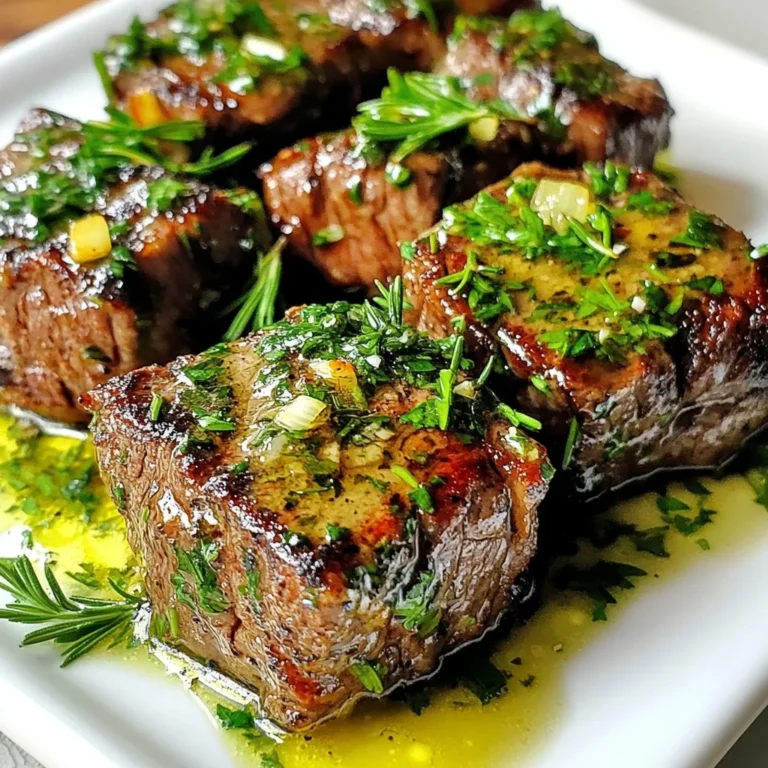
Garlic Butter Steak Bites Flavorful and Easy Recipe
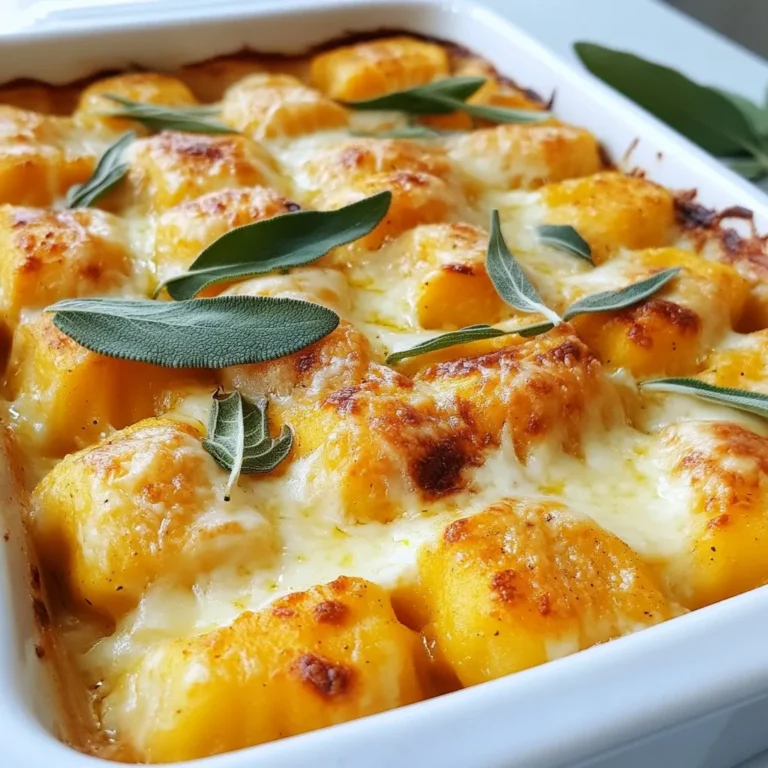
Pumpkin Gnocchi Bake Flavorful and Comforting Dish
Cheeseburger Pasta Skillet Quick and Tasty Dinner
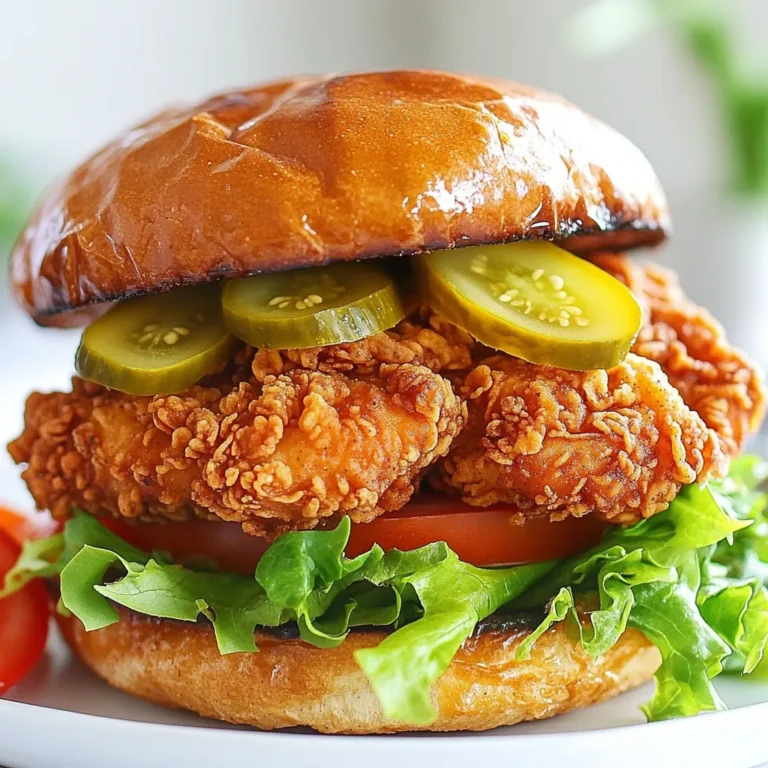
Jalapeño Honey Fried Chicken Sandwich Delightfully Crispy
Cheesy Ranch Potato Sausage Skillet Flavorful Delight
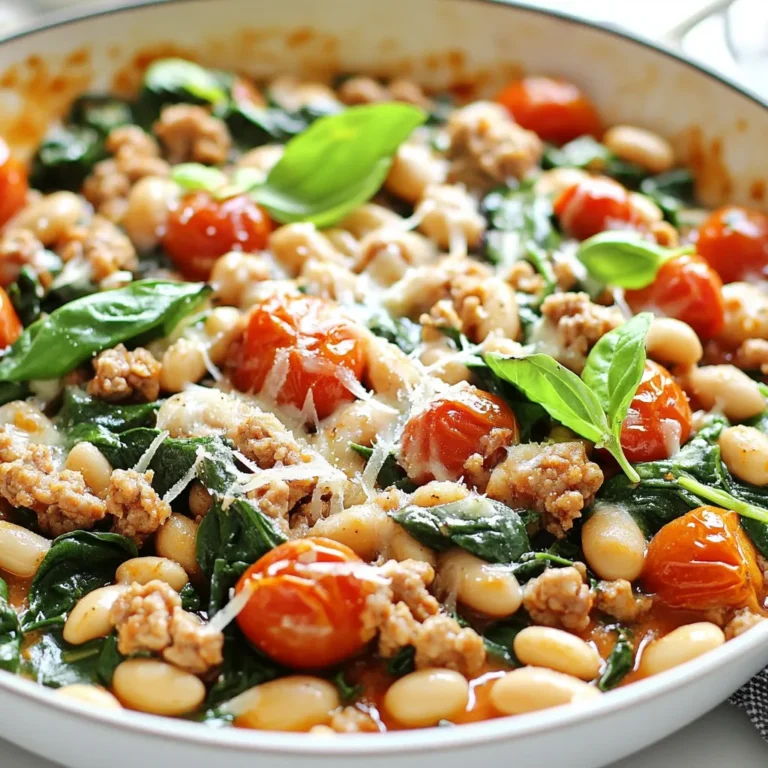
Tuscan White Bean Turkey Skillet Flavorful Dinner Dish
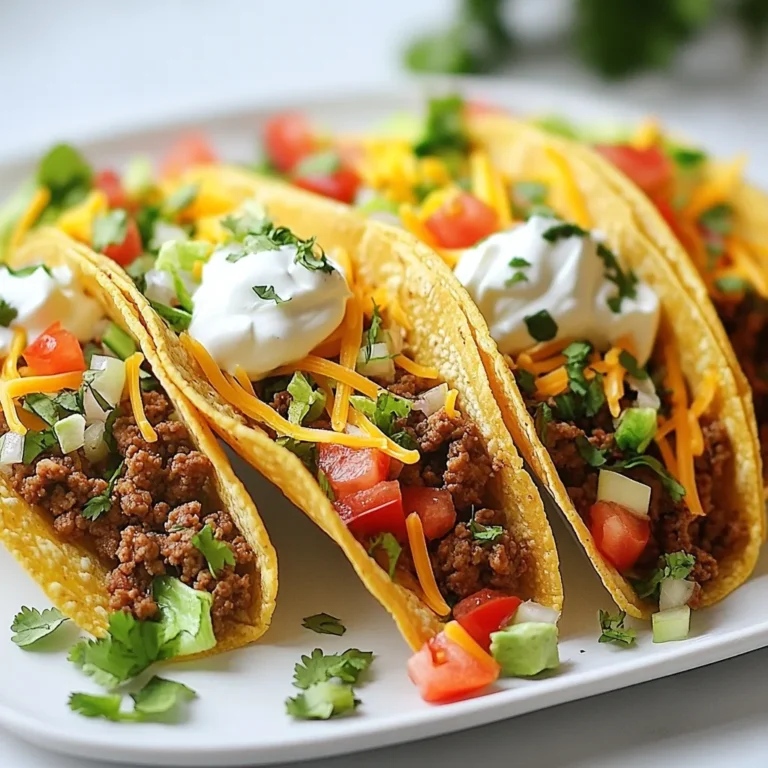
Classic Ground Beef Tacos Flavorful and Simple Meal
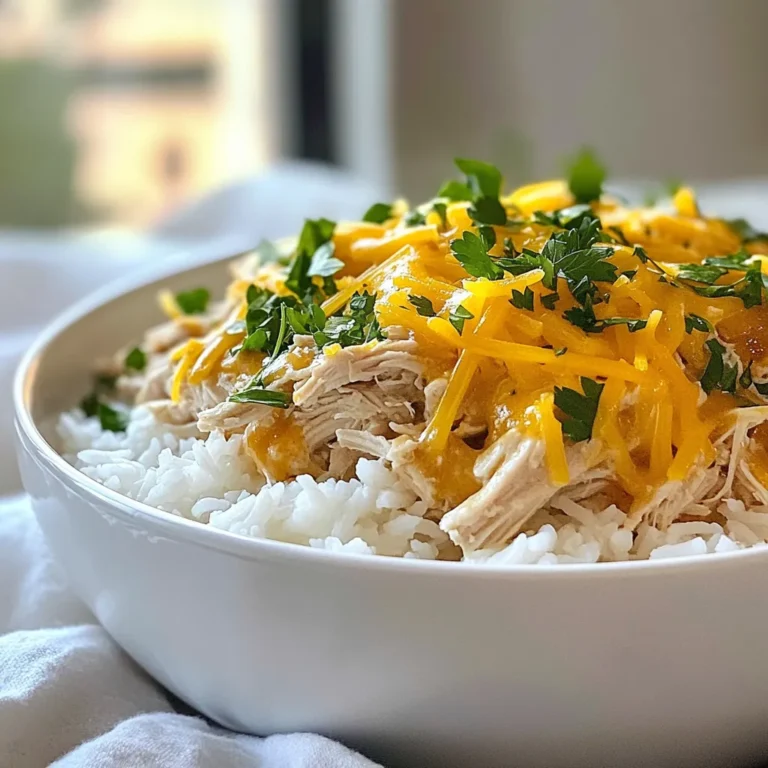
Crock Pot Ranch Chicken Flavorful Comfort Meal
Page navigation
Previous Page
Previous
1
…
49
50
51
52
53
…
64
Next Page
Next
Home
Dinner
Appetizer
Desserts
Drinks
About
Contact
Privacy Policy
Toggle Menu Close
Search for:
Search