Skip to content
About
Contact
Cookie Policy
Copyright Policy
Disclaimer
Search
Home
Dinner
Appetizer
Desserts
Drinks
About
Contact
Privacy Policy
Toggle Menu
Home
/
Dinner
- Page 52
Dinner
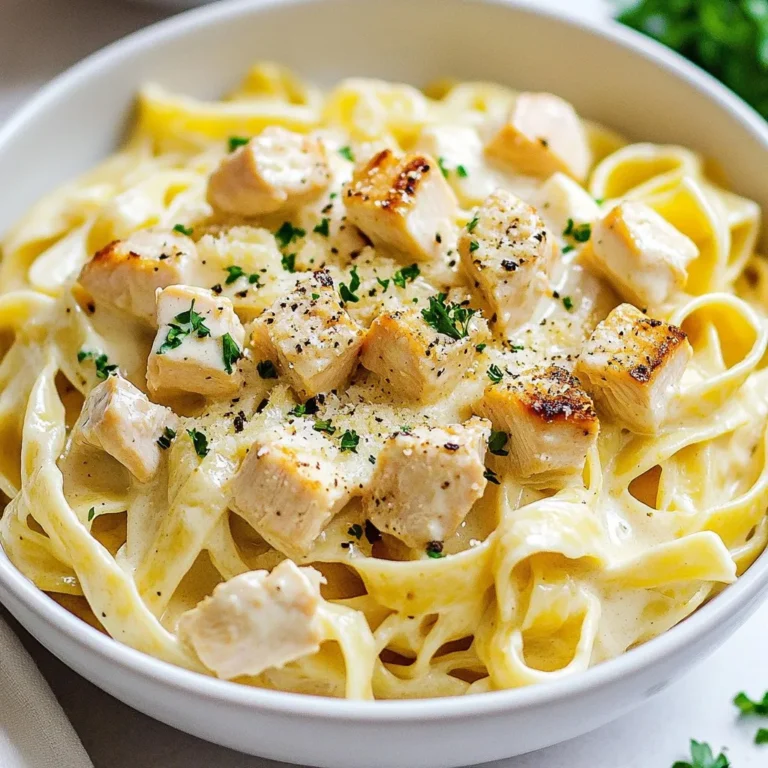
Instant Pot Chicken Alfredo Rich and Creamy Delight
Weight Watchers Cabbage Soup Nutritious and Satisfying
Tomato Butter Pasta Flavorful and Simple Dish
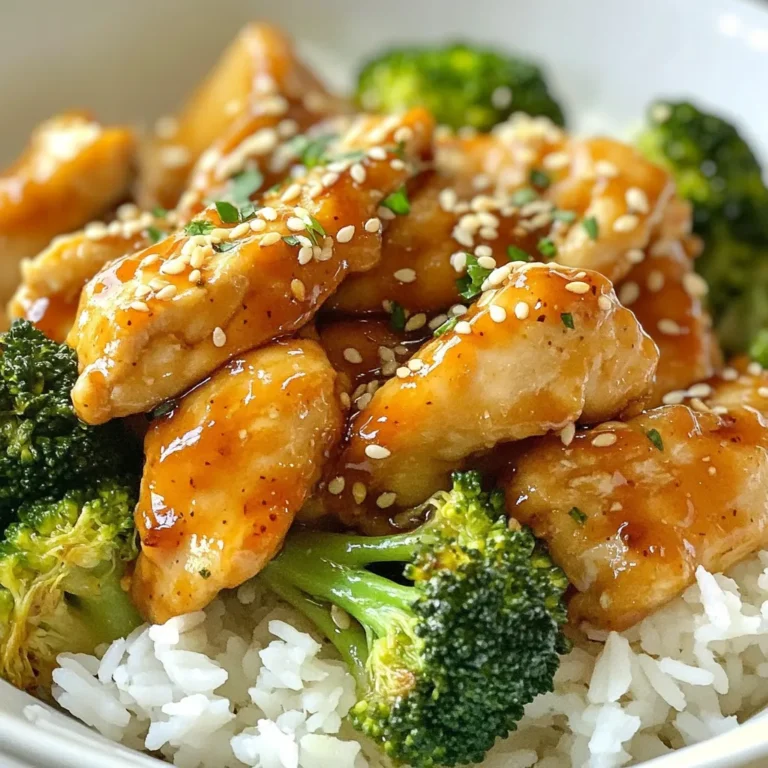
Honey Sriracha Chicken Broccoli Flavorful Dinner Idea
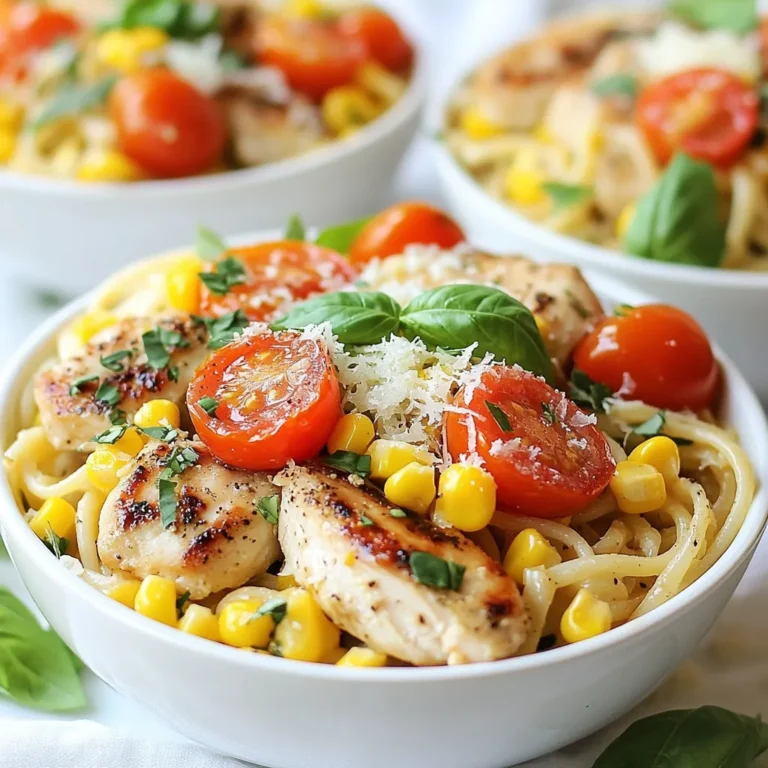
Cowboy Butter Chicken Linguine Flavorful Dinner Delight
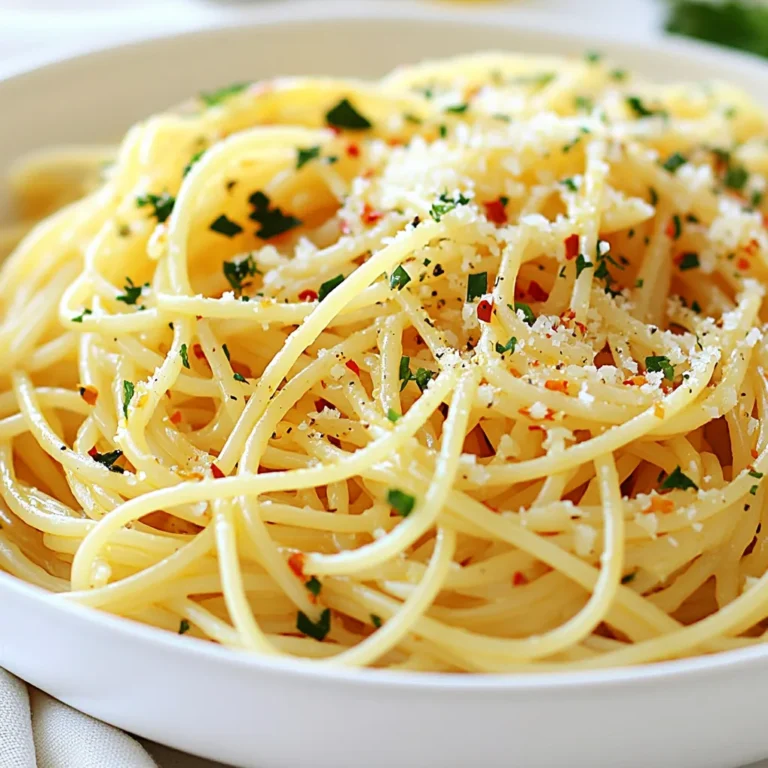
Spaghetti Aglio e Olio Simple and Flavorful Recipe
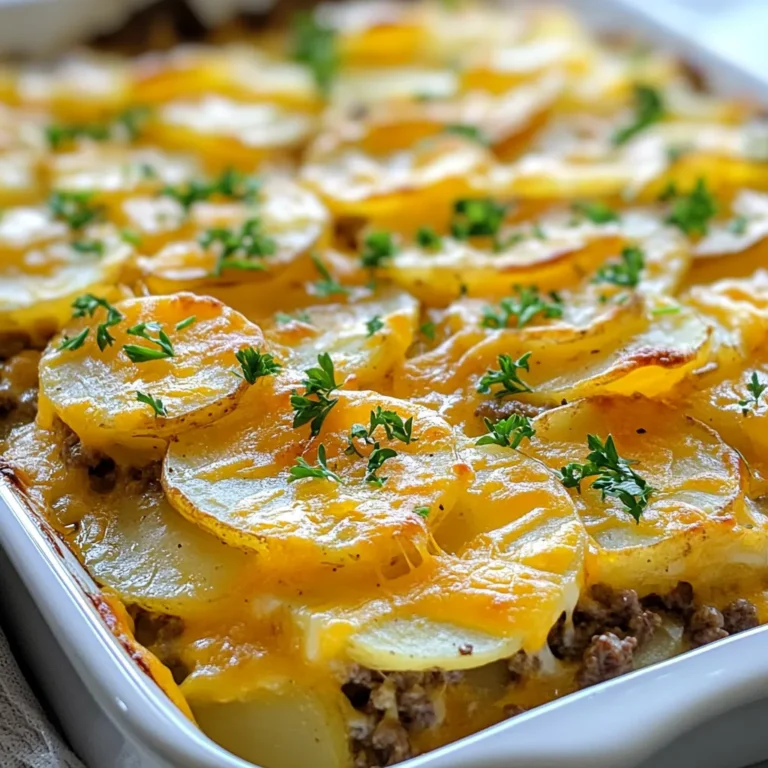
Cheesy Ground Beef Potato Casserole Easy Comfort Meal
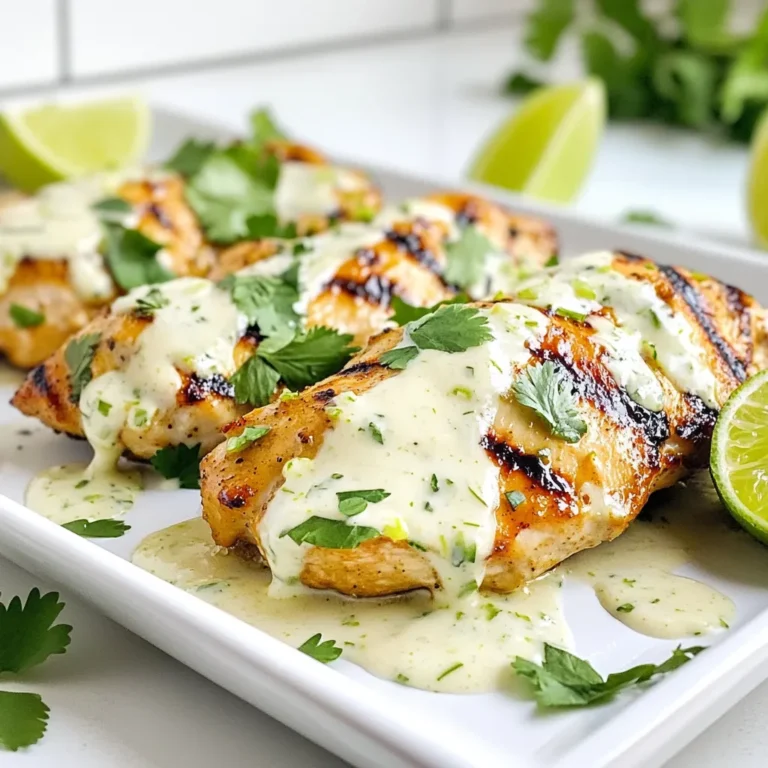
Coconut Lime Chicken Flavorful and Easy Recipe
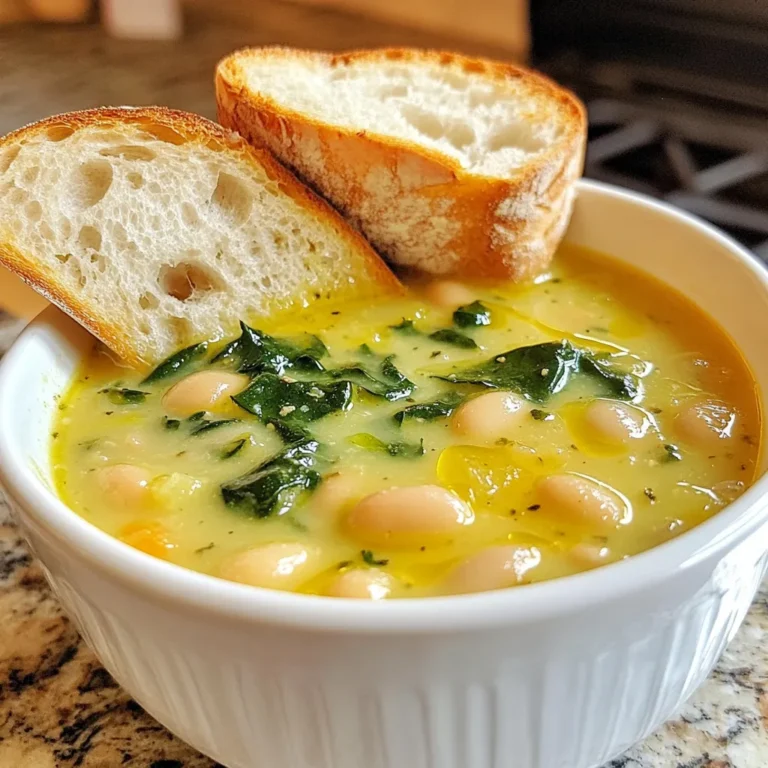
Best White Bean Soup Flavorful and Simple Recipe
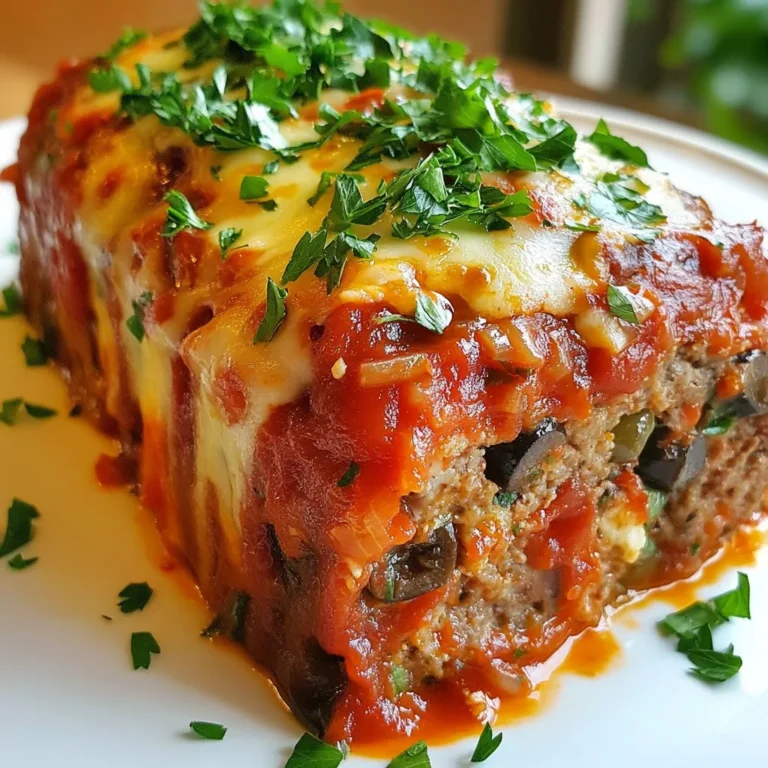
Stuffed Italian Meatloaf Flavorful Family Dinner Delight
Page navigation
Previous Page
Previous
1
…
50
51
52
53
54
…
63
Next Page
Next
Home
Dinner
Appetizer
Desserts
Drinks
About
Contact
Privacy Policy
Toggle Menu Close
Search for:
Search