Skip to content
About
Contact
Cookie Policy
Copyright Policy
Disclaimer
Search
Home
Dinner
Appetizer
Desserts
Drinks
About
Contact
Privacy Policy
Toggle Menu
Home
/
Dinner
- Page 53
Dinner
Chicken Enchiladas with White Sauce Easy and Tasty Recipe
Mediterranean Baked Feta Breakfast Flavorful Recipe
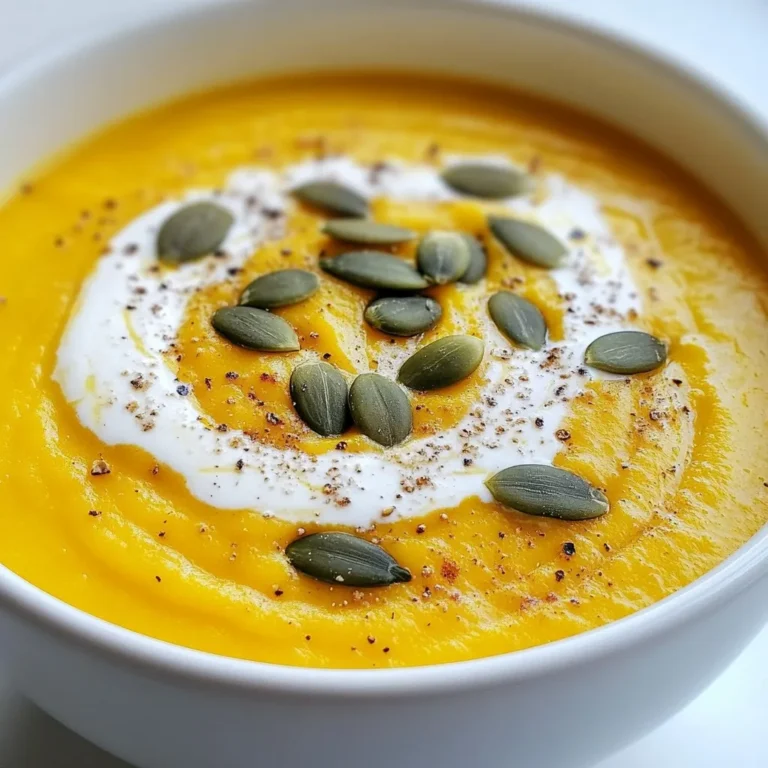
Cozy Winter Squash Soup Comforting and Simple Recipe
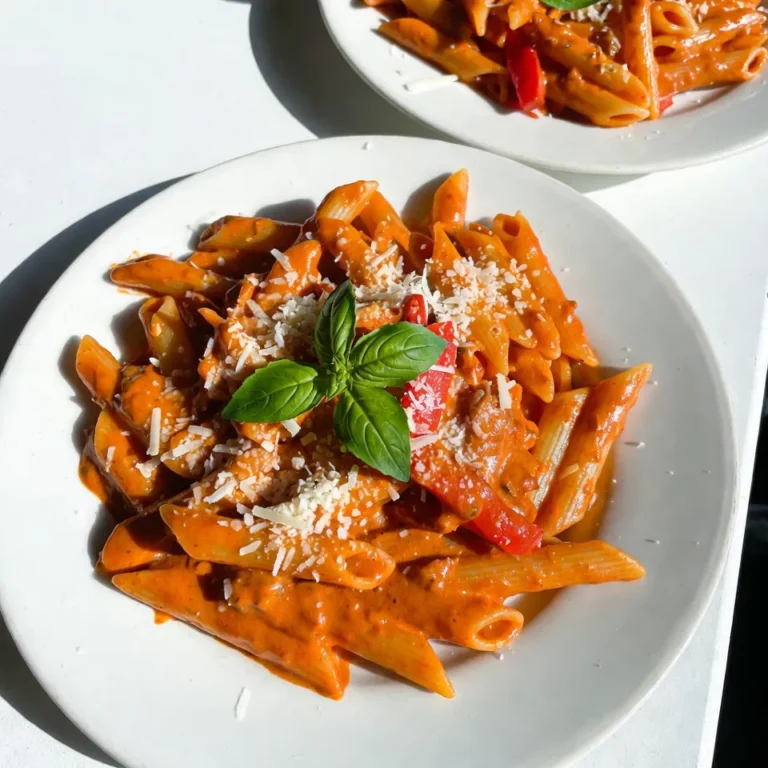
Roasted Red Pepper Pasta Flavorful and Easy Recipe
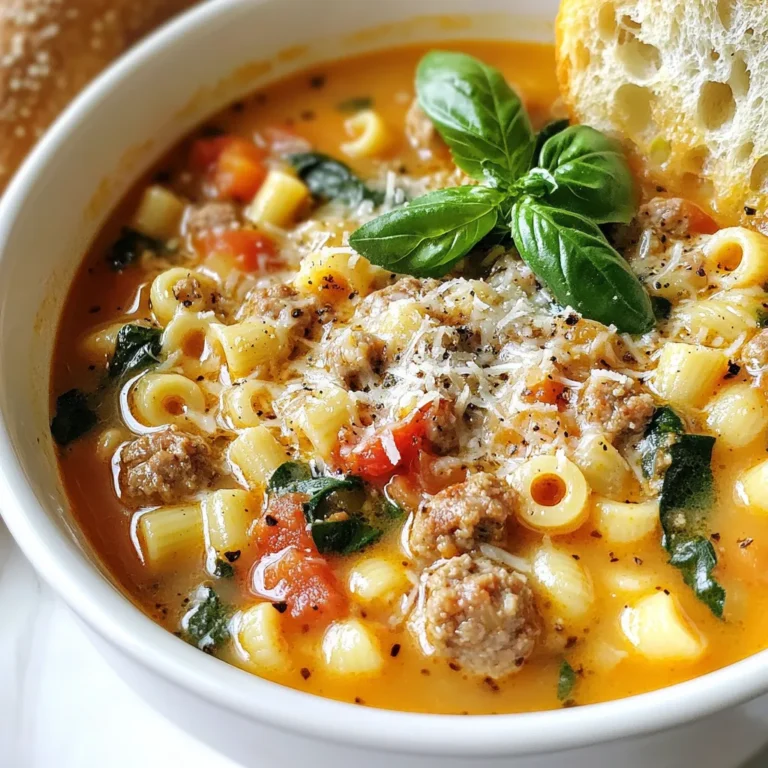
Parmesan Ditalini Soup with Sausage Flavor Boost
BBQ Chicken Flatbread Pizza Tasty and Simple Recipe
Cheesy Beef Burritos with Fries Easy Meal Idea
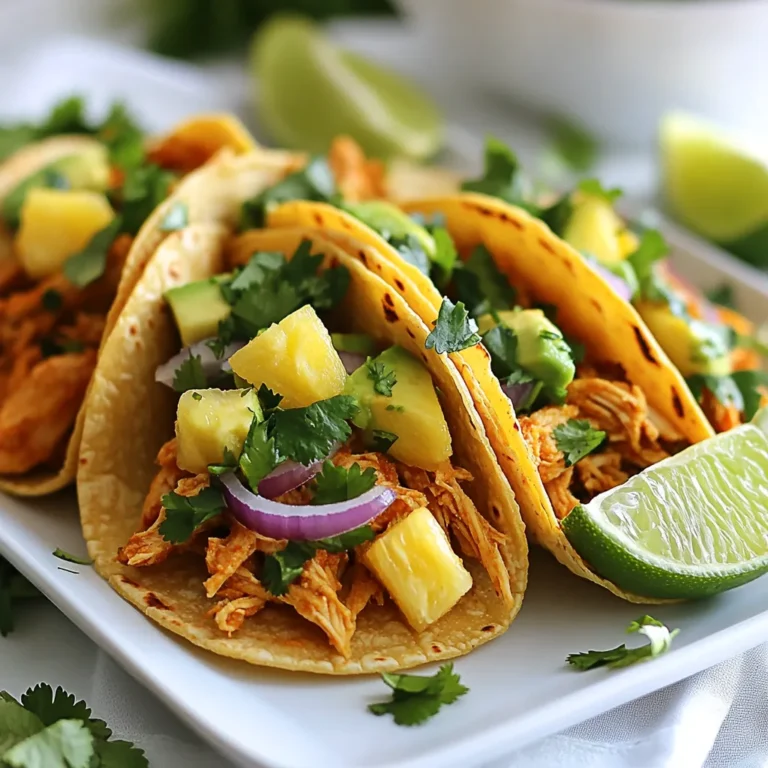
Chicken Street Tacos Flavorful and Easy Recipe Guide
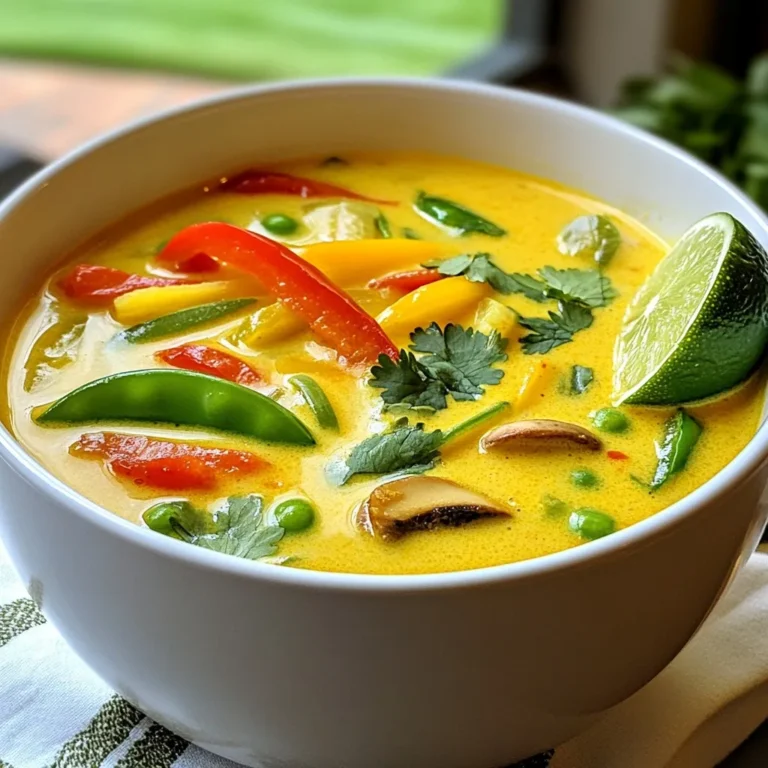
Spicy Thai Coconut Curry Soup Easy Flavorful Recipe
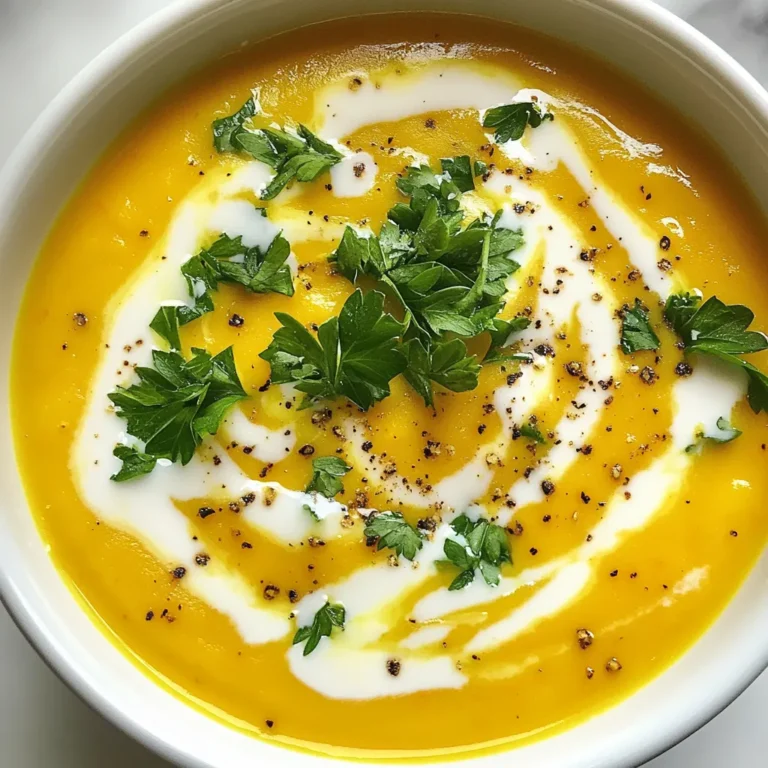
Carrot Potato Soup Flavorful and Easy Recipe Guide
Page navigation
Previous Page
Previous
1
…
51
52
53
54
55
…
63
Next Page
Next
Home
Dinner
Appetizer
Desserts
Drinks
About
Contact
Privacy Policy
Toggle Menu Close
Search for:
Search