Skip to content
About
Contact
Cookie Policy
Copyright Policy
Disclaimer
Search
Home
Dinner
Appetizer
Desserts
Drinks
About
Contact
Privacy Policy
Toggle Menu
Home
/
Dinner
- Page 54
Dinner
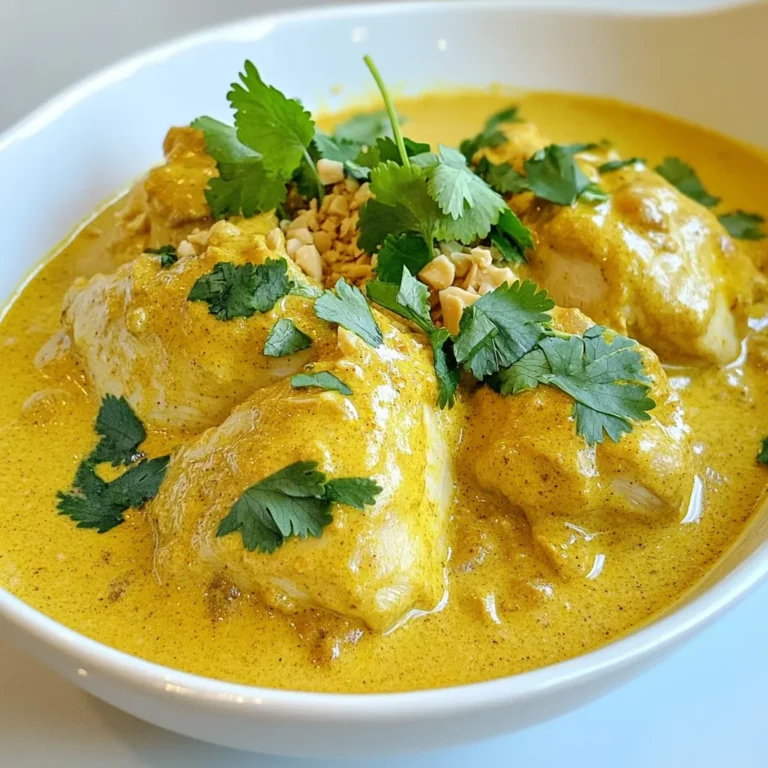
Easy Chicken Korma Flavorful and Simple Recipe
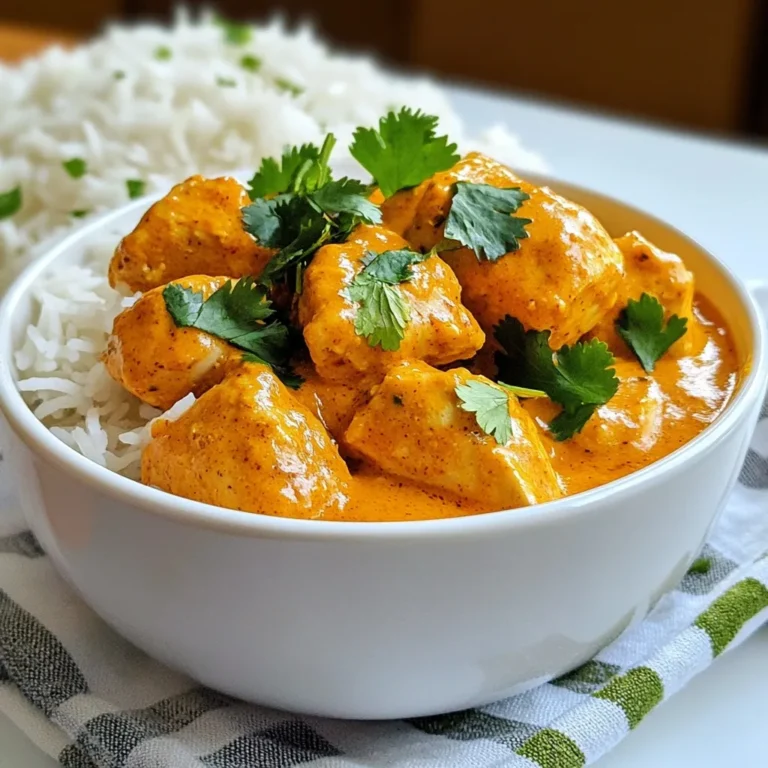
Slow Cooker Butter Chicken Flavorful and Easy Recipe
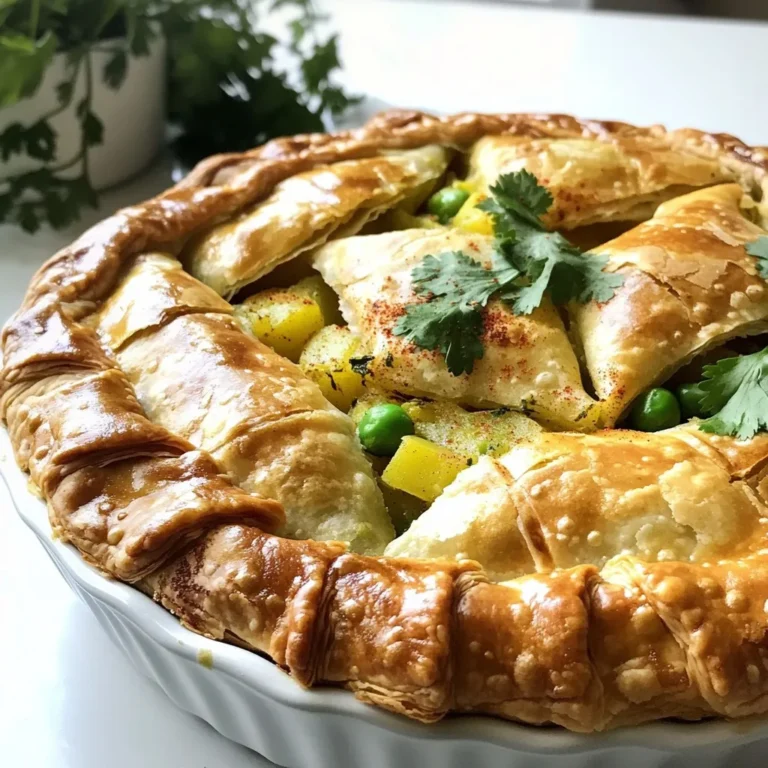
Easy Indian Samosa Pie Flavorful and Simple Treat
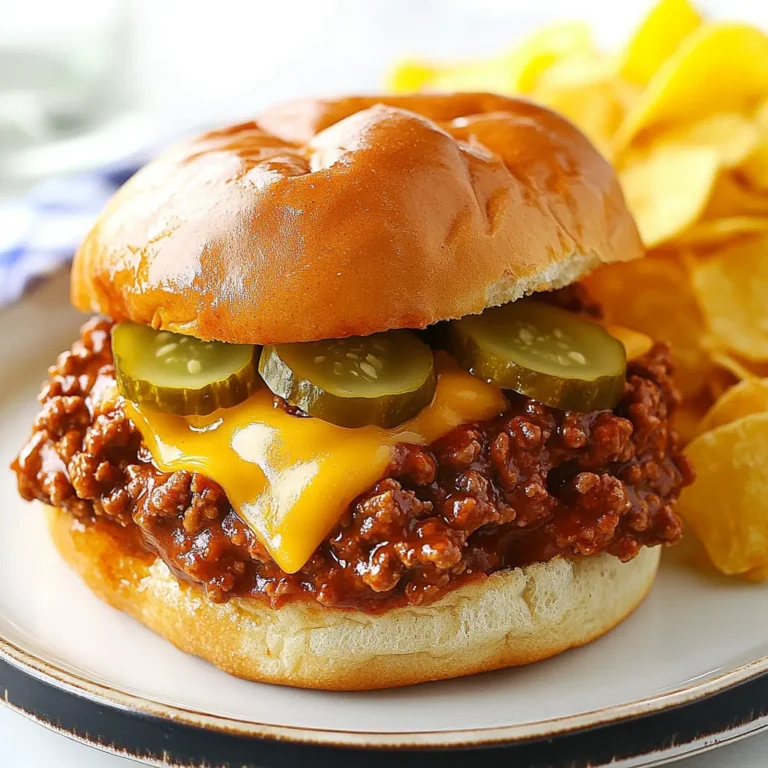
Homemade Sloppy Joes Tasty and Simple Recipe
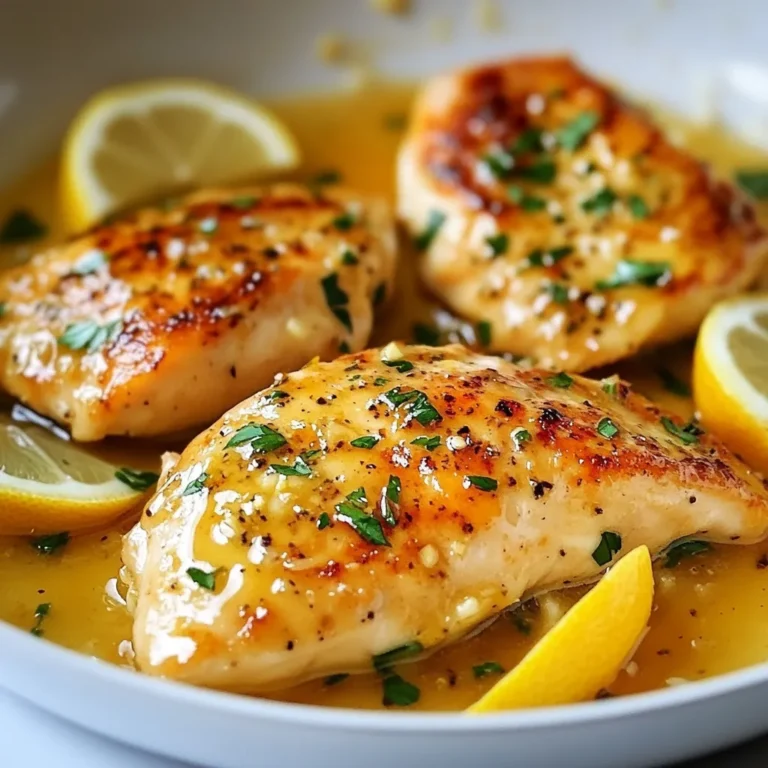
Lemon Butter Chicken Breasts Tasty and Simple Recipe
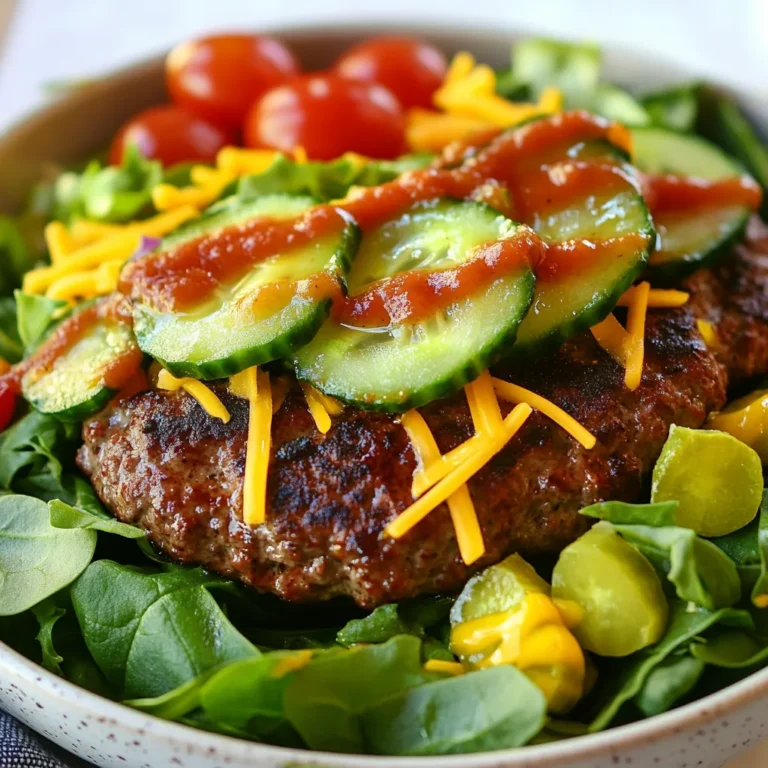
Burger Bowls Packed with Flavorful Ingredients
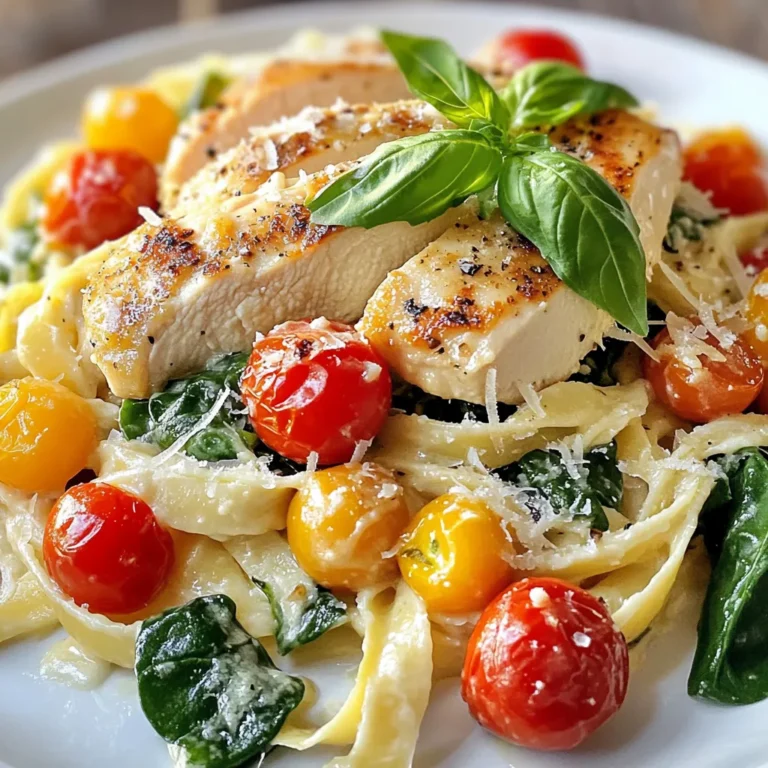
Easy Marry Me Chicken Pasta Simple and Delicious Meal
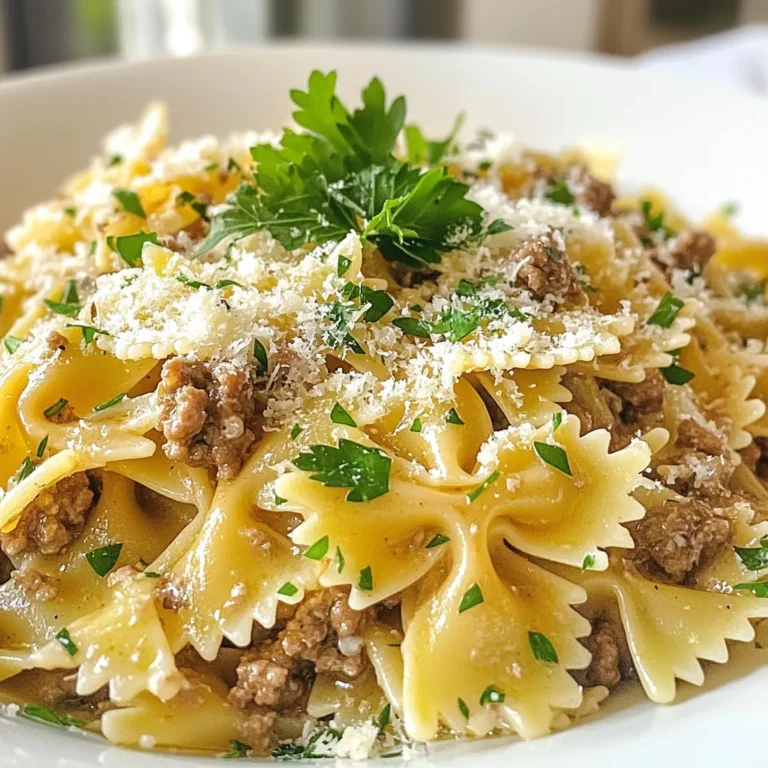
Creamy Garlic Beef Bowtie Pasta Tasty Dinner Delight
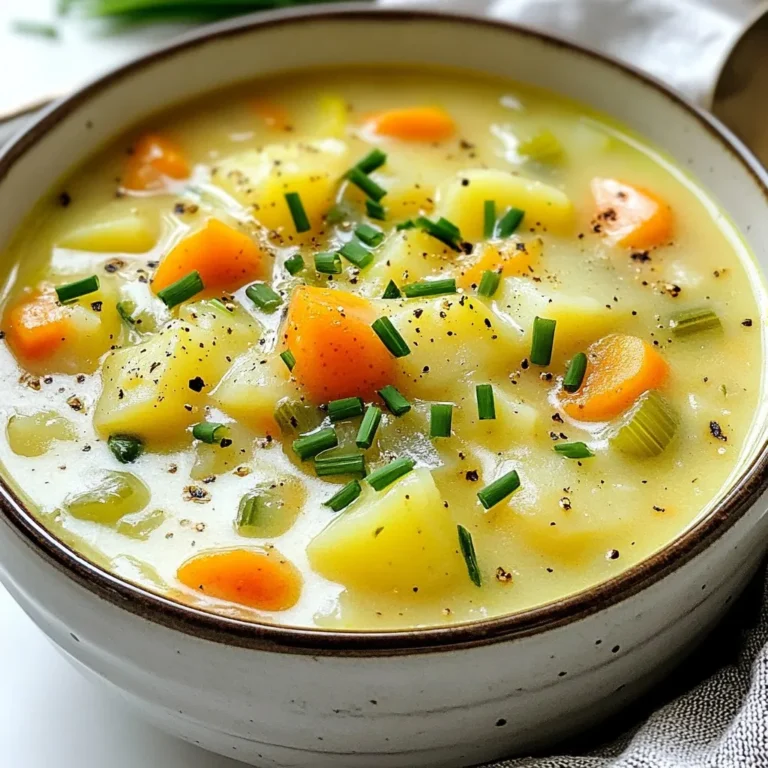
German Potato Soup Easy and Creamy Comfort Dish
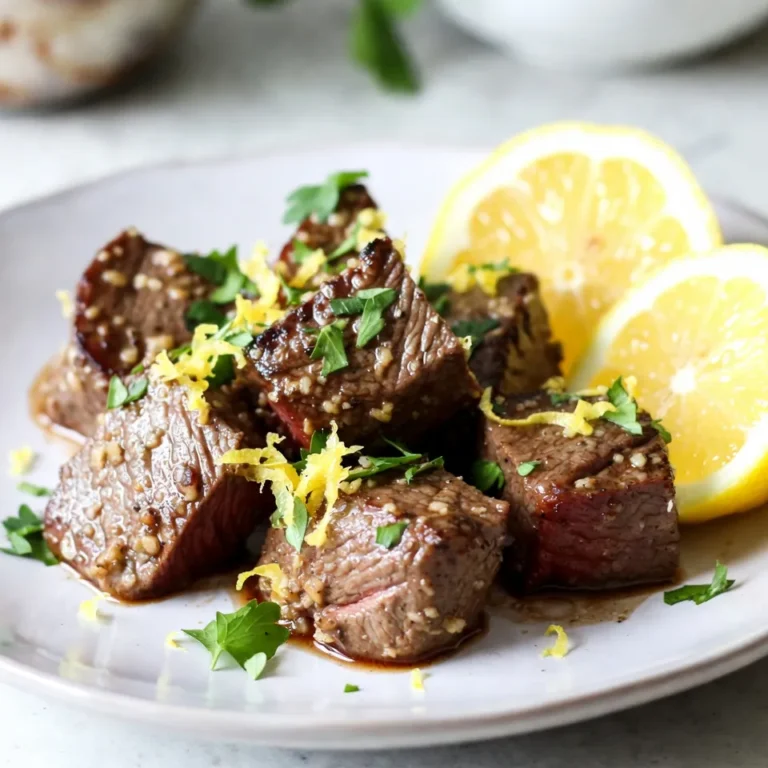
Lemon Garlic Butter Steak Bites Easy Flavorful Dish
Page navigation
Previous Page
Previous
1
…
52
53
54
55
56
…
63
Next Page
Next
Home
Dinner
Appetizer
Desserts
Drinks
About
Contact
Privacy Policy
Toggle Menu Close
Search for:
Search