Skip to content
About
Contact
Cookie Policy
Copyright Policy
Disclaimer
Search
Home
Dinner
Appetizer
Desserts
Drinks
About
Contact
Privacy Policy
Toggle Menu
Home
/
Dinner
- Page 55
Dinner
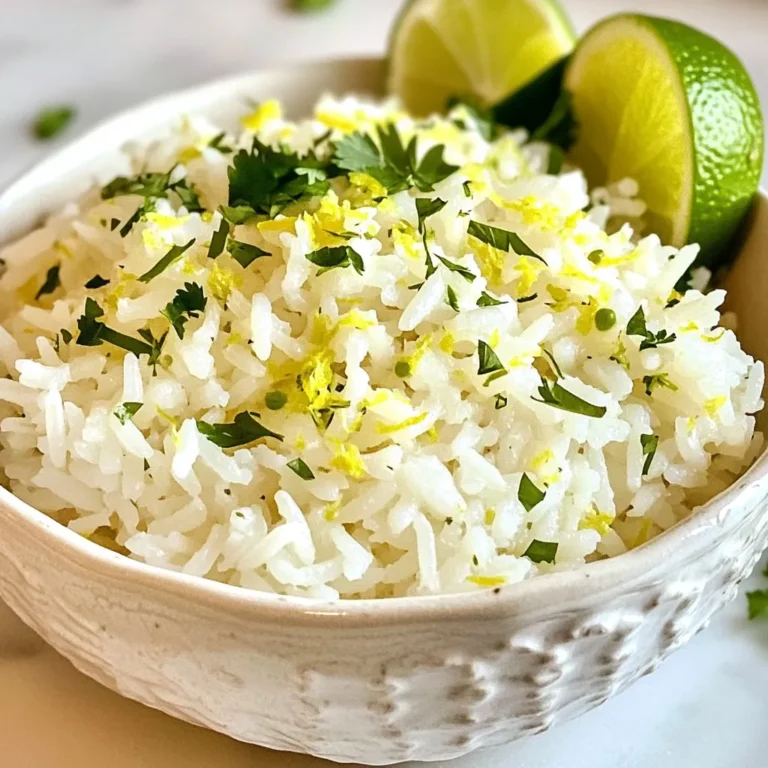
Coconut Lime Rice Flavorful and Easy Recipe Guide
Kid-Approved Ground Chicken Tacos Quick and Easy Meal
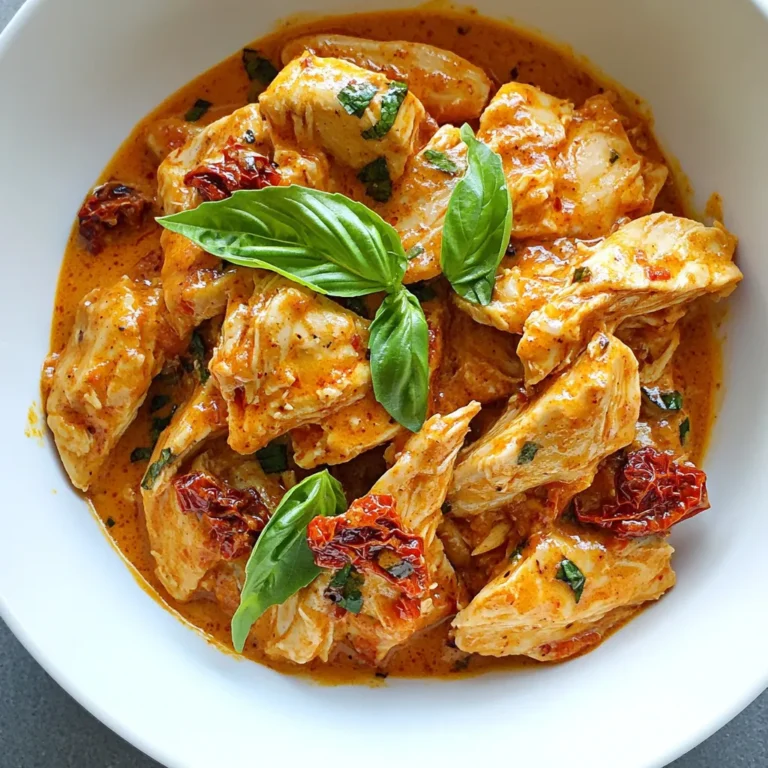
Savory Slow Cooker Sun Dried Tomato Chicken Delight
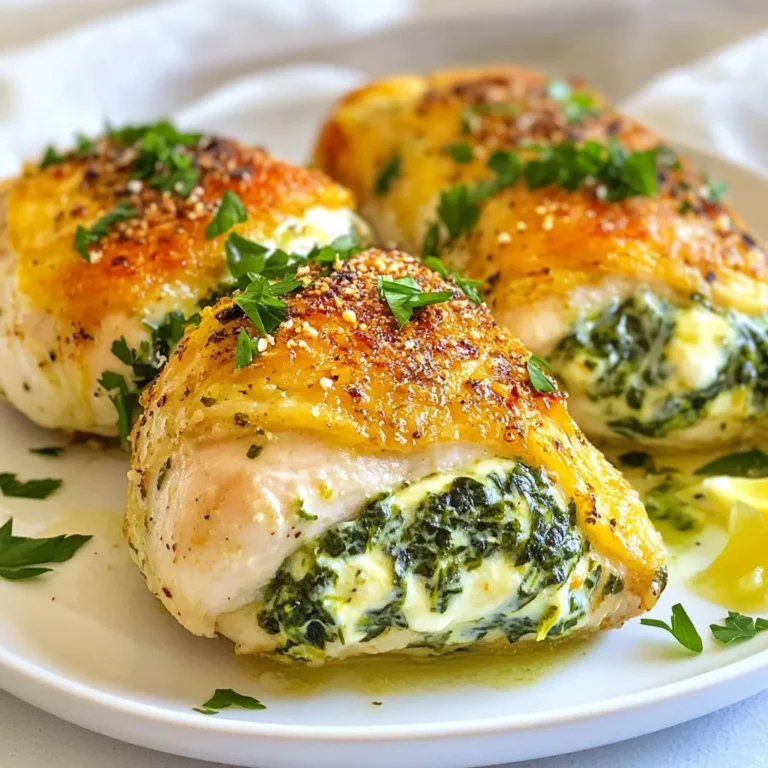
Spinach Stuffed Chicken Breast Flavorful and Easy Dish
Sesame Crusted Ahi Tuna Savory Dinner Delight
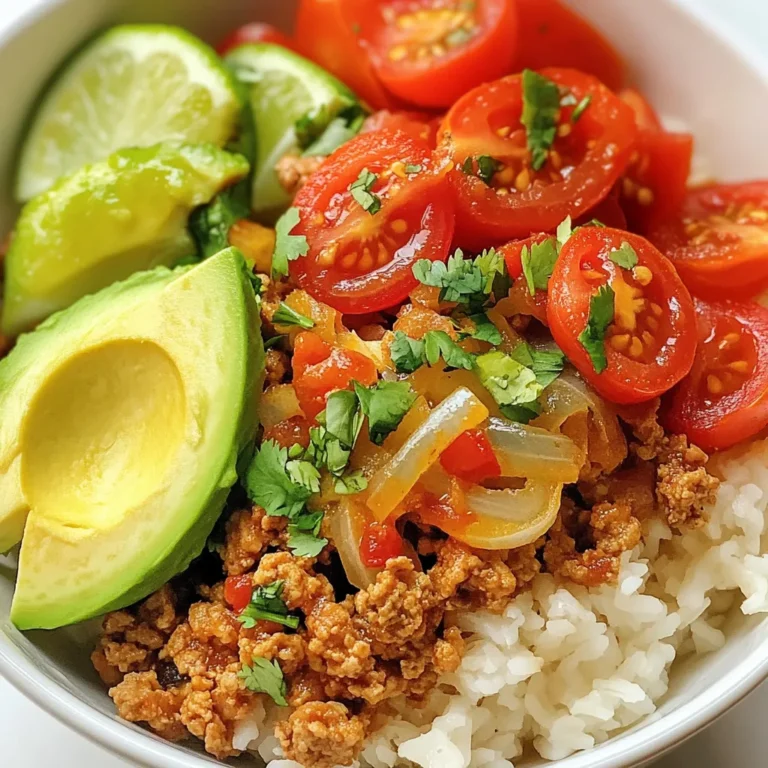
Turkey Taco Bowl Flavorful and Easy Meal Prep Recipe
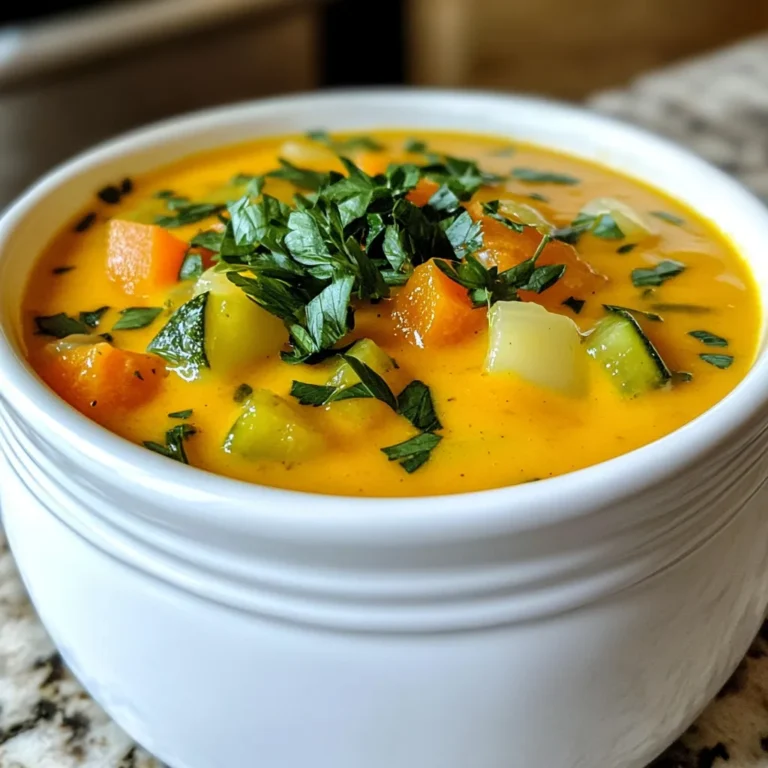
Creamy Vegetable Soup Hearty and Nourishing Recipe
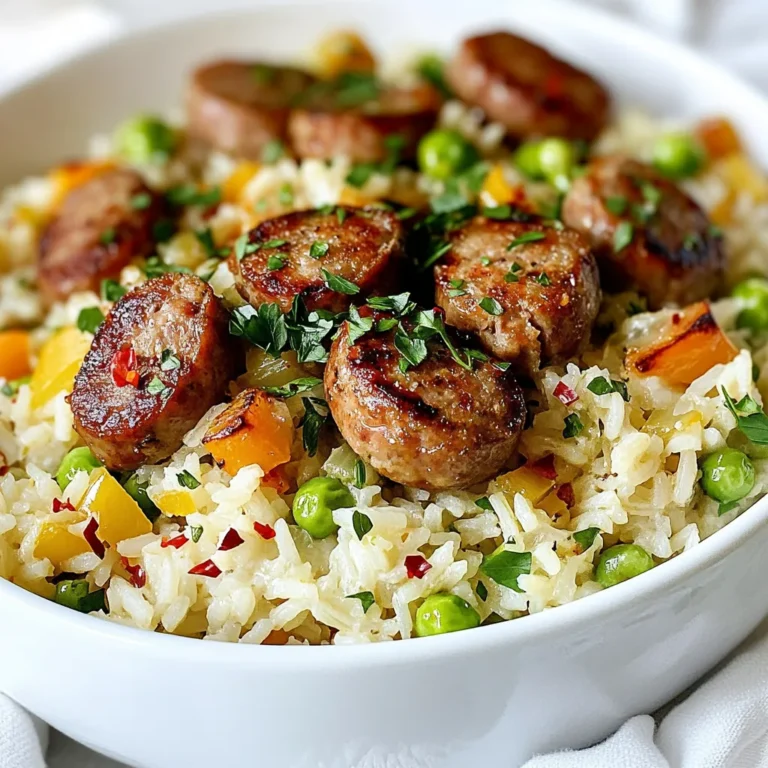
One Pot Sausage and Rice Gourmet Comfort Meal
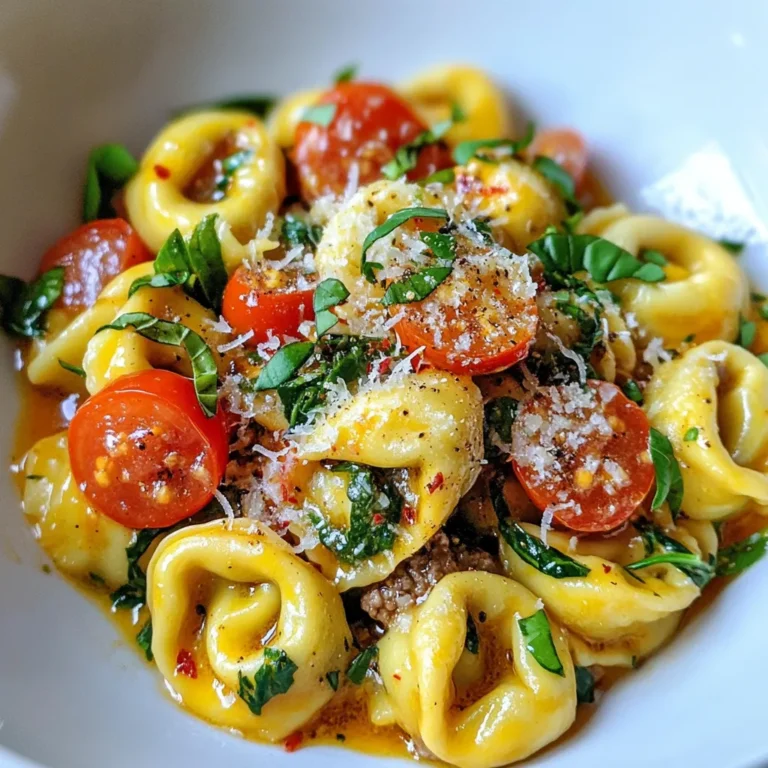
Garlic Butter Beef Tortellini Flavorful Dinner Delight
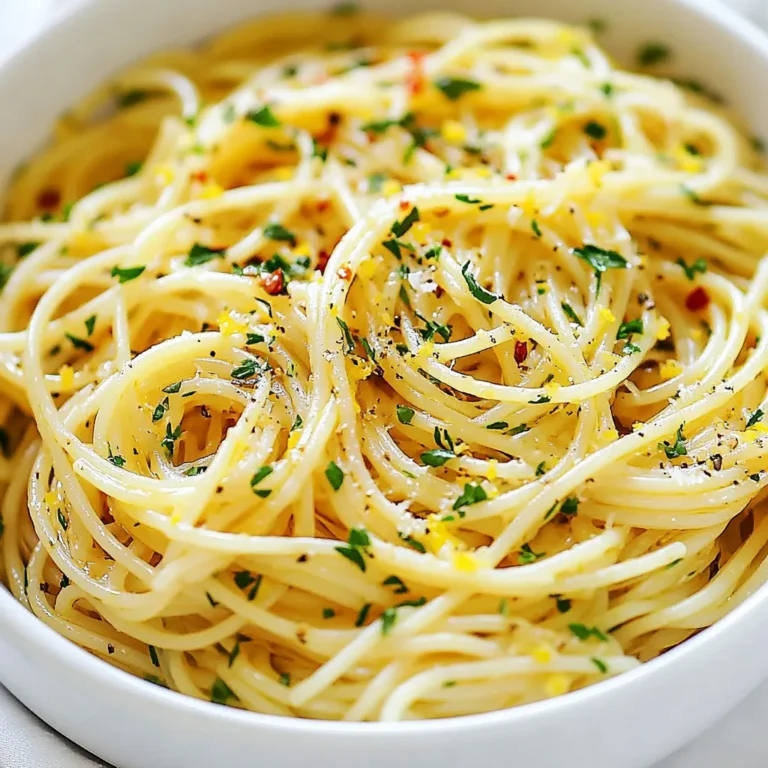
Garlic Olive Oil Spaghetti Simple and Delicious Dish
Page navigation
Previous Page
Previous
1
…
53
54
55
56
57
…
63
Next Page
Next
Home
Dinner
Appetizer
Desserts
Drinks
About
Contact
Privacy Policy
Toggle Menu Close
Search for:
Search