Skip to content
About
Contact
Cookie Policy
Copyright Policy
Disclaimer
Search
Home
Dinner
Appetizer
Desserts
Drinks
About
Contact
Privacy Policy
Toggle Menu
Home
/
Dinner
- Page 56
Dinner
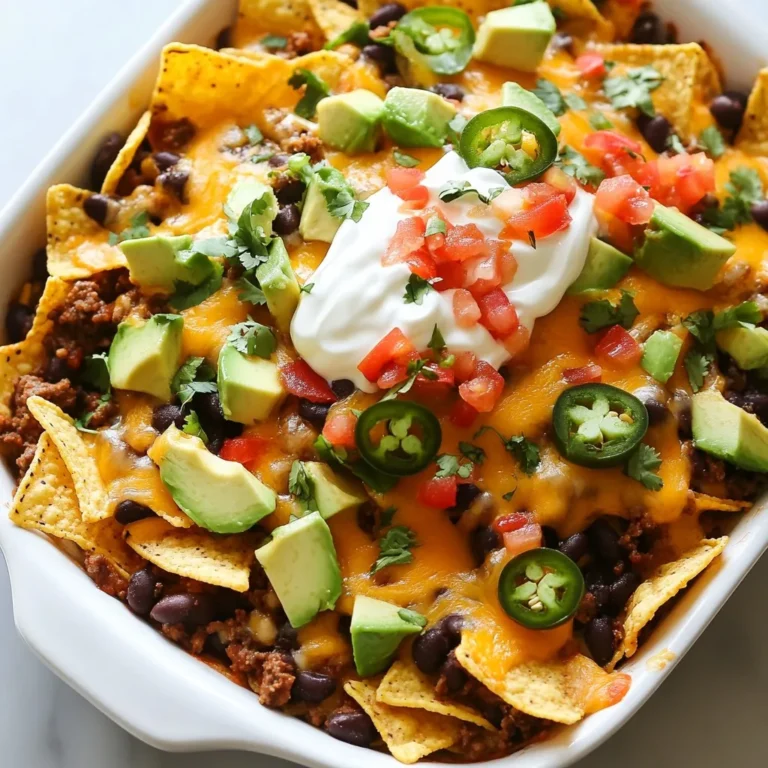
Loaded Nacho Casserole Flavorful and Hearty Meal
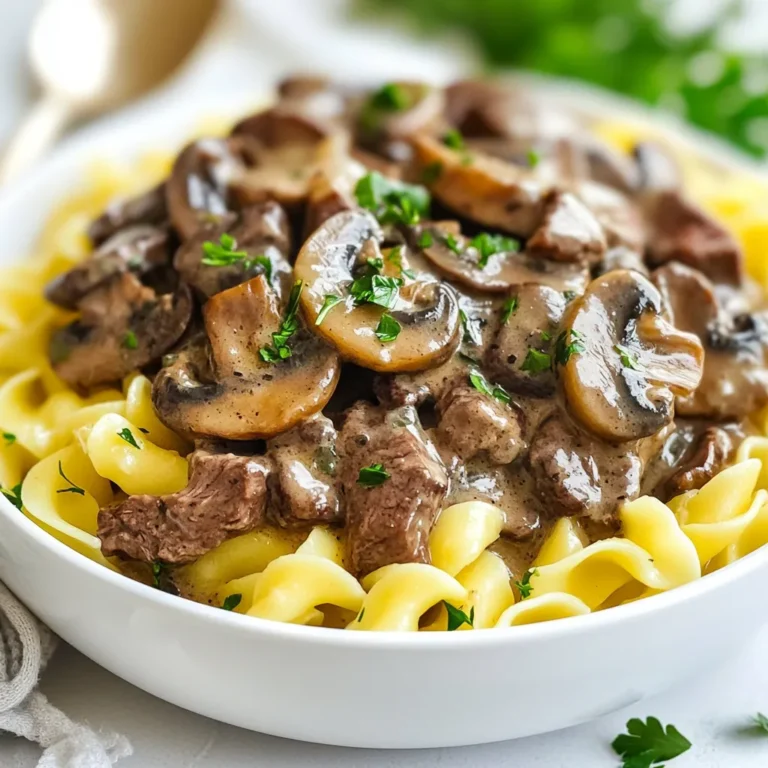
Instant Pot Beef Stroganoff Flavorful Comfort Dish
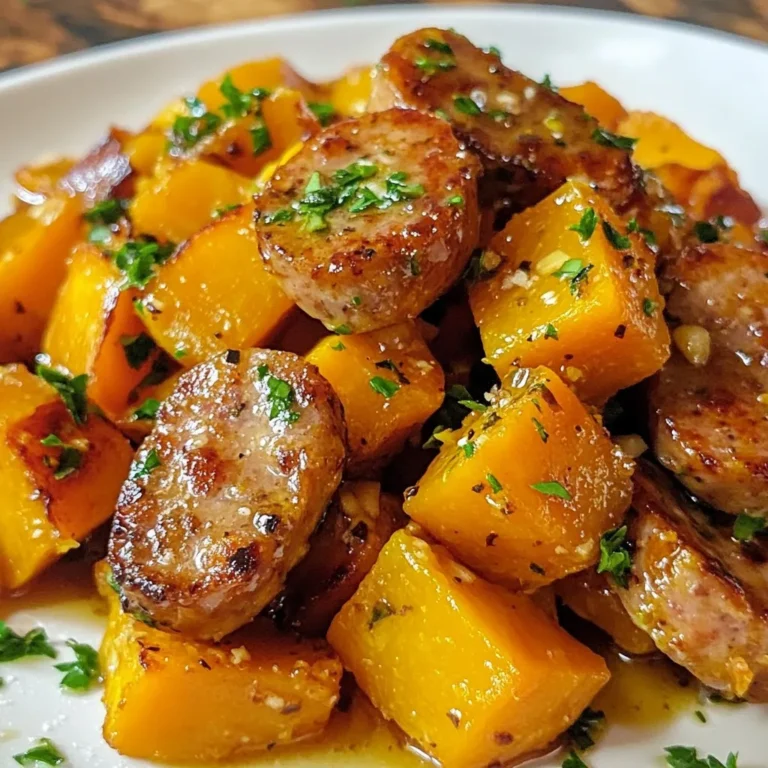
Honey Garlic Sausage Sweet Potatoes Savory Delight
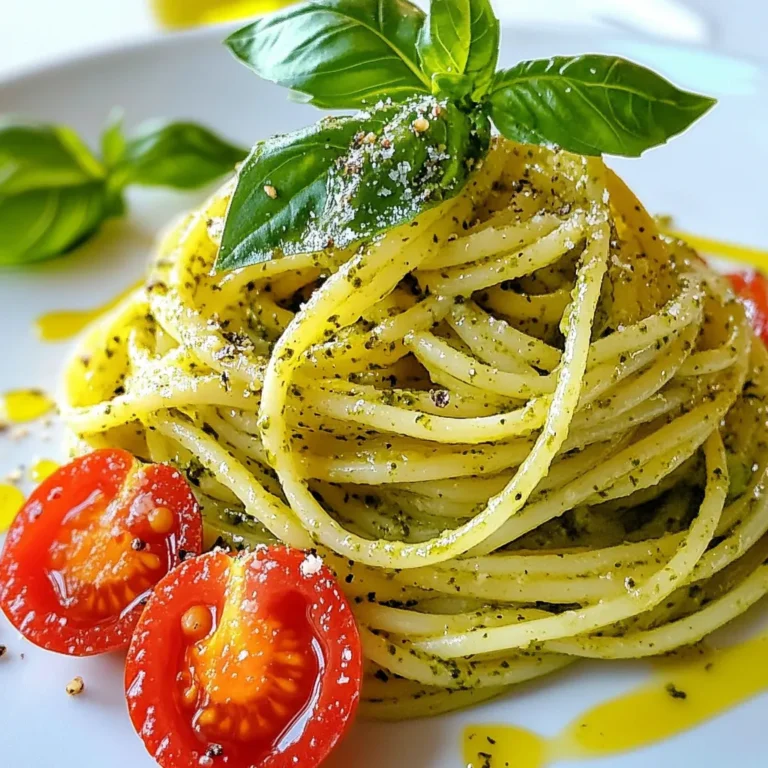
Creamy Pesto Pasta Delightfully Simple and Tasty Dish
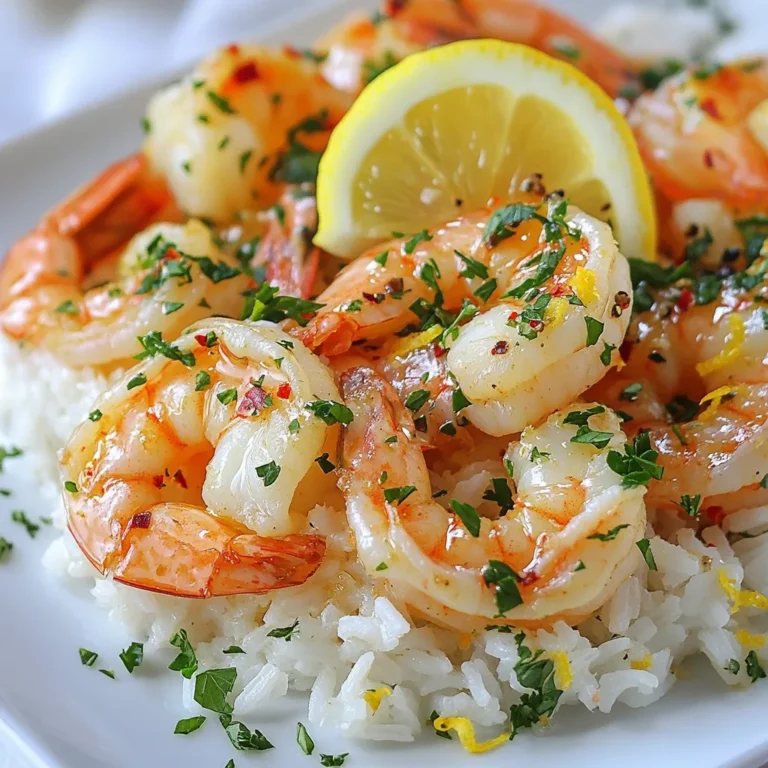
Garlic Butter Shrimp & Rice Simple and Tasty Meal
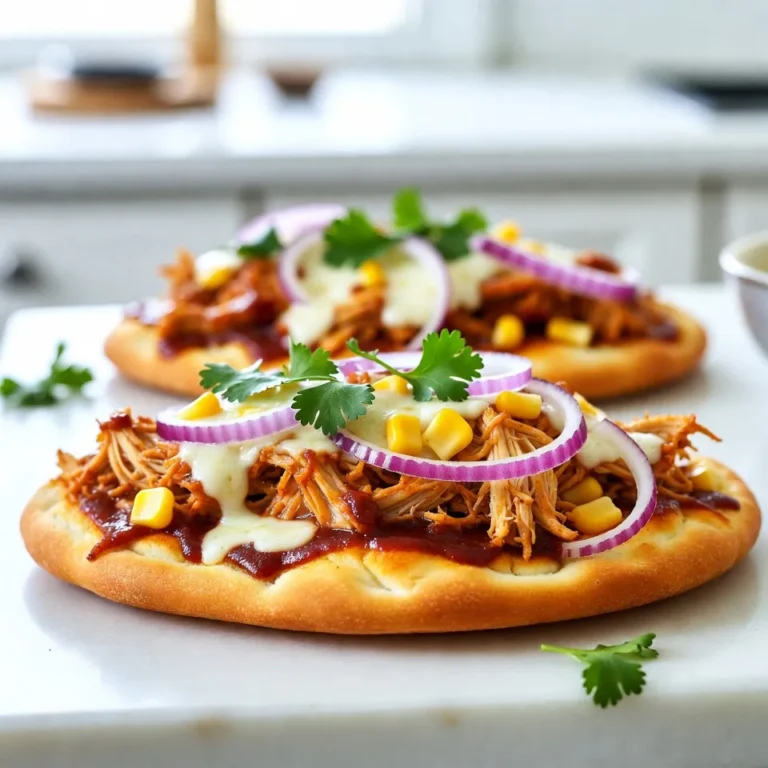
BBQ Chicken Flatbread Pizza Easy and Flavorful Meal
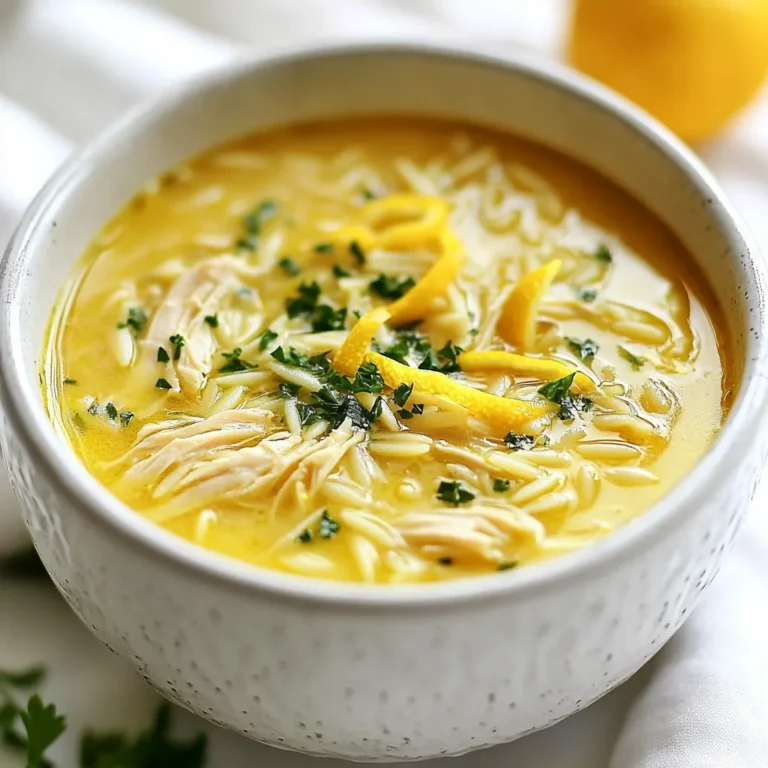
Creamy Lemon Orzo Chicken Soup Flavorful and Simple
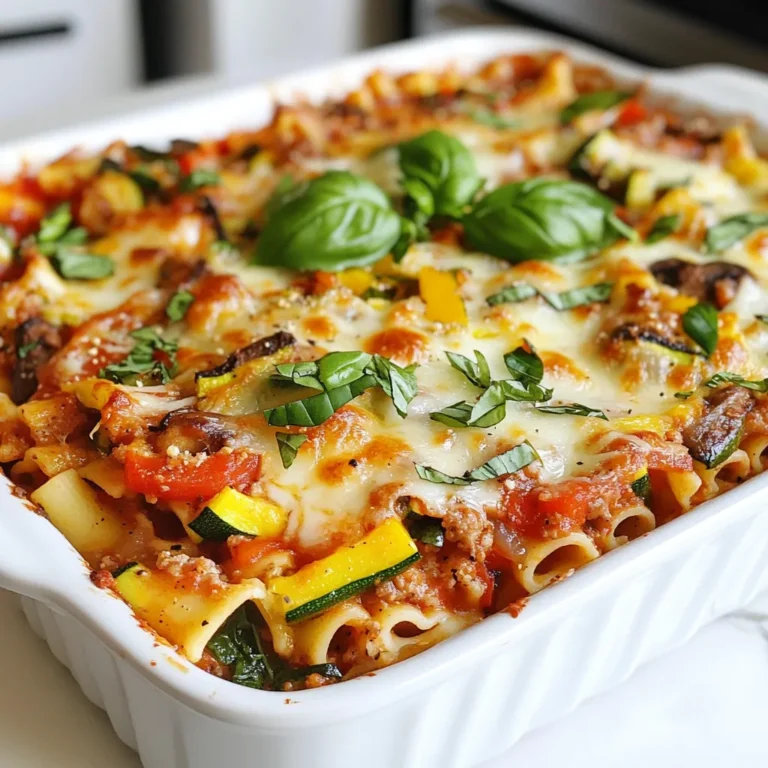
Baked Ziti with Vegetables Easy and Flavorful Recipe
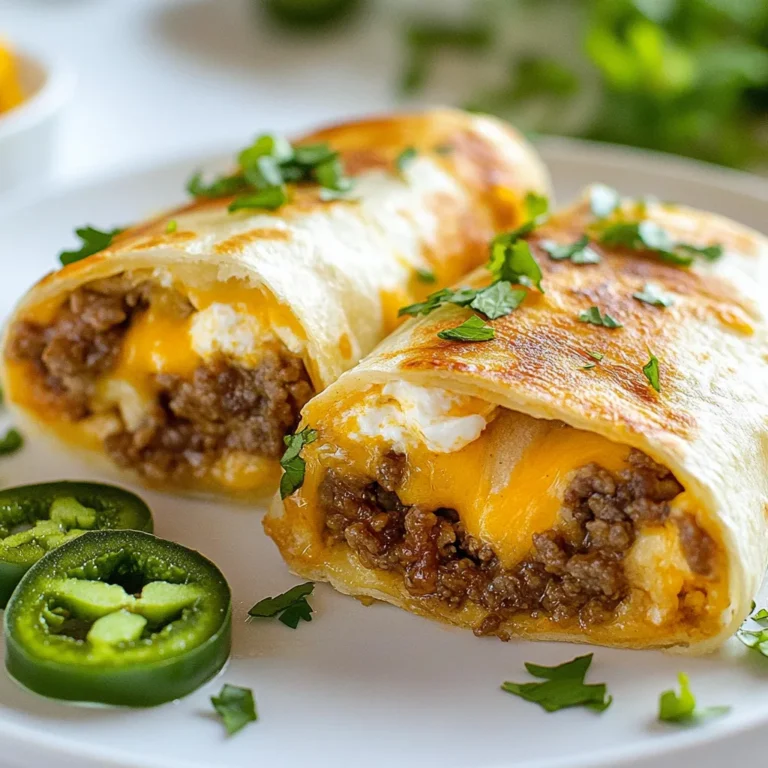
Grilled Cheese Burrito Copycat Simple and Tasty Recipe
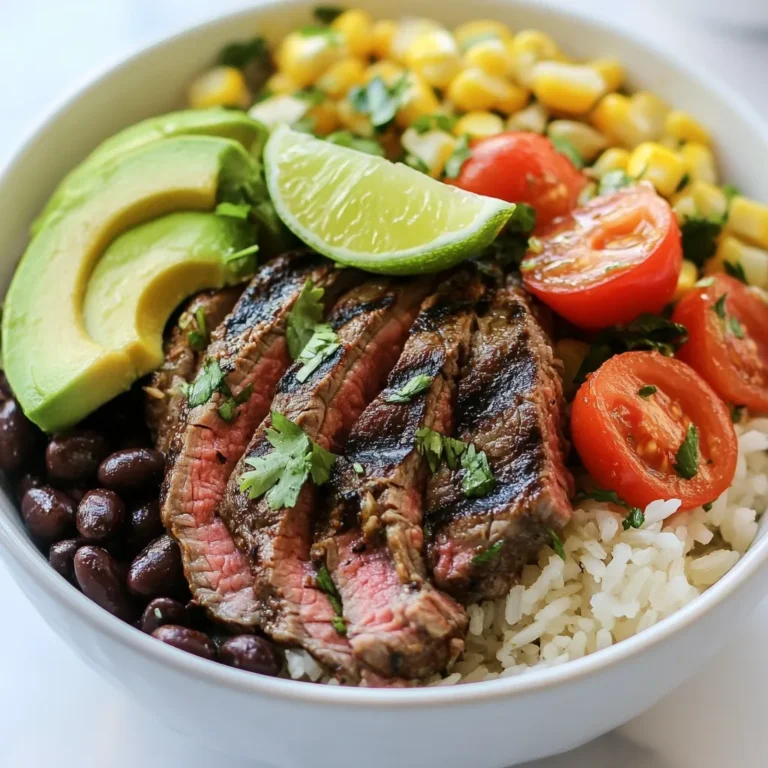
Cilantro Lime Steak Bowls Fresh and Flavorful Meal
Page navigation
Previous Page
Previous
1
…
54
55
56
57
58
…
63
Next Page
Next
Home
Dinner
Appetizer
Desserts
Drinks
About
Contact
Privacy Policy
Toggle Menu Close
Search for:
Search