Skip to content
About
Contact
Cookie Policy
Copyright Policy
Disclaimer
Search
Home
Dinner
Appetizer
Desserts
Drinks
About
Contact
Privacy Policy
Toggle Menu
Home
/
Dinner
- Page 57
Dinner
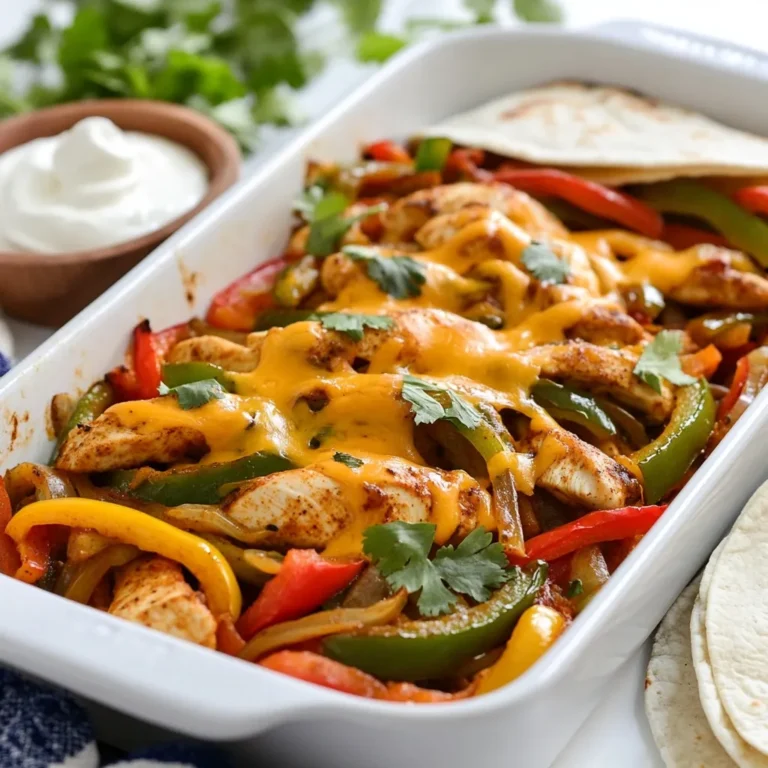
Easy Chicken Fajita Bake Simple and Flavorful Meal
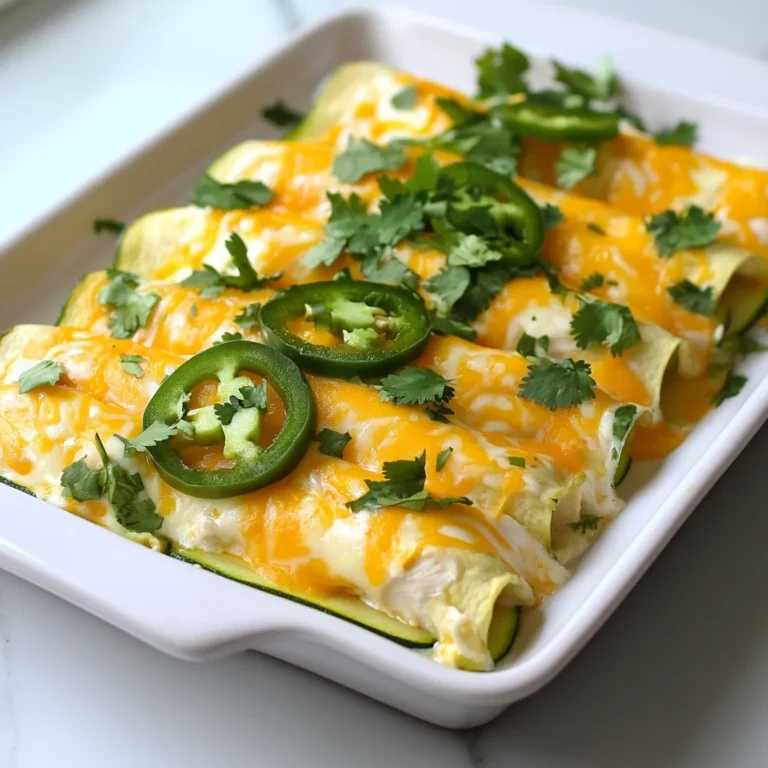
Low Carb White Chicken Enchiladas Tasty and Simple Meal
Easy Wonton Soup Quick and Flavorful Recipe Guide
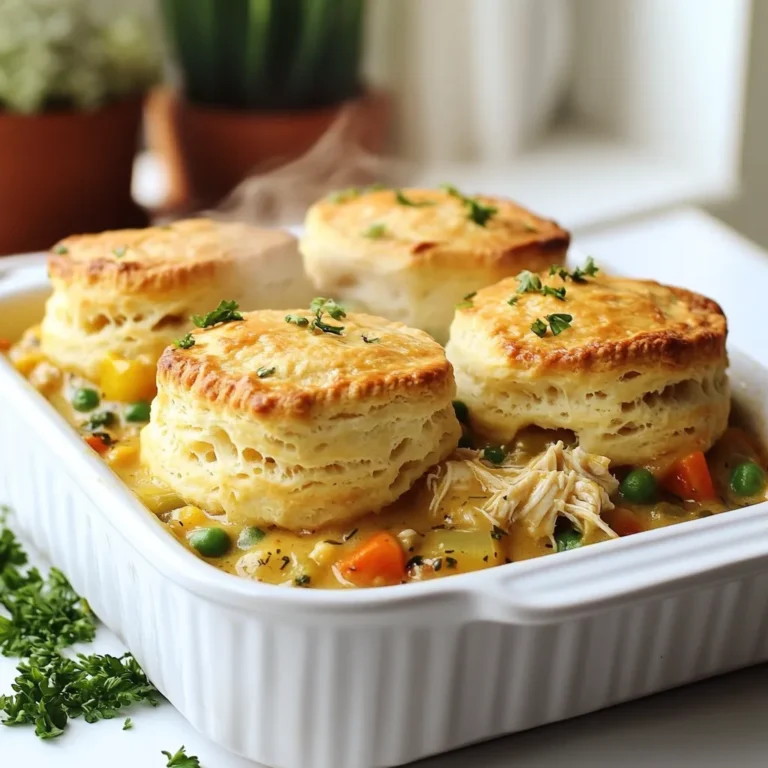
Biscuit Chicken Pot Pie Simple and Flavorful Recipe
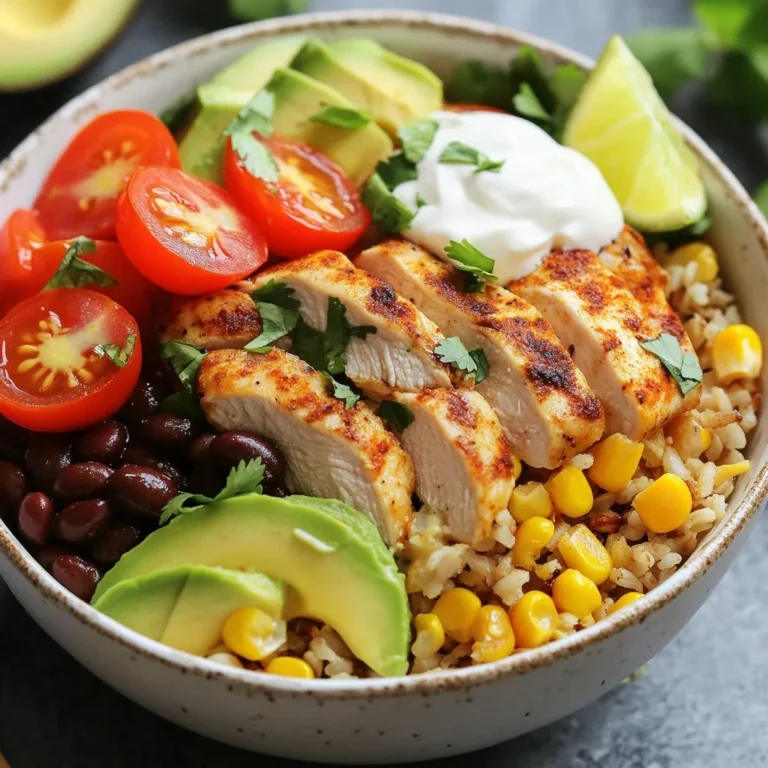
Savory Southwest Chicken Burrito Bowls Recipe
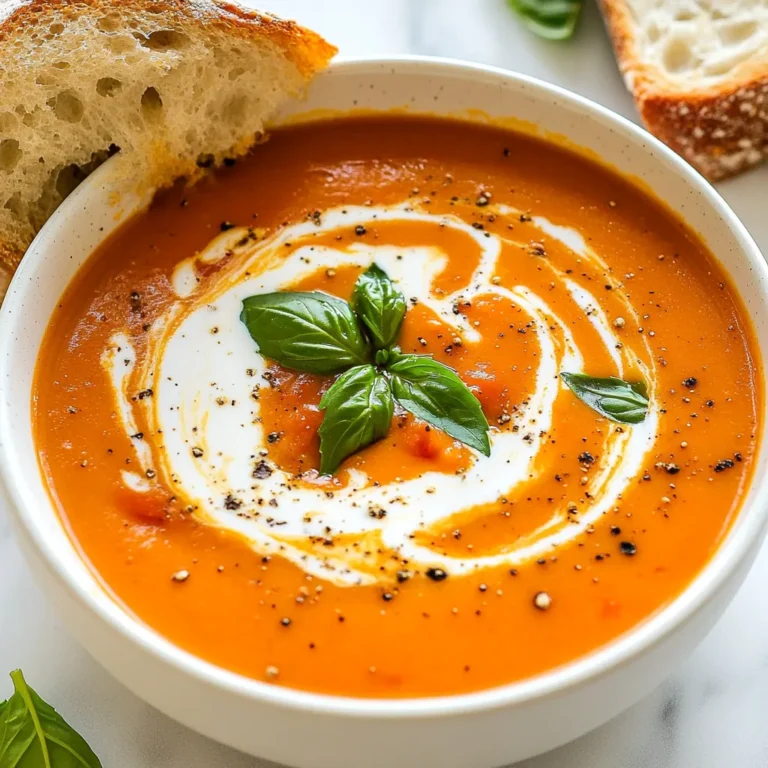
Vegan Creamy Tomato Basil Soup Rich and Flavorful Dish
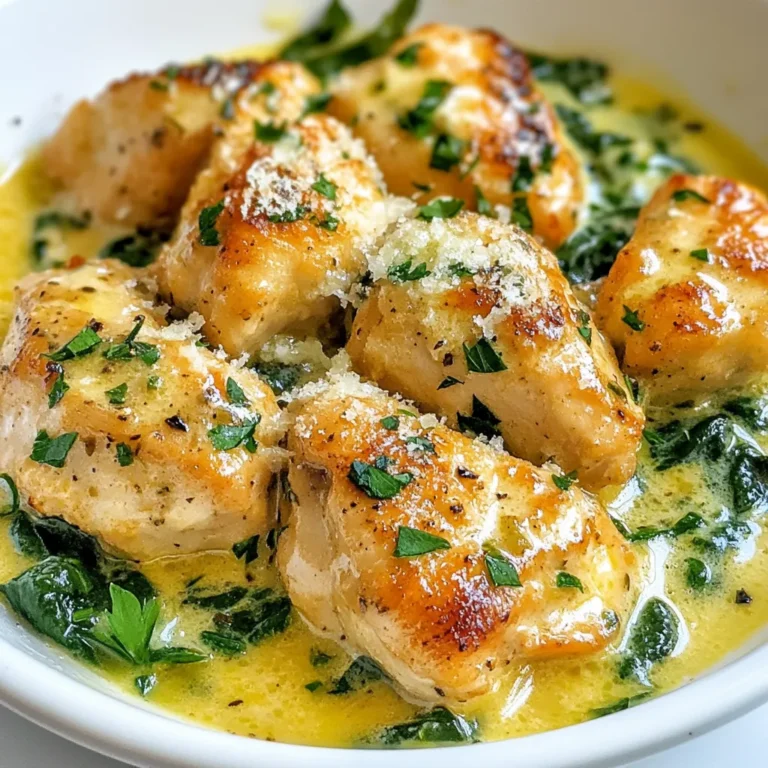
Creamy Garlic Chicken Bites Tasty and Simple Dish
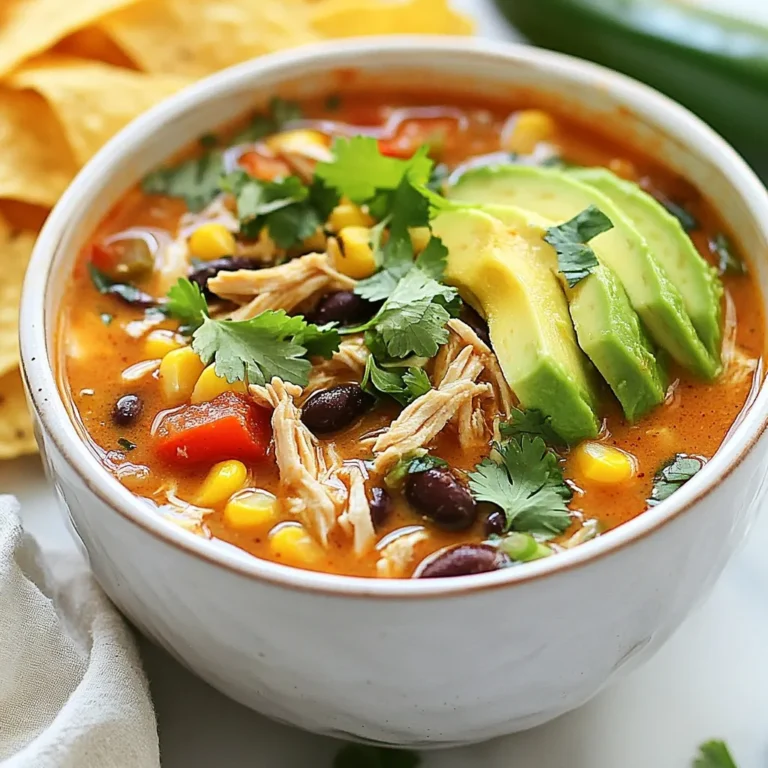
Chicken Enchilada Soup Flavorful and Easy Recipe
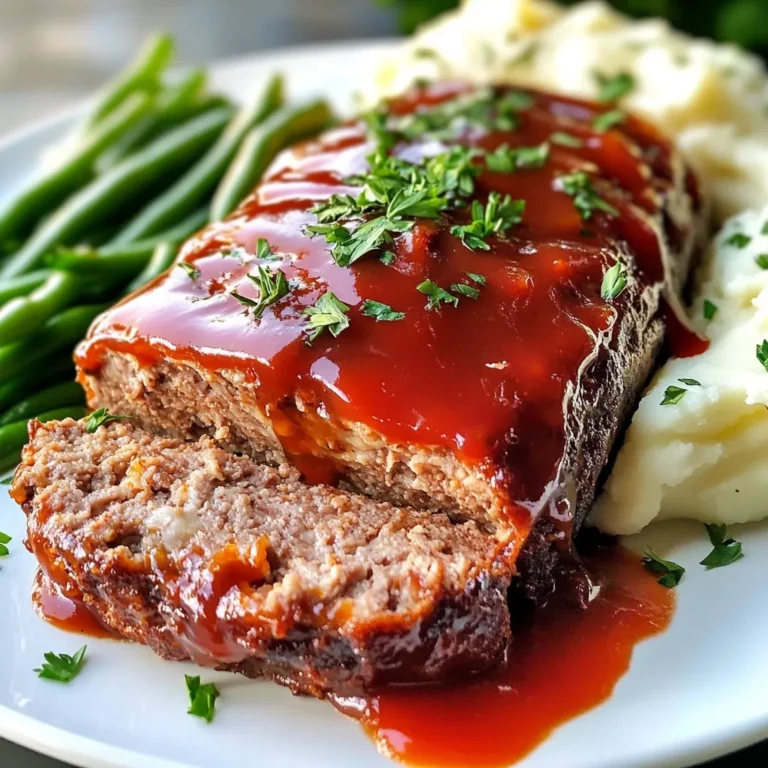
Tender Moist Meatloaf Simple and Flavorful Recipe
Best Homemade Ravioli Sauce Simple and Flavorful Recipe
Page navigation
Previous Page
Previous
1
…
55
56
57
58
59
…
63
Next Page
Next
Home
Dinner
Appetizer
Desserts
Drinks
About
Contact
Privacy Policy
Toggle Menu Close
Search for:
Search